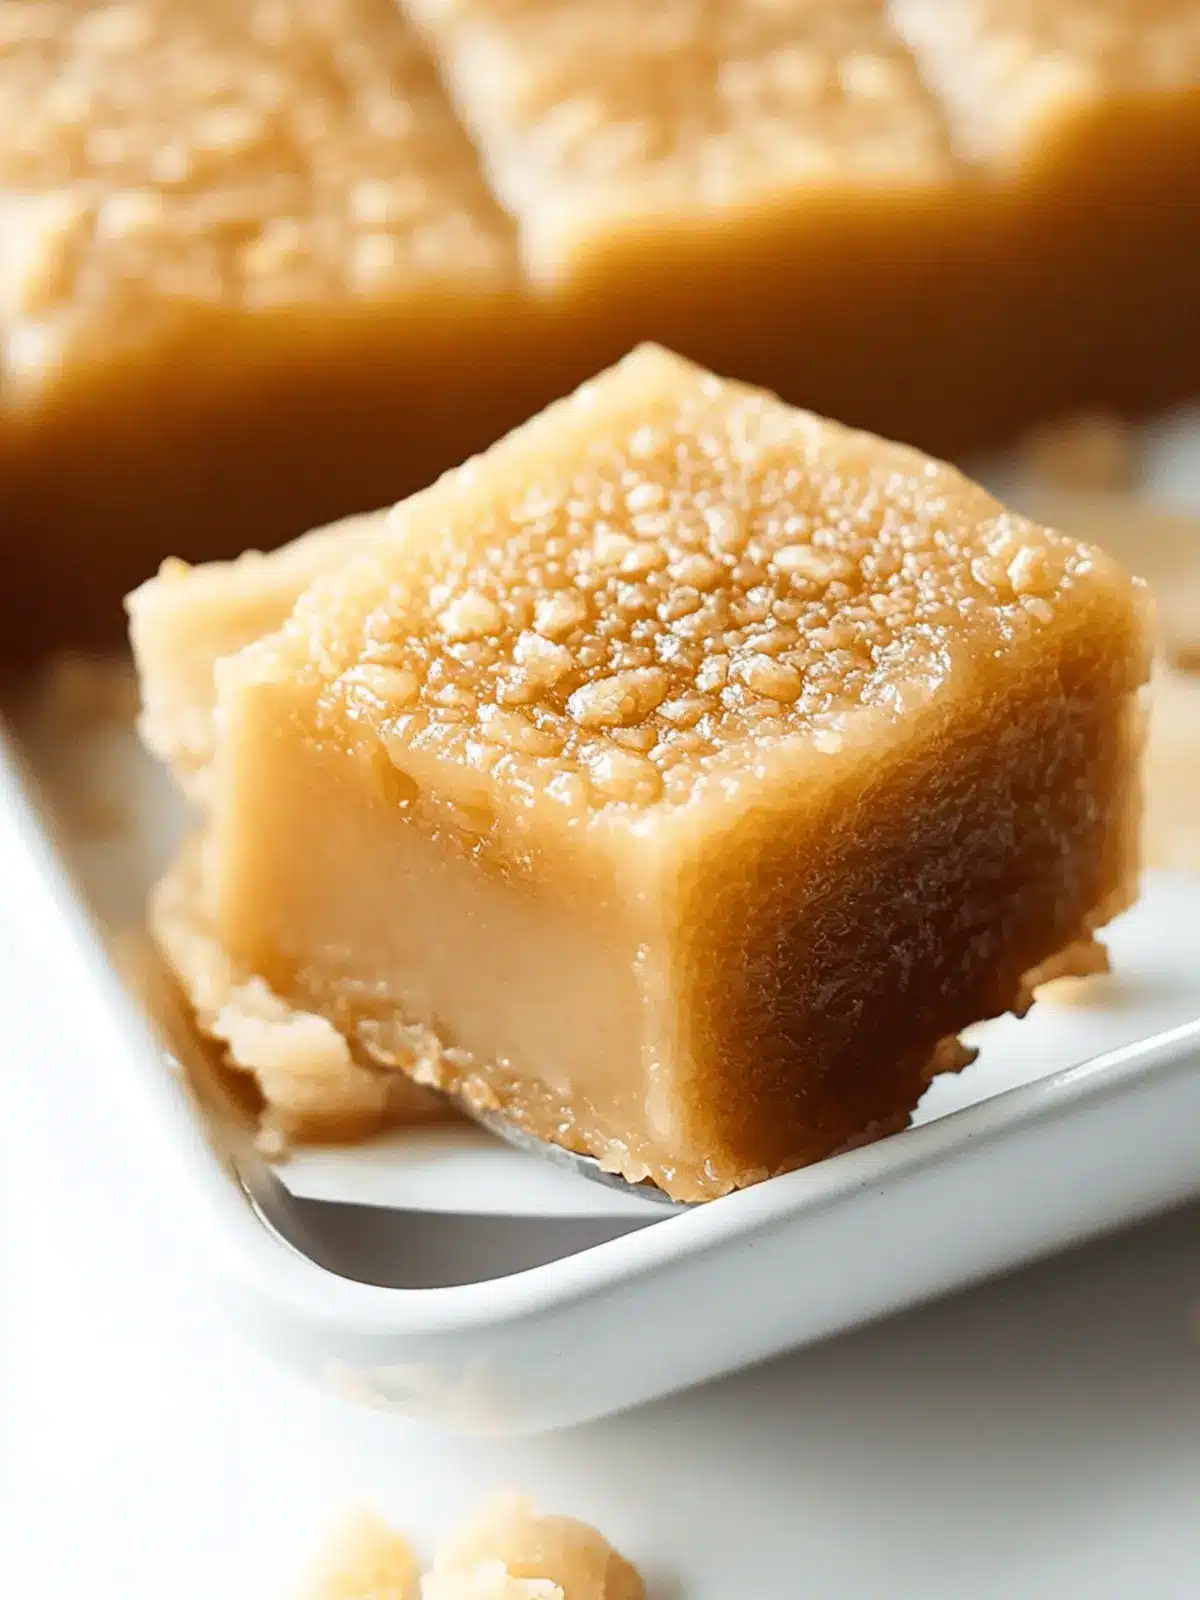
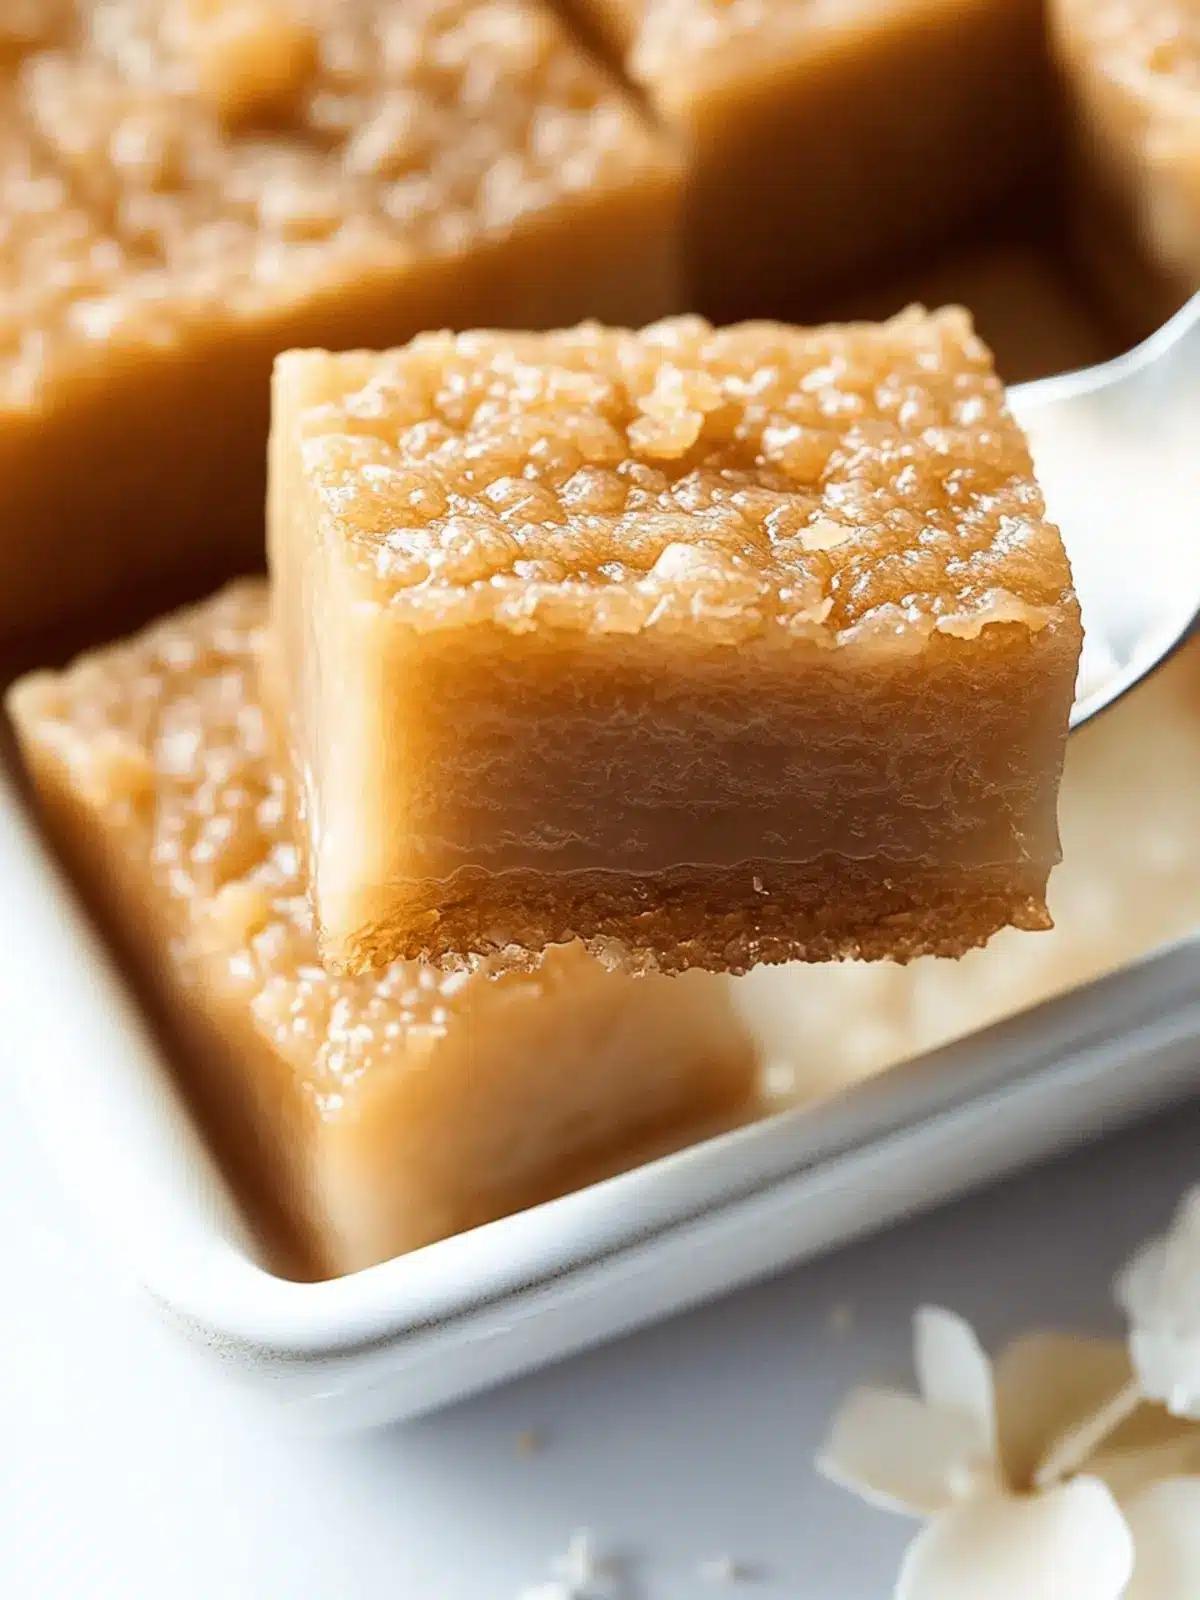
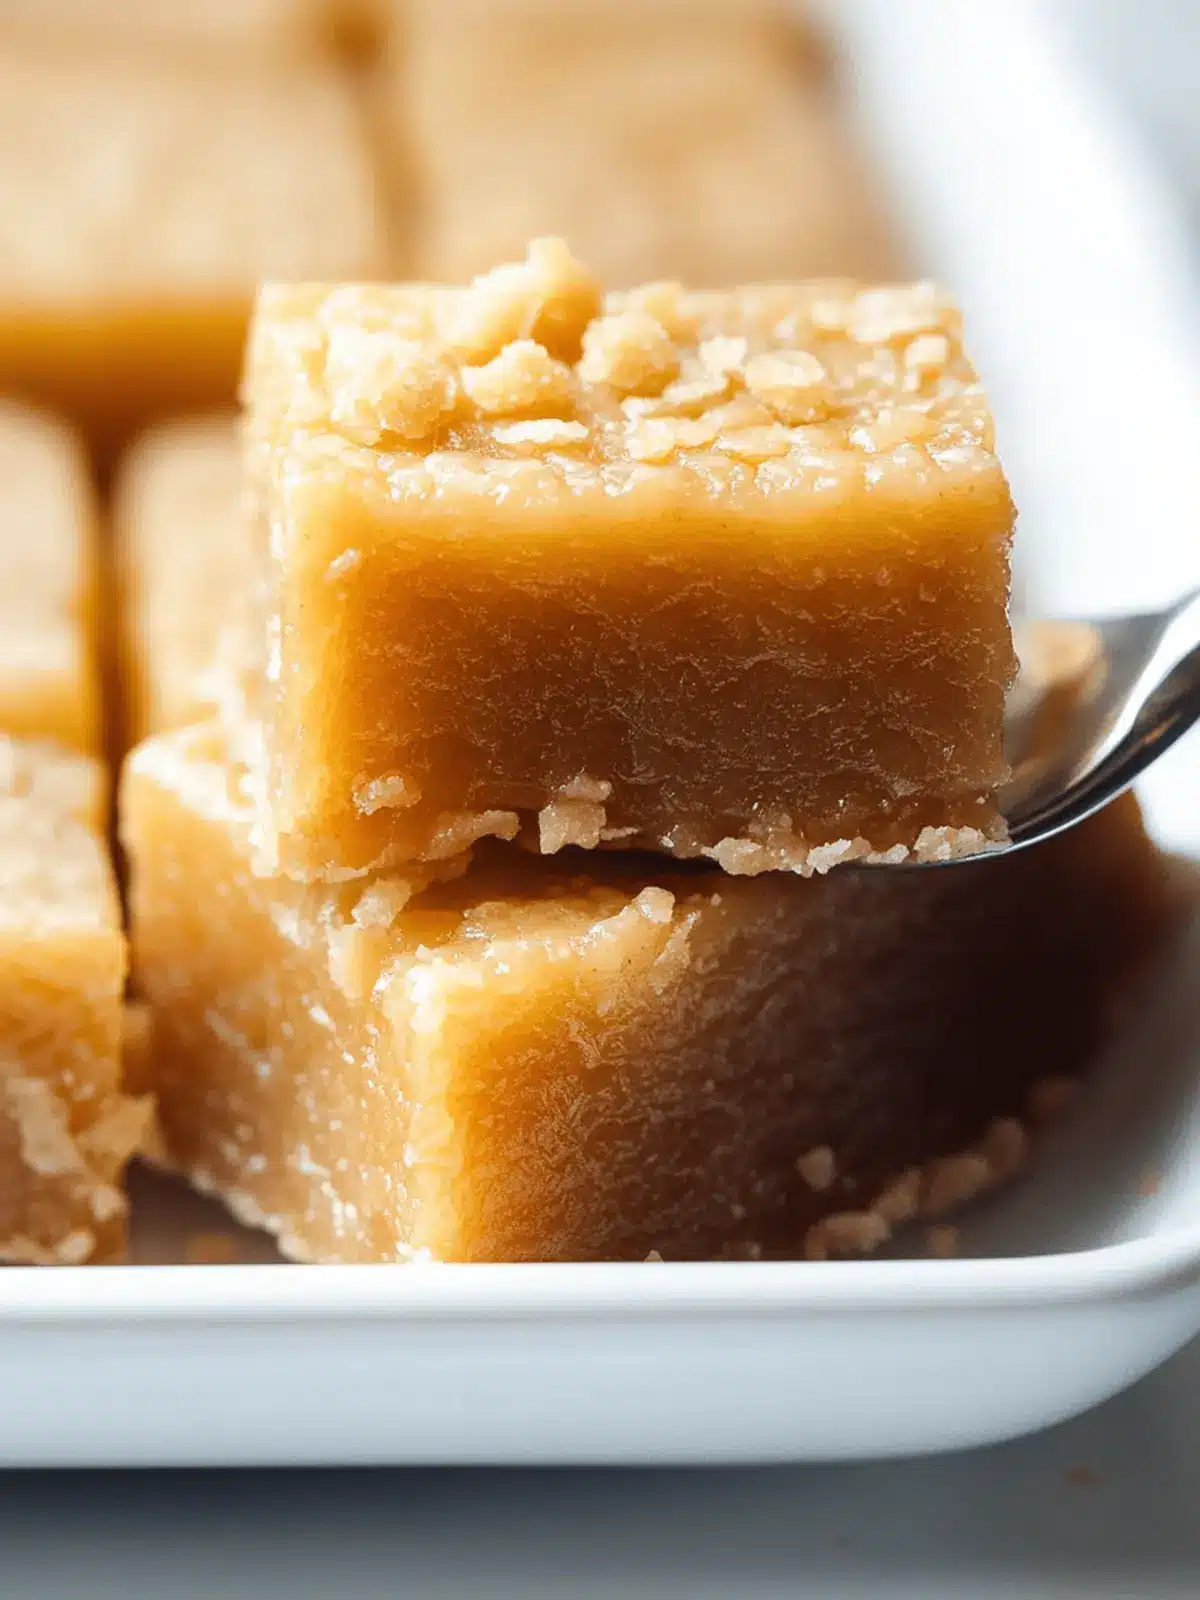
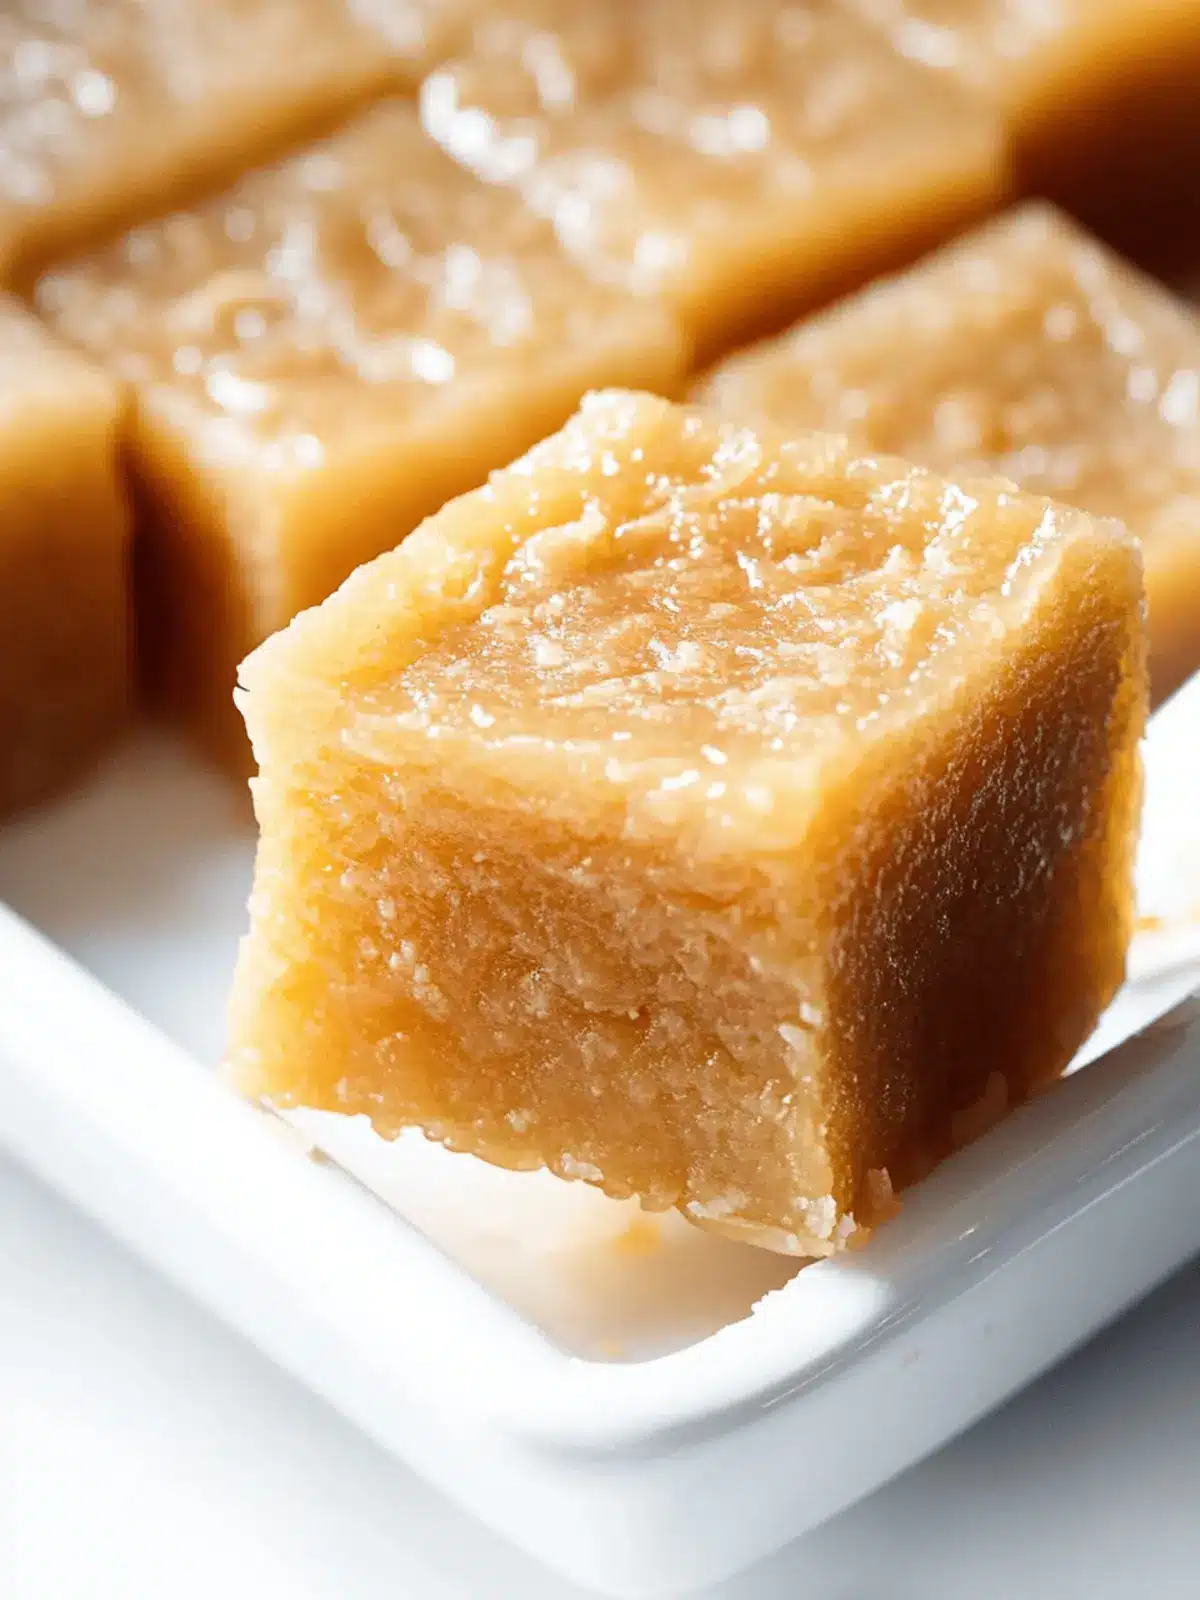
There’s a certain magic that happens when you blend the rich, buttery goodness with the tropical vibe of coconut in a single dessert. When I first tasted Hawaii butter mochi at a local bakery, I was immediately transported to sun-soaked beaches and swaying palm trees. This delightful treat possesses a unique texture—chewy yet tender—that keeps you reaching for just one more piece. As I made my way through the recipe, I couldn’t help but feel like I was crafting a little piece of paradise right in my own kitchen.
Perfect for potlucks or cozy evenings at home, this butter mochi is not just comforting; it’s incredibly simple to whip up, making it a go-to for anyone looking to escape the mundane routine of fast food. Imagine your friends and family gathering around your table, drawn in by the sweet aroma wafting through your house as it bakes. With just a handful of ingredients and minimal prep, you can dive into the world of homemade goodness that will leave everyone craving more. Get ready to fall in love with this dessert, as your taste buds embark on a deliciously tropical adventure!
Why is Hawaii Butter Mochi so special?
Irresistible texture: The unique chewiness makes every bite a delightful experience.
Easy to make: With just a few simple steps, you’ll have a beautiful dessert that impresses.
Tropical flair: Coconut cream brings a refreshing twist, transporting you to a sunny getaway.
Crowd-pleaser: Perfect for gatherings or cozy nights, your loved ones will be begging for the recipe!
Time-saving delight: It bakes in just over an hour, allowing you to focus on enjoying the moment.
If you’re eager to elevate your dessert game, consider pairing this with a tropical fruit salad for a refreshing touch.
Hawaii Butter Mochi Ingredients
• Ready to create your own slice of paradise?
For the Batter
• 1/4 cup butter – adds richness and flavor; make sure to melt it gently for the creamiest texture.
• 2 TBSP brown sugar – brings a deep caramel note that enhances the sweetness.
• 3/4 cup white sugar – this balances the flavors; just remember to reserve 2 TBSP!
• 2 eggs – provides moisture and helps bind the ingredients together.
• 1 cup milk – enhances the creaminess; use whole milk for the best results.
• 3/4 cup coconut cream/milk – this tropical delight gives the mochi its signature flavor and texture.
• 1 1/2 cup mochiko rice flour – also known as glutinous rice flour; it’s the magic ingredient for that chewy goodness.
• 1/2 tsp baking powder – helps the mochi puff slightly for that perfect bite.
• 1/4 tsp salt – enhances all the other flavors beautifully.
Now you’re all set to embark on this mouthwatering journey with Hawaii Butter Mochi!
How to Make Hawaii Butter Mochi
-
Preheat the oven to 350˚F (180˚C). This temperature ensures a perfect bake, creating that lovely golden top we all adore.
-
Melt the butter in the microwave for 30 seconds until mostly melted. If you prefer, let it sit at room temperature to soften and achieve the right consistency.
-
Combine the softened butter in a mixer bowl fitted with the paddle attachment. This will set the stage for mixing a beautifully creamy batter.
-
Mix 2 TBSP brown sugar with white sugar to fill a 3/4 cup measuring cup. Add this blend to the butter, beating until creamy for about 1-2 minutes—think fluffy and smooth!
-
Add the eggs, milk, and coconut cream to the mixer while on low speed. Then, turn off the mixer and carefully incorporate the mochiko rice flour, baking powder, and salt. Mixing gently avoids a flour explosion, keeping your kitchen clean!
-
Beat the mixture until fully combined, which should take around 1-2 minutes. Look for a smooth batter without lumps.
-
Butter a 9×9 inch pan thoroughly, ensuring every corner and side are coated well for easy removal after bake time.
-
Pour the batter into the prepared pan evenly, enticing your senses with that visually appealing mixture.
-
Bake for one hour, then check every five minutes until a crinkly top forms. Expect total bake time to be around 1 hour and 10 minutes—patience is key!
-
Cool the mochi in the pan once baked, slice into squares, and serve. Remember, the texture becomes chewier as it cools, enhancing the experience!
-
Store leftover butter mochi by wrapping the pan with plastic wrap and refrigerating for future enjoyment.
Optional: Serve with shredded coconut on top for an extra tropical touch!
Exact quantities are listed in the recipe card below.
What to Serve with Hawaii Butter Mochi?
Step into a tropical paradise where the soft, chewy delight of butter mochi meets fresh and vibrant flavors that elevate your gathering.
-
Tropical Fruit Salad: A mix of juicy mangoes, pineapples, and berries balances out the sweetness of the mochi, adding freshness and zing. Consider topping it with a sprinkle of mint to bring all the flavors together!
-
Coconut Whipped Cream: This light and airy topping enhances the coconut flavor in the mochi, providing a creamy contrast that feels indulgent yet refreshing.
-
Green Tea: The earthy tones in green tea complement the sweetness of Hawaii butter mochi beautifully, making for a calming yet delightful beverage choice.
-
Mango Sorbet: Cool and creamy, this dessert adds a fruity touch and refreshing chill, making each bite of mochi even more enjoyable.
-
Passion Fruit Sauce: Drizzle this tangy, sweet sauce over your mochi for a burst of tropical flavor that beautifully contrasts its rich texture.
-
Macadamia Nut Crumble: Sprinkle crushed macadamia nuts on top for additional crunch and a nutty flavor that pairs perfectly with the soft mochi.
-
Hibiscus Iced Tea: A stunning ruby-red drink that is sweet and tart, invoking a summer atmosphere, which invites everyone to sip alongside their mochi.
-
Palm Sugar Caramel Dip: A warm, velvety dip that adds richness and depth, each bite becomes a delightful experience wrapped in caramel bliss.
Hawaii Butter Mochi Variations
Feel free to have fun with this dessert by customizing it to fit your taste and dietary needs!
-
Dairy-Free: Substitute the butter with coconut oil and use almond or soy milk for a delicious dairy-free version. The coconut oil enhances that tropical flavor.
-
Chocolate Lover’s Twist: Fold in 1/2 cup of dark chocolate chips into the batter before baking. The melty chocolate adds a rich depth that perfectly complements the sweetness.
-
Flavor Boost: Add the zest of one lemon or lime to the batter for a refreshing citrus note that brightens up the flavor profile. It’s a simple twist that makes all the difference!
-
Nutty Delight: Mix in 1/2 cup of finely chopped macadamia nuts for an extra crunch and a Hawaii-inspired touch. Each bite brings a delightful surprise!
-
Coconut Flakes: Sprinkle shredded coconut on top before baking to enhance the texture and flavor. Toasting the flakes slightly beforehand adds a nice nutty aroma!
-
Spicy Kick: For the adventurous, a pinch of cayenne or a dash of chili powder can add an unexpected spicy warmth. Just a touch will keep it exciting without overwhelming the sweetness.
-
Fruit Infusion: Incorporate 1/2 cup of crushed pineapple or diced mango into the batter for a fruity surprise that adds moisture and flavor. Tropical goodness in every bite!
-
Sesame Surprise: Add 2 tablespoons of toasted sesame seeds to the batter for a nutty flavor and extra texture. It’s a delightful contrast that elevates the taste experience!
Make Ahead Options
Hawaii Butter Mochi is perfect for busy cooks looking to prep in advance! You can make the batter up to 24 hours ahead of time. Simply mix all the ingredients until smooth, then cover the bowl tightly with plastic wrap and refrigerate. This keeps the batter fresh and allows the flavors to develop beautifully while you focus on other meals. When you’re ready to bake, pour the chilled batter into a greased pan and bake as directed. The end result will be just as delicious, with that signature chewy texture everyone loves. This strategy saves time and ensures you can effortlessly enjoy a taste of paradise any day of the week!
How to Store and Freeze Hawaii Butter Mochi
Fridge: Wrap the cooled butter mochi in plastic wrap or store it in an airtight container. It will stay fresh for up to 3 days.
Freezer: For longer storage, cut the butter mochi into individual pieces and wrap each piece tightly in plastic wrap, then place them in a freezer-safe container. It can last up to 2 months.
Thawing: To enjoy again, simply place the wrapped slices in the fridge overnight to thaw or microwave for a few seconds until warm.
Reheating: If you prefer it warm, heat the pieces in the microwave for about 10-15 seconds. Enjoy that delightful chewiness of your Hawaii butter mochi!
Tips for the Best Hawaii Butter Mochi
-
Use Room Temperature Ingredients: Let your eggs and milk sit out for a bit; this ensures a smoother batter and better texture in your Hawaii butter mochi.
-
Don’t Overmix: When incorporating the mochiko rice flour, mix just until combined to avoid a tough texture. Gently fold to keep it light and chewy.
-
Proper Baking Check: Start checking for doneness at the one-hour mark; look for a crinkly top and a toothpick inserted in the center should come out clean.
-
Cool Completely: Allow the mochi to cool in the pan for the right chewy consistency. Cutting it too soon can result in a gooey mess!
-
Storing Tips: Wrap slices individually in plastic wrap and store them in the fridge. They’ll stay fresh and chewy for a longer time!
Hawaii Butter Mochi Recipe FAQs
What type of mochiko rice flour should I use?
Absolutely! Be sure to use glutinous rice flour labeled as mochiko for the best texture. Regular rice flour will not provide that signature chewiness that makes Hawaii butter mochi so special. Check the label to ensure it’s specifically for mochi, and you’ll be on the right track!
How long can I store my butter mochi, and what’s the best way to do it?
Very! Once your butter mochi has cooled, wrap it tightly in plastic wrap or place it in an airtight container. Stored in the fridge, it will stay fresh for up to 3 days. If you want to keep it longer, consider freezing it. Just be sure to cut it into individual portions and wrap each piece well for optimal freshness.
Can I freeze Hawaii butter mochi, and if so, how?
Absolutely! To freeze your delicious creation, cut the cooled butter mochi into squares and wrap each piece tightly in plastic wrap. Place the wrapped pieces in a freezer-safe container. It can be stored in the freezer for up to 2 months. When you’re ready to enjoy, just pop it in the fridge overnight to thaw or heat it in the microwave for a few seconds until warm.
I’m having trouble with the texture; any tips for troubleshooting?
Certainly! If your mochi is too gummy, it may be due to overmixing. Gently blend the ingredients until just combined, especially when incorporating the mochiko flour. Also, ensure you’re measuring ingredients accurately, as too much flour can also lead to dryness. Finally, keep an eye on your bake time—overbaking can result in a tougher texture instead of that sought-after chewiness.
Can my pets enjoy Hawaii butter mochi?
Not at all! It’s best to keep this treat away from curious pets. Ingredients like sugar and coconut cream are not suitable for dogs or cats. Make sure to store it on a high shelf and avoid sharing even the tiniest piece.
Are there any allergens in Hawaii butter mochi that I should be aware of?
Very good question! The primary allergens in this recipe include eggs, dairy (milk and butter), and gluten (from the mochiko rice flour). If you’re preparing this for friends or family with dietary restrictions, consider alternatives such as lactose-free milk or egg substitutes to accommodate their needs. Always check for specific allergies before serving!

Hawaii Butter Mochi: Chewy Bliss You Can’t Resist
Ingredients
Equipment
Method
- Preheat the oven to 350˚F (180˚C).
- Melt the butter in the microwave for 30 seconds until mostly melted.
- Combine the softened butter in a mixer bowl fitted with the paddle attachment.
- Mix 2 TBSP brown sugar with white sugar to fill a 3/4 cup measuring cup, then add to butter and beat until creamy.
- Add the eggs, milk, and coconut cream to the mixer while on low speed.
- Incorporate the mochiko rice flour, baking powder, and salt gently.
- Beat the mixture until fully combined for about 1-2 minutes.
- Butter a 9x9 inch pan thoroughly.
- Pour the batter into the prepared pan evenly.
- Bake for one hour, then check every five minutes until a crinkly top forms.
- Cool the mochi in the pan, slice into squares, and serve.
- Store leftovers wrapped in plastic wrap and refrigerate.


