
There’s a certain charm in the aroma of freshly baked pastries filling your home, and that’s exactly what these sugar snails bring. Picture soft spirals of buttery dough, each bite offering a sweet hug that comforts the soul. I first discovered this delightful recipe on a cozy Sunday afternoon, craving something special to share with family. These are not just pastries; they’re soft, spiraled pieces of nostalgia that whisk you away to cherished brunches and happy gatherings.
What I love most about sugar snails is their effortless versatility. Whether you’re in the mood for the classic sweetness or want to shake things up with a hint of cinnamon or zesty lemon, these pastries deliver every time. They shine at any occasion, from lazy mornings to festive celebrations, requiring minimal fuss and no frosting. So, roll up your sleeves and prepare to indulge in a baking experience that transforms simple ingredients into a warm, flaky delight that will leave everyone enchanted!
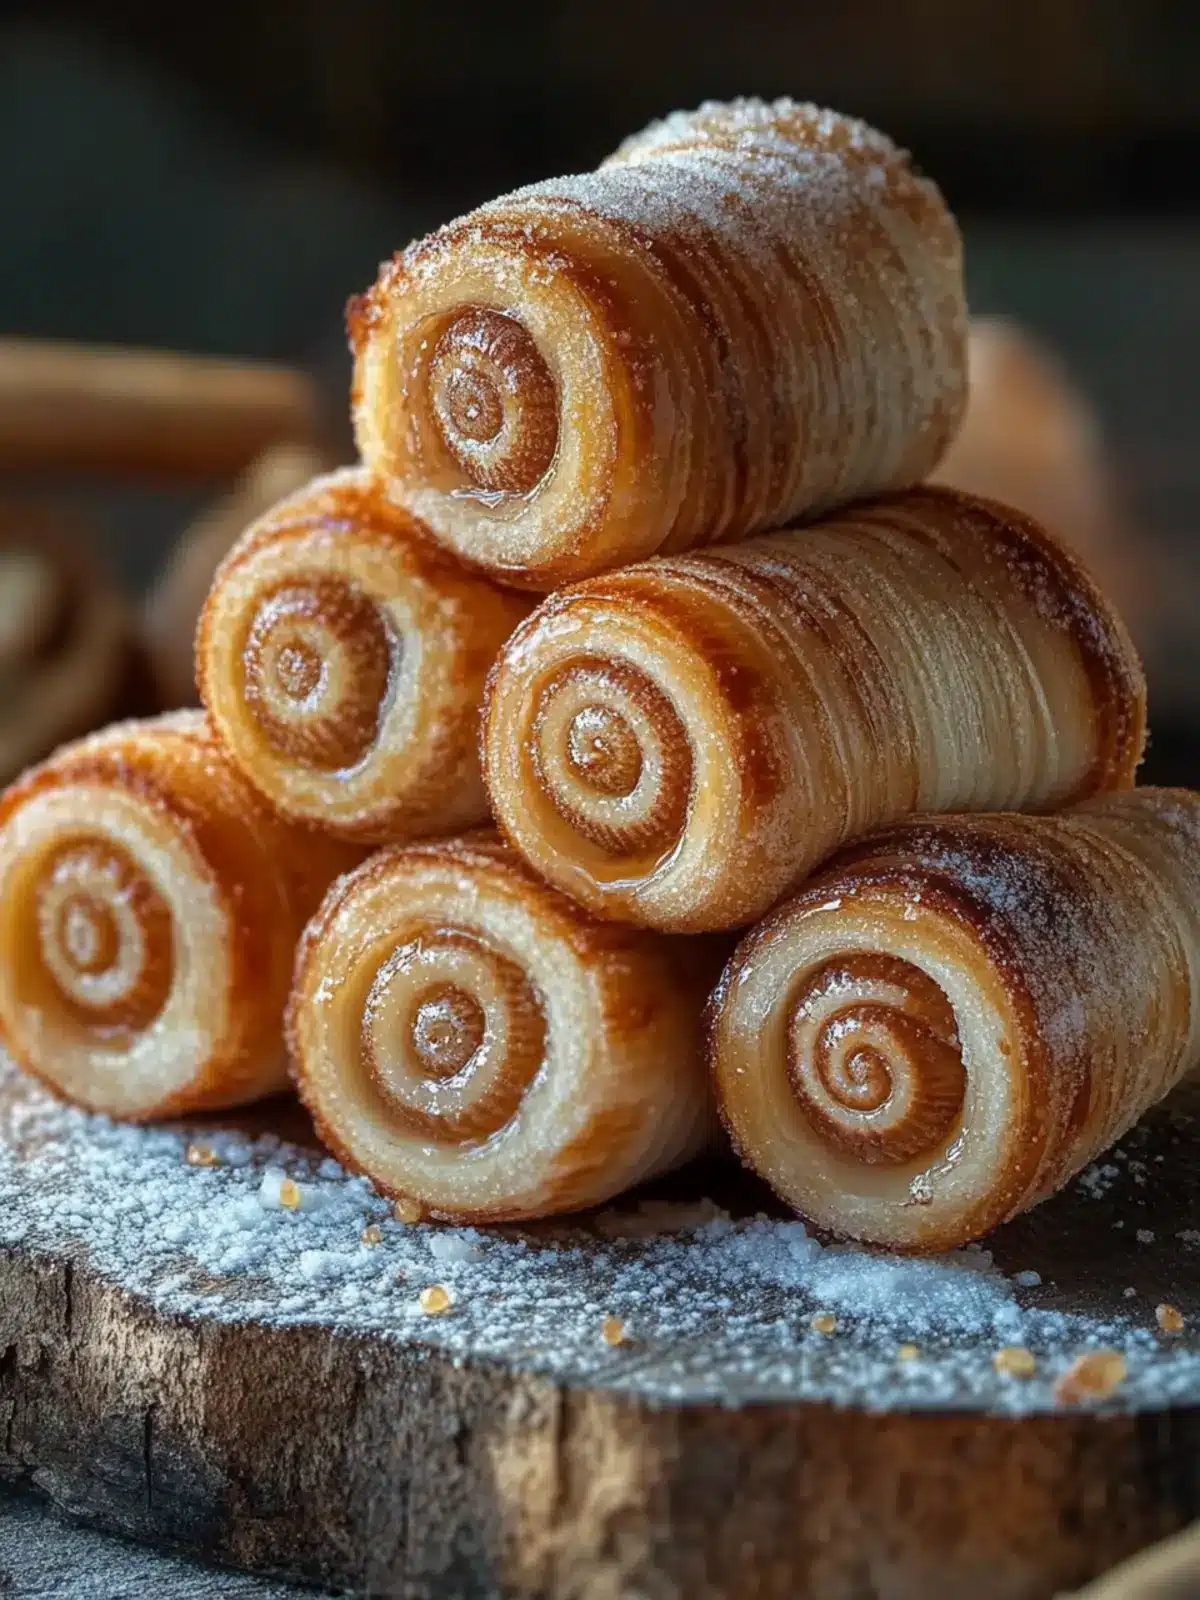
Why Are Sugar Snails So Irresistible?
Irresistible Flavors: The sweet, buttery aroma wafting from your oven will make everyone swoon.
Easy to Make: With straightforward steps, you’ll craft stunning pastries even as a beginner baker.
Customizable Delights: Choose from classic flavors or get creative with lemon or cinnamon for a personal touch.
Perfect for Any Occasion: These pastries are a celebration in every bite, ideal for brunch or as a sweet afternoon treat.
No Frosting Needed: Enjoy the rich sweetness without the extra step, making them even easier to whip up!
Discover the joy of baking by trying these delightful sugar snails; you won’t be disappointed!
Sugar Snails Ingredients
• For the dough and filling:
- All-purpose flour – Provides structure while ensuring a soft dough; avoid over-measuring for the best texture.
- Yeast – Active dry or instant yeast for proper rise; make sure your yeast is fresh for optimal results.
- Milk – Whole milk adds richness, but 2% can serve as a substitution; warm slightly to activate the yeast.
- Unsalted butter – Essential for spreading and maintaining salt levels; ensure it’s softened for even application.
- Granulated sugar – The main ingredient that creates the signature caramelized sweetness in the sugar snails.
- Egg – Adds richness and binds the dough together.
- Salt – Enhances flavor and balances sweetness; don’t skip this for the best taste.
• Optional flavor additions:
- Vanilla extract – Add to the butter for a classic twist on sugar snails.
- Cinnamon – Sprinkle alongside sugar to create a warm, spicy variation.
- Lemon zest – Incorporate for a refreshing tang that brightens each bite.
- Chopped nuts – Add finely chopped almonds or pecans into the filling for a delightful crunch.
- Powdered sugar – Drizzle over baked snails for a simple glaze if desired.
How to Make Sugar Snails
- Prepare the Dough: Warm the milk until it’s just warm to the touch. Then, mix it with the yeast and a teaspoon of sugar; let it sit until foamy—about 5-10 minutes.
- Combine Ingredients: Add the remaining sugar, egg, melted butter, salt, and flour to the yeast mixture. Stir until a soft, slightly tacky dough forms, giving it a comforting mix.
- Knead the Dough: Knead the dough by hand or with a mixer for 8-10 minutes until it’s smooth and elastic—this is what will give your sugar snails that delightful texture!
- First Rise: Place the dough in a greased bowl, cover with a towel, and let it rise in a warm spot until it doubles in size, typically about 1 to 1.5 hours.
- Roll Out: Once risen, roll the dough into a large rectangle on a floured surface, enjoying the soft feel as you create your pastry base.
- Add Filling: Spread softened butter evenly across the dough and sprinkle generously with granulated sugar, allowing all those sweet flavors to meld.
- Shape the Snails: Roll the dough tightly from the long side and slice it into even pieces, forming your lovely little snails.
- Second Rise: Place the snails in a baking dish, cover, and let them rise until puffy, about 30-45 minutes—give them patience and watch them grow!
- Bake: Preheat your oven to 350°F (175°C) and bake the sugar snails for 20-25 minutes until they are golden and heavenly, filling your home with irresistible aromas.
- Cool Slightly: Let the baked snails rest for about 10 minutes before serving, allowing them to settle into their deliciousness.
Optional: Dust with powdered sugar for a delightful finishing touch!
Exact quantities are listed in the recipe card below.
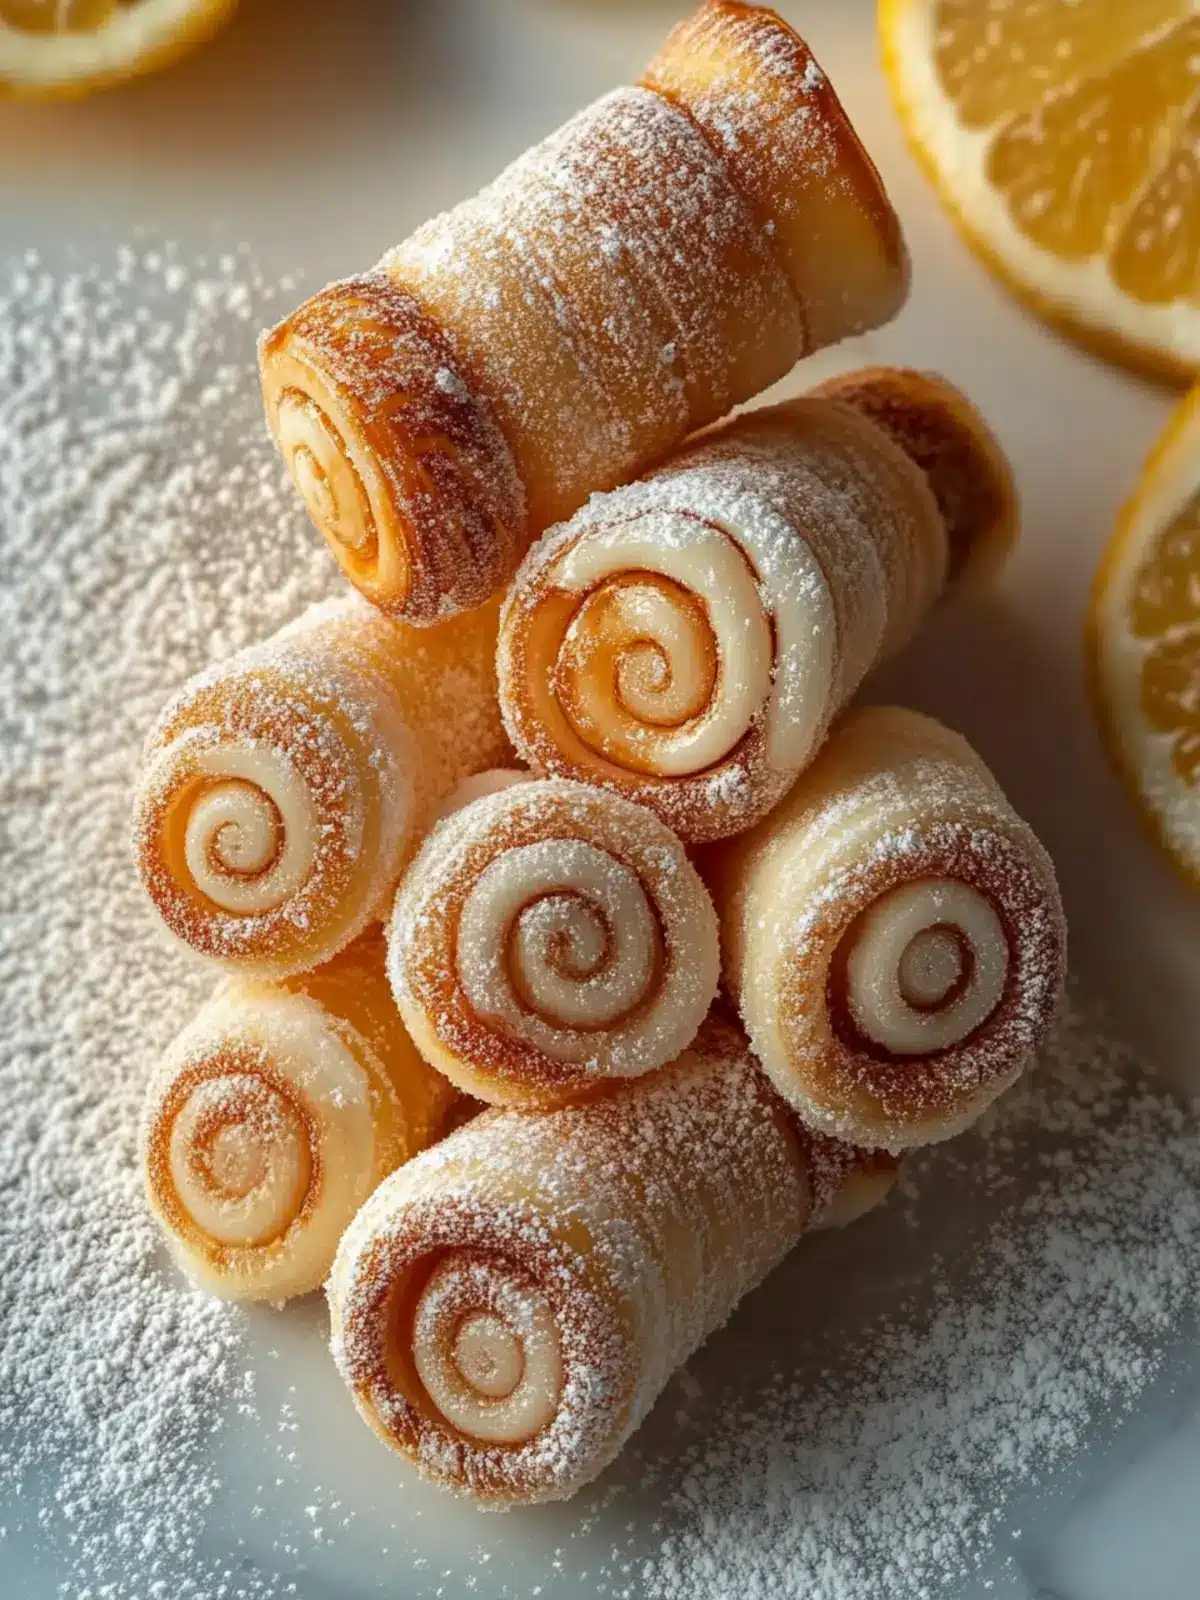
Expert Tips for Sugar Snails
- Yeast Matters: Always check the freshness of your yeast. Expired yeast won’t rise properly, affecting your sugar snails’ texture.
- Dough Consistency: Avoid adding too much flour; a slightly tacky dough is ideal for soft, fluffy pastries. Measure carefully!
- Time-Saving Prep: For a quick morning treat, shape the snails ahead of time, cover, and refrigerate overnight. Just bake in the morning!
- Neat Slicing: Use unflavored dental floss for clean cuts when slicing the rolled dough; it prevents squishing the snails.
- Flavor Combinations: Explore different variations like vanilla or cinnamon to keep things exciting; creativity is the spice of life!
Make Ahead Options
These delightful sugar snails are perfect for meal prep, saving you time on busy mornings! You can shape the snails up to 24 hours in advance. Simply prepare the dough through the second rise, then cover the baking dish tightly with plastic wrap and refrigerate overnight. This will allow the flavors to develop beautifully. When you’re ready to indulge, preheat your oven and bake directly from the fridge; just add an extra 5 minutes to the baking time. For best results, make sure to keep the snails well-covered to prevent drying out, ensuring they remain just as delicious as freshly baked pastries. Enjoy the convenience of having warm, fragrant sugar snails ready to serve!
What to Serve with Sugar Snails?
Imagine the sweet aroma of buttery pastries dancing in your kitchen, enticing everyone to gather around the table.
- Fresh Fruit Salad: A vibrant medley of seasonal fruits adds brightness, balancing the sweetness of the sugar snails with refreshing flavors.
- Creamy Yogurt Parfait: Layer yogurt, granola, and berries for a wholesome side, complementing the soft textures while bringing a tangy contrast.
- Savory Quiche: Pair these pastries with a hearty quiche for a delightful brunch spread; the savory elements enhance the overall experience.
- Coffee or Tea: A steaming cup of coffee or herbal tea brings warmth, enhancing the cozy atmosphere and making every bite more enjoyable.
- Whipped Cream: A dollop of fresh whipped cream on the side elevates the experience, creating a decadent touch that harmonizes with the pastries.
- Maple Syrup Drizzle: Enhance with a drizzle of maple syrup for a hint of extra sweetness that complements the dough’s buttery richness beautifully.
Bring joy to the table by serving these delightful pairings alongside your warm sugar snails!
Storage Tips for Sugar Snails
Room Temperature: Store sugar snails in an airtight container at room temperature for up to 2 days to maintain their soft texture.
Fridge: If you need to keep them longer, refrigerate for up to 5 days. Make sure they’re in an airtight container to prevent drying out.
Freezer: To enjoy sugar snails later, freeze them for up to 2 months. Wrap each one in plastic wrap, then place them in a labeled freezer bag for easy access.
Reheating: Thaw frozen sugar snails overnight in the fridge, then warm them in a 350°F (175°C) oven for 10-15 minutes until they are soft and fluffy again.
Sugar Snails Variations & Substitutions
Feel free to put your own spin on these delightful pastries with these fun and tasty variations!
-
Vanilla Sugar Snails: Add vanilla bean paste or extract to the softened butter for an aromatic twist that deepens the sweetness.
-
Cinnamon Sugar Snails: Sprinkle ground cinnamon along with the sugar to create a warm, cozy flavor reminiscent of classic cinnamon rolls.
-
Lemon Sugar Snails: For a vibrant zing, incorporate lemon zest into the dough or filling, inviting a refreshing brightness in every bite.
-
Nutty Sugar Snails: Sprinkle finely chopped nuts like almonds or pecans onto the sugar layer for an added crunch that perfectly complements the soft texture.
-
Chocolate-Dipped Sugar Snails: After baking, dip the cooled pastries in melted chocolate for a decadent dessert experience that will truly enchant your sweet tooth.
-
Maple Sugar Snails: Swap granulated sugar with maple sugar for an earthy sweetness that enhances the overall flavor and aroma.
-
Spicy Sugar Snails: Add a pinch of cayenne pepper or ground ginger into your sugar mix for a surprising kick that balances sweetness.
-
Glazed Sugar Snails: Finish with a simple powdered sugar glaze mixed with a splash of milk for an extra touch of sweetness that takes these pastries to the next level.
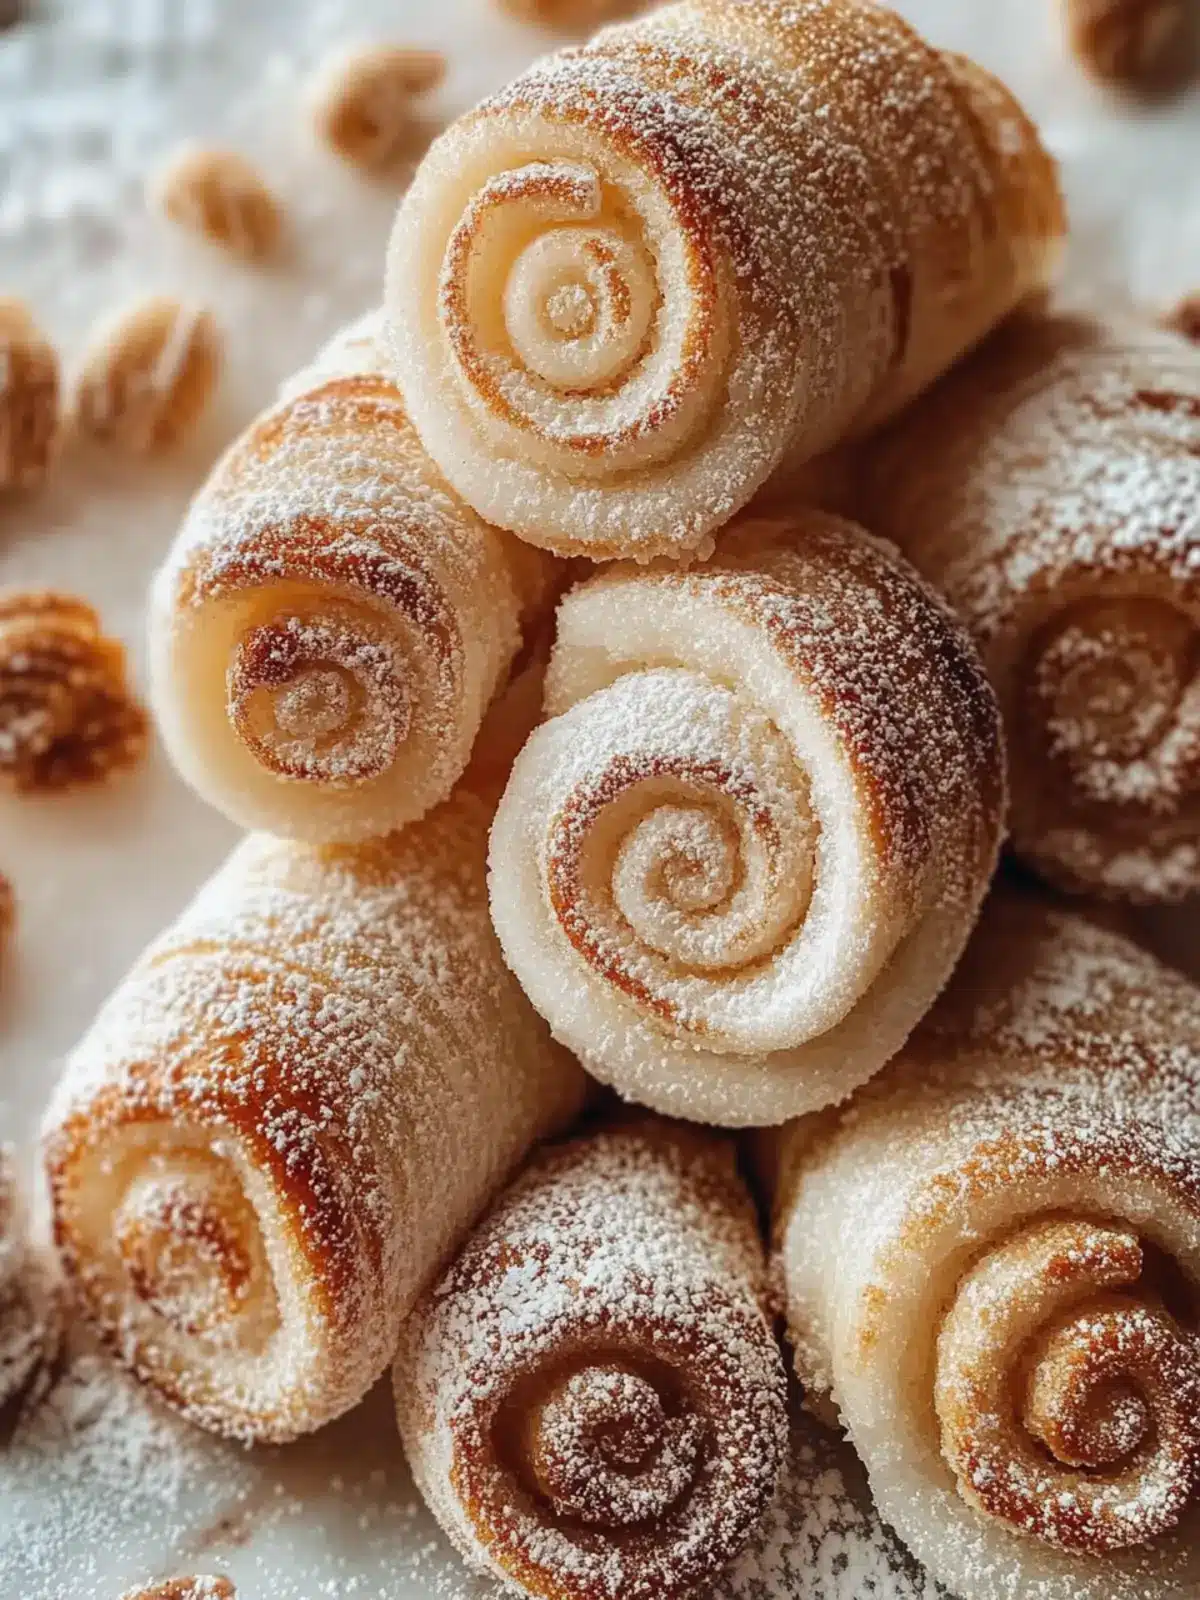
Sugar Snails Recipe FAQs
What type of yeast should I use for sugar snails?
You can use either active dry yeast or instant yeast for your sugar snails. Just make sure your yeast is fresh for the best rise. If using active dry yeast, it’s a good practice to activate it in warm milk with a bit of sugar until it’s foamy; this usually takes about 5-10 minutes.
How do I know when my dough has risen enough?
Your dough is ready when it has doubled in size, typically after about 1 to 1.5 hours in a warm spot. You can check by gently pressing your finger into the dough; if the indentation remains, it’s ready to use.
Can I freeze sugar snails, and how do I do it?
Absolutely! To freeze your sugar snails, allow them to cool completely once baked. Wrap each snail individually in plastic wrap, then place them in a labeled freezer bag. They can be stored in the freezer for up to 2 months. When you’re ready to enjoy them, thaw overnight in the fridge, then warm in a 350°F (175°C) oven for 10-15 minutes.
How should I store sugar snails after baking?
For the best taste and texture, store your sugar snails in an airtight container at room temperature for up to 2 days. If you want to keep them for longer, transfer them to the fridge for up to 5 days; just ensure the container is well sealed to prevent them from drying out.
What should I do if my sugar snails turn out dry?
If your sugar snails are dry, it may be due to too much flour or overbaking. Always measure your flour carefully and keep an eye on them in the oven. It’s best to remove them as soon as they turn golden. For extra moisture, consider adding a simple glaze after baking, made from powdered sugar and a splash of milk.
Are sugar snails safe for pets?
While sugar snails are delicious for humans, they contain ingredients like sugar and butter which aren’t great for pets. It’s best to keep it as a treat just for yourself and your guests!
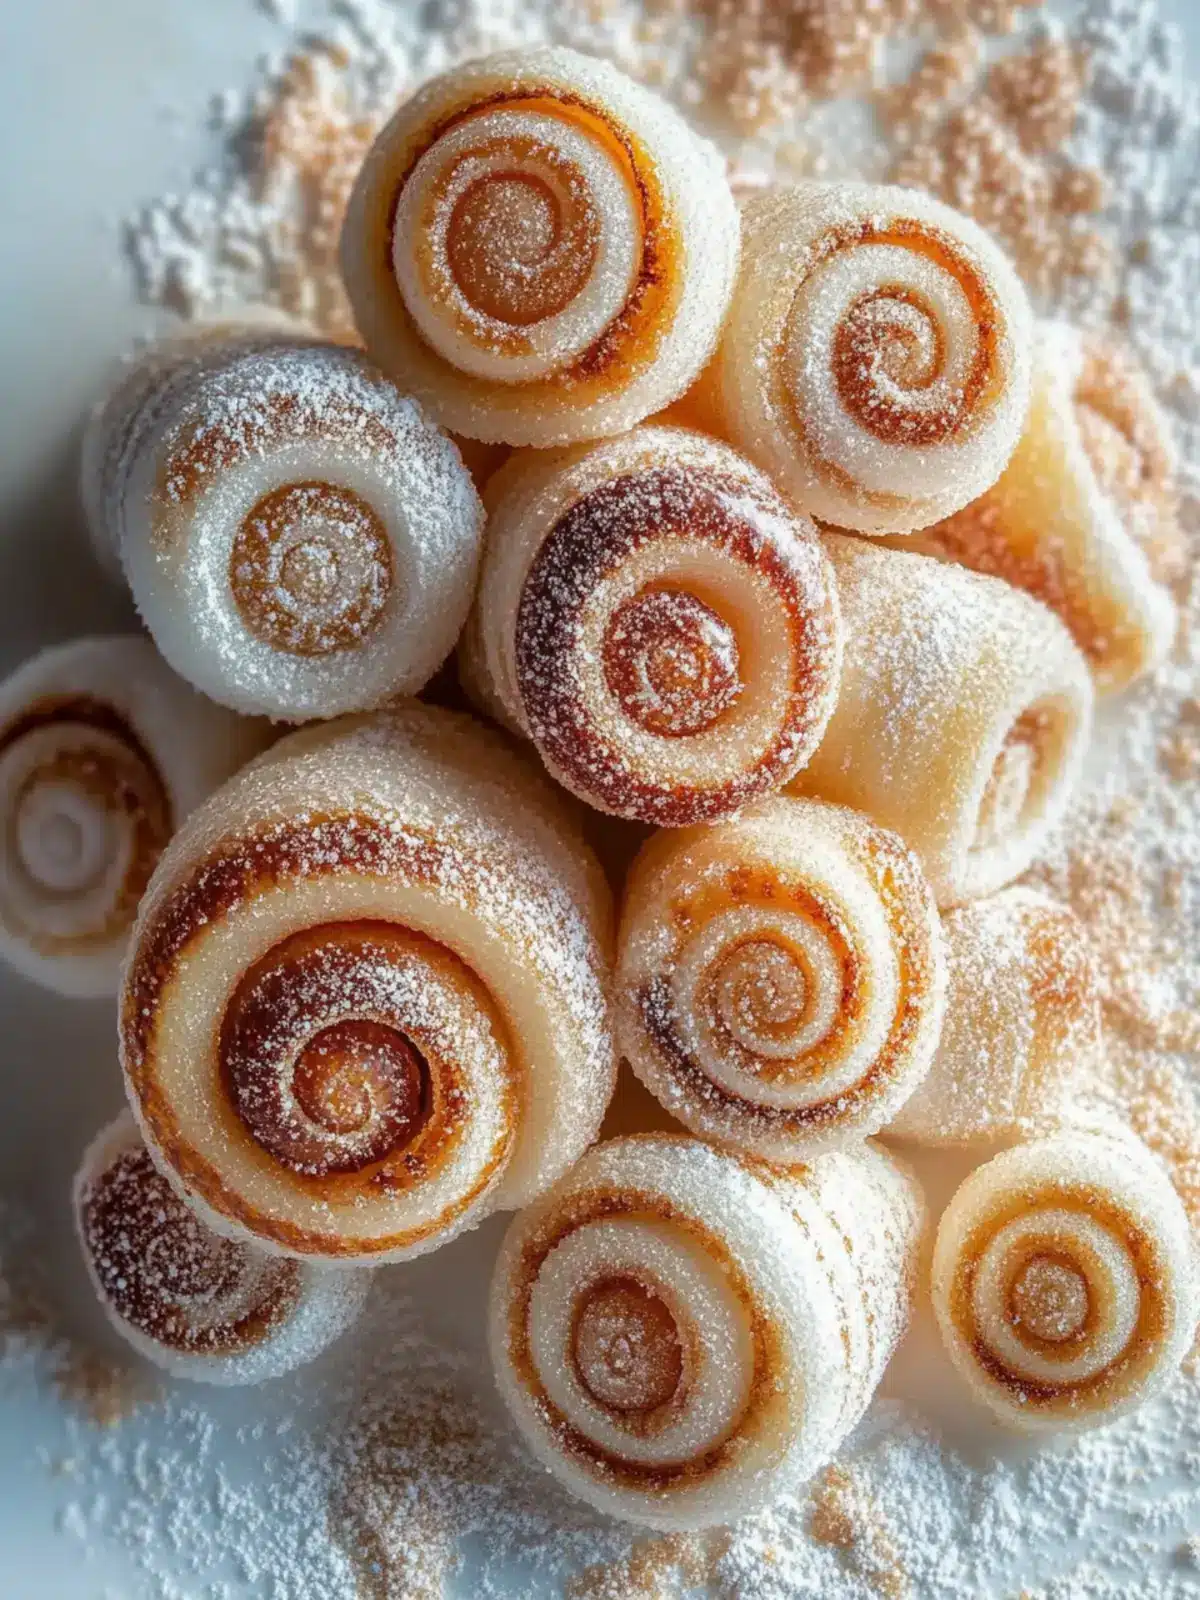
Melt-in-Your-Mouth Sugar Snails: A Sweet Twist on Baking
Ingredients
Equipment
Method
- Prepare the Dough: Warm the milk until it's just warm to the touch. Then, mix it with the yeast and a teaspoon of sugar; let it sit until foamy—about 5-10 minutes.
- Combine Ingredients: Add the remaining sugar, egg, melted butter, salt, and flour to the yeast mixture. Stir until a soft, slightly tacky dough forms.
- Knead the Dough: Knead the dough by hand or with a mixer for 8-10 minutes until smooth and elastic.
- First Rise: Place the dough in a greased bowl, cover with a towel, and let it rise in a warm spot until it doubles in size, about 1 to 1.5 hours.
- Roll Out: Once risen, roll the dough into a large rectangle on a floured surface.
- Add Filling: Spread softened butter across the dough and sprinkle generously with granulated sugar.
- Shape the Snails: Roll the dough tightly from the long side and slice it into even pieces.
- Second Rise: Place the snails in a baking dish, cover, and let them rise until puffy, about 30-45 minutes.
- Bake: Preheat your oven to 350°F (175°C) and bake the sugar snails for 20-25 minutes until golden.
- Cool Slightly: Let the baked snails rest for about 10 minutes before serving.