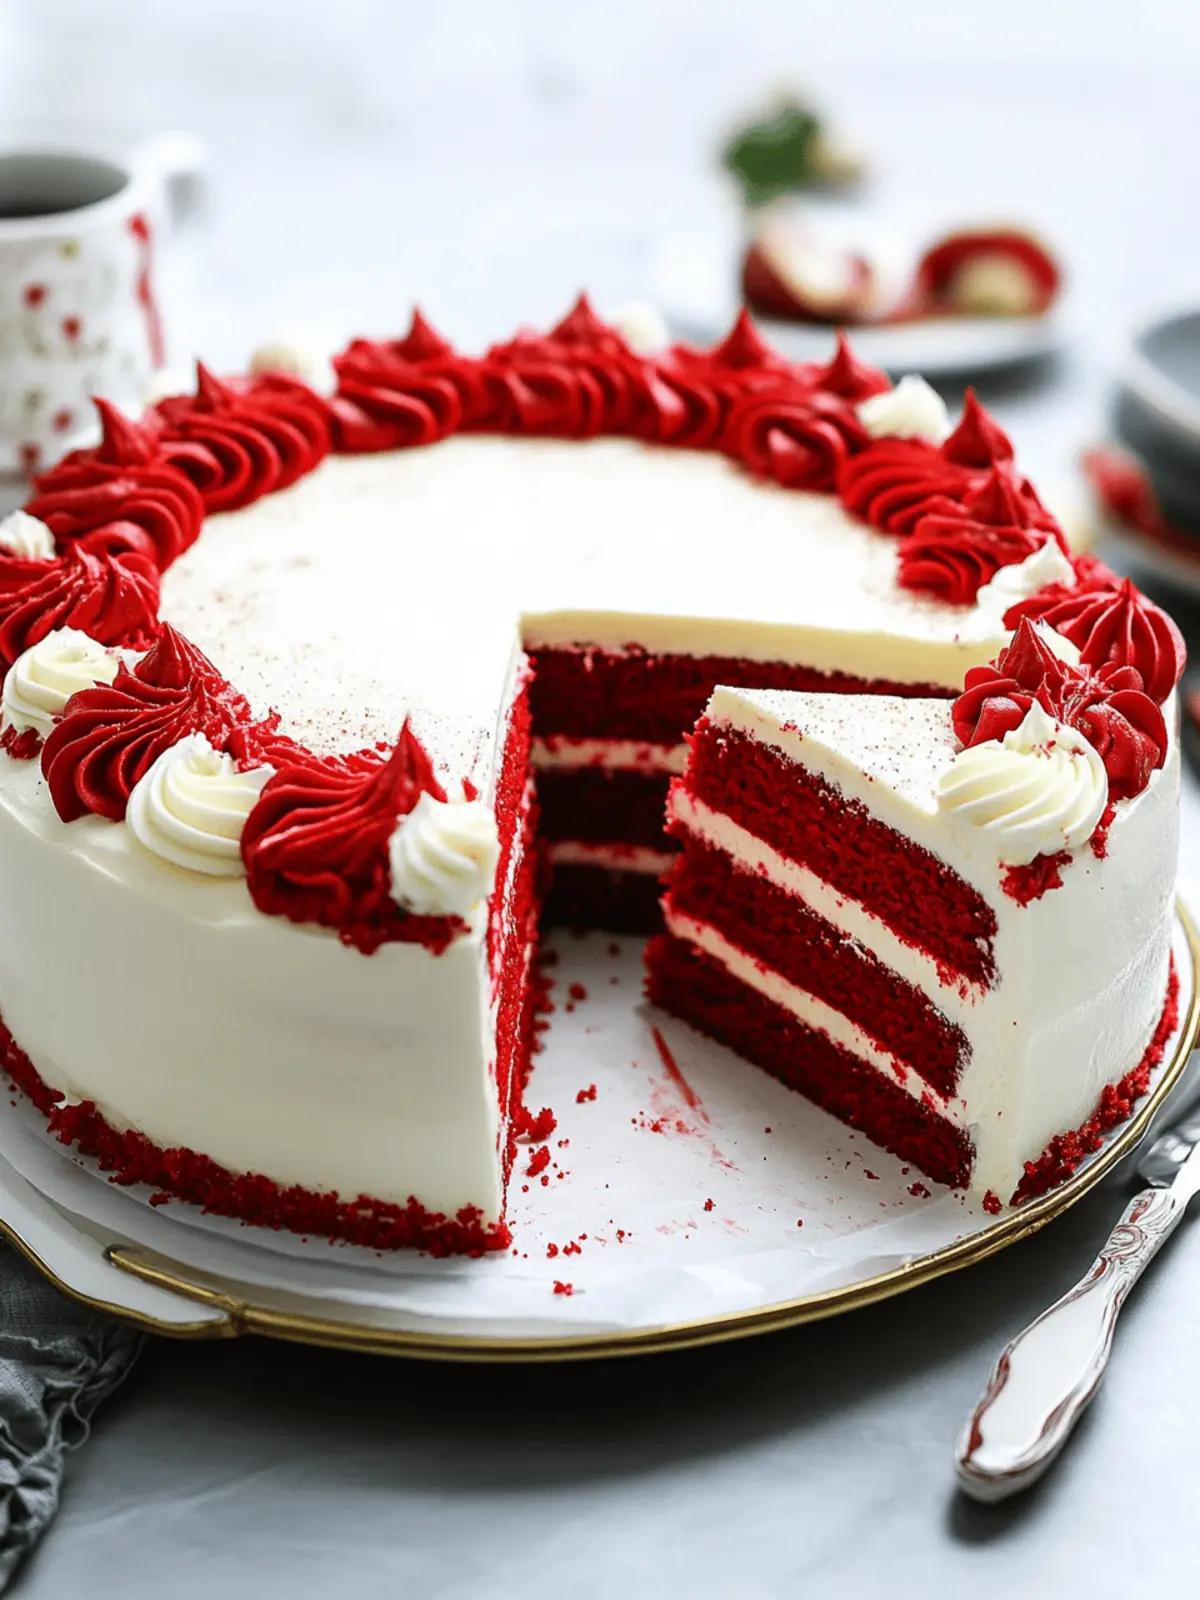
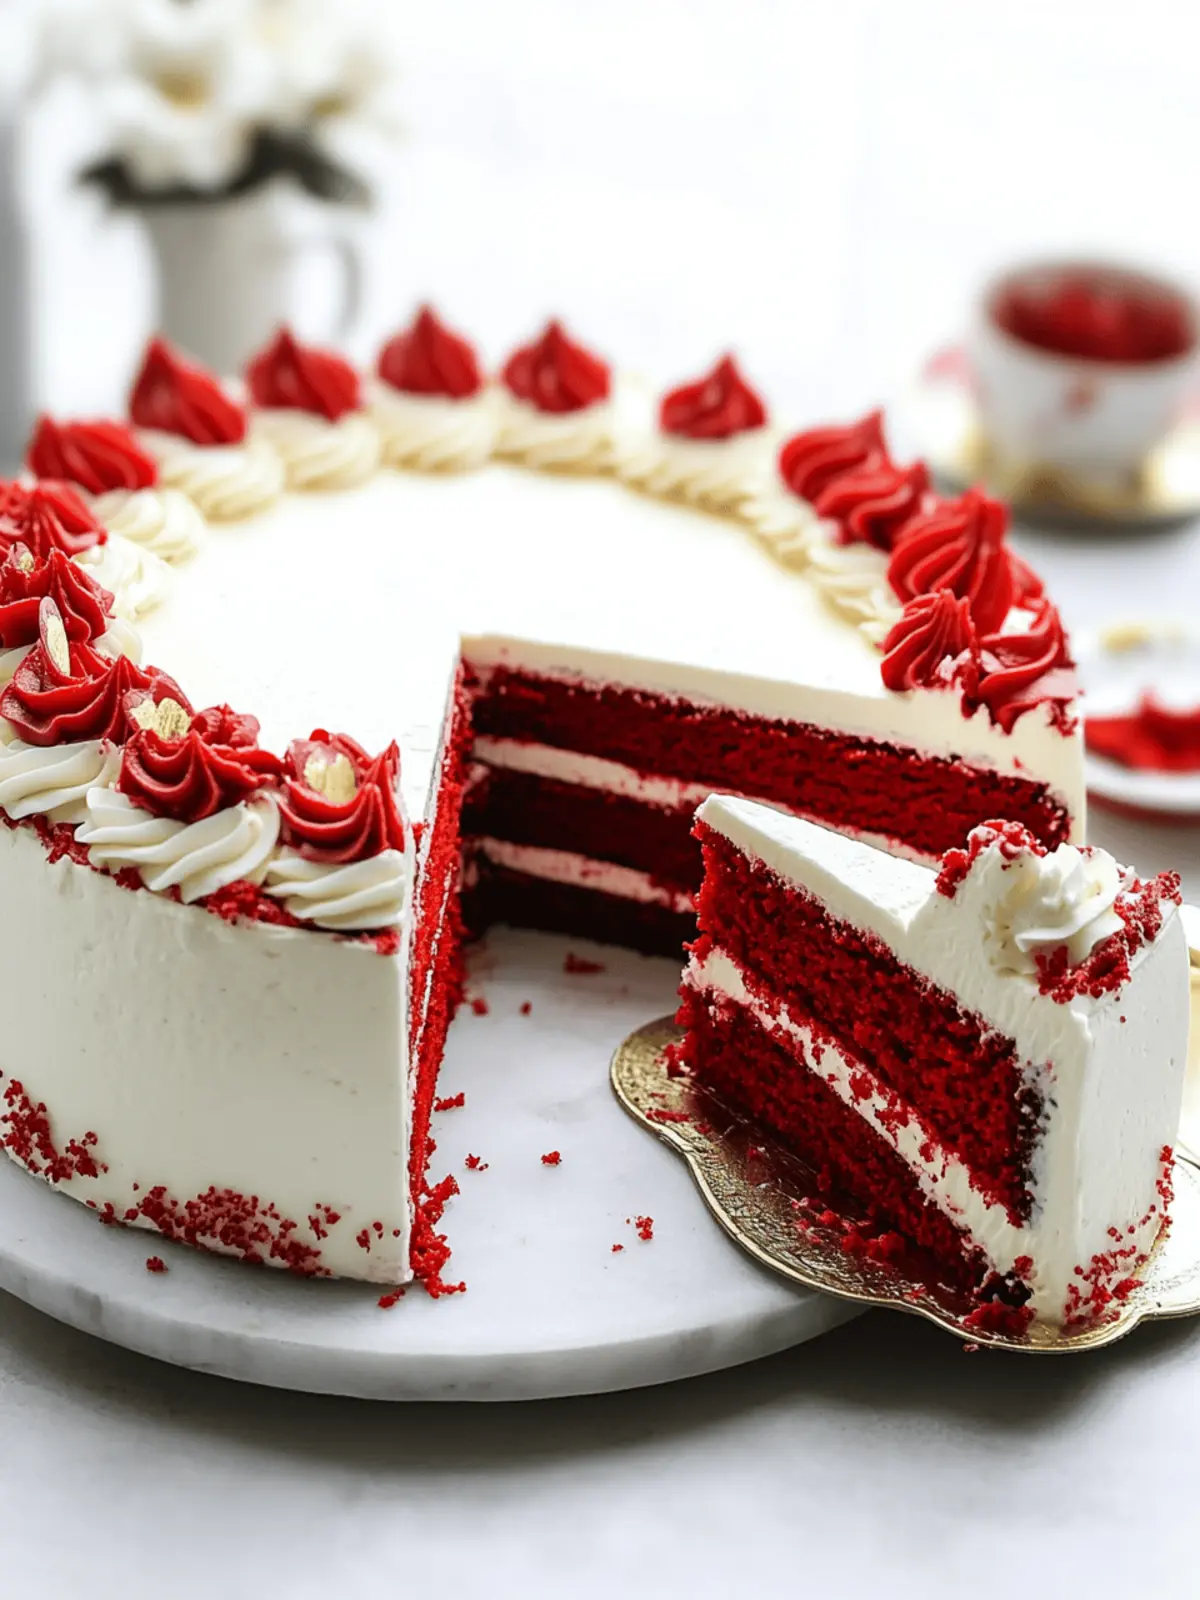
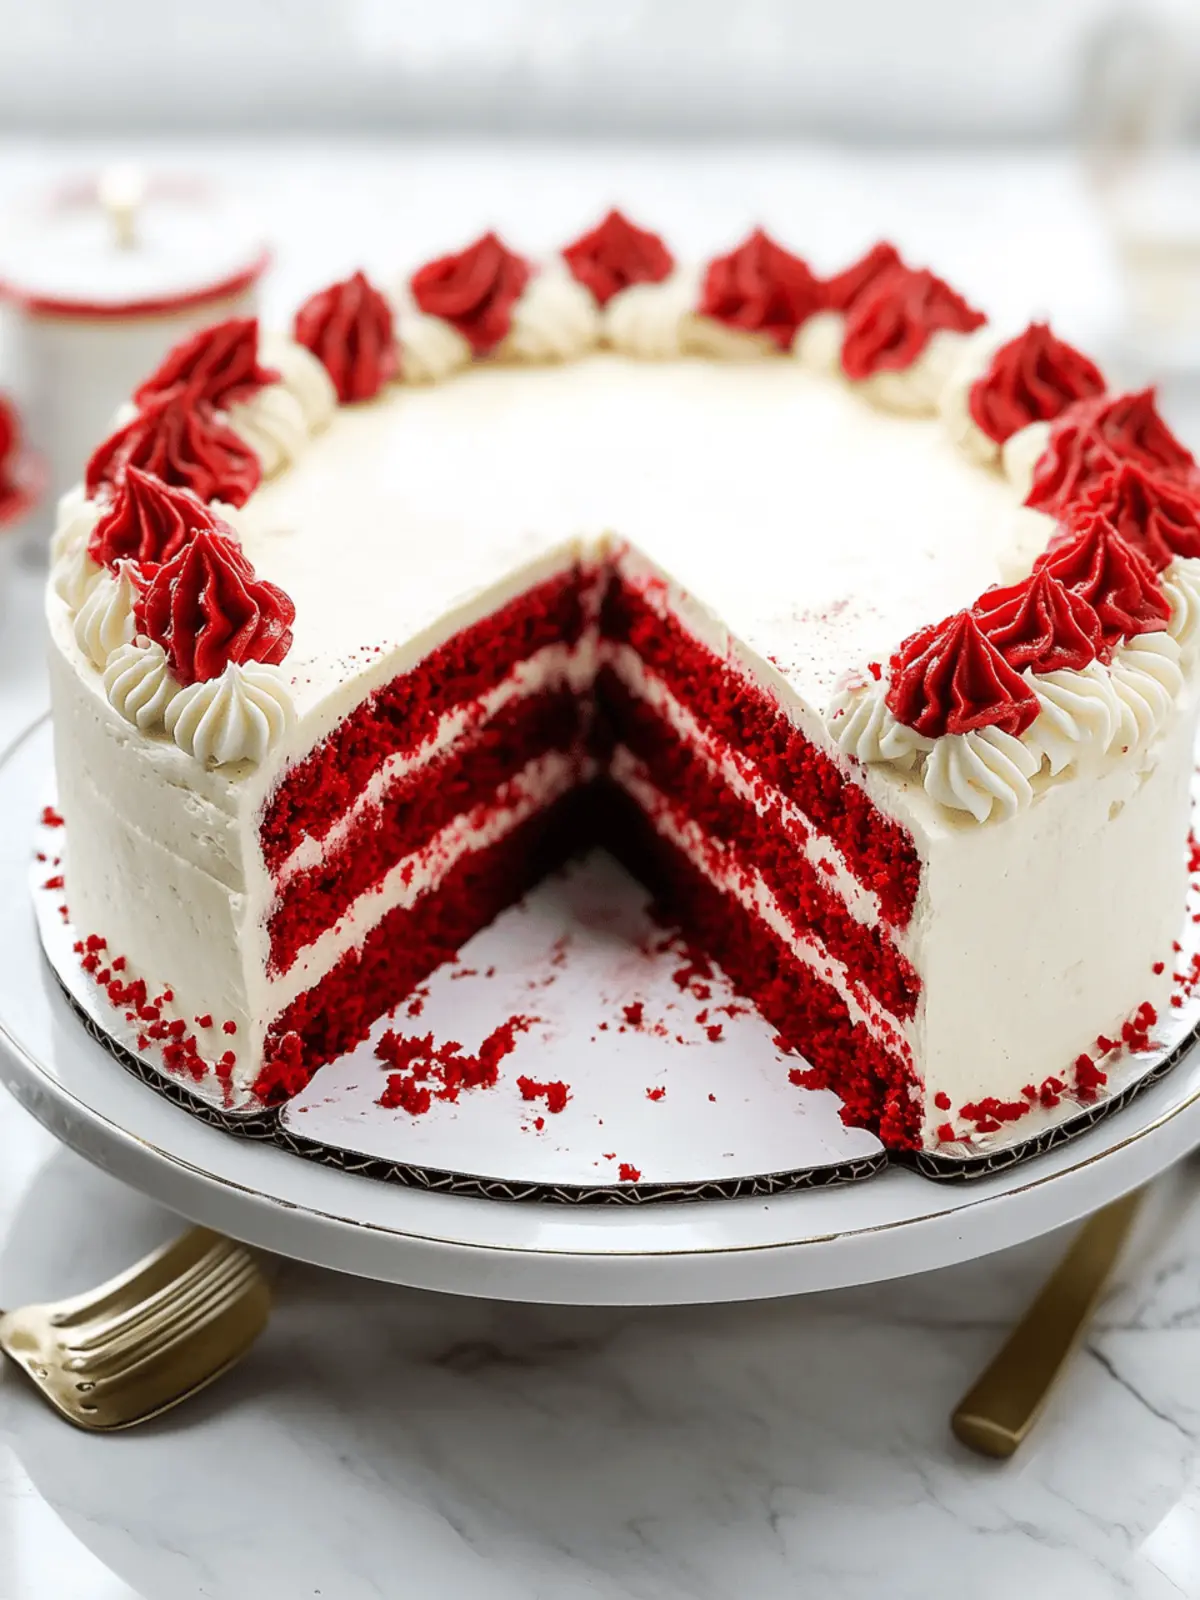
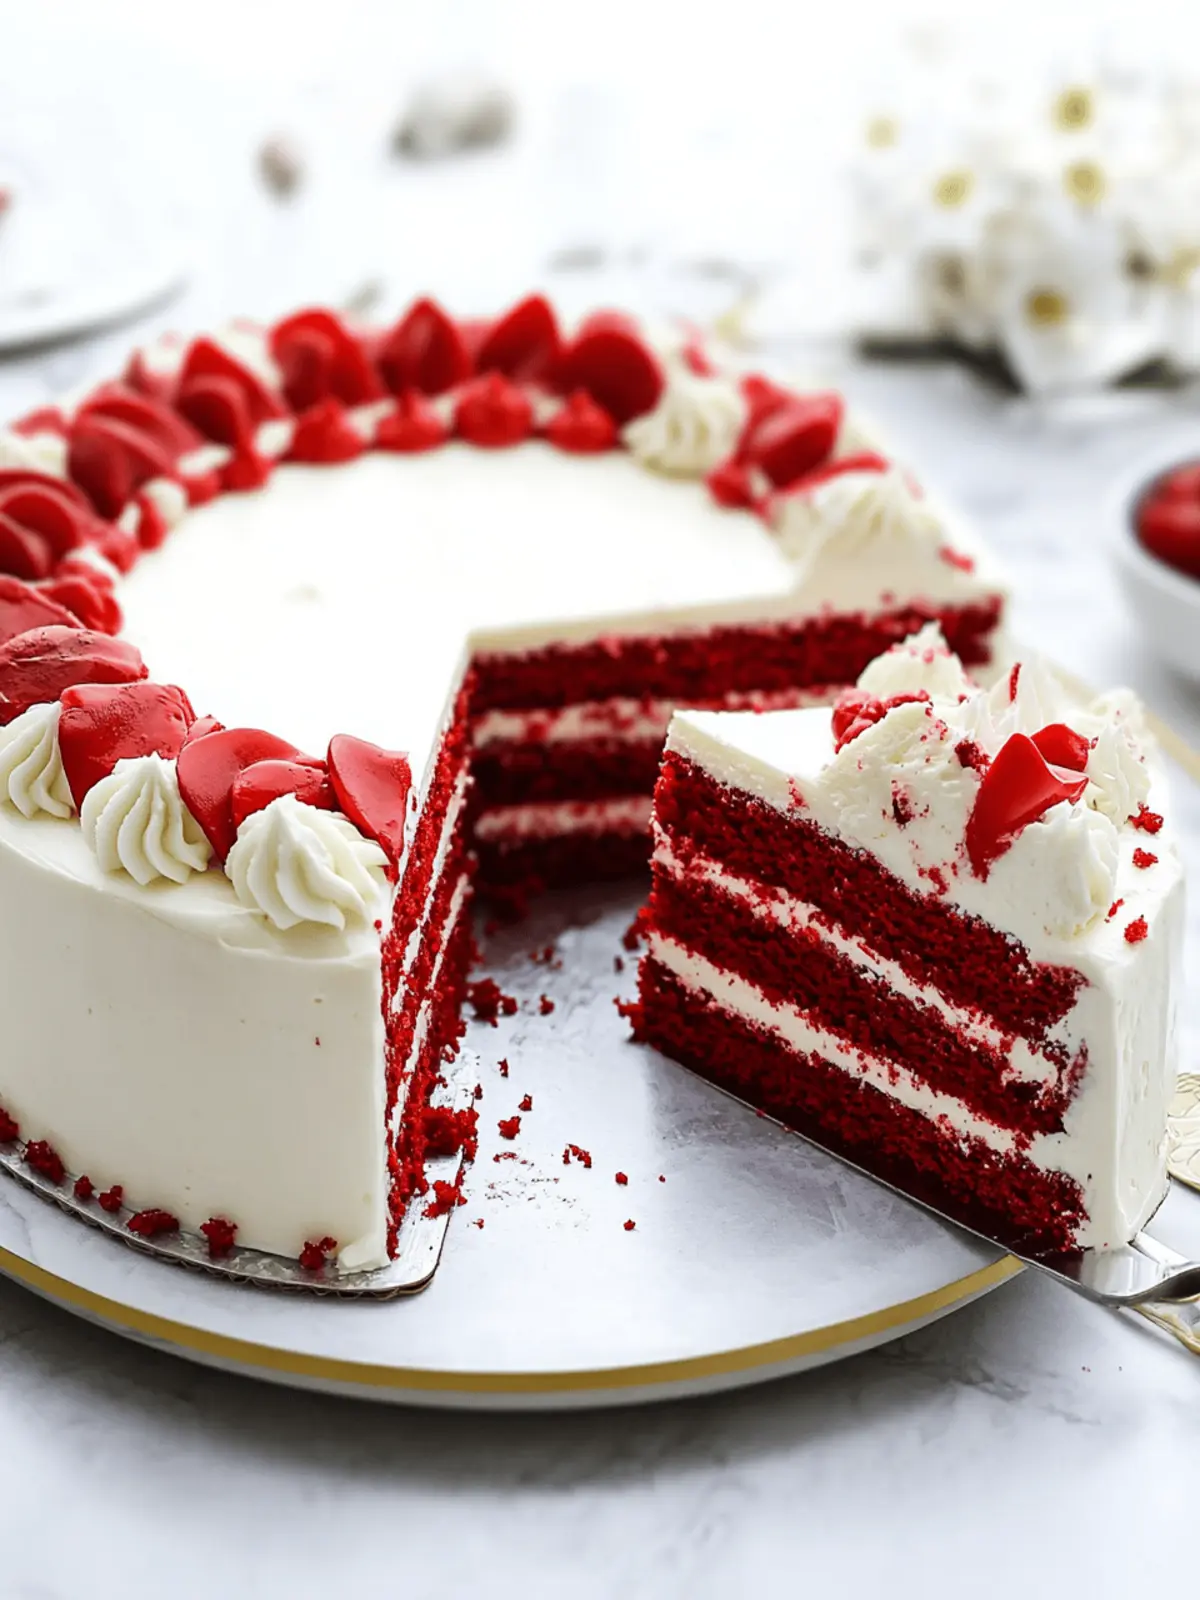
There’s something irresistibly enchanting about a dessert that brings joy and festivity to any gathering, and this no-bake red velvet cake does just that! Picture this: a rich, velvety cake without ever having to turn on your oven. The vibrant red hue paired with the creamy topping creates an eye-catching centerpiece that’s as delightful to look at as it is to eat.
I first whipped up this indulgent treat after a friend suggested we gather to celebrate one of life’s little victories—it’s perfect for those moments when you want to impress without the hassle. Its fluffy, moist texture and luscious layers have turned countless ordinary nights into celebratory feasts!
As we dive into this easy recipe, you’ll find it’s not only a feast for the senses, but it’s also an effortless way to bring warmth and sweetness to your table. So, let’s get started on crafting this no-bake wonder that everyone will adore!
Why is this red velvet cake a must-try?
Decadent Delight: The no-bake red velvet cake combines rich flavors without the need for an oven, perfect for any cook!
Festive Appeal: Its stunning red color and creamy layers make it an eye-catching centerpiece for celebrations.
Quick & Easy: Whip this up in no time, making it ideal for last-minute gatherings or just treating yourself at home.
Versatile Substitutions: With easy ingredient swaps, you can tailor it to fit your dietary needs or preferences.
Crowd-Pleasing Flavor: This cake has a fluffy texture that leaves everyone craving a slice, making it great for family and friends!
No-Bake Red Velvet Cake Ingredients
For the Cake Base
- Kristalsuiker – Provides sweetness; substitute with granulated sugar or coconut sugar for a unique taste.
- Vanillesuiker – Adds vanilla flavor; can be replaced with 1 tsp of vanilla extract per packet.
- Zout – Enhances sweetness; crucial for achieving balanced flavors.
- Zonnebloemolie – A moisture and fat source; swap with vegetable oil or melted coconut oil if preferred.
- Karnemelk – Offers moisture and tanginess; can be substituted with buttermilk or almond milk mixed with vinegar.
- Rode kleurstof gel – Gives the cake its signature red color; gel is recommended for vibrant results over liquid food coloring.
- Bloem (patentbloem) – The main structure provider; all-purpose flour can be used as an alternative.
- Cacaopoeder – Contributes chocolate flavor and color; unsweetened cocoa powder works as a suitable substitute.
- Baking soda – Acts as a leavening agent to help the cake rise; ensure it’s fresh for optimal results.
- Azijn – Activates baking soda; white vinegar or lemon juice can be used in its place.
For the Cream Layer
- Mascarpone – Forms the rich, creamy layer; consider cream cheese for a tangy twist.
- Klopfix – Stabilizes whipped cream; can be omitted if using heavy whipping cream.
- Ongeklopte slagroom – Provides a light, airy topping; heavy cream or a vegan alternative will also work.
This luscious no-bake red velvet cake is not just a treat for the eyes; it’s brimming with flavor and moistness that will wow your guests and leave them wanting more!
How to Make No-Bake Red Velvet Cake
-
Mix the Batters: In a deep bowl, whisk together eggs, kristalsuiker, vanillesuiker, and zout until the mixture becomes a light yellow. This step is crucial for achieving a fluffy texture.
-
Combine Wet Ingredients: Add zonnebloemolie, karnemelk, and rode kleurstof gel to your egg mixture. Mix for about 30 seconds until everything is well blended.
-
Sift and Blend: Sift in bloem and cacaopoeder. Stir gently until smooth, ensuring no lumps remain; a perfect blend is key to a silky cake.
-
Activate Baking Soda: In a small bowl, combine baking soda and azijn. Add this bubbly mix to your batter and fold gently. This creates the right lift for your cake.
-
Divide the Batter: Carefully divide the batter into three equal parts, weighing approximately 280g each. This ensures even cooking and layering of the cakes.
-
Cook the Layers: Heat a non-stick frying pan over medium heat (induction level 5) and line it with baking paper. Cook each part of the batter covered for 7-10 minutes until set and a skewer comes out clean. Repeat for all layers.
-
Cool Completely: Allow the cakes to cool in the pan completely before transferring, as this prevents breakage.
-
Prepare the Cream: In a separate bowl, whip together mascarpone with kristalsuiker, vanillesuiker, and klopfix until the mixture is smooth and creamy; this is the delicious filling.
-
Fold in Whipped Cream: Gradually fold in the ongeklopte slagroom to your mascarpone mix until stiff peaks form, creating an airy texture for your frosting.
-
Layer and Frost: Place one cake layer on a cake board, spread a generous amount of cream mixture in between layers, and frost the top and sides. Finish with red velvet crumbs or fresh strawberries for a delightful decoration.
Optional: For an extra touch, drizzle a little chocolate sauce on top before serving.
Exact quantities are listed in the recipe card below.
Make Ahead Options
These no-bake red velvet cakes are an absolute gem for meal prep lovers! You can prepare the cake layers up to 24 hours in advance—just cook them, allow them to cool completely, and then refrigerate in an airtight container. The creamy mascarpone mixture can also be made ahead and stored in the fridge for up to 3 days; just keep it tightly covered to maintain its fluffy texture. When you’re ready to serve, assemble the cake by layering the chilled cake with the cream and frosting, then garnish as desired. This way, you’ll have a stunning dessert ready to impress your guests with minimal last-minute effort!
Red Velvet Cake Variations
Feel free to sprinkle your own creativity into this tasty treat, making it even more special and personalized!
-
Chocolate Chips: Fold in mini chocolate chips for a delightful surprise in every bite. The added chocolate flavor complements the red velvet beautifully.
-
Vegan Delight: Swap mascarpone for whipped coconut cream, and use a plant-based milk. This keeps the luscious texture while accommodating dietary needs.
-
Nutty Crunch: Replace fresh strawberries with crushed nuts, like walnuts or pecans, for a satisfying crunch that adds an interesting texture contrast.
-
Spicy Kick: Add a pinch of cayenne pepper to the batter for a surprising hint of heat. It might sound odd, but the warmth pairs surprisingly well with the sweetness!
-
Fruit Fusion: Layer the cake with a mix of berries, such as raspberries or blueberries, along with the frosting. This adds a fresh burst of flavor and a stunning visual appeal.
-
Flavored Frosting: Instead of plain cream cheese frosting, incorporate lemon zest or almond extract into the frosting for an exciting twist on classic flavors.
-
Layered Surprise: Create a trifle by alternating layers of the red velvet cake and cream with whipped cream, nuts, and berries in a large glass bowl for a dessert that’s as beautiful as it is delicious.
-
Sugar-Free Option: Use a sugar substitute to make the cake suitable for sugar-restricted diets while still satisfying a sweet tooth. Just ensure to adjust the liquid ingredients accordingly.
How to Store and Freeze Red Velvet Cake
Refrigerator: Store your no-bake red velvet cake in an airtight container for up to 3 days to keep it fresh and maintain its creamy texture.
Freezer: If you want to save it for later, freeze the cake wrapped tightly in plastic wrap and foil for up to 2 months. Thaw in the fridge overnight before serving.
Reheating: This cake is best enjoyed chilled, so there’s no need for reheating. Simply slice and serve straight from the fridge for the perfect experience.
Make-Ahead: Consider preparing the cake a day in advance; just avoid adding decorations until you’re ready to present it. This allows flavors to develop beautifully.
What to Serve with No-Bake Red Velvet Cake?
Elevate your dessert experience with delightful pairings that enhance the richness and flavor of your cake.
- Fresh Berries: The tartness of strawberries or raspberries cuts through the sweetness of the cake, creating a beautiful balance.
- Vanilla Ice Cream: A scoop of creamy ice cream adds an extra layer of indulgence, making each bite heavenly.
- Mint Chocolate Chip Ice Cream: The refreshing mint flavor pairs wonderfully with the red velvet, bringing a unique twist to your dessert spread.
- Coffee or Espresso: A warm cup of coffee or a shot of espresso complements the rich flavors and enhances the overall tasting experience.
- Chocolate Ganache Drizzle: A glossy chocolate glaze on top adds both decadence and a touch of elegance to your dessert presentation.
- Whipped Cream: Light, airy whipped cream on the side provides a creamy contrast to the cake’s texture, enhancing each morsel.
- Sparkling Wine: Sipping on a bubbly glass of sparkling wine introduces a celebratory essence, perfect for festive occasions.
- Lemon Sorbet: Its refreshing citrus flavor contrasts beautifully with the cake, cleansing the palate and exciting the taste buds.
- Chocolate-Covered Strawberries: They add a luxe touch, both in flavor and appearance, making your dessert table truly inviting.
- Creamy Cheesecake Squares: For those who love variety, serving small cheesecake portions alongside creates a pleasing range of textures and flavors.
Expert Tips for No-Bake Red Velvet Cake
-
Chill for Flavor: Refrigerate the cake overnight to allow the flavors to meld together, enhancing the overall taste and texture.
-
Avoid Sticking: Ensure your pan is well-greased before adding the batter. This will help prevent the delicate layers from sticking and breaking.
-
Egg Whisking: Mix the eggs until they achieve a pale yellow color; this technique incorporates air into the batter, ensuring a light and fluffy no-bake red velvet cake.
-
Smooth Cream Application: Use a spatula to evenly distribute the cream mixture between the layers and on top for a professional-looking finish that will impress your guests.
-
Layer Evenly: When dividing the batter, precise measurements are essential. Aim for about 280g per layer to ensure even cooking and a balanced cake structure.
No-Bake Red Velvet Cake Recipe FAQs
What type of red food coloring should I use?
I recommend using gel food coloring for the most vibrant results in your no-bake red velvet cake. Gel colors are more concentrated than liquid food coloring, so you’ll achieve that stunning deep red hue more effectively without altering the cake’s consistency.
How should I store my no-bake red velvet cake?
To store your cake, place it in an airtight container in the refrigerator. It will keep fresh for up to 3 days. If you’re planning to eat it later, ensure to store it properly to maintain that creamy texture and avoid any drying out.
Can I freeze the no-bake red velvet cake?
Absolutely! To freeze your cake, wrap it tightly in plastic wrap and then in aluminum foil. This double wrapping allows it to be stored for up to 2 months. When you’re ready to enjoy, just transfer it to the fridge to thaw overnight.
What should I do if the cake layers are too sticky?
If you encounter sticky layers, it likely means the pan wasn’t adequately greased or the layers didn’t cook long enough. Make sure to grease your baking paper well next time, and for the cooking time, check for doneness with a skewer. It should come out clean when the layers are ready.
Can I use a different frosting than mascarpone?
Yes! If you’re not a fan of mascarpone, you can easily use cream cheese for a similar taste or even whipped coconut cream for a vegan option. Each alternative will bring a unique flavor but remains deliciously creamy to complement your no-bake red velvet cake.
Is this recipe suitable for individuals with dairy allergies?
Absolutely! This no-bake red velvet cake can be made dairy-free by substituting the buttermilk with almond milk mixed with a bit of vinegar, and using coconut cream instead of mascarpone. Just ensure all other ingredients are dairy-free as well for a completely safe option.
No-Bake Red Velvet Cake for Effortless Festive Indulgence
Ingredients
Equipment
Method
- In a deep bowl, whisk together eggs, granulated sugar, vanilla extract, and salt until the mixture becomes a light yellow.
- Add vegetable oil, buttermilk, and red food coloring to your egg mixture. Mix for about 30 seconds until everything is well blended.
- Sift in flour and cocoa powder. Stir gently until smooth, ensuring no lumps remain.
- In a small bowl, combine baking soda and vinegar. Add this mix to your batter and fold gently.
- Carefully divide the batter into three equal parts, weighing approximately 280g each.
- Heat a non-stick frying pan over medium heat and line it with baking paper. Cook each part of the batter covered for 7-10 minutes until set.
- Allow the cakes to cool in the pan completely before transferring.
- In a separate bowl, whip together cream cheese, powdered sugar, and vanilla extract until smooth.
- Gradually fold in whipped cream until stiff peaks form.
- Layer one cake on a board, spread cream mixture in between layers, and frost the top and sides.

