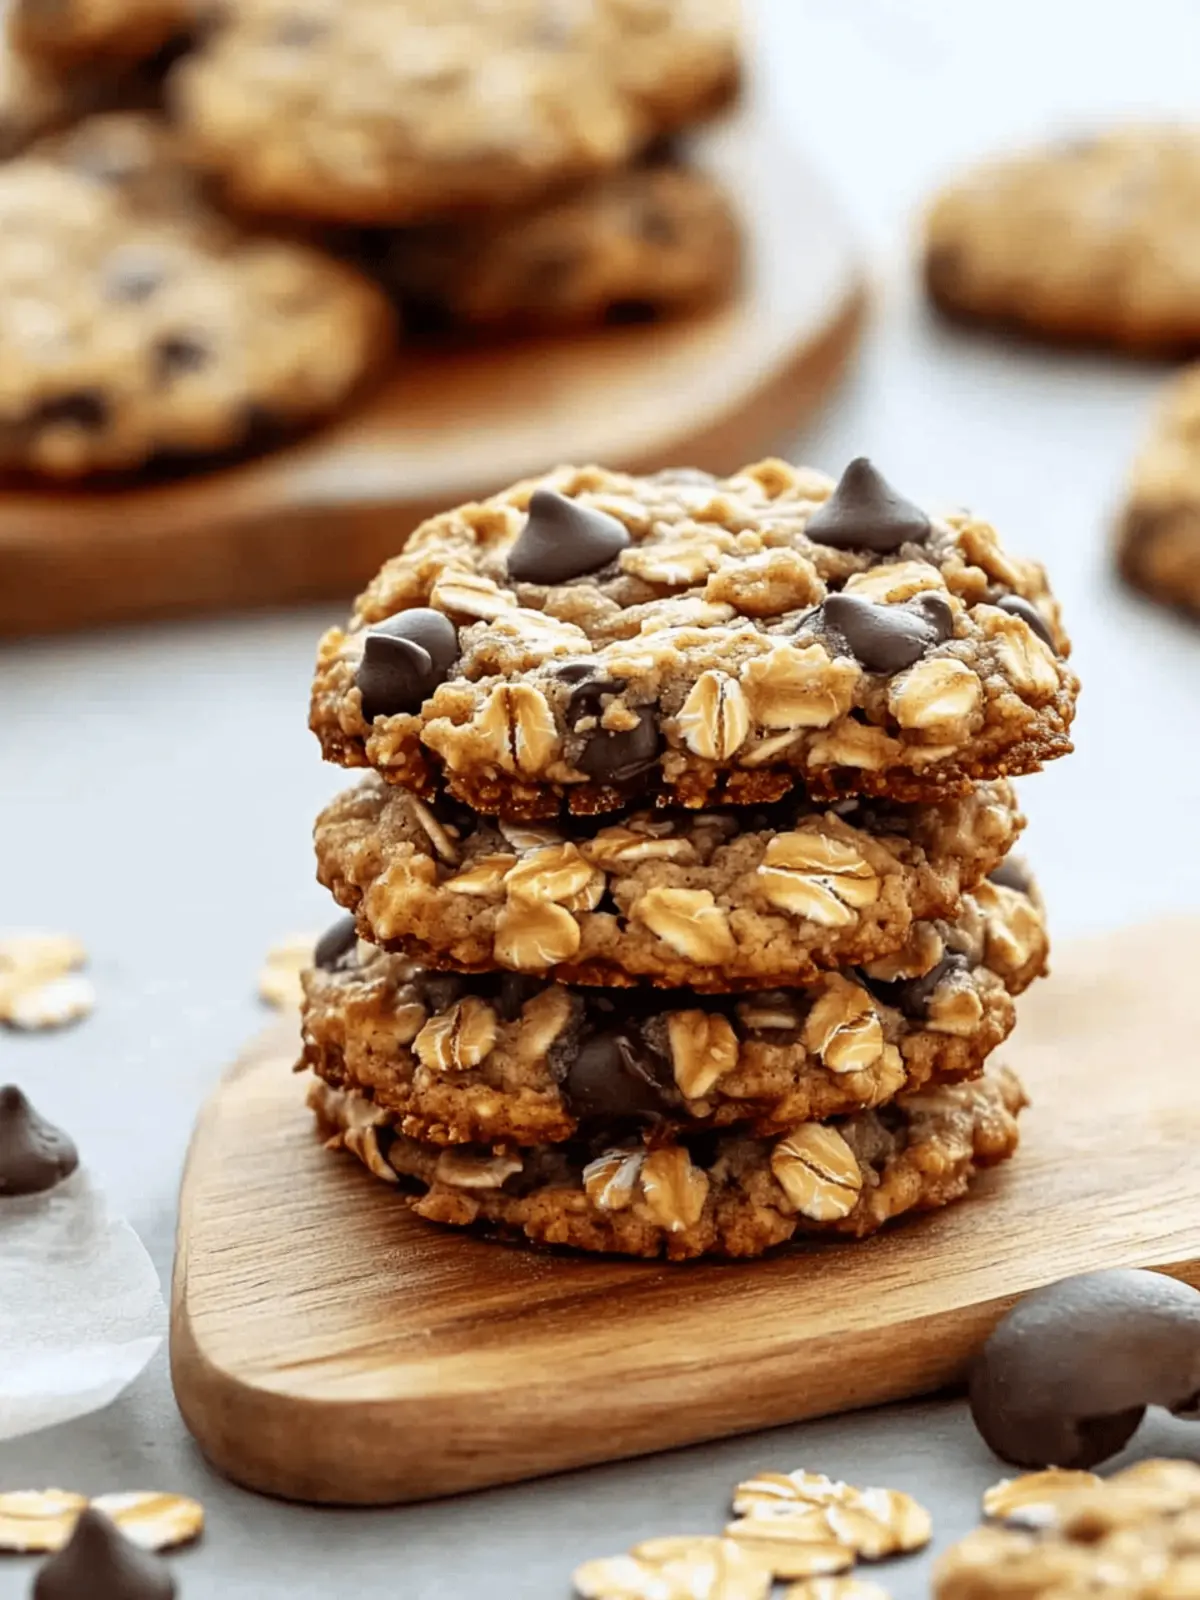
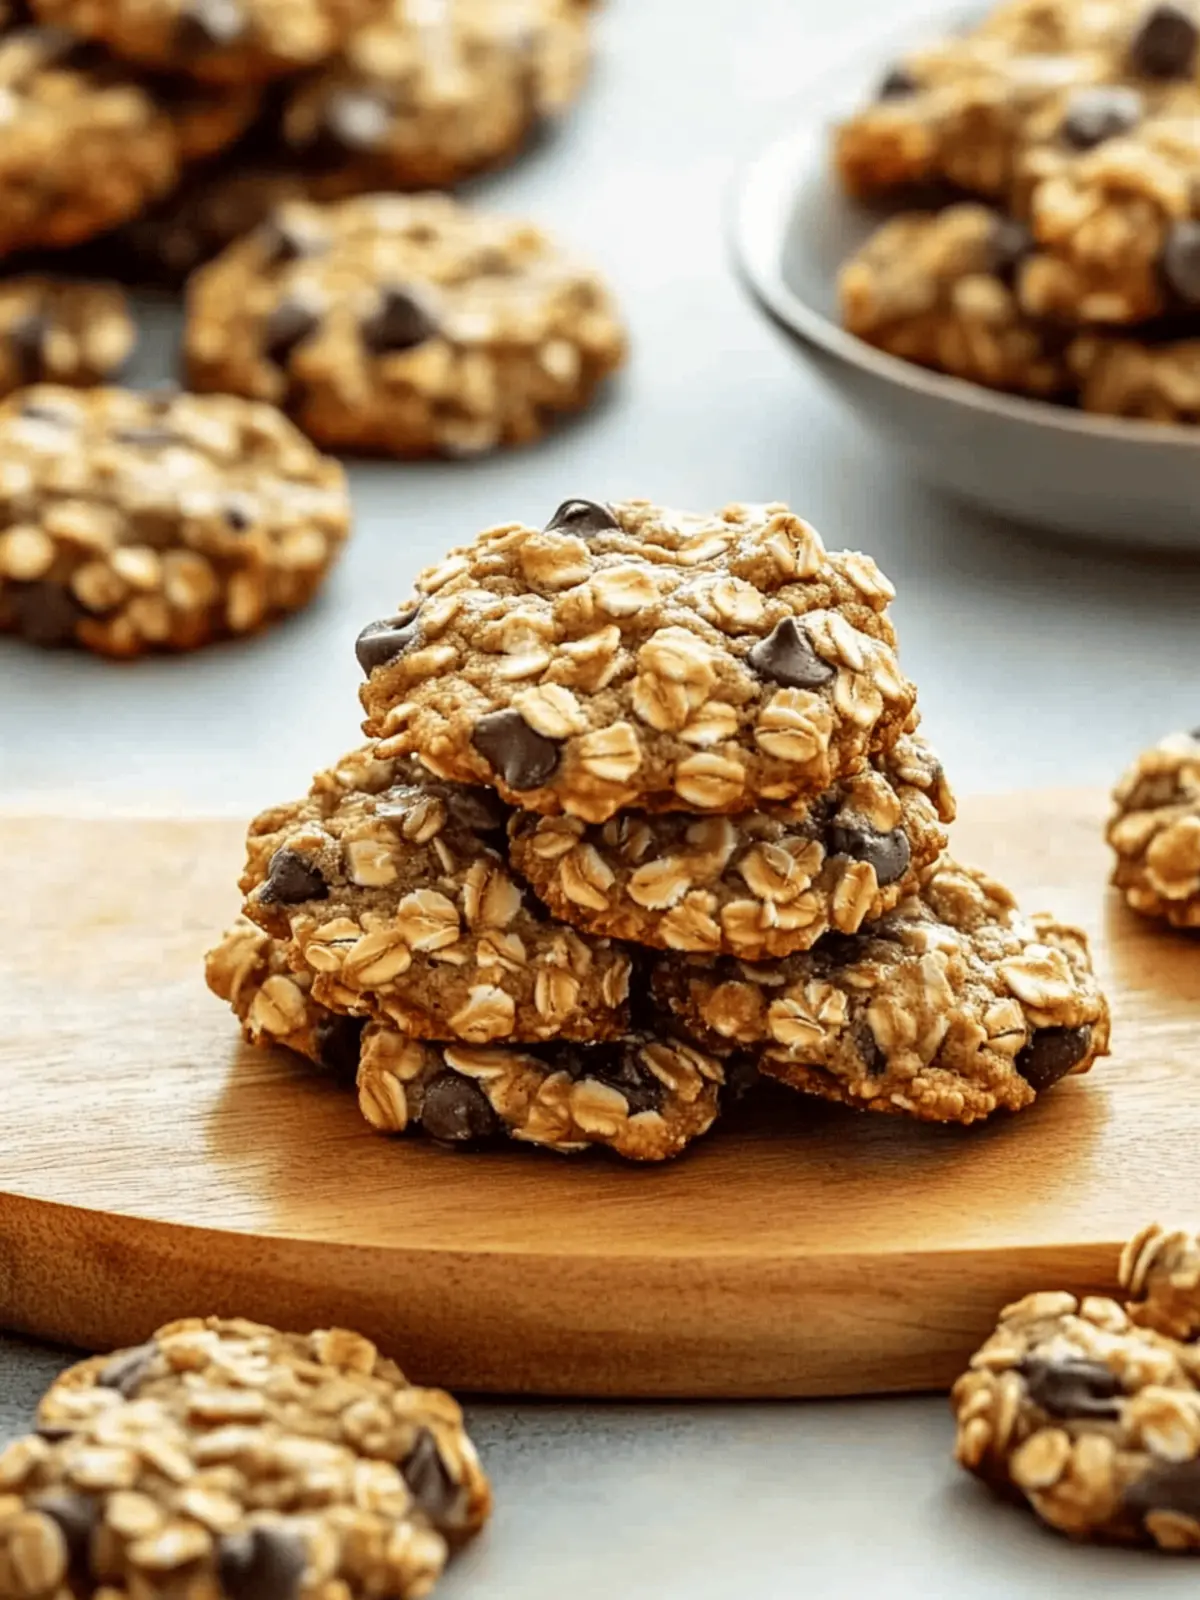
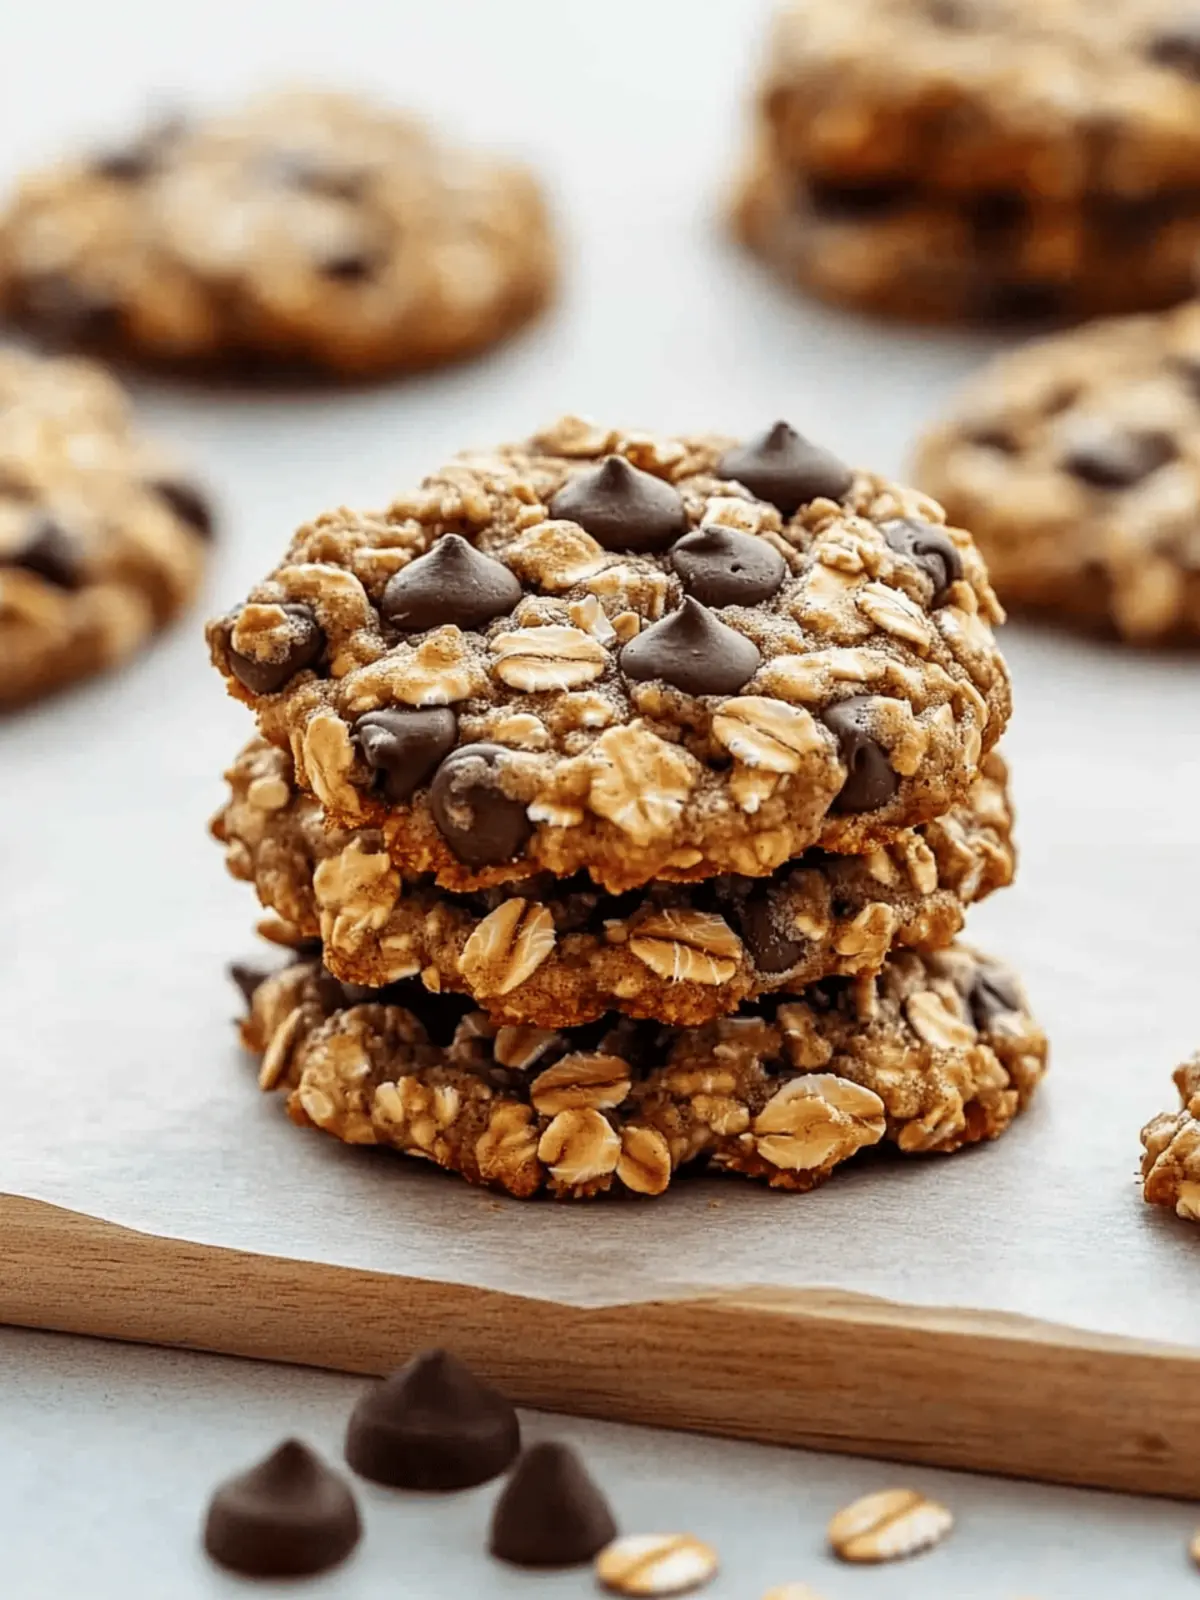
There’s something incredibly comforting about the scent of warm banana oatmeal cookies wafting through the kitchen, transporting me straight to my childhood. I remember weekends spent baking with my family, the sound of laughter mingling with the delicious aroma as these cookies baked in the oven. Now, it’s my turn to revive those memories in my home with a healthy twist.
These Healthy Banana Oatmeal Cookies not only cater to your sweet tooth but also offer a wholesome alternative to store-bought snacks. Made with simple, nutritious ingredients, they are perfect for busy days when you need a quick boost or a satisfying treat for the kids after school. With their chewy texture and hints of sweetness, they make for a delicious snack any time of day. Plus, the best part? You can whip them up in just a matter of minutes, making them a go-to recipe for anytime cravings! Let’s dive into this deliciously easy and guilt-free recipe.
Why will you love No-Bake Chocolate Peanut Butter Bars?
Irresistible flavor: A rich blend of peanut butter and chocolate creates a satisfying taste that will have everyone coming back for more.
No-bake simplicity: Say goodbye to baking fuss! Perfect for beginners or busy chefs wanting a quick dessert fix.
Nutritious energy: Packed with high protein, these bars are the ideal post-workout snack or midday pick-me-up.
Versatile ingredients: Customize with your favorite mix-ins like nuts or dried fruit, or try different syrups for a unique twist.
Crowd-pleaser: Whether you’re hosting a gathering or needing a snack for the kids, these bars are sure to impress!
For more on quick treats that are loaded with flavor, check out my delicious Healthy Banana Oatmeal Cookies!
Ingredients for No-Bake Chocolate Peanut Butter Bars
-
For the Base
-
Peanut Butter – Use natural peanut butter for a healthier option that adds creamy richness.
-
Honey (or Maple Syrup) – Acts as a binding agent and provides just the right amount of sweetness; substitute with maple syrup for a vegan choice.
-
Rolled Oats – These give the bars structure and fiber; feel free to swap with gluten-free oats to keep them gluten-free.
-
Cocoa Powder – Choose unsweetened cocoa for an intense chocolate flavor that elevates the bars.
-
For the Topping
-
Dark Chocolate Chips – A decadent topping that melts beautifully on the bars; you can opt for dairy-free chocolate chips for a vegan-friendly variation.
-
Optional Boost
-
Protein Powder – If you want an extra protein punch, add your favorite flavor; it can also be omitted if you prefer a non-protein version.
These No-Bake Chocolate Peanut Butter Bars are not just delicious but also provide a wonderful source of nutrients, perfect for keeping your energy up throughout the day!
How to Make No-Bake Chocolate Peanut Butter Bars
-
Combine Ingredients: In a large mixing bowl, add your creamy peanut butter and honey. Stir them together until smooth and well combined, creating that delicious base for your bars.
-
Mix Dry Ingredients: Gently stir in the rolled oats, unsweetened cocoa powder, and protein powder (if you’re using it). Make sure all ingredients are fully mixed but don’t overdo it—the texture should remain chewy!
-
Press into Dish: Take the mixture and press it firmly into a lined 8×8 inch baking dish. Spread it evenly across the dish, smoothing the top with your spatula for a nice finish.
-
Melt Chocolate: In a microwave-safe bowl, melt the dark chocolate chips in short bursts of 20 seconds, stirring in between. Once melted, pour it over your pressed mixture and spread it evenly.
-
Chill to Set: Place your dish in the refrigerator for at least 1 hour to allow the bars to firm up nicely. Once set, you can easily cut them into squares.
-
Store Properly: Keep your delicious bars in an airtight container in the refrigerator. They’ll stay fresh and tasty for up to one week!
Optional: Top with a sprinkle of sea salt for an extra flavor kick!
Exact quantities are listed in the recipe card below.
Variations & Substitutions for No-Bake Chocolate Peanut Butter Bars
Feel free to get creative with these easy variations that will elevate your bars and cater to different tastes!
-
Almond Butter: Swap peanut butter for almond butter for a nutty flavor and a slightly different texture.
-
Dried Fruit: Add a handful of chopped dried fruits like cranberries or apricots for bursts of sweetness and chewiness.
-
Nut-Free: Use sunflower seed butter instead of peanut butter to make these bars nut-free, perfect for school snacks!
-
Vegan Option: Replace honey with agave syrup or maple syrup to keep your bars vegan and just as sweet.
-
Crunchy Twist: Fold in chopped nuts like walnuts or pecans for a satisfying crunch that adds a rich, nutty flavor.
-
Spiced Up: Incorporate a teaspoon of cinnamon or a pinch of cayenne for a warm or spicy note that contrasts with the chocolate.
-
Protein Boost: Try flavored protein powders such as chocolate or vanilla to give your bars an extra flavor dimension and nutrition.
-
Coconut Flakes: Mix in unsweetened shredded coconut for a tropical twist that pairs beautifully with chocolate and peanut butter.
How to Store and Freeze No-Bake Chocolate Peanut Butter Bars
Fridge: Store your no-bake chocolate peanut butter bars in an airtight container in the refrigerator for up to one week; this keeps them fresh and perfectly chewy.
Freezer: To extend their shelf life, freeze the bars wrapped tightly in plastic wrap and then placed in a freezer-safe bag; they can be stored for up to 3 months.
Thawing: When ready to enjoy, simply transfer the frozen bars to the fridge for a few hours or leave them at room temperature for about 30 minutes.
Reheating: For an extra treat, you can microwave the bars for about 10-15 seconds to soften the chocolate topping, making them even more indulgent!
Make Ahead Options
These No-Bake Chocolate Peanut Butter Bars are a dream for meal prep! You can prepare the base mixture up to 24 hours in advance by combining the peanut butter, honey, oats, cocoa powder, and any optional protein powder. Simply press it into the baking dish, cover, and refrigerate. To keep the bars fresh and delicious, store them in an airtight container in the refrigerator, where they will last for up to one week. When you’re ready to enjoy, melt the dark chocolate chips, pour them over your set base, and allow the bars to chill for a final hour. This means you can serve up a creamy, protein-packed snack with minimal effort on busy days!
Expert Tips for No-Bake Chocolate Peanut Butter Bars
-
Use Room Temperature Peanut Butter: Ensuring your peanut butter is at room temperature will make mixing easier, leading to a smoother consistency.
-
Avoid Overmixing: Be careful not to overmix when incorporating dry ingredients like oats and cocoa powder, as this can affect the chewy texture of your bars.
-
Parchment Paper Help: Lining your baking dish with parchment paper allows for easy removal of the bars. This makes cutting and serving a breeze!
-
Chill Properly: Make sure to refrigerate the bars for at least one hour to help them set. This step is crucial for achieving that perfect firm yet chewy bite.
-
Explore Variations: Feel free to swap the peanut butter for almond butter or add in your favorite mix-ins like nuts or dried fruit for a personalized touch.
These tips ensure your No-Bake Chocolate Peanut Butter Bars turn out perfectly every time!
What to Serve with No-Bake Chocolate Peanut Butter Bars?
Pairing these delightful no-bake treats with the right accompaniments can elevate your snacking experience to a new level of enjoyment.
-
Fresh Fruit Medley: A mix of berries or sliced bananas adds a refreshing contrast to the rich bars, balancing sweetness with acidity.
-
Greek Yogurt Dip: Serve alongside a creamy yogurt dip for a delicious, protein-packed pairing. Its tanginess complements the sweet, nutty bars beautifully.
-
Nutty Granola: Sprinkle some homemade or store-bought granola on top for an added crunch! The textures combine wonderfully, making every bite exciting.
-
Chocolate Milk: This classic pairing will satisfy the chocolate lover in you. The creamy texture and sweet flavor enhance the rich chocolate of the bars perfectly.
-
Coffee or Espresso: Pour yourself a cup! The warmth of coffee provides a delightful contrast to the cool, chewy bars, making it a cozy snack option.
-
Chia Seed Pudding: Serve them next to a light chia seed pudding for a healthful treat. The texture of the pudding beautifully counters the chewy bars, creating a satisfying mix.
-
Ice Cream Scoop: For a special treat, pair the bars with a scoop of vanilla or chocolate ice cream. The cold creaminess complements the rich flavors for a decadent dessert experience.
Feel free to mix and match these treats to create a fulfilling snack platter that everyone will adore!
No-Bake Chocolate Peanut Butter Bars Recipe FAQs
How do I choose the right peanut butter for this recipe?
Absolutely! I recommend using natural peanut butter, as it has no added sugars or oils. Look for a peanut butter that has only peanuts and salt in the ingredients for a healthier option. If you’re allergic to peanuts, consider almond or sunflower seed butter for a delightful twist.
How should I store leftover No-Bake Chocolate Peanut Butter Bars?
Store your bars in an airtight container in the refrigerator for up to one week. This keeps them fresh, chewy, and ready to be enjoyed whenever a sweet craving strikes! If you’re making a large batch, slice them up for easy grabbing on busy days.
Can I freeze No-Bake Chocolate Peanut Butter Bars, and how?
Very much so! To freeze them, wrap each bar tightly in plastic wrap and place them in a freezer-safe bag. This method helps avoid freezer burn. You can keep them frozen for up to 3 months. When you’re ready to eat, simply transfer them to the fridge for a few hours to thaw or leave at room temperature for approximately 30 minutes.
What can I do if my bars are too crumbly?
If your bars turn out crumbly, don’t worry! You can easily fix this by adding a little more peanut butter or honey to bring the mixture together. For future batches, make sure to press the mixture firmly into the dish; this helps create that chewy texture you’re aiming for. Also, ensure your dry ingredients are thoroughly mixed without overdoing it.
Are these bars safe for specific dietary needs, like allergies?
Yes! These No-Bake Chocolate Peanut Butter Bars can cater to various dietary preferences. If you have a nut allergy, you can substitute peanut butter with sunflower seed butter. For a vegan version, simply replace honey with maple syrup or agave syrup. Always run through the ingredient labels to make sure they meet your specific dietary needs!
How can I customize these bars to suit my taste?
You have plenty of options! Feel free to mix in chopped nuts, seeds, or dried fruits for added texture and flavor. If you’re looking to reduce sweetness, try using less honey or swapping out chocolate chips for unsweetened cocoa nibs instead. The more the merrier when it comes to creating the perfect energy-packed treat!
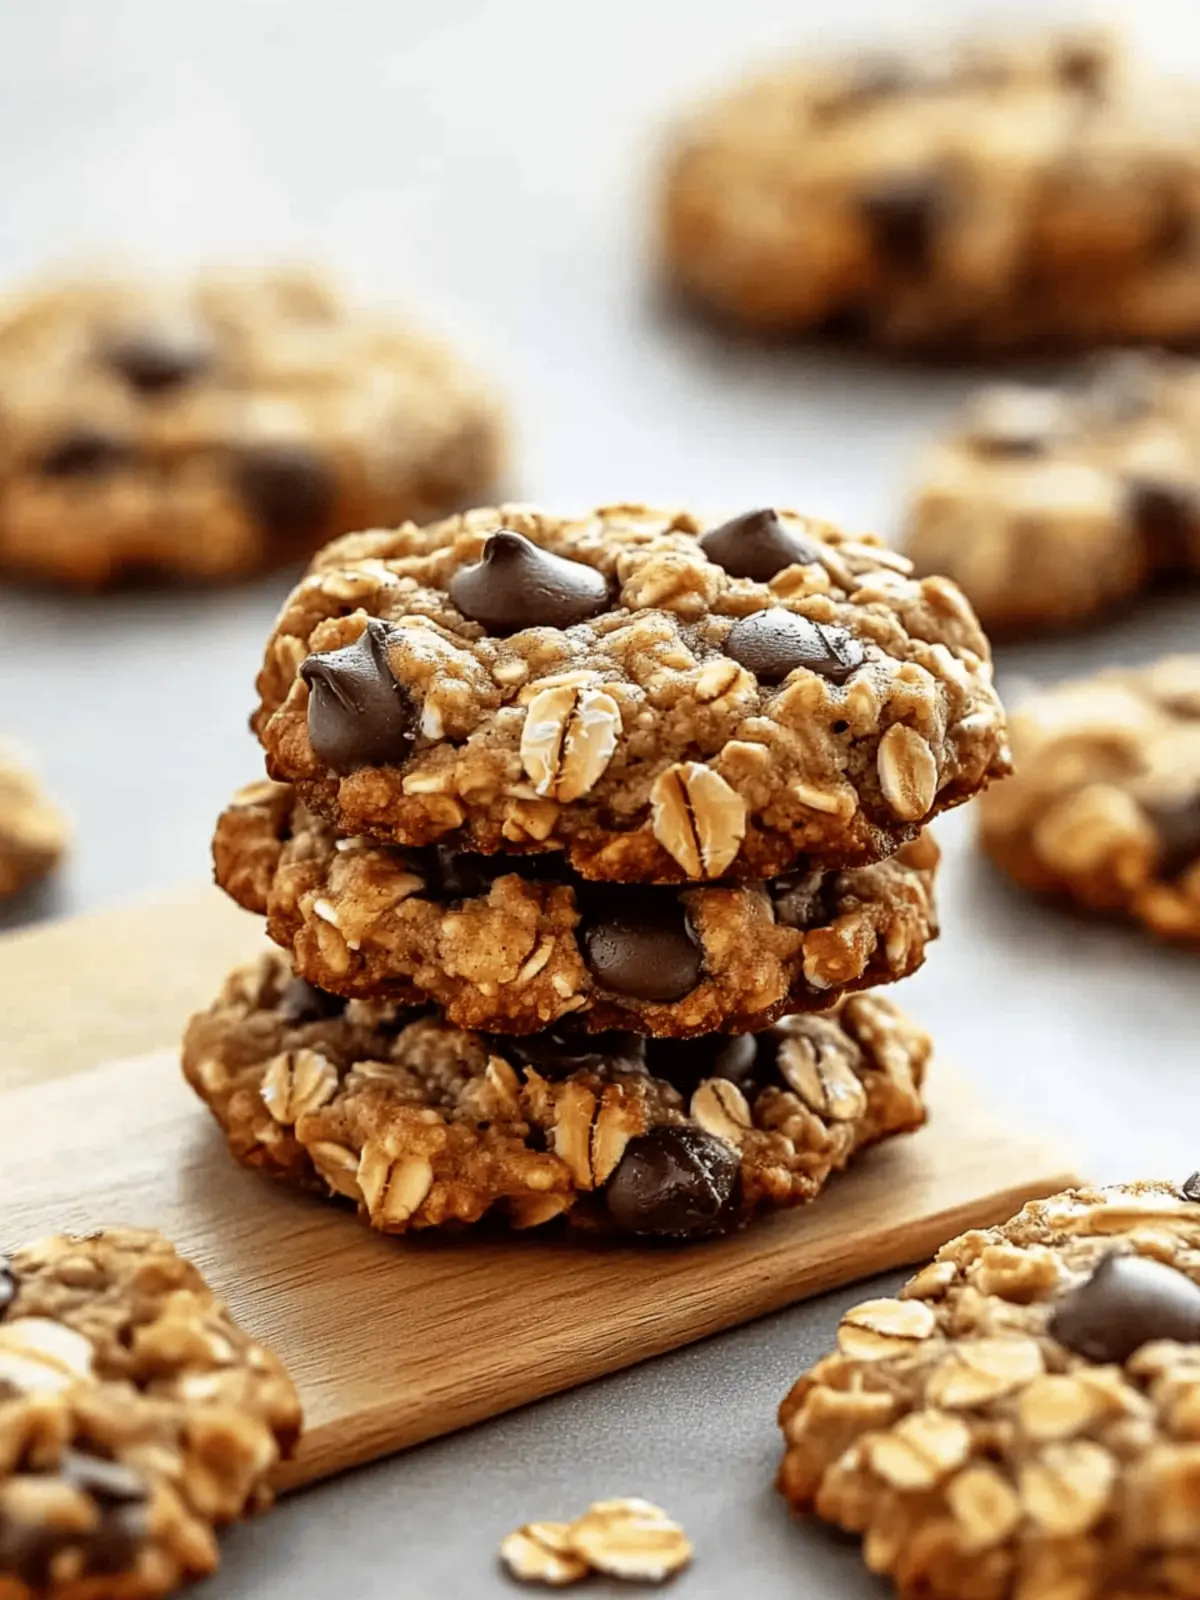
Healthy Banana Oatmeal Cookies That Will Wow Your Taste Buds
Ingredients
Equipment
Method
- Preheat your oven to 350°F (175°C).
- In a mixing bowl, mash the ripe bananas until smooth.
- Add the rolled oats, peanut butter, and honey to the bowl and mix until fully combined.
- Fold in the dark chocolate chips if using.
- Scoop spoonfuls of the mixture onto a baking sheet lined with parchment paper.
- Bake in the preheated oven for 10-12 minutes until golden brown.
- Allow to cool on a wire rack before serving.

