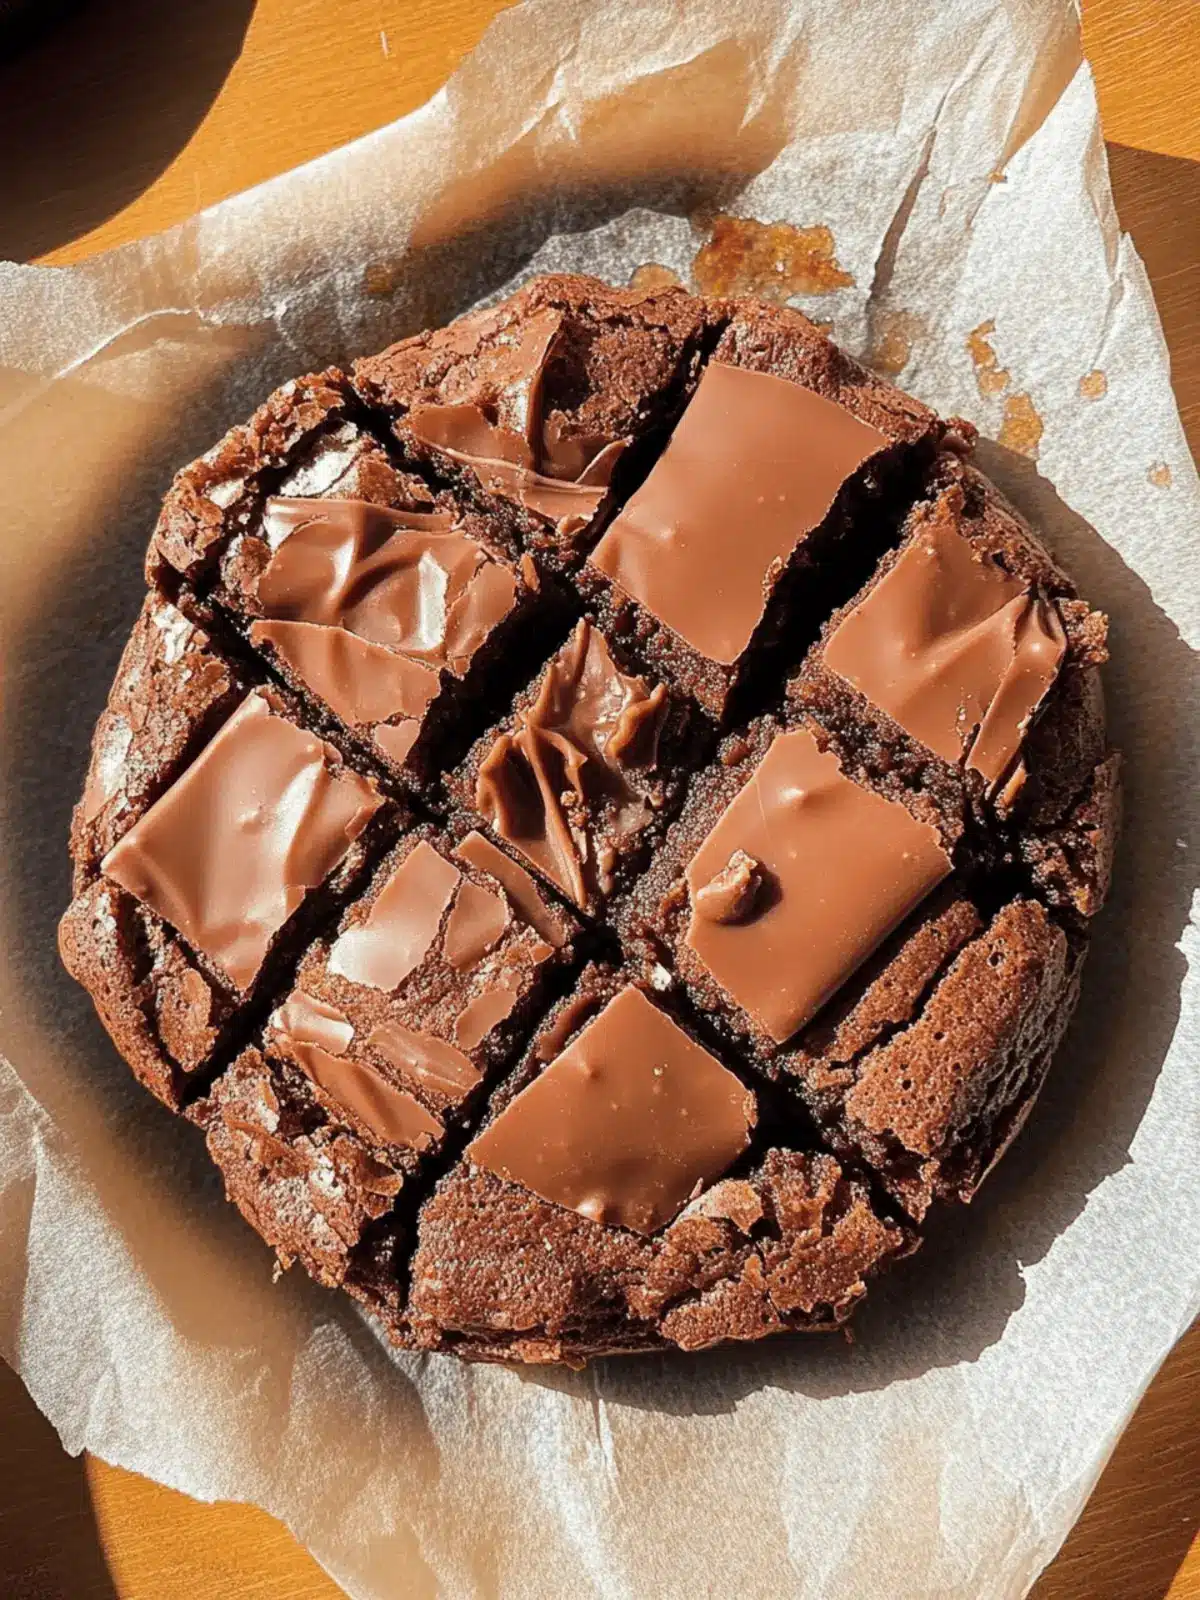
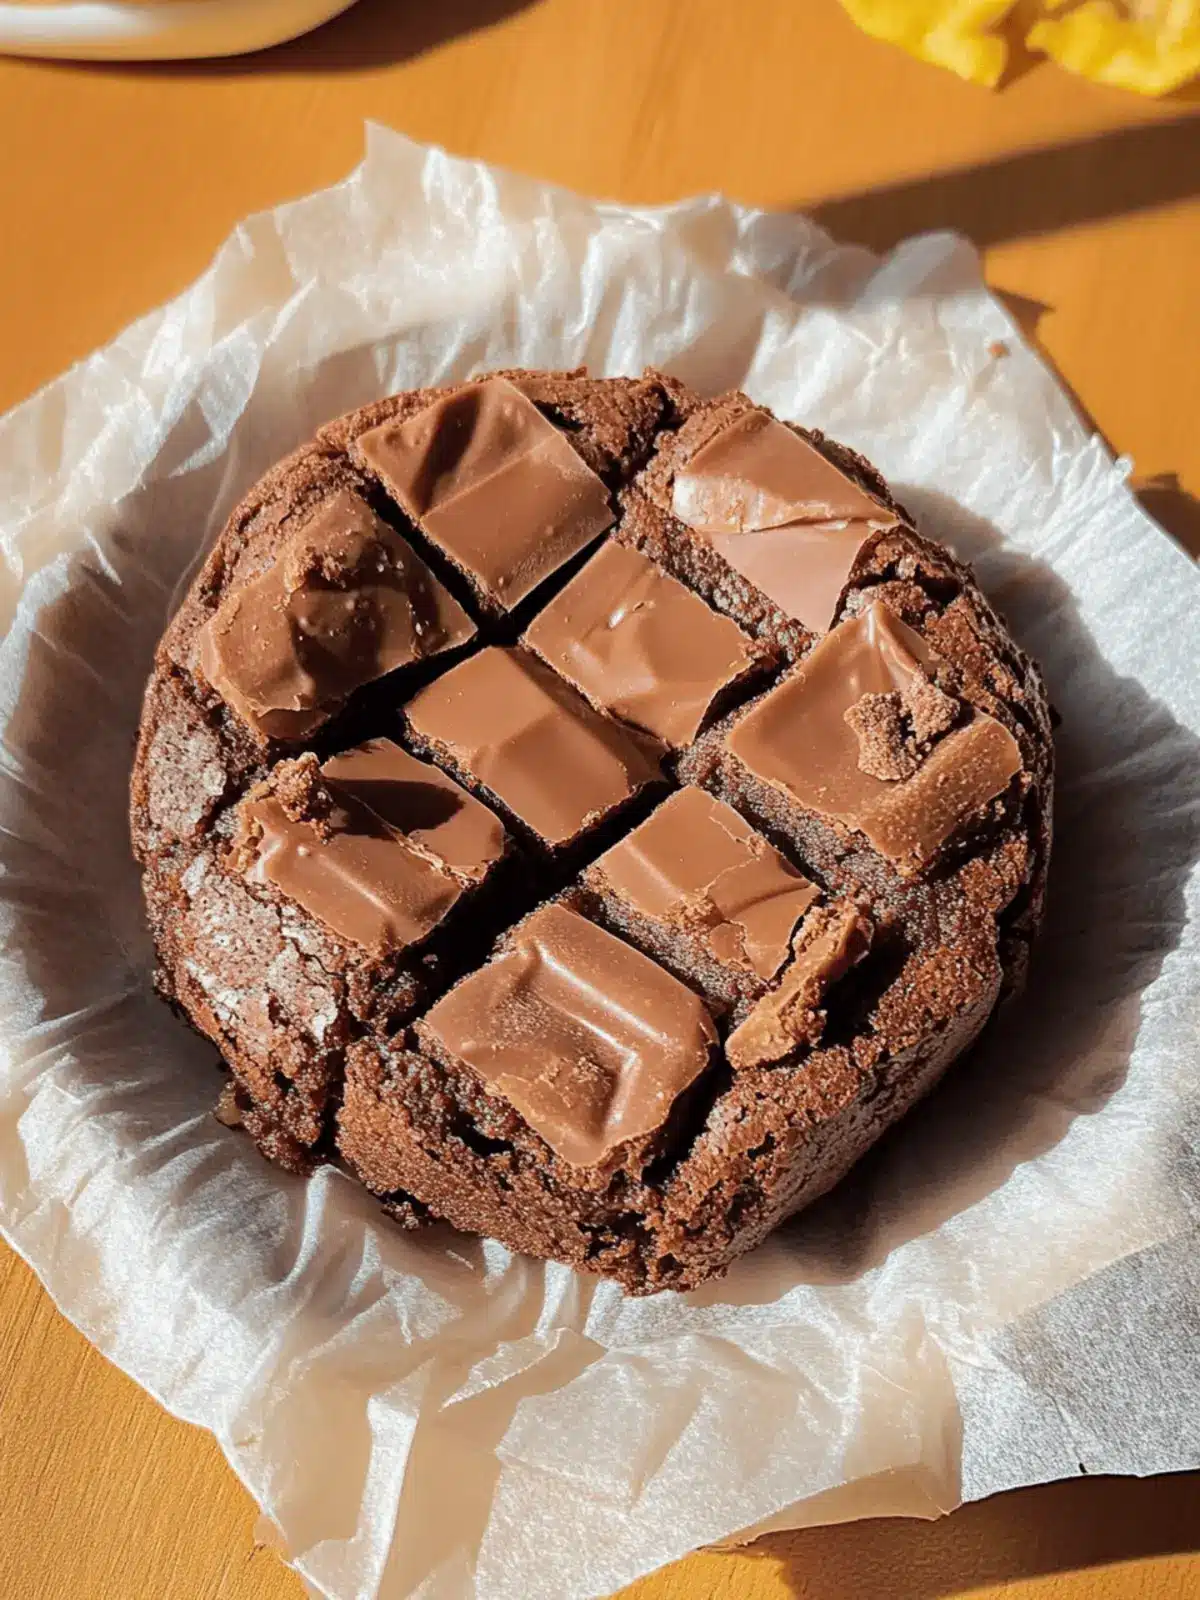
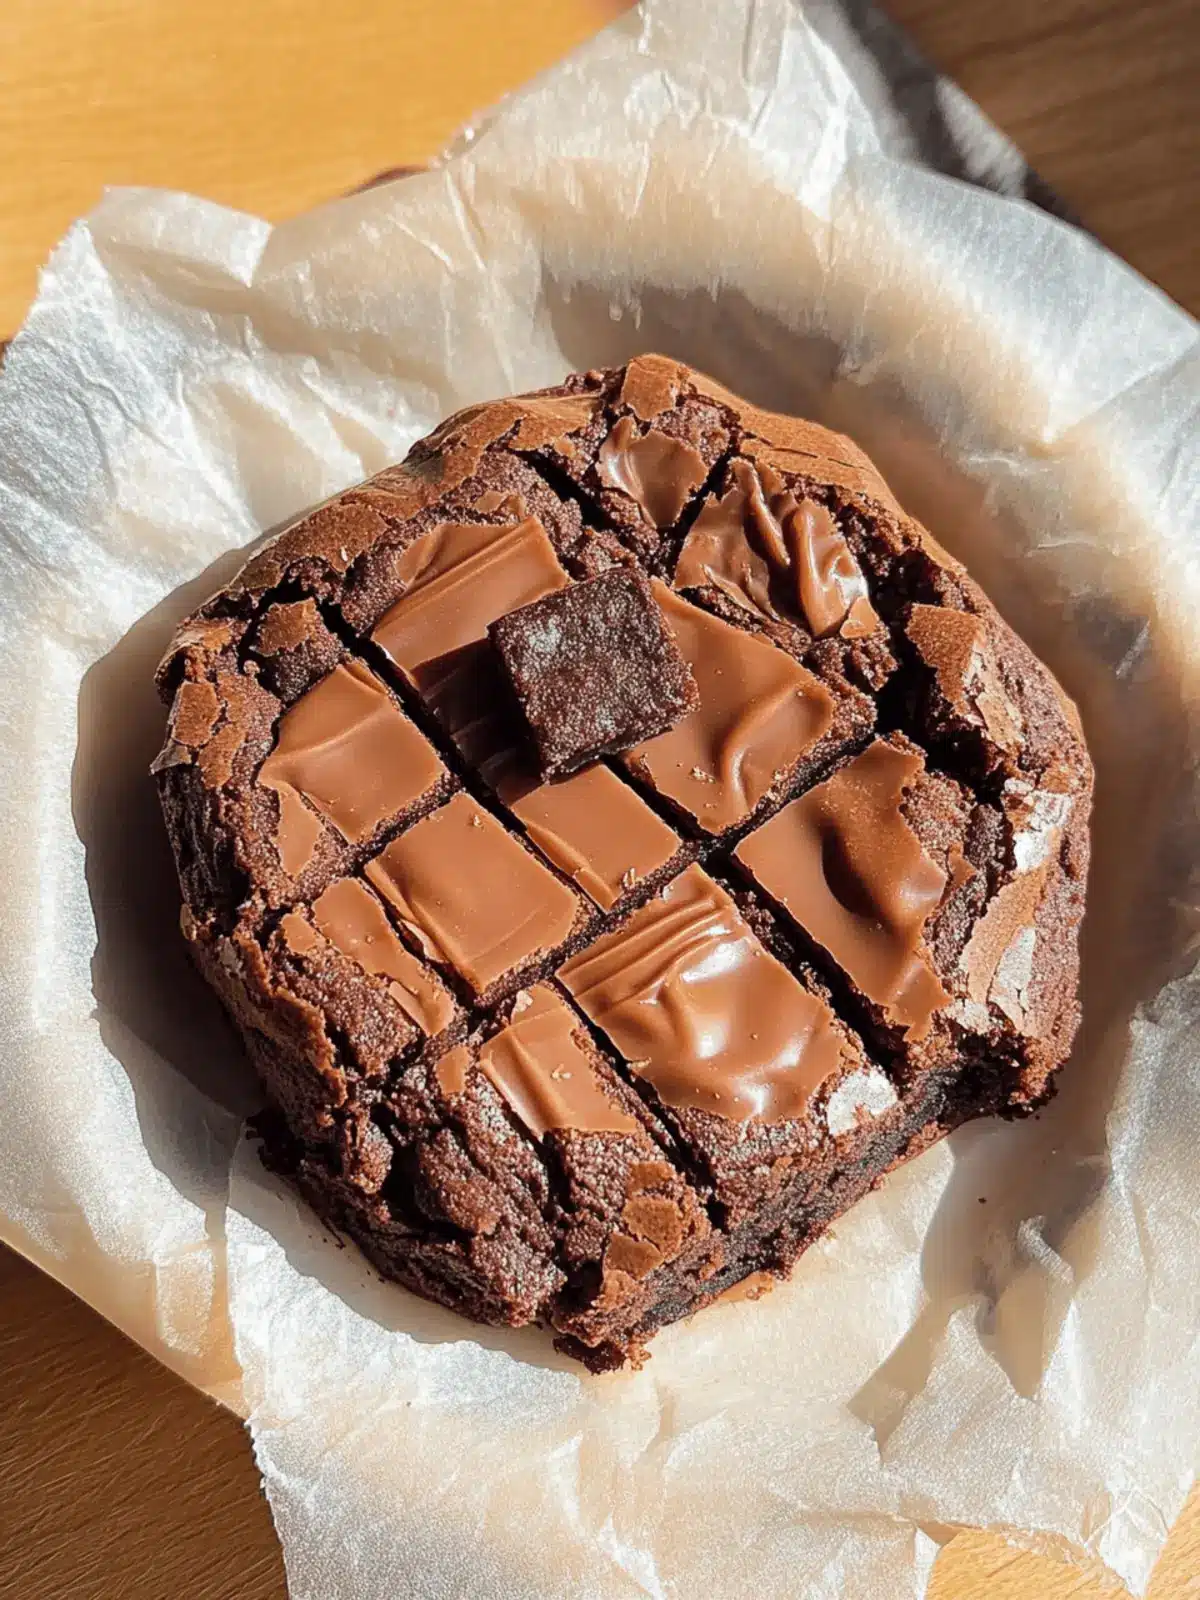
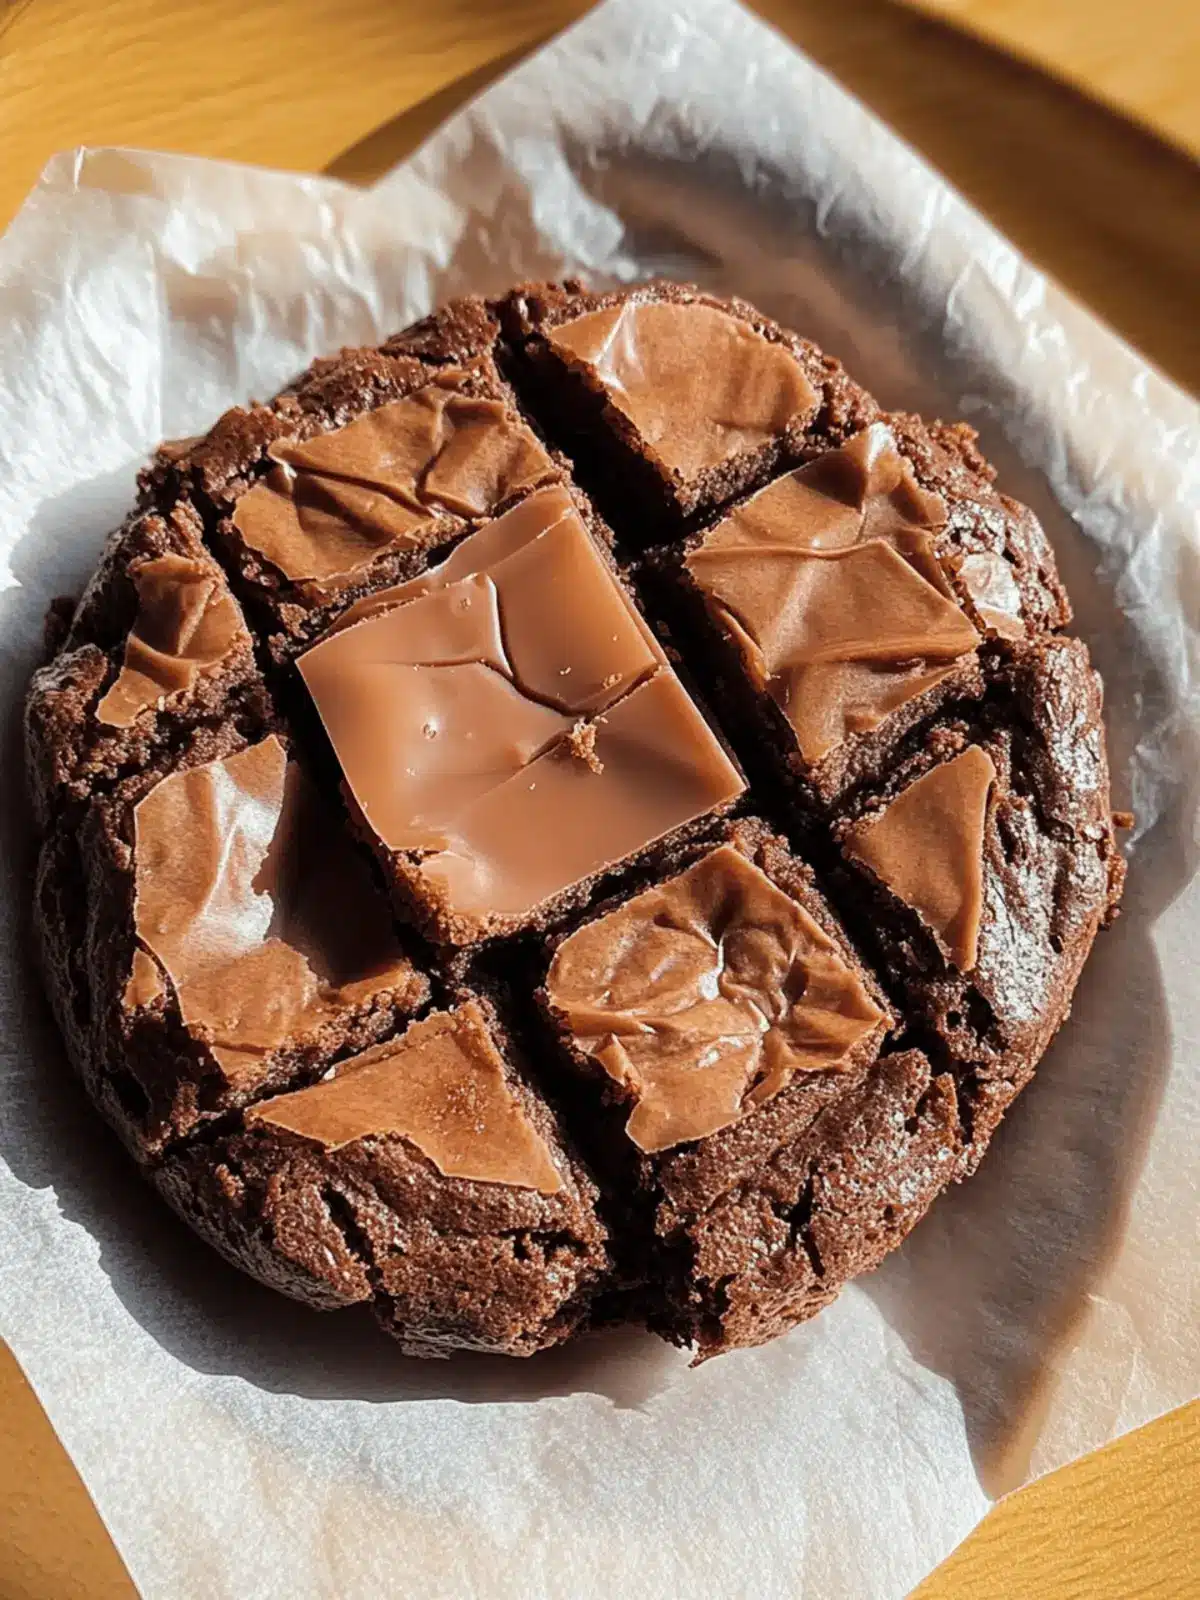
When my craving for something sweet hits, there’s nothing quite like the warm, inviting aroma of freshly baked brownies wafting through the house. Recently, I found myself experimenting with a delightful twist on this classic dessert by adding a touch of mochi goodness. The result? Chewy gluten-free mochi brownies that are rich in chocolate flavor and unbelievably satisfying!
Every bite offers the perfect fusion of fudgy chocolate and that signature mochi chewiness, making these brownies a unique treat that is sure to impress friends and family alike. Inspired by traditional butter mochi, this dish marries the best of both worlds, providing a gluten-free delight that won’t sacrifice taste for dietary restrictions.
So whether you’re planning a cozy night in or need a crowd-pleasing dessert that stands out, these mochi brownies are your ticket to a heavenly experience. Let’s dive into making this delicious and easy treat!
Why are Mochi Brownies a Must-Try?
Irresistible Flavor: The rich, chocolatey goodness combined with a chewy texture makes these brownies unlike any traditional dessert.
Gluten-Free Delight: Perfect for gluten-free eaters, these mochi brownies ensure everyone can indulge without compromise.
Crowd-Pleasing Treat: Whether serving friends or family, this recipe is sure to wow your guests with its unique blend of flavors.
Quick & Easy: With straightforward instructions and simple ingredients, you can whip up a batch in no time!
Versatile Base: Feel free to customize with different toppings like nuts or fruits for a personal touch!
If you’re curious about more tempting desserts, check out our Delicious Variations on Brownies.
Mochi Brownies Ingredients
For the Brownie Batter
- Glutinous Rice Flour – This is essential for that chewy texture; don’t use all-purpose flour if you want gluten-free mochi brownies!
- Cocoa Powder – Choose high-quality cocoa for rich chocolate flavor.
- Dark Chocolate – Offers fudgy goodness; semi-sweet can work as a substitute if needed.
- Unsalted Butter – Adds moisture; you can swap it with coconut oil for a dairy-free option.
- Eggs – These bind everything together; use room temperature for better mixing.
- Milk – Any type of milk, dairy or non-dairy, keeps the mixture smooth.
- Sugar – Sweetens the brownies; opt for brown sugar for added moisture.
- Baking Powder – This helps create the perfect rise; be sure it’s fresh for best results.
- Salt – Enhances sweet flavors; a small but crucial ingredient!
- Vanilla Extract – Pure vanilla elevates the flavor profile beautifully.
- Chocolate Chunks – Sprinkle on top for extra texture and velvety chocolate bites.
How to Make Mochi Brownies
-
Preheat the oven to 320°F (160-170°C). Line an 8×8 inch baking pan with baking paper to prevent sticking and ensure easy removal later.
-
Melt dark chocolate and unsalted butter together using a double boiler until they’re fully combined. Once melted, let the mixture cool slightly.
-
Whisk in a separate bowl the eggs and vanilla extract until well blended, creating a smooth base for your brownie batter.
-
Combine the milk with the egg mixture, mixing until it’s silky smooth. This step helps maintain the moist texture of the brownies.
-
Fold the cooled melted chocolate mixture into the wet ingredients gradually, stirring gently to combine all the flavors together.
-
Sift together the glutinous rice flour, cocoa powder, baking powder, salt, and sugar in another bowl. This ensures an even distribution of ingredients in the batter.
-
Mix the wet and dry ingredients together, stirring until the batter is smooth and lump-free. You want a lovely, glossy chocolate mixture!
-
Pour the batter into the prepared baking pan, and if necessary, use a sieve to ensure a smooth texture on top.
-
Sprinkle chocolate chunks over the batter, ensuring even coverage for rich chocolate bites in every square.
-
Bake for 55-60 minutes, or until a toothpick inserted comes out clean. Keep an eye on your brownies as baking times can vary!
-
Cool in pan before transferring to a wire rack; wait until they are fully cooled before cutting into neat squares for serving.
Optional: Dust with powdered sugar for an elegant finish before serving.
Exact quantities are listed in the recipe card below.
What to Serve with Mochi Brownies?
Indulging in mochi brownies creates the perfect gateway to a delightful dessert spread, balancing flavors and textures.
-
Vanilla Ice Cream: The creaminess of vanilla ice cream contrasts beautifully with the chewy texture of mochi brownies, making each bite delightful.
-
Fresh Fruit Salad: A bright and refreshing fruit salad adds a light and fruity touch, enhancing the rich chocolate flavors of the brownies.
-
Whipped Cream: A dollop of lightly sweetened whipped cream provides a cloud-like softness that complements the dense brownies perfectly.
-
Chocolate Sauce Drizzle: For chocolate lovers, a warm chocolate sauce drizzle intensifies the chocolatey experience while adding extra decadence.
-
Coffee or Espresso: A warm cup of coffee or a shot of espresso beautifully cuts through the sweetness, enhancing the flavors in your brownies.
-
Nutty Crumble: A sprinkle of chopped nuts or a nut-based crumble adds crunch, creating a delicious contrast to the moist and chewy texture of the brownies.
-
Hot Chocolate: Cozy up with a cup of hot chocolate for a double chocolate treat that warms the soul and completes those chilly evenings.
-
Coconut Whipped Cream: For a dairy-free option, coconut whipped cream adds a tropical twist that pairs well with the mochi’s texture.
Expert Tips for Mochi Brownies
-
Use Fresh Ingredients: Always ensure your baking powder and cocoa powder are fresh. Stale ingredients can lead to lackluster results in your mochi brownies.
-
Proper Cooling: Allow the brownies to cool completely before cutting. This helps maintain their structure and avoids a messy, gooey finish.
-
Room Temperature Eggs: Use eggs that are at room temperature. This allows for better emulsification and ensures a lighter texture in your mochi brownies.
-
Watch the Baking Time: Keep a close eye on the brownies toward the end of baking. Ovens can vary significantly, so check for doneness a few minutes earlier than recommended.
-
Non-Stick Methods: Always line your baking pan with parchment paper to prevent sticking. This will make it easier to lift out the mochi brownies once they’re cool.
-
Customize Toppings: Feel free to experiment with different toppings, such as nuts or fruit, to enhance the flavor and texture of your delicious mochi brownies.
Make Ahead Options
These Mochi Brownies are perfect for meal prep enthusiasts! You can mix the brownie batter and store it in the refrigerator for up to 24 hours; just ensure it’s in an airtight container to maintain that delightful freshness. Additionally, you can bake the brownies in advance, allowing them to cool completely before covering them with wax paper. When you’re ready to serve, simply cut them into squares and enjoy the chewy goodness just as delicious as if they were freshly baked. These make-ahead options are a time-saver for busy weekdays, enabling you to have a scrumptious dessert ready at your fingertips!
Mochi Brownies Variations & Substitutions
Feel free to get creative with these mochi brownies—there are so many ways to make them your own!
- Dairy-Free: Substitute unsalted butter with coconut oil or a dairy-free butter alternative for a deliciously creamy coconut flavor.
- Nutty Boost: Fold in chopped nuts like walnuts or pecans for an extra crunch and a hint of earthy flavor that perfectly complements the chocolate.
- Fruit Infusion: Incorporate dried fruits such as cranberries or cherries into the batter for a delightful burst of sweetness and texture.
- Sugar Alternatives: Use maple syrup or a sugar substitute like stevia for a healthier version that’s still satisfying and sweet.
- Spicy Kick: Add a pinch of chili powder or cayenne pepper to the batter for a surprising chocolate flavor that brings a heat twist to each bite.
- Flavor Extracts: Experiment with almond or orange extract in place of vanilla to elevate the flavor profile and offer a new dimension to your brownies.
- Chocolate Lovers: Mix in chocolate chips with your chocolate chunks on top for a double-chocolate experience that is utterly indulgent.
- Cocoa Swap: Try using white cocoa powder or a blend of dark and milk cocoa powder for a unique twist in flavors and an intriguing color difference!
There’s no wrong way to enjoy these brownies, so don’t be shy about making them your own!
Storage Tips for Mochi Brownies
-
Room Temperature: Keep mochi brownies in an airtight container at room temperature for up to 3 days, ensuring they remain chewy and fresh.
-
Fridge: For extended freshness, store them in the refrigerator for up to a week. Make sure they’re in a tightly sealed container to prevent them from drying out.
-
Freezer: You can freeze mochi brownies for up to 3 months. Wrap each piece in plastic wrap and place them in a freezer-safe bag for best preservation.
-
Reheating: To enjoy leftover brownies, let them thaw at room temperature or microwave for 10-15 seconds. This will restore their delicious, gooey texture!
Mochi Brownies Recipe FAQs
What type of glutinous rice flour should I use for mochi brownies?
Absolutely! You should use sweet glutinous rice flour, which is essential for achieving the chewy texture in these mochi brownies. Avoid substituting it with all-purpose flour or other types, as they won’t provide the same delightful consistency.
How should I store my mochi brownies?
Store your mochi brownies in an airtight container at room temperature for up to 3 days to maintain their chewy texture. If you plan to keep them longer, refrigeration is your best option, allowing them to stay fresh for up to a week. Just remember to seal them tightly to avoid dryness!
Can I freeze mochi brownies? How?
Yes, you can freeze mochi brownies! Wrap each brownie individually in plastic wrap, then place them inside a freezer-safe bag. They can be stored in the freezer for up to 3 months. When you’re ready to enjoy, simply let them thaw at room temperature or pop them in the microwave for 10-15 seconds to regain that delicious, gooey texture.
What should I do if my brownies are too sticky to cut?
Very! If you find your brownies are too sticky to cut easily, I recommend brushing your knife with a bit of cooking oil before slicing. This simple trick helps reduce the stickiness and makes it smoother to cut through those beautiful chewy squares.
Are mochi brownies safe for people with gluten allergies?
Indeed! These mochi brownies are designed to be gluten-free, using glutinous rice flour in place of traditional flours. However, it’s vital to ensure all other ingredients, such as chocolate and baking powder, are labeled gluten-free to avoid any allergic reactions.
How long do mochi brownies last?
Mochi brownies will last up to 3 days at room temperature in an airtight container and up to a week in the refrigerator. If frozen correctly, they maintain their deliciousness for up to 3 months. Just remember to let them cool completely before wrapping them up for storage!

Chewy Mochi Brownies That Will Wow Your Taste Buds
Ingredients
Equipment
Method
- Preheat the oven to 320°F (160-170°C). Line an 8x8 inch baking pan with baking paper.
- Melt dark chocolate and unsalted butter together using a double boiler until fully combined. Let cool slightly.
- Whisk eggs and vanilla extract in a separate bowl until well blended, creating a smooth base.
- Combine the milk with the egg mixture, mixing until silky smooth.
- Fold the cooled melted chocolate mixture into the wet ingredients gradually, stirring gently.
- Sift together glutinous rice flour, cocoa powder, baking powder, salt, and sugar in another bowl.
- Mix wet and dry ingredients together, stirring until the batter is smooth and lump-free.
- Pour the batter into the prepared baking pan, using a sieve if necessary for a smooth top.
- Sprinkle chocolate chunks over the batter for rich chocolate bites.
- Bake for 55-60 minutes, or until a toothpick inserted comes out clean.
- Cool in the pan before transferring to a wire rack; cut into squares for serving.
- Optional: Dust with powdered sugar before serving.


