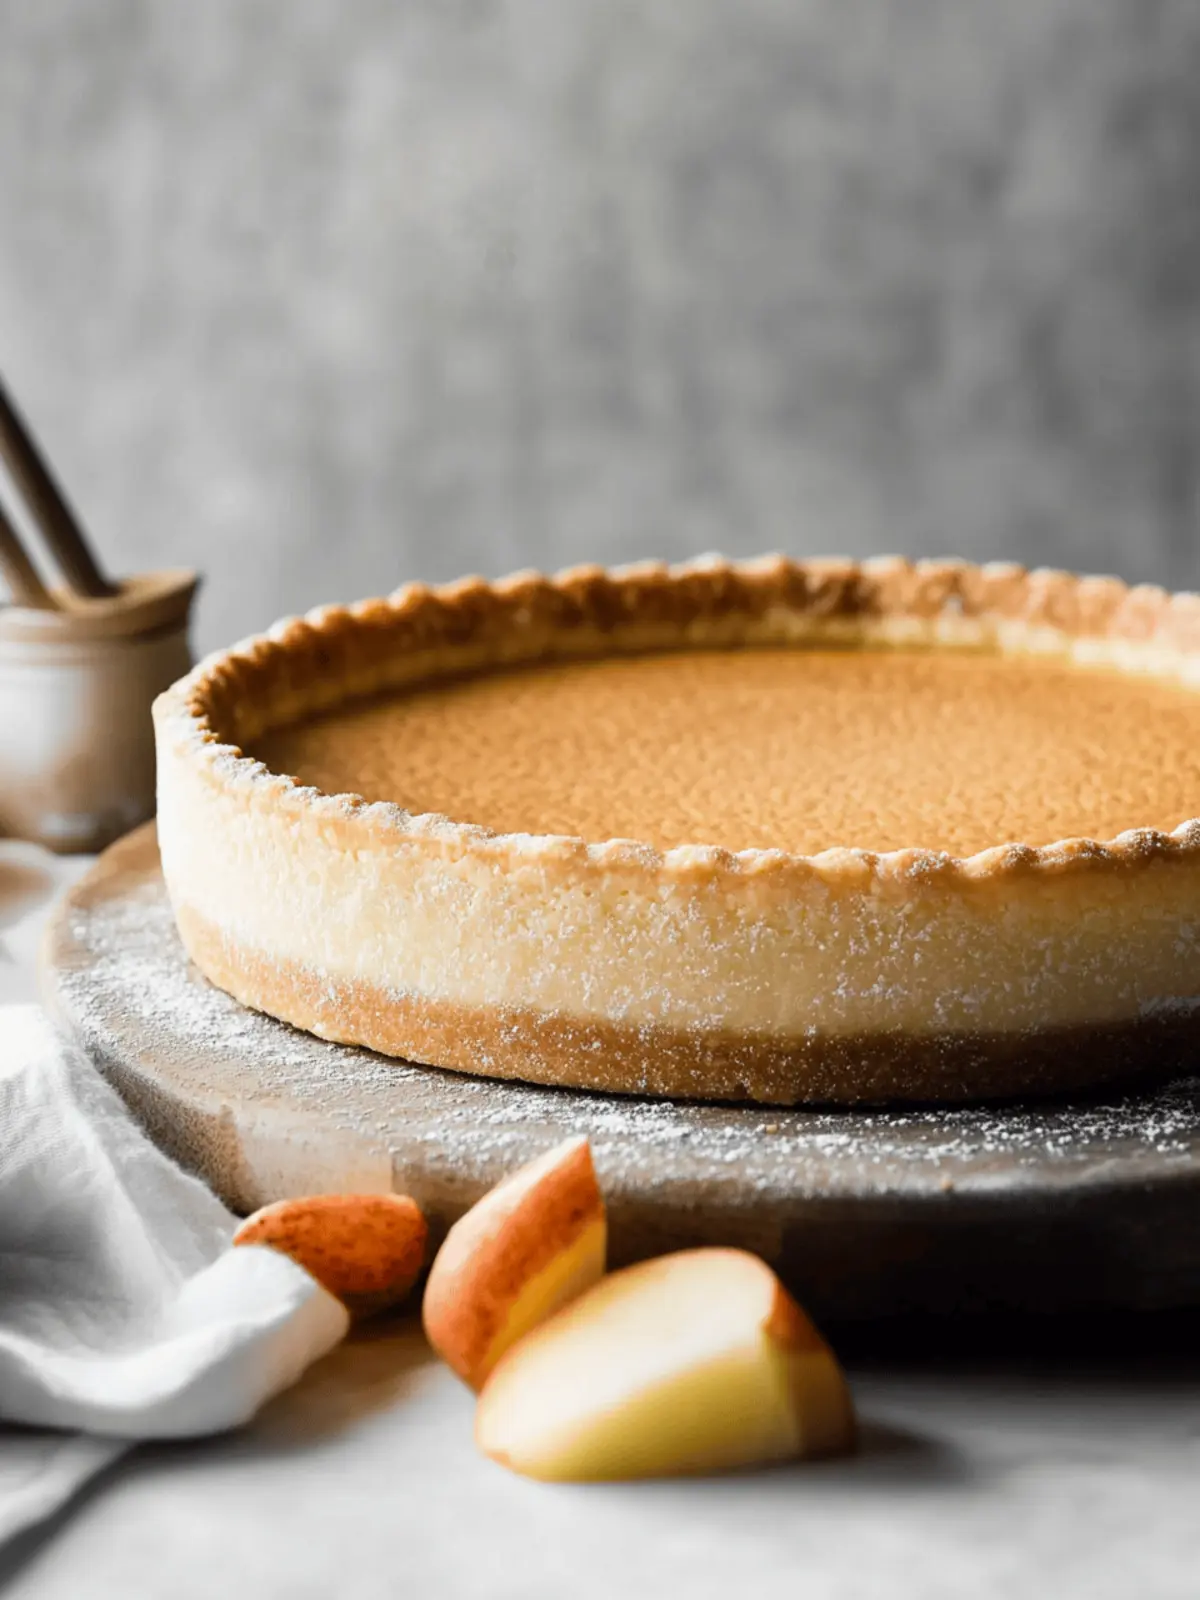
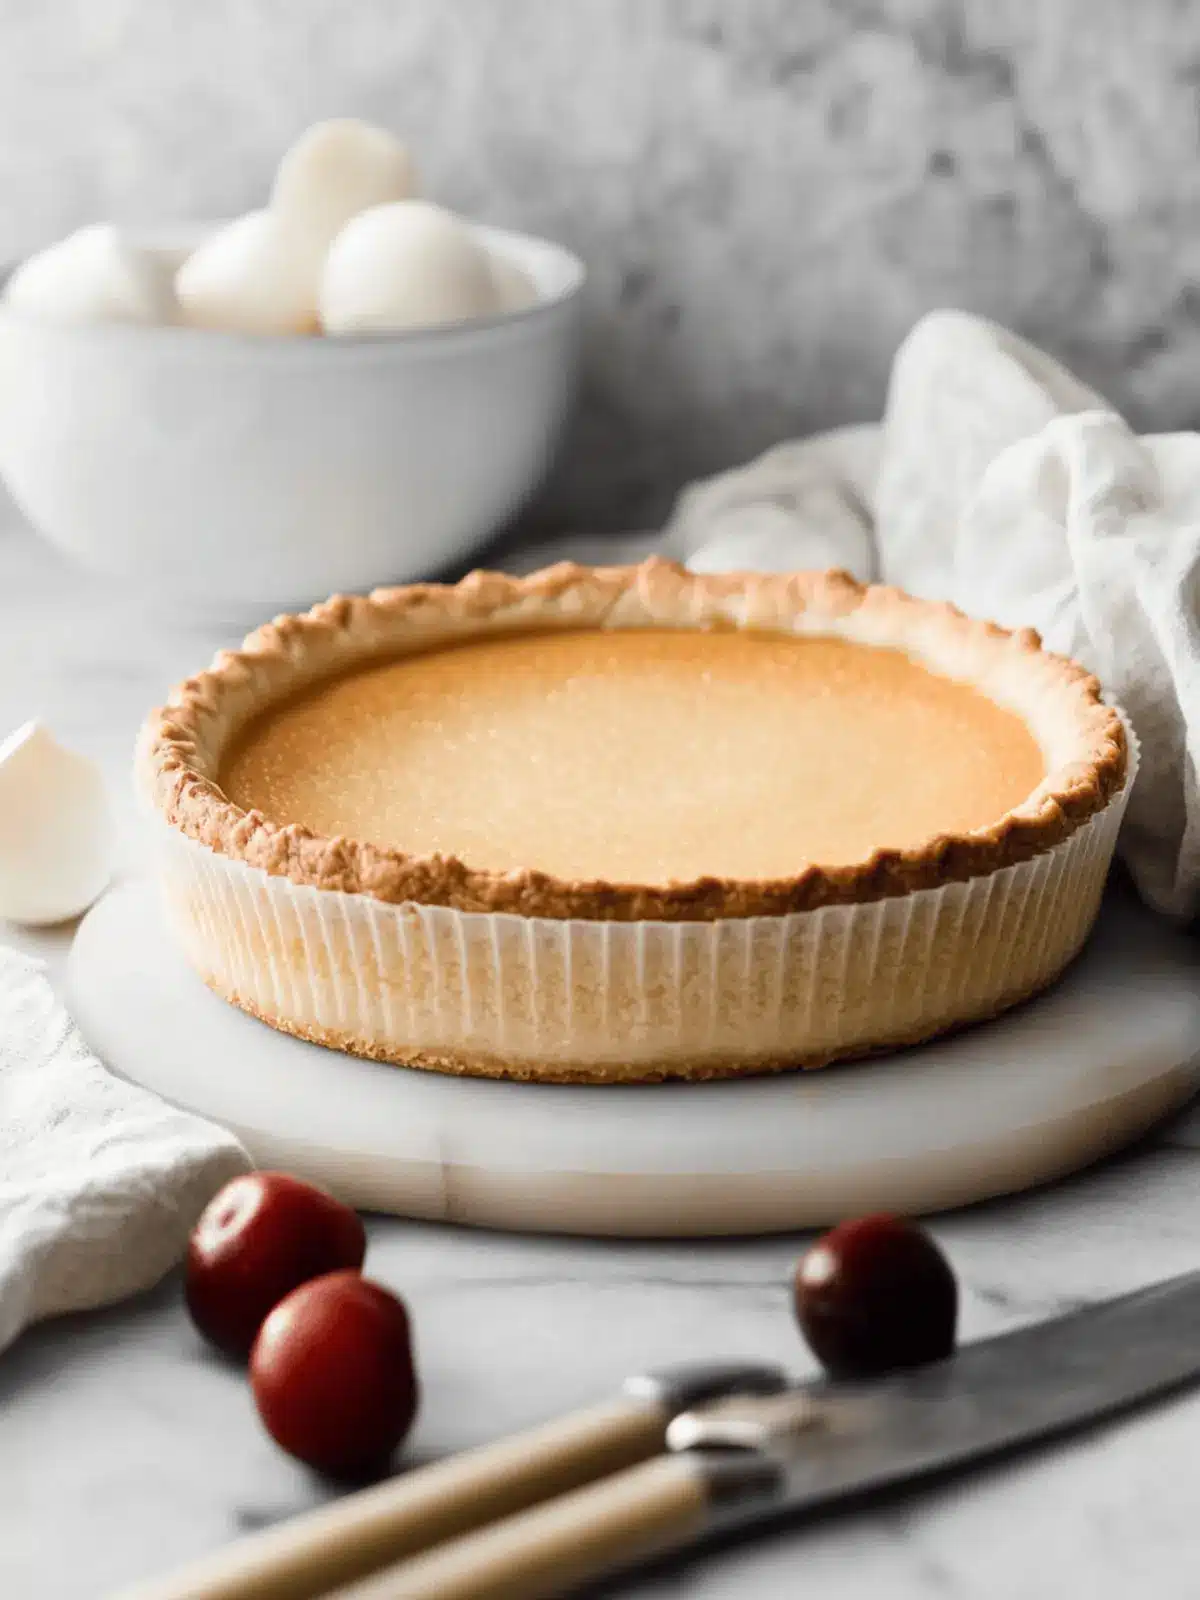
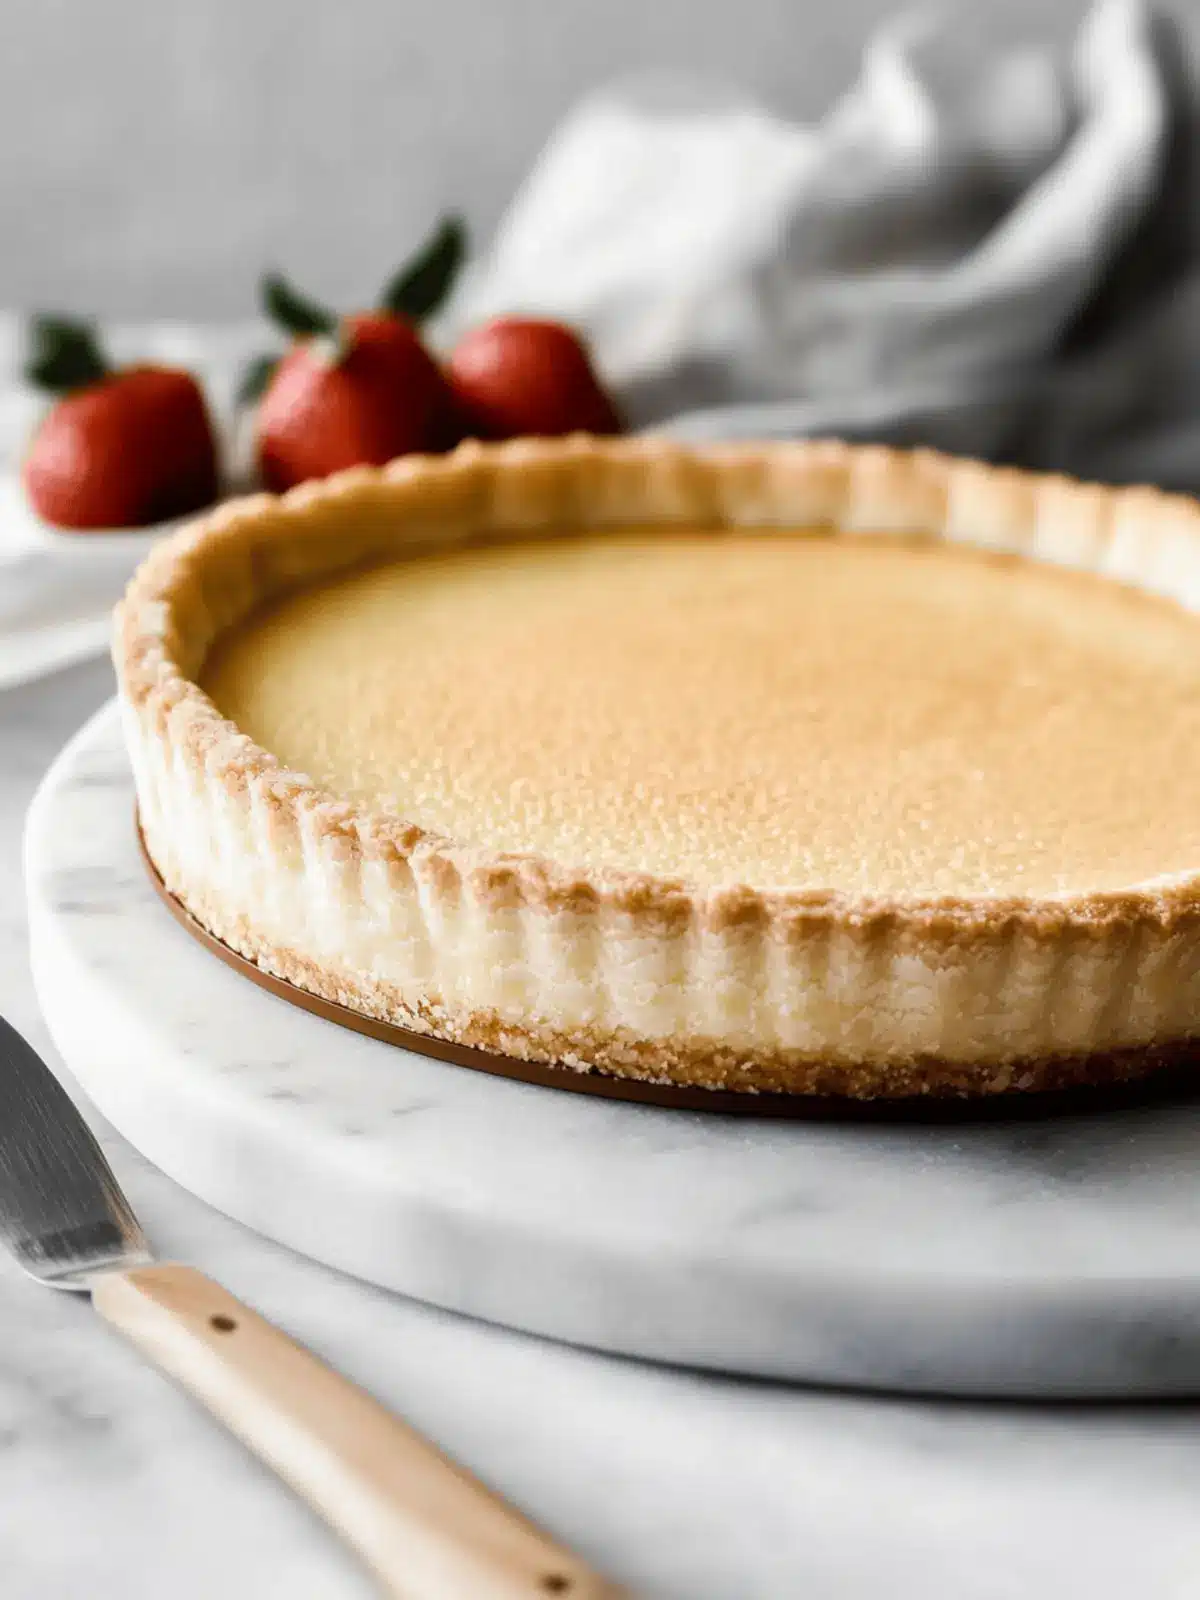
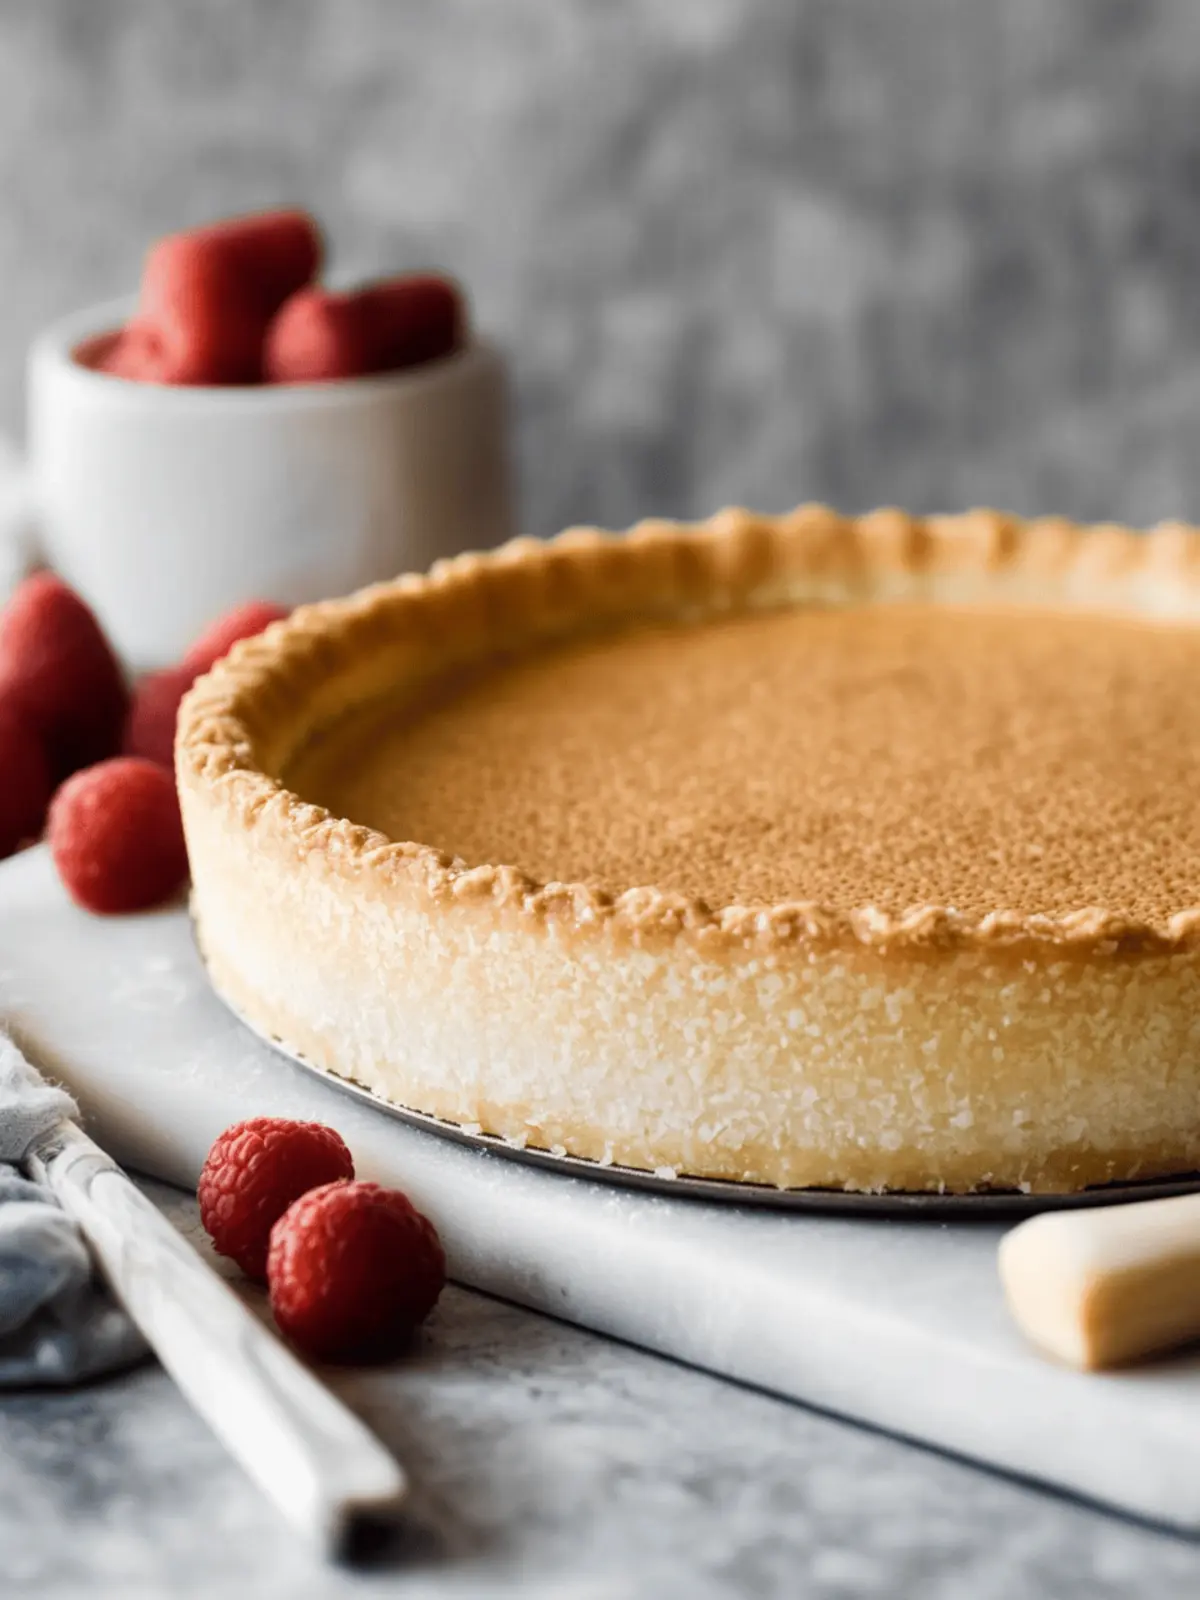
The moment the buttery scent of freshly baked Pâte Sablée fills your kitchen, it’s hard not to be transported straight to a quaint Parisian café. This classic sweet tart pastry, with its melt-in-your-mouth texture, is an absolute delight that can elevate any dessert to sophistication. I first discovered this recipe alongside my grandmother, who would whip it up effortlessly, her laughter echoing through the room as we shaped the delicate dough.
What I adore about this Pâte Sablée is its versatility; whether topped with luscious fruit, rich ganache, or smooth custard, it’s the perfect base that transforms ordinary ingredients into extraordinary treats. And don’t worry—while it appears fancy, you’ll be surprised at how simple it is to master. Ready to impress your family and friends? Let’s dive into creating this buttery masterpiece that promises to rekindle your love for homemade desserts.
Why is Classic Sweet Tart Pastry a Must-Try?
Heavenly Texture: This Pâte Sablée has a crumbly, melt-in-your-mouth feel that brings luxury to everyday baking.
Versatile Base: Perfect for fruit fillings, ganaches, or custards, this recipe adapts to any flavor profile you adore.
Effortless Elegance: Impress guests without the fuss—this simple dough elevates your dessert game with minimal effort.
Make-Ahead Friendly: Prepare the dough in advance, so you can enjoy baking whenever the craving strikes.
Crowd-Pleasing: Homemade treats made with love will always steal the show, making it ideal for gatherings or family dinners.
Quick & Easy: With just a few basic ingredients, you’ll find crafting this buttery pastry not only easy but also incredibly satisfying!
Classic Sweet Tart Pastry Ingredients
• Here’s what you need to create your buttery masterpiece!
For the Pastry
- Unsalted Butter (150g) – Adds richness and tenderness to the pastry; use salted butter if that’s all you have, just adjust the salt.
- Salt (½ tsp) – Enhances the flavor and perfectly balances the sweetness.
- Granulated Sugar (50g) – Sweetens the dough and helps achieve that signature crumbly texture that makes classic sweet tart pastry delightful.
- Egg (1) – Binds everything together and adds a touch of moisture.
- All-Purpose Flour (250g) – Provides essential structure; for gluten-free options, try a 1:1 gluten-free flour blend.
How to Make Classic Sweet Tart Pastry
-
Whisk It Together: In a large mixing bowl, whisk the unsalted butter, sugar, and salt until creamy and smooth. This should take about 2-3 minutes for a light and fluffy mixture.
-
Add the Egg: Crack in the egg and mix well until fully incorporated. The mixture should look uniform and slightly glossy, which adds moisture to your dough.
-
Incorporate the Flour: Gradually add the all-purpose flour to the mixture, gently folding it in until just combined. Be careful not to over-knead; you want the dough to stay tender and crumbly.
-
Chill the Dough: Place the dough between two sheets of parchment paper and roll it out to about 2mm thick. Refrigerate for at least 2 hours or until firm. This resting time is essential for a flaky pastry.
-
Shape the Tart: Once chilled, remove the dough and cut it to fit your tart ring or removable bottom pan. Ensure to press the strips of dough against the sides gently to secure it.
-
Freeze and Bake: Freeze the shaped tart shell for one hour. Preheat your oven to 160°C (320°F), then poke the base with a fork to prevent bubbling. Bake for 12-18 minutes until it’s golden brown and fragrant.
-
Cool and Fill: Allow the tart shell to cool completely on a wire rack before delicately unmolding it. Fill with your favorite sweet fillings and watch it transform into a delightful dessert!
Optional: Garnish with fresh fruit or a dusting of powdered sugar for an elegant touch.
Exact quantities are listed in the recipe card below.
Expert Tips for Classic Sweet Tart Pastry
-
Butter Matters: Use high-quality unsalted butter for a richer taste. Avoid margarine as it can affect the texture of your classic sweet tart pastry.
-
Chill Time is Essential: Don’t skip the chilling step! Proper chilling helps maintain the dough’s structure and prevents shrinkage during baking.
-
Avoid Overmixing: Incorporate flour gently and stop when the dough just comes together. Overmixing can lead to a tough pastry instead of the desirable crumbly texture.
-
Perfectly Shaped Tarts: Use a tart ring for a polished finish. It helps achieve even thickness and a professional look for your classic sweet tart pastry.
-
Fill Wisely: Be cautious with overly wet fillings, as they might result in a soggy tart shell. Opt for reasonably thick fillings to keep your pastry intact.
What to Serve with Classic Sweet Tart Pastry?
Elevate your dessert game with delightful pairings that bring out the best of buttery pastry goodness!
- Fresh Berries: Serve this pastry with a medley of seasonal berries for a burst of flavor and color that complements its rich sweetness.
- Lemon Curd: The tangy brightness of lemon curd cutting through the buttery tart creates a delightful contrast, balancing richness perfectly. It adds a refreshing pop that keeps each bite exciting.
- Chocolate Ganache: A decadent layer of chocolate ganache adds an indulgent twist. Its silky texture melts in your mouth, harmonizing beautifully with the tart’s crumbly base.
- Creamy Custard: Rich custard pairs exceptionally well, offering a smooth texture that enhances the buttery nature of the pastry. This combination feels like an elegant treat straight from a French pâtisserie.
- Whipped Cream: A dollop of fluffy whipped cream lends lightness to each serving. This classic topping is simple yet makes every bite feel like a celebration!
- Ice Cream: Vanilla or berry ice cream adds a delightful chill and variation in texture, creating an irresistibly satisfying experience as it melts into the warm tart.
- Mint Tea: Sip refreshing mint tea alongside your dessert to cleanse the palate. Its aromatic flavor makes for a delightful contrast to the sweetness of the tart.
- Sparkling Wine: A glass of bubbly will elevate any occasion. The effervescence cuts through the richness, making your dessert feel extra special for gatherings or celebrations.
How to Store and Freeze Classic Sweet Tart Pastry
- Room Temperature: Once baked, store the tart in an airtight container at room temperature for up to 2 days to maintain its delightful texture.
- Fridge: If you need to keep the tart longer, refrigerate it in an airtight container for up to 4 days. The flavors will meld beautifully during this time.
- Freezer: For extended storage, freeze the baked tart shell wrapped tightly in plastic wrap for up to 3 months. Thaw overnight in the fridge before use.
- Reheating: If you’ve filled your tart, reheat it in a low oven at 150°C (300°F) for about 10-15 minutes to bring back that fresh-baked goodness so you can enjoy your classic sweet tart pastry at its best!
Make Ahead Options
Preparing your Classic Sweet Tart Pastry ahead of time is a fantastic way to save precious minutes on busy days! You can make the dough up to 2 days in advance; simply wrap it tightly in plastic wrap and refrigerate. If you need a longer storage option, feel free to freeze the unbaked tart shell for up to 3 months. When you’re ready to bake, just transfer the frozen pastry to the oven directly without thawing. This helps maintain that delightful crumbly texture. Once baked, allow the tart shell to cool completely before filling it, and you’ll have a stunning dessert ready to impress at a moment’s notice!
Classic Sweet Tart Pastry Variations
Feel free to get creative and make this classic recipe your own with these delightful twists!
- Citrus Zest: Add fresh lemon or orange zest to the dough for a bright, refreshing flavor that balances the sweetness beautifully.
- Nutty Addition: Incorporate finely ground almonds or hazelnuts into the flour for a subtle nuttiness that enhances the pastry’s depth.
- Spice it Up: Sprinkle in a dash of cinnamon or nutmeg for a warm, inviting aroma that pairs wonderfully with fruit fillings.
- Chocolate Lover: Mix in cocoa powder (about 15g) to the flour to create a rich chocolate variation that’s perfect for decadent desserts.
- Gluten-Free: Substitute all-purpose flour with a gluten-free 1:1 baking blend to cater to gluten-sensitive friends—no one will know the difference!
- Flavored Extracts: Use almond or vanilla extract in place of half the sugar to infuse the dough with a delightful aroma and taste that adds complexity.
- Mini Tartlets: Roll the dough out and cut small circles to fit into a muffin tin for adorable mini tarts, perfect for bite-sized treats at gatherings.
- Savory Change: For a savory twist, reduce the sugar by half and add herbs like thyme or rosemary, creating a delightful pastry for quiches or appetizers.
With these variations, you can easily personalize your Pâte Sablée experience!
Classic Sweet Tart Pastry Recipe FAQs
What type of butter should I use for Classic Sweet Tart Pastry?
Absolutely! For the best flavor and texture, I recommend using high-quality unsalted butter. This ensures that the richness shines through without adding any extra saltiness. If you only have salted butter on hand, that’s okay too—just reduce the added salt in the recipe to keep everything balanced.
How long does the Classic Sweet Tart Pastry last once baked?
You’ll want to keep your baked tart in an airtight container at room temperature for up to 2 days, which helps maintain that delightful crumbly texture. If you’re looking to keep it longer, pop it in the refrigerator for up to 4 days. The flavors will continue to develop beautifully during this time!
Can I freeze the Classic Sweet Tart Pastry? If so, how?
Yes, you can definitely freeze the baked tart shell! Wrap the cooled shell tightly in plastic wrap and place it in an airtight container. It can last for up to 3 months in the freezer. When you’re ready to enjoy it, just thaw it overnight in the refrigerator and let it come to room temperature before filling.
What if my dough feels too sticky when making Classic Sweet Tart Pastry?
Very! If your dough is overly sticky, it usually means that it needs a little more flour or isn’t chilled enough. Try adding a tablespoon of flour gradually until the dough is manageable. Remember, chilling the dough for at least 2 hours helps in firms it up, making it easier to shape and work with.
Are there any allergy considerations for Classic Sweet Tart Pastry?
Yes, definitely! The main allergens in this recipe are gluten (from the all-purpose flour) and eggs. If you’re making this for someone with gluten intolerance, I recommend substituting a 1:1 gluten-free flour blend, which works beautifully! For egg-free options, you can try a flax egg (1 tablespoon of ground flaxseed mixed with 2.5 tablespoons of water) for binding, although the texture may vary slightly.
What does the final texture of the Classic Sweet Tart Pastry look like?
The finished product is a dream—delicate, crumbly, and truly melts in your mouth! Picture a cookie-like crust rather than a flaky pie crust. It’s light yet holds its shape perfectly when filled with your favorite sweet fillings, making it visually appealing and tasty for any dessert occasion.

Classic Sweet Tart Pastry Recipe That Melts in Your Mouth
Ingredients
Equipment
Method
- In a large mixing bowl, whisk the unsalted butter, sugar, and salt until creamy and smooth (about 2-3 minutes).
- Crack in the egg and mix well until fully incorporated, resulting in a uniform and slightly glossy mixture.
- Gradually add the all-purpose flour, gently folding until just combined. Avoid over-kneading.
- Place the dough between two sheets of parchment paper and roll it out to about 2mm thick. Refrigerate for at least 2 hours.
- Remove the dough, cut it to fit your tart ring or removable bottom pan, and press it gently against the sides.
- Freeze the shaped tart shell for one hour. Preheat your oven to 160°C (320°F), poke the base with a fork, and bake for 12-18 minutes until golden brown.
- Allow the tart shell to cool completely on a wire rack before unmolding and filling with your favorite sweet fillings.


