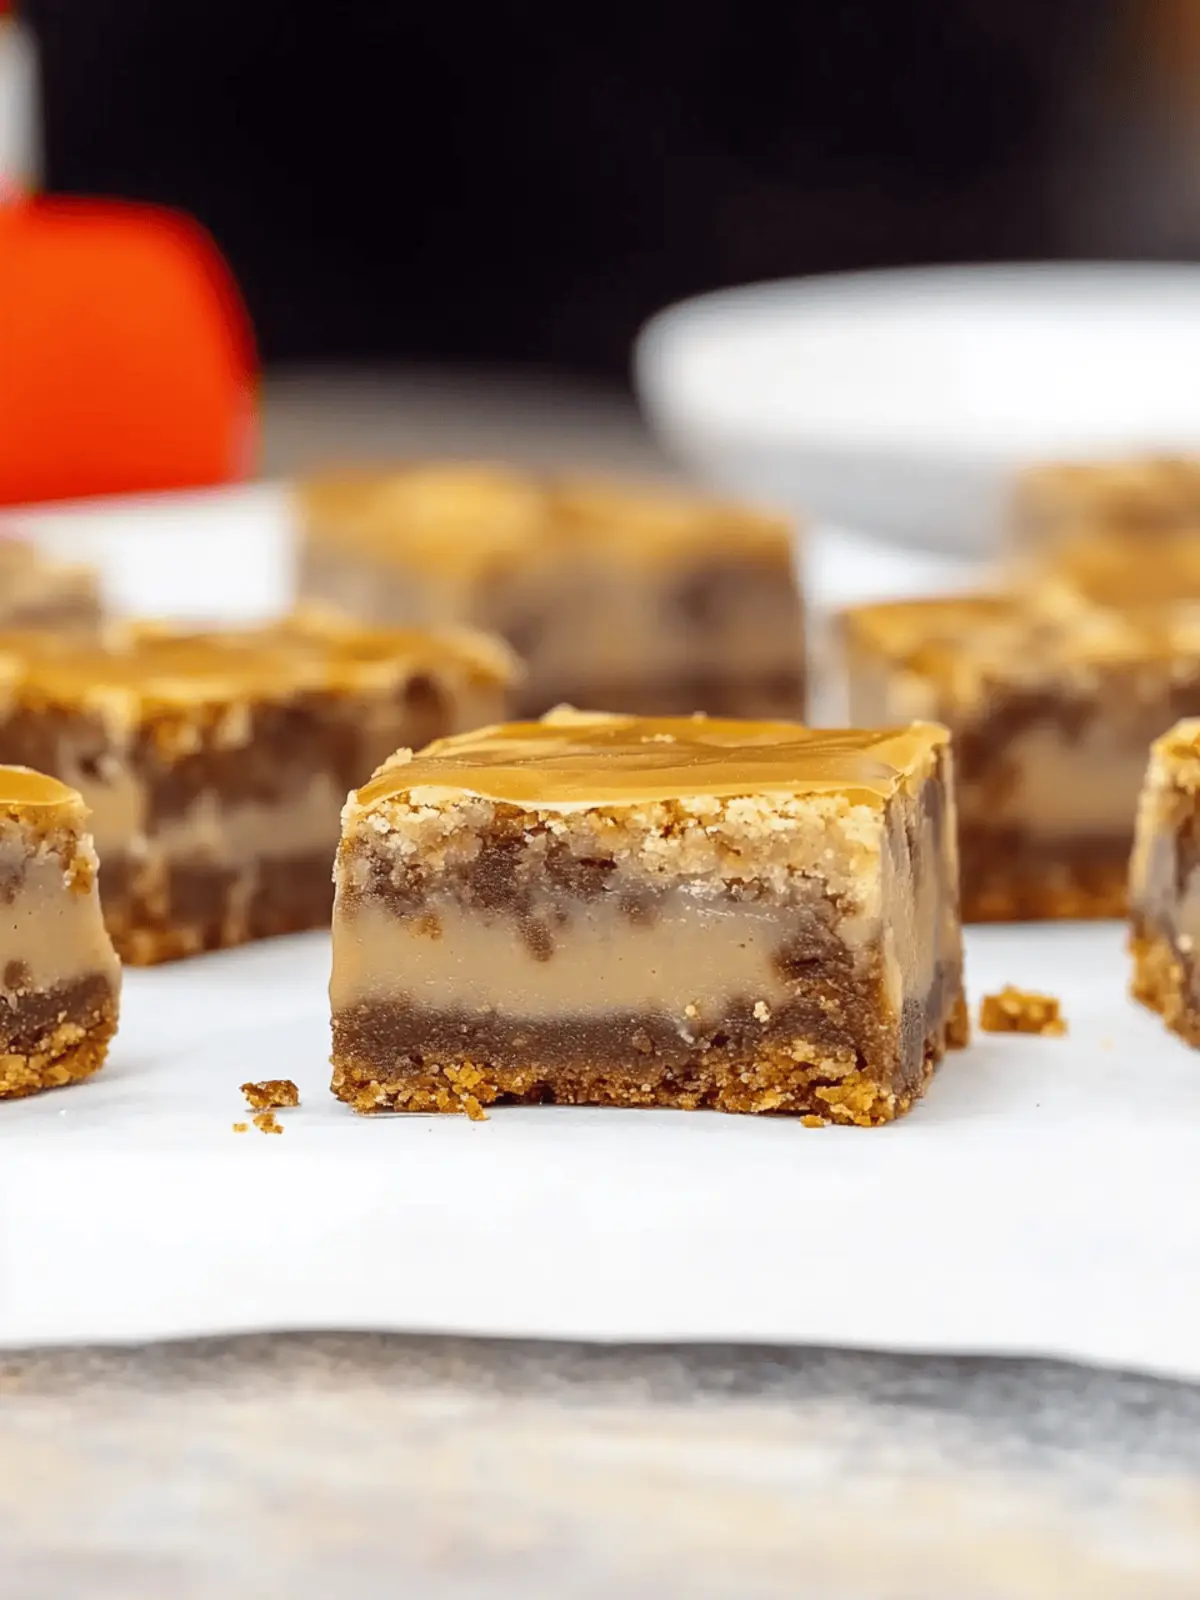
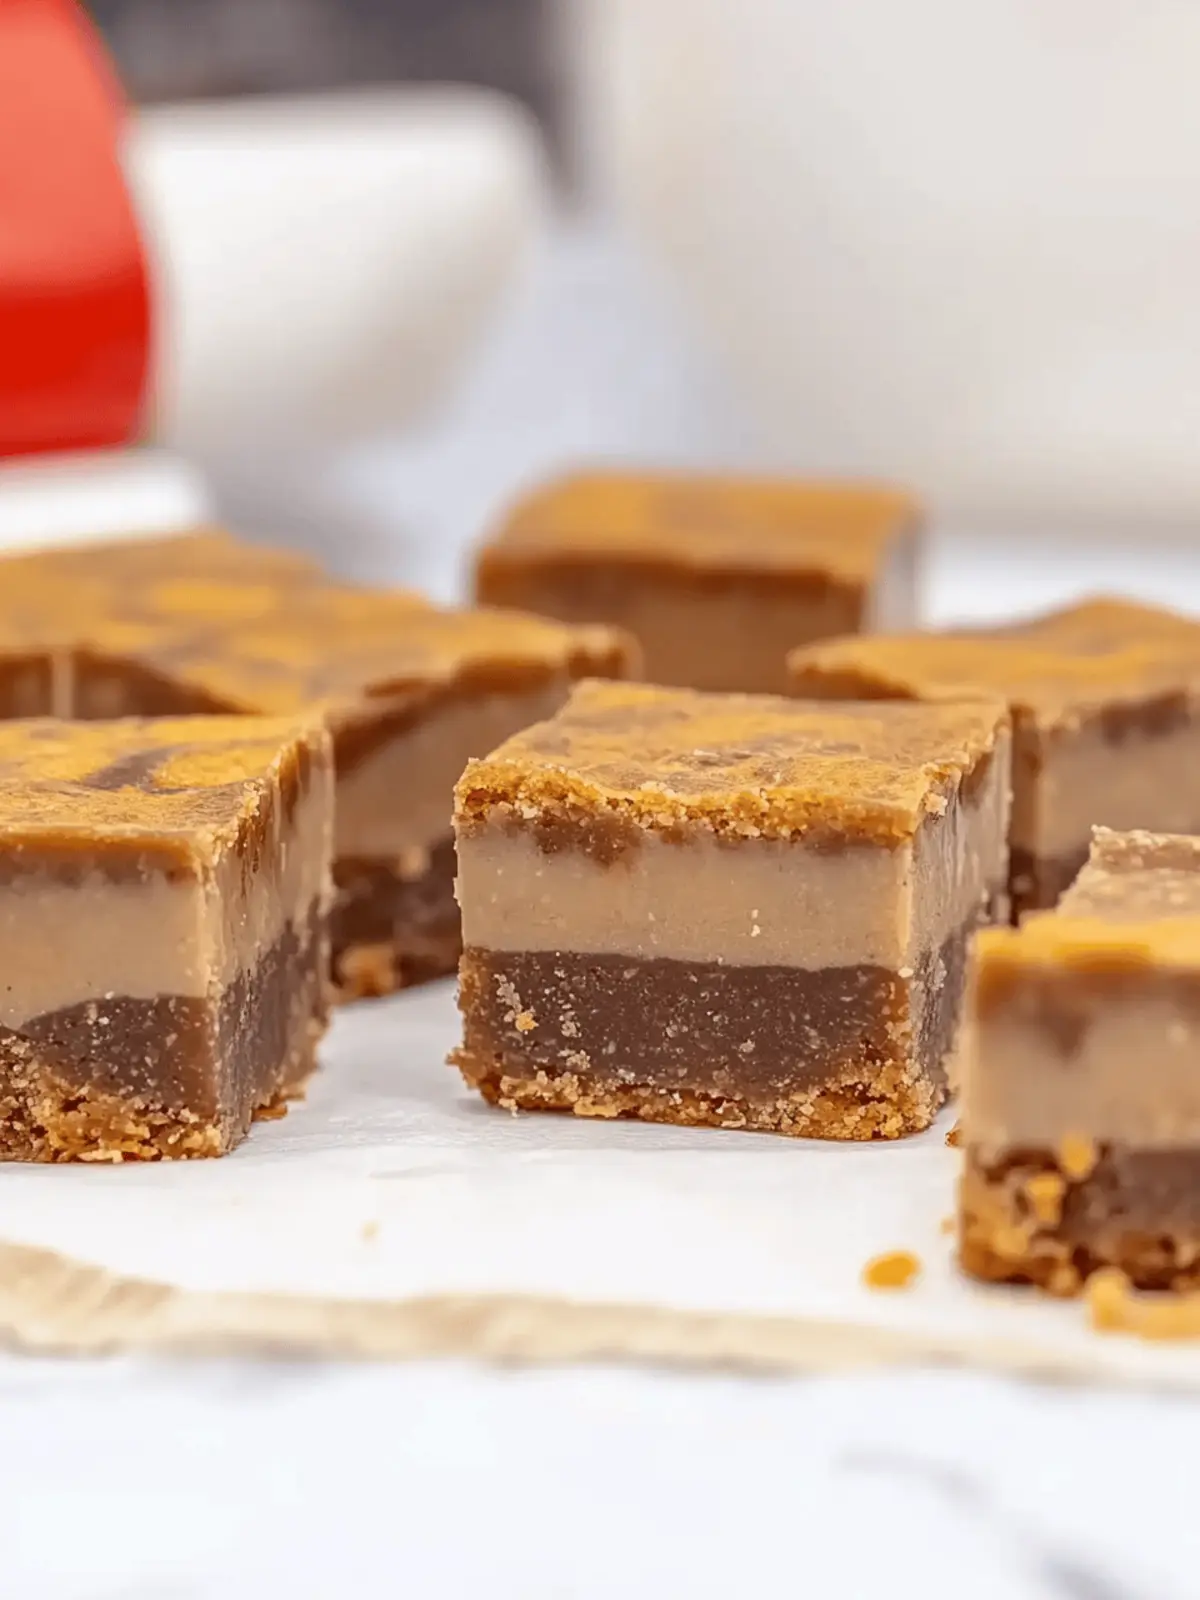
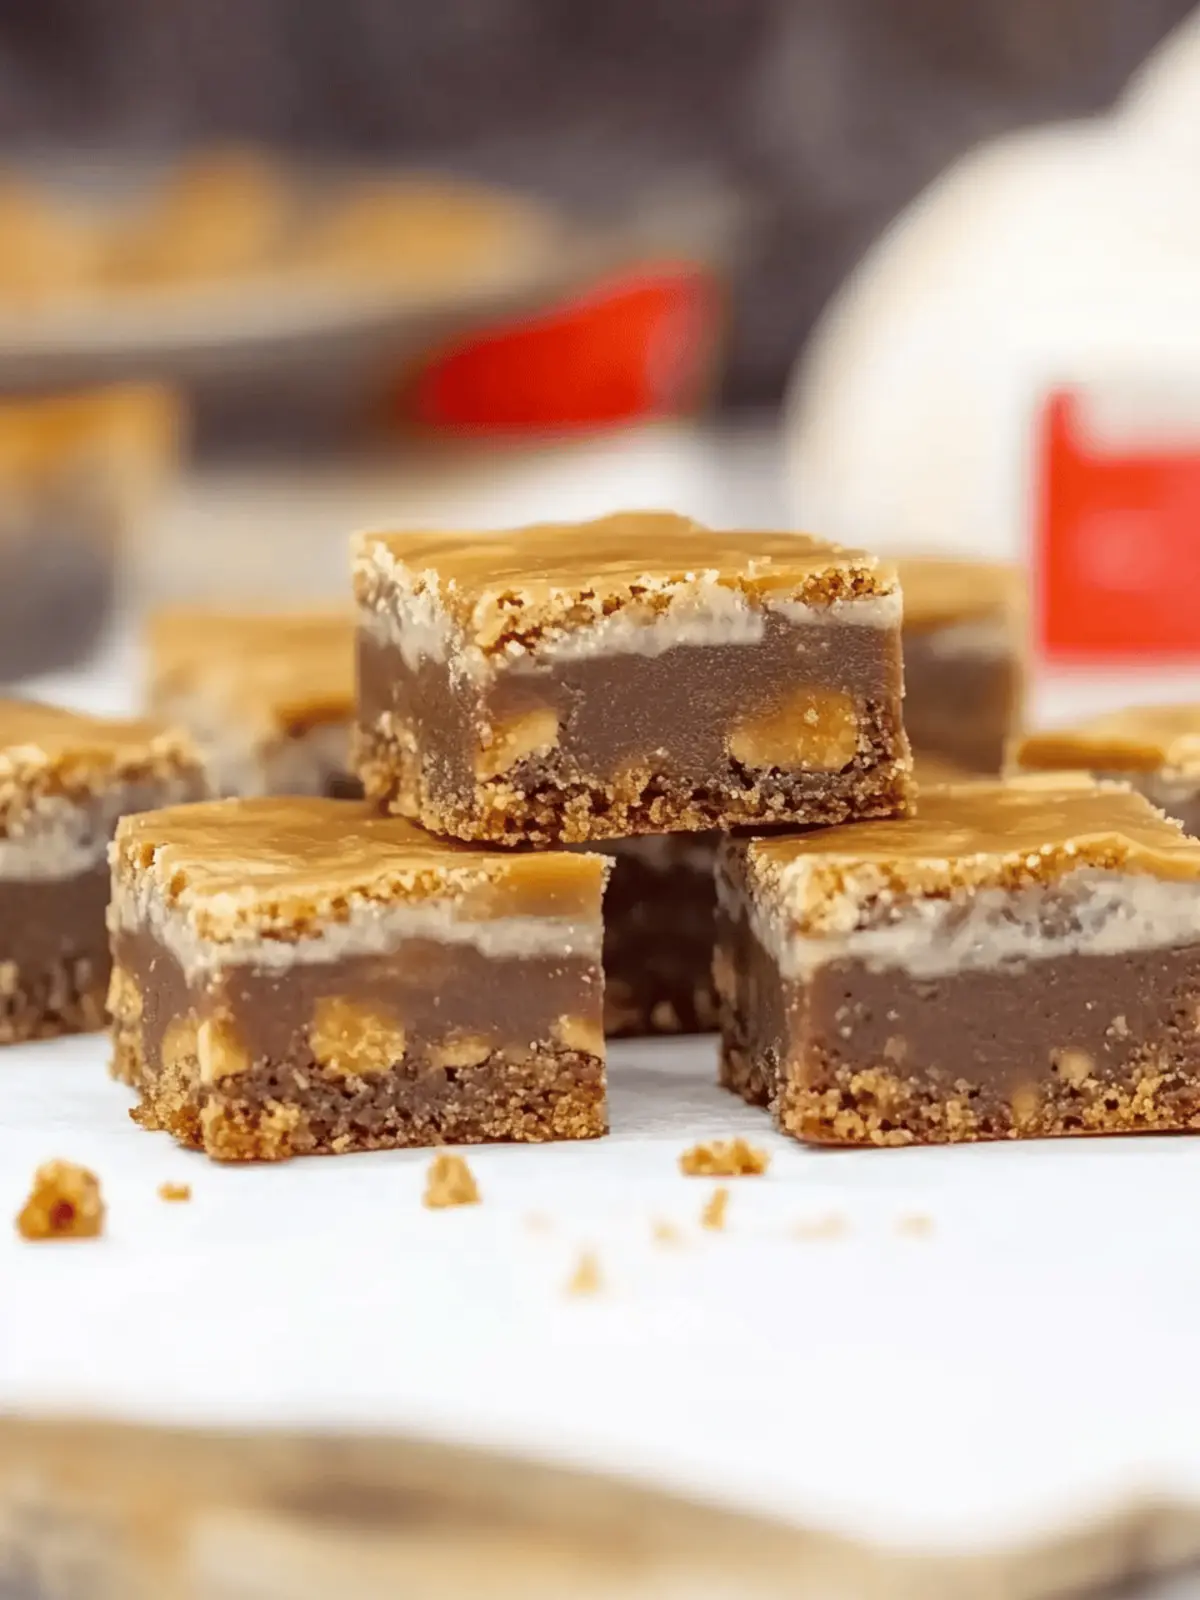
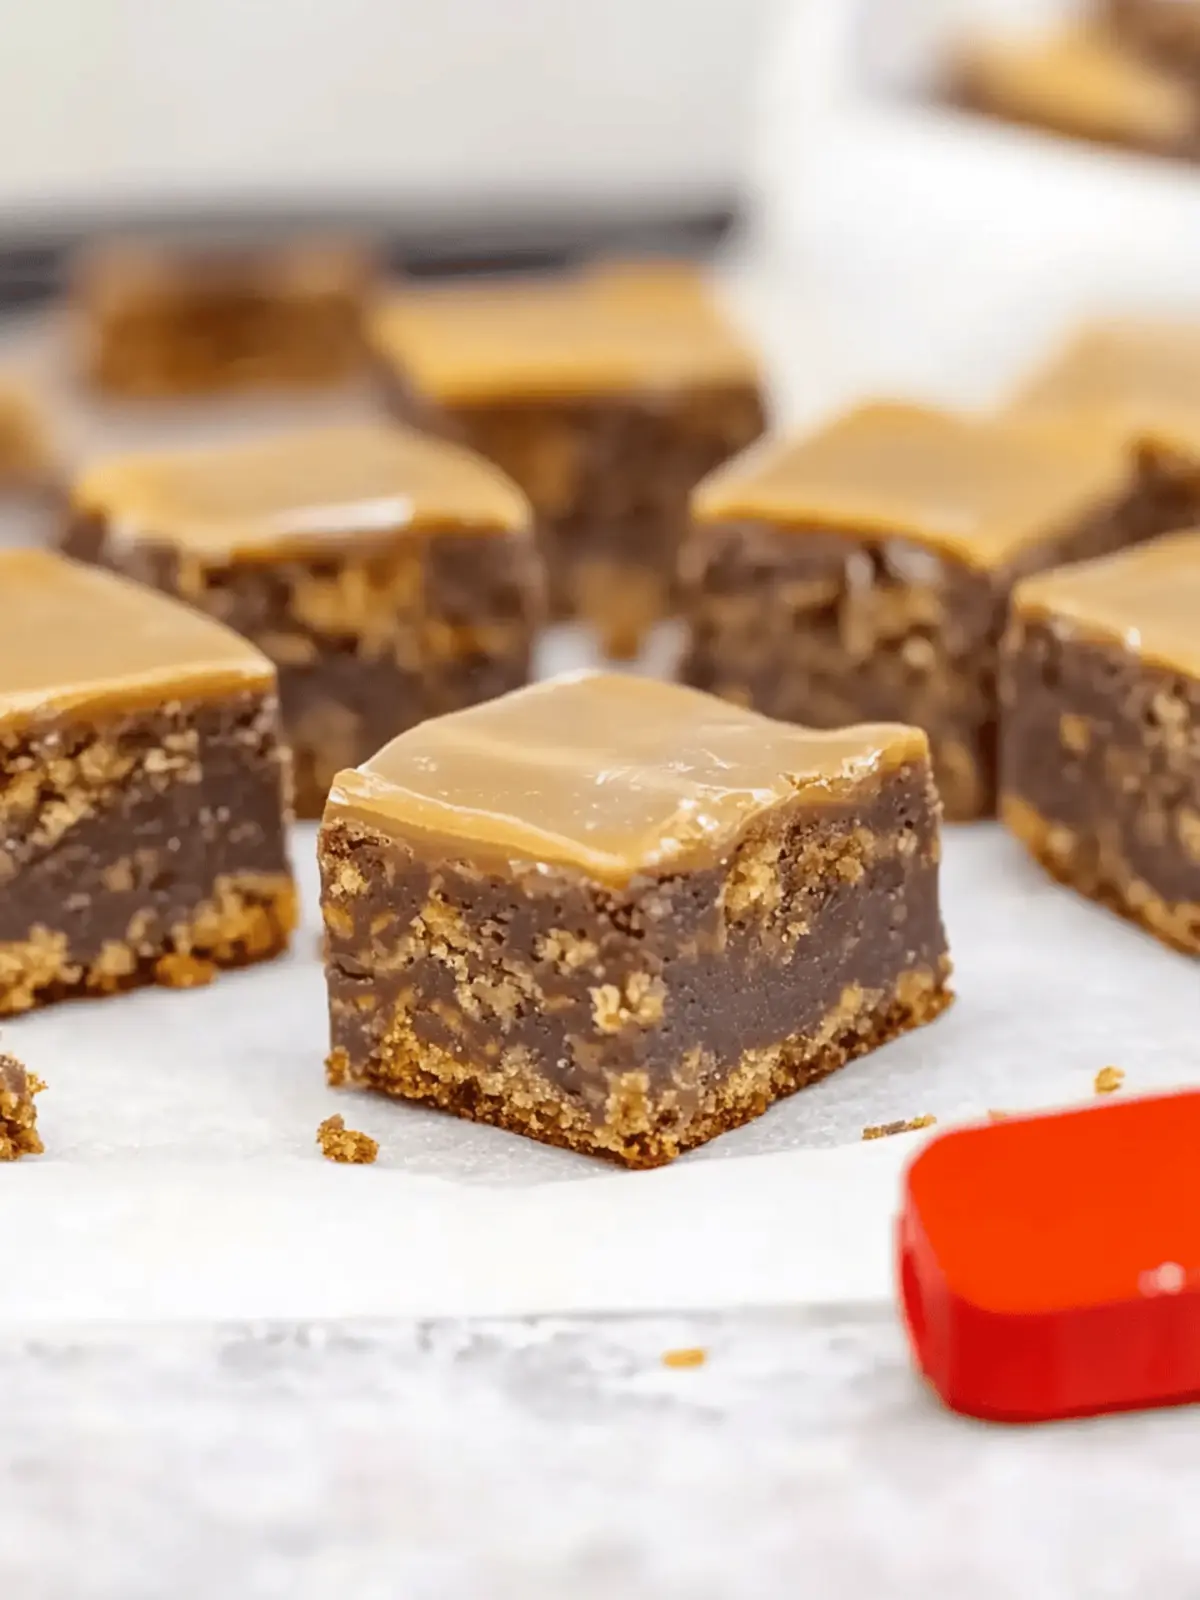
As the sun sets and a cozy evening unfolds, there’s nothing quite like the allure of a no-bake dessert to satisfy those sweet cravings without the fuss. Enter the Biscoff Tiffin—a delightful fusion of Scottish tradition and the spiced sweetness of Lotus Biscoff biscuits. Just imagine the crunch of the biscuits mingling with a rich, creamy topping that features the iconic Biscoff spread, all coming together to create a treat that’s both indulgent and irresistibly satisfying.
I stumbled upon this recipe during a particularly busy week, realizing I desperately needed a dessert that wouldn’t just impress but also fit seamlessly into my hectic schedule. With its simple assembly and no need for an oven, this dessert became my go-to solution for gatherings, and it never fails to steal the spotlight. Picture it: serving this dreamy, marbled Tiffin at your next coffee catch-up or potluck, and watch as everyone reaches for seconds (if not thirds)!
Join me as we whip up this easy yet elegant dessert that celebrates the magic of chocolate and Biscoff—a combination that’s sure to delight your taste buds!
Why is Biscoff Tiffin a Must-Try?
Irresistible dessert: Biscoff Tiffin combines the richness of chocolate with the crunchy spiced goodness of Biscoff biscuits, creating a uniquely satisfying treat. No baking required: This easy recipe saves time without sacrificing flavor, making it perfect for busy schedules or spontaneous gatherings. Versatile options: Feel free to customize with dried fruits or different chocolates to match your personal taste. Crowd-pleaser: Perfect for serving at parties or with coffee, and guaranteed to impress your friends and family. Dive into this simple yet elegant dessert today and elevate your sweet game!
Biscoff Tiffin Ingredients
For the Base
- Digestive Biscuits – These crunchy biscuits provide a solid structure for your Biscoff Tiffin; substitute with Rich Tea or Graham Crackers if needed.
- Biscoff Biscuits – They add a delightful spiced flavor; in a pinch, you can use more Digestives or Biscoff Cremes.
- Butter – Binds the mixture together and adds richness to the texture.
- Caster Sugar – Sweetens the base; feel free to skip it, but your dessert will be less sweet.
- Golden Syrup – Acts as a binding agent while adding a touch of sweetness; extra Biscoff Spread can be used if you’re out.
- Cocoa Powder – Enhances the chocolate flavor in the mixture.
For the Topping
- Biscoff Spread – Elevates the flavor and texture of the topping, adding an extra layer of Biscoff goodness.
- Chocolate – This smooth topping is crucial for that rich taste; use a bit of coconut or vegetable oil to prevent cracking.
Optional Add-Ins
- Optional Raisins – These provide a fruity flavor and texture contrast; add about 180g if desired.
How to Make Biscoff Tiffin
-
Prepare Tin: Grease and line a 20cm/8″ square tin with baking paper, ensuring it’s ready for the delicious mixture that’s about to come!
-
Crush Biscuits: In a ziplock bag, crush the Digestive and Biscoff biscuits into fine crumbs. Leave a few larger chunks for a delightful crunch in your Tiffin.
-
Melt Base Ingredients: In a saucepan, melt the butter, caster sugar, golden syrup, cocoa powder, and Biscoff spread over low heat. Stir until everything is well combined and flows smoothly together.
-
Combine: Remove the saucepan from the heat and add the crushed biscuits. Stir gently until the biscuits are evenly coated in the rich chocolate mixture.
-
Press Mixture: Transfer the mixture into the prepared tin. Press it down evenly with the back of a spoon to create a compact base that will hold its shape.
-
Melt Topping Ingredients: Melt the chocolate in the microwave in short bursts, stirring in between, until smooth and glossy. Pour it over the tiffin base and gently spread to cover.
-
Swirl Biscoff Spread: Melt the Biscoff spread slightly and create a marbled effect on top of the chocolate layer by swirling it with a skewer or knife.
-
Set: Refrigerate the tiffin for a minimum of 2 hours or until completely set, allowing those flavors to meld beautifully.
-
Slice: Once set, allow the tiffin to sit at room temperature for a few minutes before slicing it into 16 squares, ensuring clean cuts and neat edges.
Optional: Add a sprinkle of sea salt before slicing for an extra flavor boost!
Exact quantities are listed in the recipe card below.
Expert Tips for Biscoff Tiffin
-
Chill Thoroughly: Ensure your tiffin chills for at least 2 hours; this allows it to set properly, enhancing the texture and flavors.
-
Use Quality Chocolate: Opt for good quality chocolate for the topping; this elevates the overall taste of your Biscoff Tiffin and makes it more decadent.
-
Mix Biscuit Textures: Combining different biscuit types can add unique textures and flavors. Experiment to find your perfect mix!
-
Avoid Sticking: Line your tin neatly with baking paper to prevent the tiffin from sticking; this will make for easier slicing and cleanup.
-
Slicing Tips: For perfect squares, use a hot knife dipped in water; this will glide through the chocolate without cracking it.
-
Add Expected Flavors: Consider including fruits like dried apricots or cranberries to complement the Biscoff and chocolate flavors for an exciting twist!
How to Store and Freeze Biscoff Tiffin
Fridge: Keep your Biscoff Tiffin in an airtight container for up to 5 days. This will maintain its delicious texture and flavors.
Freezer: For longer storage, freeze the tiffin for up to 2 months. Wrap it tightly in plastic wrap followed by foil to prevent freezer burn.
Thawing: When you’re ready to enjoy, simply thaw in the refrigerator overnight before serving.
Serving: Let the tiffin reach room temperature for a few minutes after thawing to enhance its creamy topping before slicing.
Make Ahead Options
Biscoff Tiffin is perfect for busy home cooks looking to save time without sacrificing flavor! You can prepare the base mixture and press it into the tin up to 24 hours in advance. Simply store the base, wrapped tightly with cling film or in an airtight container in the refrigerator to maintain its crunch. When you’re ready to indulge, just melt the chocolate topping and swirl in the Biscoff spread just before serving. This ensures the topping remains fresh and the flavors meld beautifully, guaranteeing that your Biscoff Tiffin is just as delicious as on the day it was made. Enjoy impressing your family and friends without the last-minute rush!
What to Serve with Biscoff Tiffin?
As you prepare to indulge in this rich and satisfying dessert, consider these delightful accompaniments that enhance its flavors and create a fuller meal experience.
-
Fresh Berries: The bright, tartness of fresh berries complements the sweetness of the tiffin, adding a refreshing contrast to each bite.
-
Coffee or Espresso: A cup of freshly brewed coffee or a rich espresso enhances the chocolate notes in the tiffin, creating a warm and comforting pairing.
-
Whipped Cream: Light and airy whipped cream offers a creamy texture and balances the richness of the tiffin, making each mouthful even more indulgent.
-
Vanilla Ice Cream: The creamy sweetness of vanilla ice cream melts beautifully into the warm chocolate topping, creating a luxurious dessert experience.
-
Chocolate Sauce Drizzle: For the true chocolate lover, a drizzle of warm chocolate sauce takes the tiffin to another level, intensifying the flavors in a delicious way.
-
Mint Tea: A soothing cup of mint tea provides a fresh palate cleanse between bites, allowing you to fully enjoy the unique taste of the Biscoff Tiffin.
-
Nutty Granola: Serve a small side of nutty granola for a crunchy texture that complements the soft creaminess of the dessert, adding an extra layer of flavor.
-
Cheese Platter: Incorporate a selection of mild cheeses to contrast the sweetness, allowing for an interesting mix of flavors that will surprise your guests.
Biscoff Tiffin Variations
Feel free to experiment and make this delightful treat your own!
-
Dried Fruit: Add chopped apricots or cranberries for a chewy surprise that contrasts with the crunch.
A sprinkle of dried fruit transforms your tiffin into a fruity delight, enhancing the overall flavor experience. -
Nutty Twist: Include chopped nuts like walnuts or pecans for added texture and richness.
The crunch of nuts elevates the dessert, adding depth and a satisfying bite with every slice. -
Flavor Boost: Try substituting the cocoa powder with chocolate pudding mix for an even richer base.
This swap intensifies the chocolate flavor and makes the tiffin extra indulgent, perfect for chocolate lovers! -
Spicy Kick: Stir in a pinch of cinnamon or a touch of chili powder to add warmth and spice.
A hint of spice brings a unique twist, complementing the Biscoff flavors and creating a delicious balance. -
Vegan Delight: Replace butter with coconut oil and ensure chocolate is dairy-free for a vegan twist.
This variation keeps the treat just as creamy and satisfying while catering to dietary preferences. -
Increased Sweetness: Drizzle caramel sauce on top to add an extra layer of sweetness and gooeyness.
The rich caramel complements the chocolate and Biscoff wonderfully, making each bite even more decadent. -
Different Chocolate: Switch up the chocolate topping—try white chocolate for a sweeter, creamier contrast.
The blend of flavors creates a visually stunning dessert and caters to diverse taste preferences. -
Make It Minty: Add a few drops of peppermint extract to the chocolate for a refreshing twist.
Mint and chocolate are a match made in heaven, offering an invigorating flavor that keeps your taste buds guessing!
Biscoff Tiffin Recipe FAQs
What should I look for when choosing Biscoff biscuits?
When selecting Biscoff biscuits, ensure they are fresh and free from any signs of damage. Look for a vibrant caramel color and avoid packages with crushed or broken biscuits. The expiration date should also be checked to ensure quality.
How should I store Biscoff Tiffin to keep it fresh?
Store your Biscoff Tiffin in an airtight container in the fridge for 3 to 5 days. This helps maintain its rich texture and flavors. If you find yourself with leftovers, be sure to cover it well to prevent any unwanted fridge odors from affecting the taste.
Can I freeze Biscoff Tiffin, and how?
Absolutely! You can freeze your Biscoff Tiffin for up to 2 months. To do this, wrap it tightly in plastic wrap followed by a layer of aluminum foil to prevent freezer burn. When you’re ready to enjoy, simply transfer it to the fridge to thaw overnight before serving.
What should I do if my Biscoff Tiffin turns out too soft?
If your tiffin is too soft, it may not have chilled long enough. Make sure to refrigerate it for at least 2 hours until fully set before slicing. For a firmer texture, you can also add a bit more cocoa powder or biscuits to help bind the mixture more effectively.
Are there any dietary considerations I should be aware of?
When making Biscoff Tiffin, be aware that it contains gluten and dairy due to the biscuits and butter. If you have dietary restrictions, consider using gluten-free biscuits and dairy-free alternatives like vegan butter. Always check labels for allergens, especially since Biscoff products might contain traces of nuts.
What’s the best way to slice Biscoff Tiffin for neat squares?
To achieve clean cuts, allow your tiffin to sit at room temperature for a few minutes after refrigerating. Then, use a sharp knife dipped in hot water to slice through the chocolate topping easily. This technique minimizes cracking and ensures beautifully presented squares.

Irresistible Biscoff Tiffin: No-Bake Bliss Awaits You
Ingredients
Equipment
Method
- Grease and line a 20cm/8" square tin with baking paper.
- In a ziplock bag, crush the Digestive and Biscoff biscuits into fine crumbs, leaving a few larger chunks.
- Melt butter, caster sugar, golden syrup, cocoa powder, and Biscoff spread in a saucepan over low heat until smooth.
- Remove from heat and add the crushed biscuits, stirring until evenly coated.
- Transfer the mixture into the prepared tin and press down evenly.
- Melt the chocolate in the microwave until smooth and pour over the tiffin base.
- Melt Biscoff spread slightly and create a marbled effect on top.
- Refrigerate for a minimum of 2 hours until set.
- Allow to sit at room temperature for a few minutes before slicing into 16 squares.


