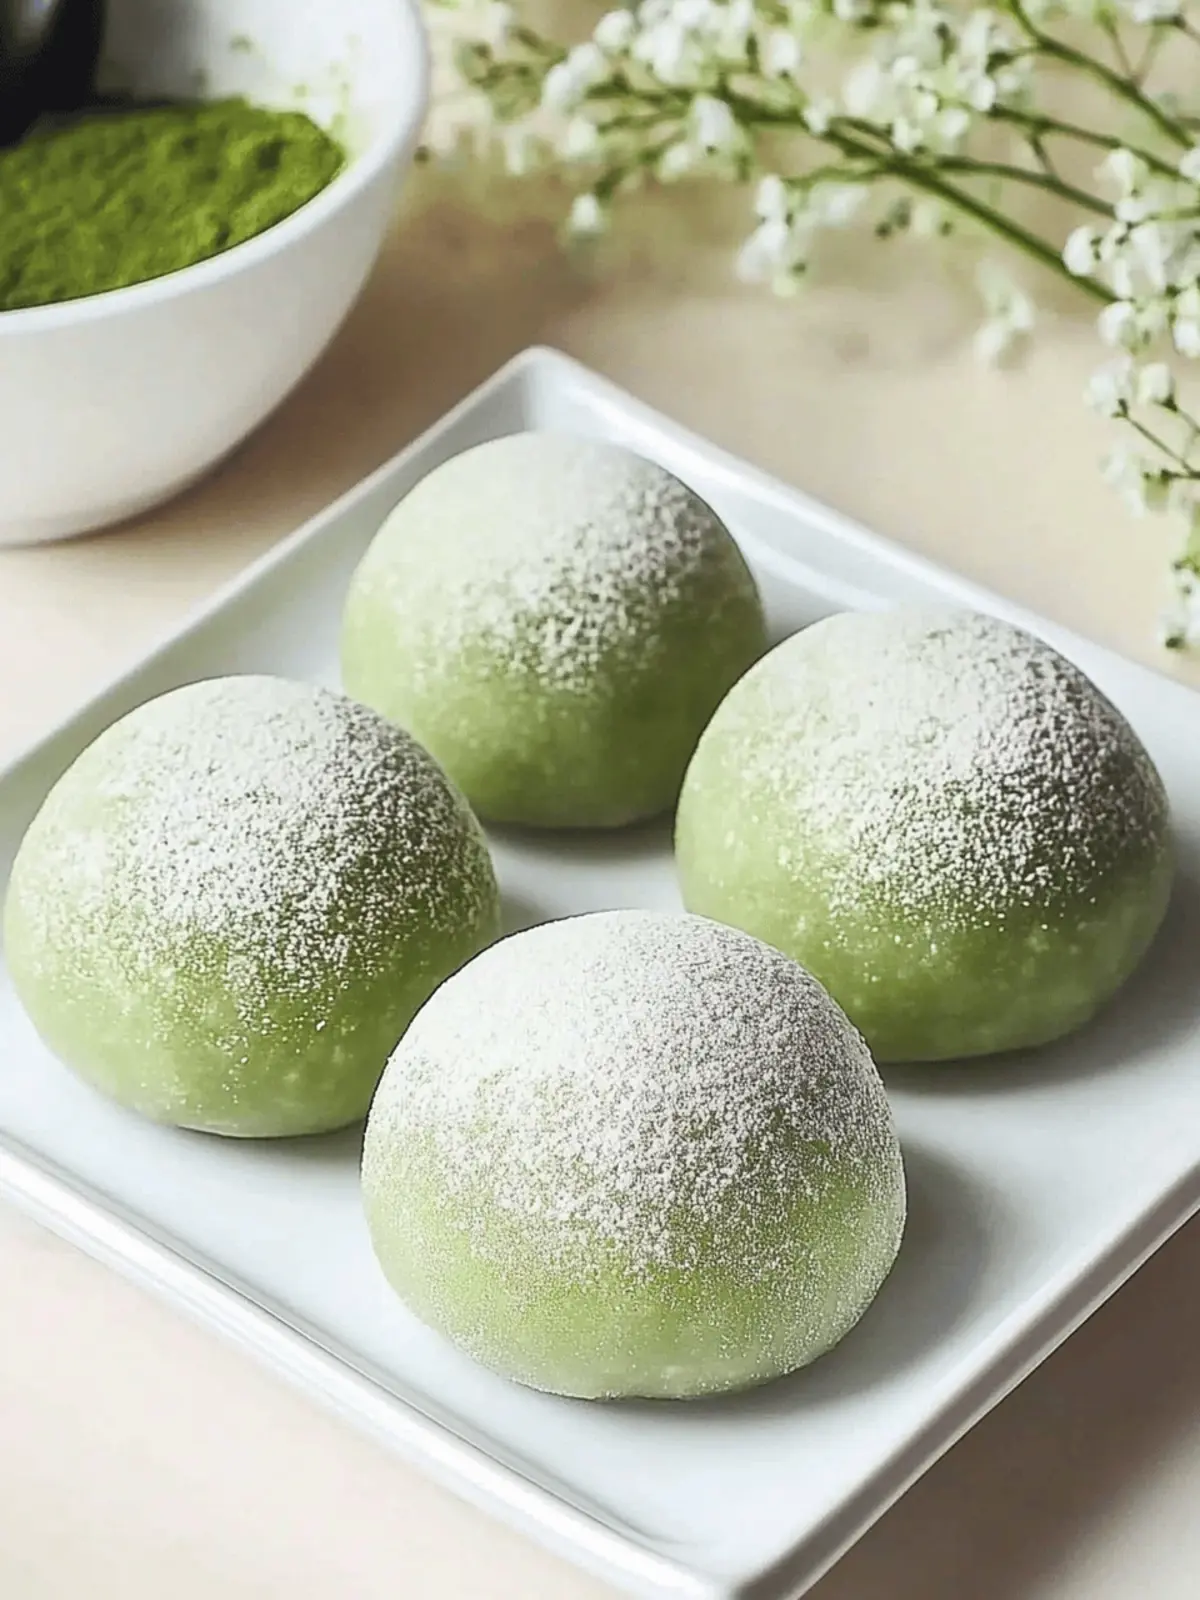
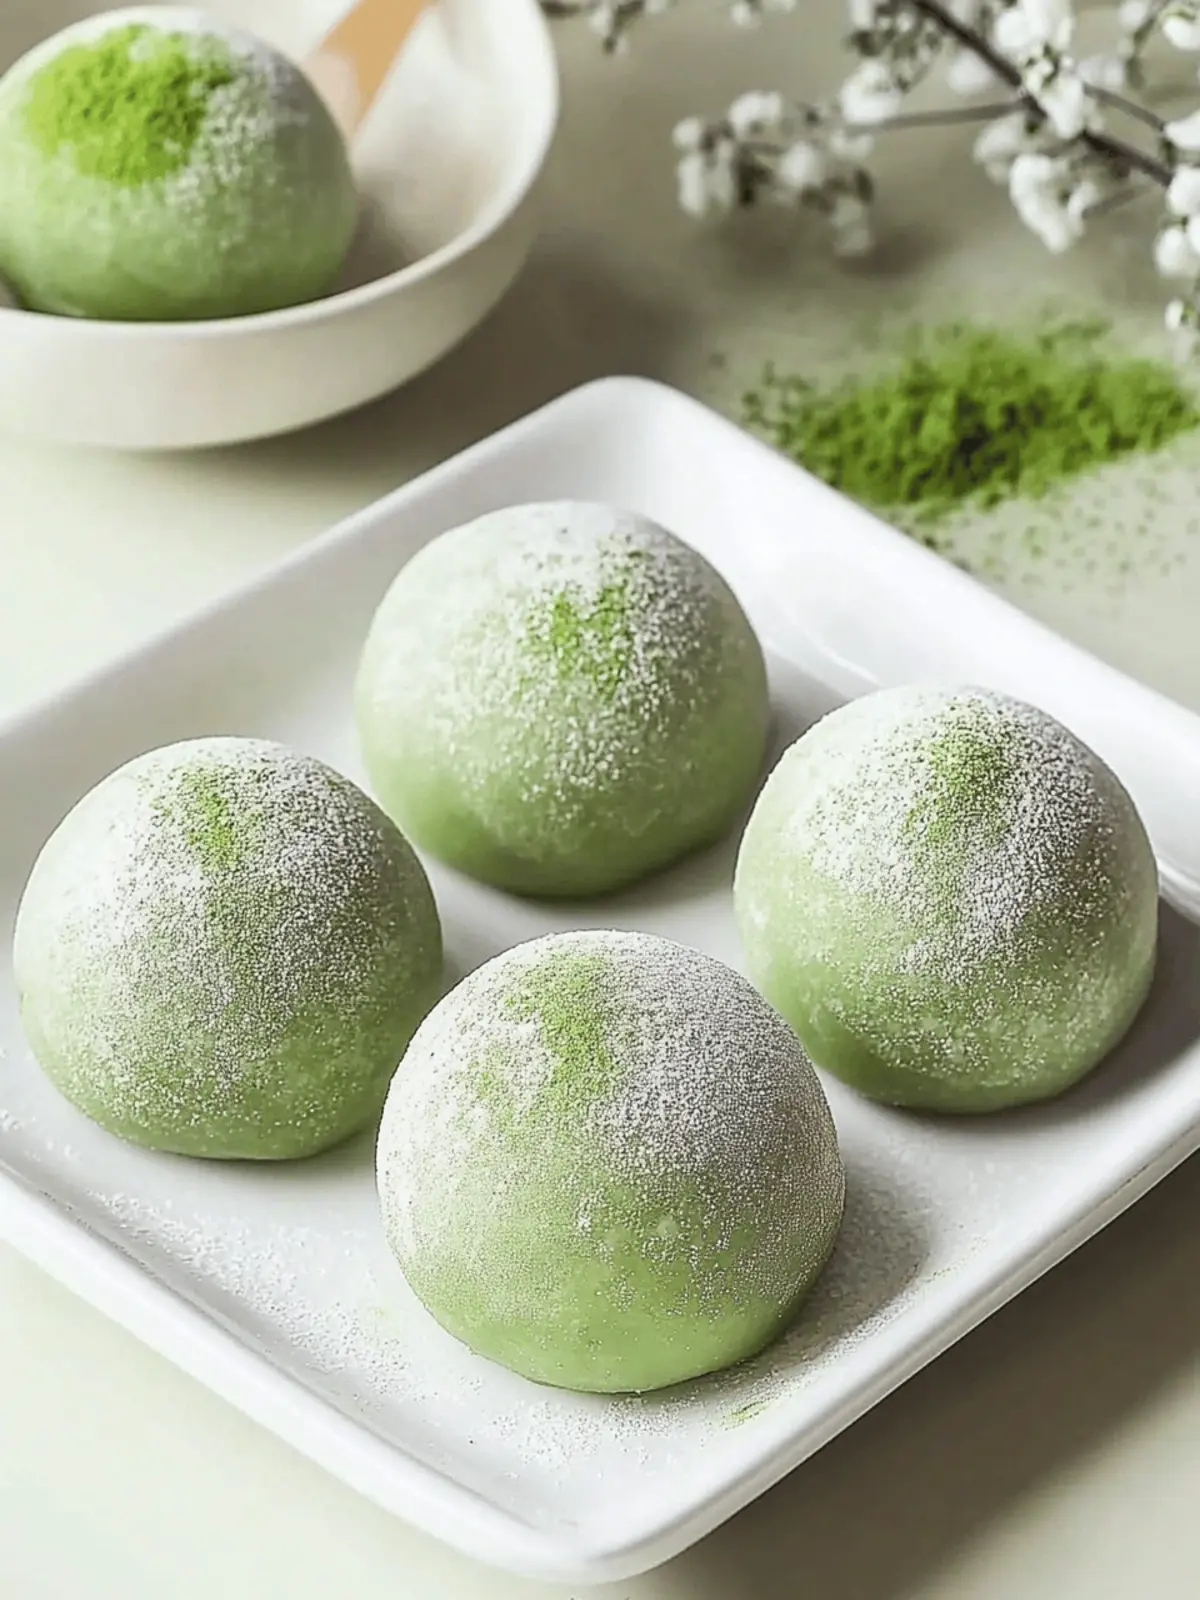
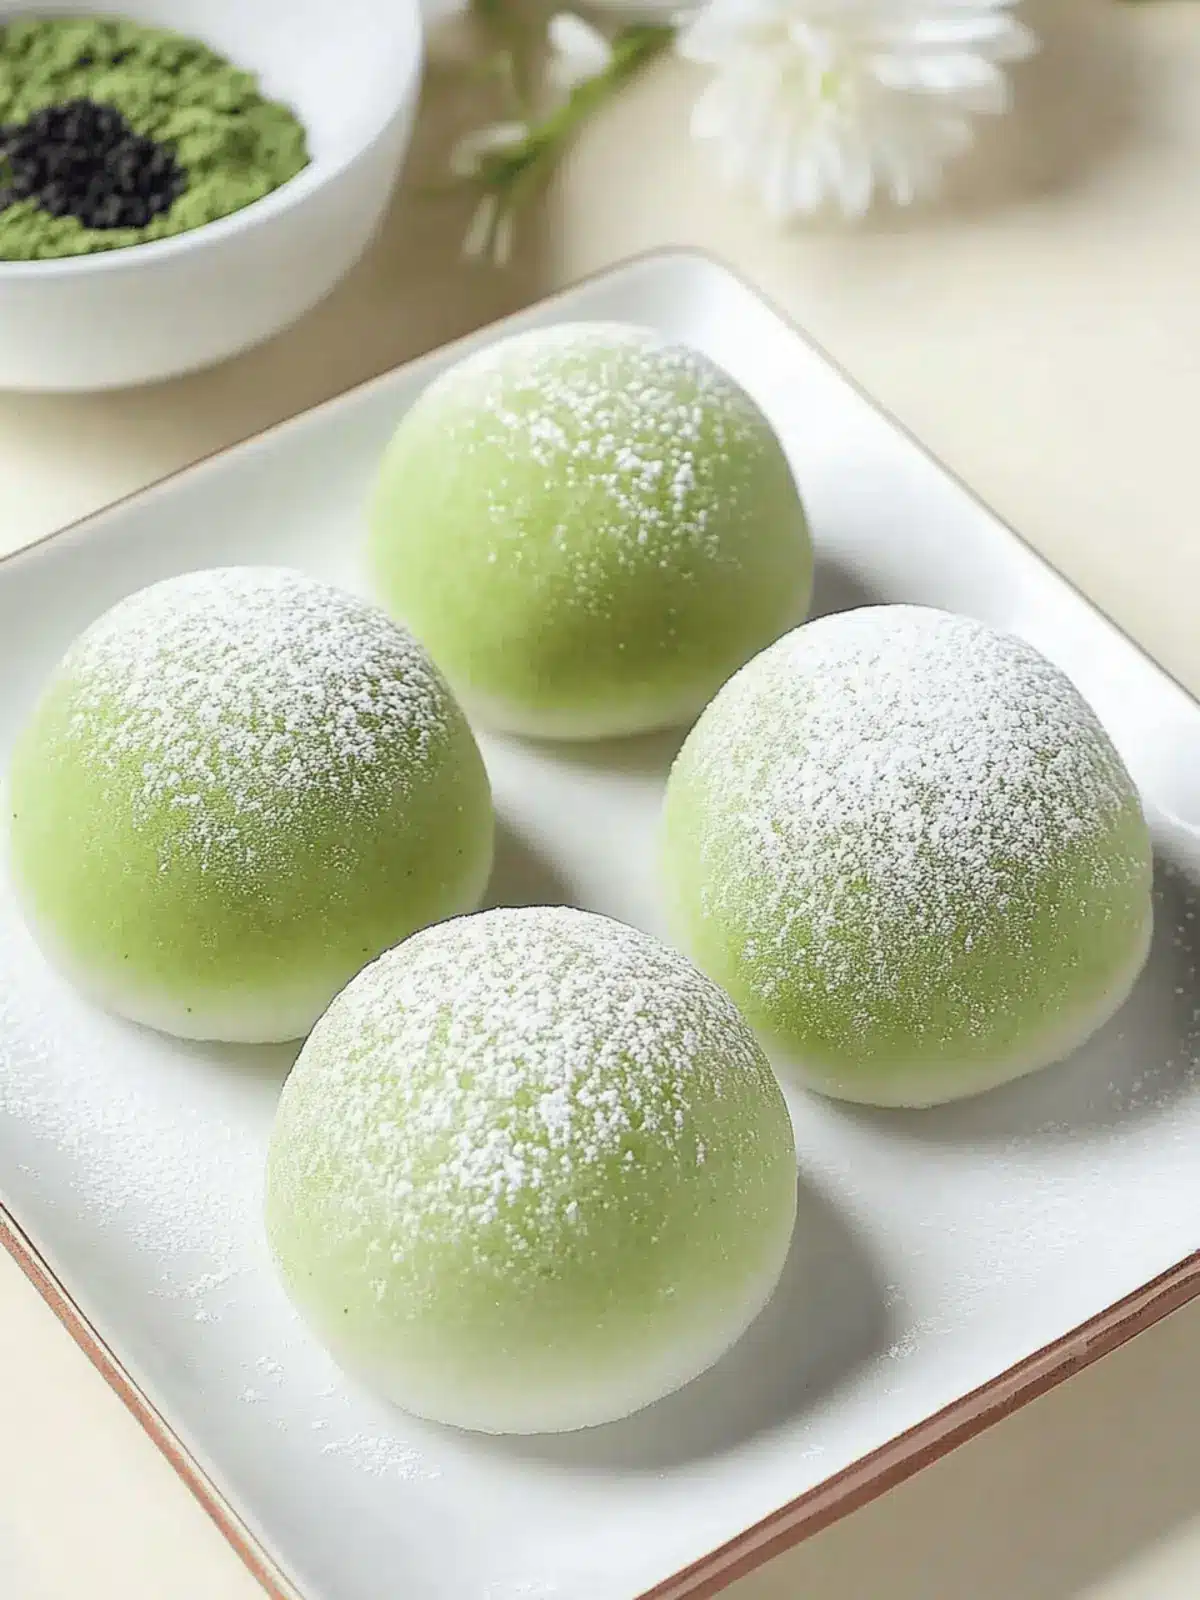
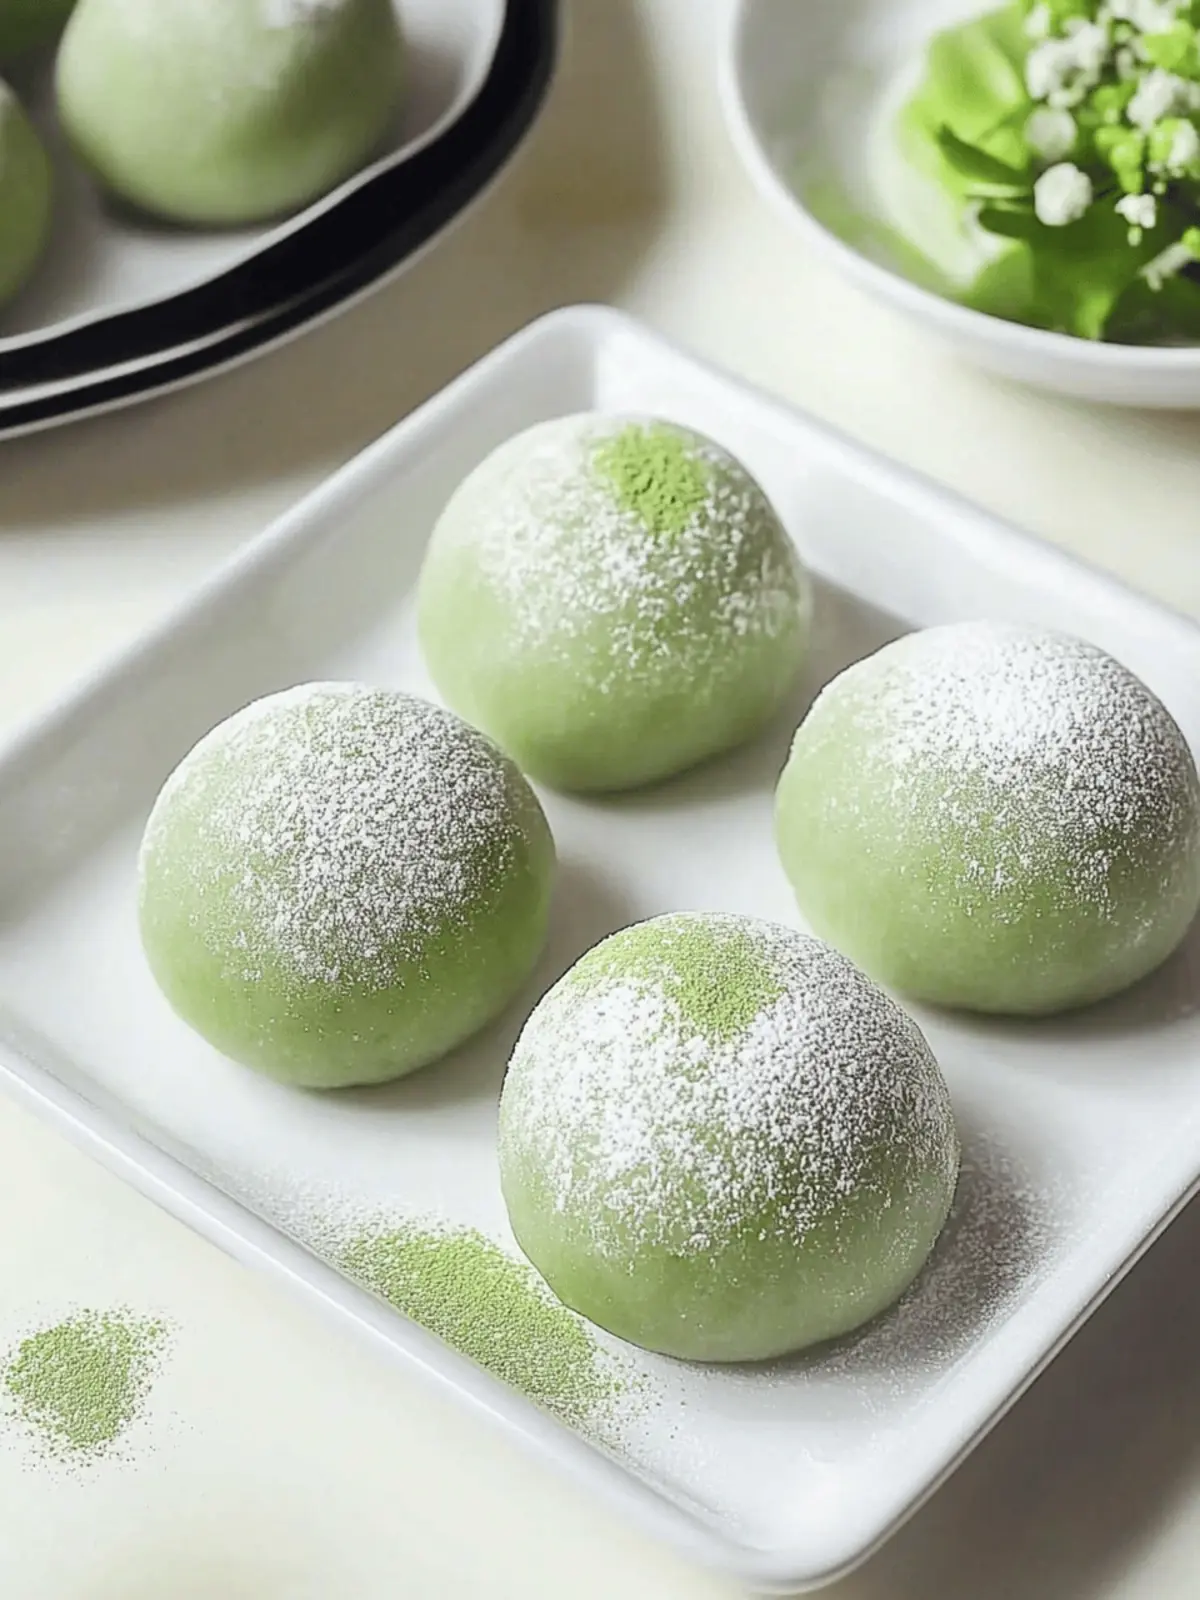
There’s something truly enchanting about the delicate combination of flavors in this Matcha Mochi recipe. As I whisked the vibrant matcha powder into the creamy blend of whipping cream, it felt like a moment of culinary magic, bridging traditional Japanese treats with a modern twist. The soft, chewy texture of mochi paired with the rich, velvety matcha filling creates a delightful dessert that’s both comforting and sophisticated.
If you’ve been stuck in a fast-food rut or are simply craving something homemade and satisfying, look no further. This mochi recipe is not only easy to create but also a showstopper that will impress your friends and family. Whether it’s for a cozy weekend treat or a delightful addition to your next gathering, these little bites of joy will undoubtedly bring smiles around the table. Grab your ingredients, and let’s dive into making these scrumptious Matcha Mochis together!
Why is this Matcha Mochi Recipe so special?
Uniqueness: This Matcha Mochi brings a delightful twist to traditional mochi, blending the rich flavor of matcha with a creamy filling that feels luxurious in every bite.
Simplicity: Don’t worry if you’re not a pro in the kitchen; this recipe is straightforward and fun to make, perfect for cooks of all levels.
Versatility: Serve it as a dessert, snack, or even a unique party treat—everyone will ask for the recipe!
Crowd-Pleasing: With its eye-catching appearance and delectable taste, it’s sure to impress your friends at your next gathering.
Time-Saving: The total time is just over an hour, making this a quick yet rewarding treat to whip up. Plus, for more delightful flavors, consider trying out other variations of mochi as well!
Matcha Mochi Ingredients
For the Matcha Filling
• Matcha powder – 8 g – This vibrant green powder is the star of the show, giving your mochi its unique flavor!
• Whipping cream – 150 g – Provides a rich, creamy base that softens the matcha’s earthiness.
• Cream cheese – 200 g – Adds a delightful tanginess and smooth texture to the filling.
• White sugar – 30 g – Enhances sweetness and balances the savory notes of cream cheese.
For the Mochi Dough
• Glutinous rice flour – 90 g – The key ingredient for that wonderfully chewy texture that mochi is known for.
• Corn starch – 20 g – Helps improve the final texture of the dough, making it more elastic.
• White sugar – 20 g – Sweetens the dough to complement the matcha filling.
• Milk – 160 g – Adds moisture and helps bind the dough ingredients together.
• Butter – 15 g – Imparts a lovely richness, making the mochi even more delectable!
Give this Matcha Mochi recipe a try, and you’ll create a treat that’s not only delicious but also beautifully unique!
How to Make Matcha Mochi
-
Whisk together: Start by whisking 8 g of matcha powder into 150 g of whipping cream, adding it gradually until you achieve a vibrant, well-combined consistency. This step sets the stage for a beautiful flavor!
-
Combine cream cheese: In a separate bowl, mix 200 g of cream cheese with 30 g of sugar until the mixture is smooth and creamy. This will ensure a luscious filling for your mochi.
-
Incorporate matcha mixture: Gently add the whisked matcha cream mixture to the cream cheese blend. Stir until fully combined, creating a beautiful, green filling that’s both rich and flavor-packed.
-
Freeze the filling: Pour the matcha cream-cheese mixture into molds. Place them in the freezer for about one hour, or until the filling is firm and ready for encasement in mochi.
-
Mix the mochi dough: In a new bowl, combine 90 g of glutinous rice flour, 20 g of corn starch, 20 g of sugar, and 160 g of milk. Stir well until all ingredients come together seamlessly.
-
Sift for smoothness: To ensure a silky texture, sift the mochi mixture twice. This eliminates any lumps, resulting in a perfectly chewy dough.
-
Prepare for steaming: Cover the bowl with plastic wrap, but be sure to poke a few small holes in it. This allows steam to escape during cooking, giving your mochi the right texture.
-
Cook in the microwave: Microwave the mochi mixture for 3 minutes, or until cooked. Keep an eye on it to achieve that perfectly chewy consistency!
-
Add butter: Once cooked, incorporate 15 g of butter into the mochi mixture. Allow it to cool slightly, then stretch and knead until it’s smooth and elastic.
-
Portion the dough: Divide the mochi dough into 6 equal portions, ensuring each piece is easy to work with for filling.
-
Roll into discs: Take each portion of mochi dough and roll it out into a small disc. Aim for a thickness that will hold the filling without breaking.
-
Fill with matcha: Place a portion of the frozen matcha filling in the centre of each mochi disc. This is where the magic happens!
-
Seal the mochi: Carefully fold the edges of the mochi dough around the filling, pinching to seal completely. Make sure there are no gaps for the filling to escape!
-
Smooth it out: Roll each filled mochi ball gently between your palms to smooth any seams, making them look as delightful as they taste.
-
Garnish: Finally, sprinkle the assembled matcha mochi with a little matcha powder for a lovely finishing touch that enhances its presentation.
Optional: Serve with sweetened condensed milk for an extra treat!
Exact quantities are listed in the recipe card below.
Matcha Mochi Variations
Feel free to explore these delightful twists on the classic recipe to make each batch even more special!
- Dairy-Free: Substitute coconut cream for whipping cream and use vegan cream cheese for a dairy-free delight.
- Nutty Delight: Add 30 g of finely ground almonds to the mochi dough for a nutty flavor and additional texture.
- Chocolate Lovers: Incorporate 20 g of cocoa powder into the dough for a rich chocolatey experience alongside the matcha.
- Fruit-Infused: Blend in a tablespoon of pureed strawberries or mango into the matcha filling for a fruity twist!
- Savory Surprise: A sprinkle of sea salt in the filling can elevate flavors beautifully, offering a sweet-salty contrast.
- Spicy Kick: Add a pinch of cayenne pepper or chili powder to the mochi dough to bring a surprising heat!
- Layered Fusion: Create layers by adding a thin slice of fresh fruit, like strawberries or kiwi, inside the mochi before sealing.
- Matcha Marble: Swirl in an extra spoonful of matcha into your mochi dough for a beautiful marbled effect, making each piece stunning!
Dare to try these variations, and you’ll discover even more ways to delight your taste buds!
How to Store and Freeze Matcha Mochi
Fridge: Store any leftover Matcha Mochi in an airtight container in the refrigerator for up to 3 days to maintain its freshness and texture.
Freezer: For longer storage, keep the mochi in a freezer-safe container or zip-top bag, where it can last for up to 2 months.
Reheating: To enjoy your frozen Matcha Mochi, let it thaw in the fridge for a few hours before serving. Alternatively, you can steam it for a couple of minutes for that fresh, chewy texture.
Serving Tip: Always re-dust with matcha powder after thawing to restore its vibrant appearance and enhance flavor.
Make Ahead Options
These Matcha Mochi are perfect for busy home cooks looking to save time during the week! You can prepare the matcha filling up to 24 hours in advance; simply whisk together the matcha and whipping cream, then blend with cream cheese and freeze in molds. The mochi dough can also be made ahead; once prepared, store it tightly wrapped in plastic wrap in the refrigerator for up to 3 days. To maintain the quality, be sure to keep it airtight to prevent drying out. When you’re ready to assemble, just roll out the dough, fill with the frozen matcha center, seal, and enjoy these delightful bites, fresh and enjoyable with minimal effort!
Expert Tips for the Best Matcha Mochi
- Ingredient Quality: Use high-quality matcha powder for the best flavor. Ceremonial grade is ideal if you’re looking for a vibrant and rich taste.
- Temperature Matters: Make sure your ingredients, especially the cream cheese, are at room temperature for better mixing and a smoother filling.
- Prevent Sticking: Dust your hands and work surface with cornstarch while shaping the mochi to avoid it sticking and tearing.
- Thorough Mixing: When combining the mochi dough, ensure it’s well-mixed and free of lumps to achieve that perfect chewy texture in your Matcha Mochi.
- Timing is Key: Keep an eye on the microwave cook time to prevent the mochi from becoming rubbery; adjust based on your microwave’s power.
- Personalize Flavors: Don’t hesitate to experiment with the filling—try adding a touch of vanilla extract or even a hint of citrus zest for a unique twist!
What to Serve with Matcha Mochi?
Dive into a world of culinary harmony by pairing your delightful matcha mochi with complementary dishes that elevate the entire experience.
- Fresh Fruit Salad: A colorful medley of seasonal fruits balances the creaminess of the mochi, adding a refreshing crunch to each bite.
- Matcha Green Tea Latte: Sip on this warm beverage that echoes the mochi’s flavors, enhancing the sweet and earthy notes with creamy richness.
- Red Bean Paste: This traditional Japanese treat offers a subtle sweetness and earthy flavor that pairs beautifully with the matcha filling, creating a harmonious blend of tastes.
- Coconut Ice Cream: The creamy texture and tropical taste of coconut ice cream contrast wonderfully with the chewy mochi, offering a delightful cold treat.
- Sesame Cookies: Crunchy, nutty cookies provide a textural contrast, while their sweetness enhances the delicate notes of the matcha in your dessert.
- Mango Sticky Rice: For a fruity twist, this Thai classic complements the mochi’s flavors perfectly, as the sweet coconut cream ties all elements together.
These pairings will create an unforgettable tasting journey that leaves everyone craving just one more bite. Enjoy crafting your complete matcha-themed feast!
Matcha Mochi Recipe FAQs
What type of matcha powder should I use for this recipe?
Absolutely! For the best flavor and vibrant color in your Matcha Mochi, I recommend using high-quality, ceremonial grade matcha powder. It will provide a richer taste and a beautiful green hue, enhancing both the appearance and taste of your homemade treat.
How should I store leftover Matcha Mochi?
To keep your Matcha Mochi fresh, store any leftovers in an airtight container in the refrigerator for up to 3 days. This method helps maintain the perfect balance of chewy texture and flavor. If you’re not eating it right away, follow the freezing instructions below.
Can I freeze Matcha Mochi? How?
Yes, you can! To freeze your Matcha Mochi, place the filled mochi in a single layer on a baking sheet and freeze until firm. Then, transfer them to a freezer-safe container or zip-top bag. They can last for up to 2 months in the freezer. When ready to enjoy, just thaw them in the fridge or steam them for a few minutes to restore their delightful chewiness.
What can I do if my mochi dough is too sticky?
Very! If you find your mochi dough is too sticky, dust your hands and work surface with a little cornstarch while shaping the mochi. This prevents sticking and ensures that your dough forms nicely without tearing. You may also want to give the mixture an extra knead to improve texture.
Are there any dietary considerations I should keep in mind?
Certainly! If you have gluten allergies, be sure to use gluten-free cornstarch and double-check that your matcha and other ingredients are also gluten-free certified. For dairy-free options, swap out the cream cheese and whipping cream with suitable alternatives like cashew cream or dairy-free cream cheese to adapt the recipe to your dietary needs.

Delicious Matcha Mochi Recipe for a Unique Homemade Treat
Ingredients
Equipment
Method
- Start by whisking 8 g of matcha powder into 150 g of whipping cream, adding it gradually until you achieve a vibrant, well-combined consistency.
- In a separate bowl, mix 200 g of cream cheese with 30 g of sugar until smooth and creamy.
- Gently add the whisked matcha cream mixture to the cream cheese blend. Stir until fully combined.
- Pour the matcha cream-cheese mixture into molds. Freeze for about one hour until firm.
- In a new bowl, combine 90 g of glutinous rice flour, 20 g of corn starch, 20 g of sugar, and 160 g of milk. Stir well.
- Sift the mochi mixture twice to ensure a silky texture.
- Cover the bowl with plastic wrap but poke a few small holes in it.
- Microwave the mochi mixture for 3 minutes until cooked.
- Once cooked, incorporate 15 g of butter into the mochi mixture. Allow to cool slightly, then stretch and knead until smooth.
- Divide the mochi dough into 6 equal portions.
- Roll each portion into a small disc.
- Place a portion of the frozen matcha filling in the center of each mochi disc.
- Fold the edges of the mochi dough around the filling, pinching to seal.
- Roll each filled mochi ball gently between your palms to smooth any seams.
- Sprinkle the assembled matcha mochi with a little matcha powder for presentation.


