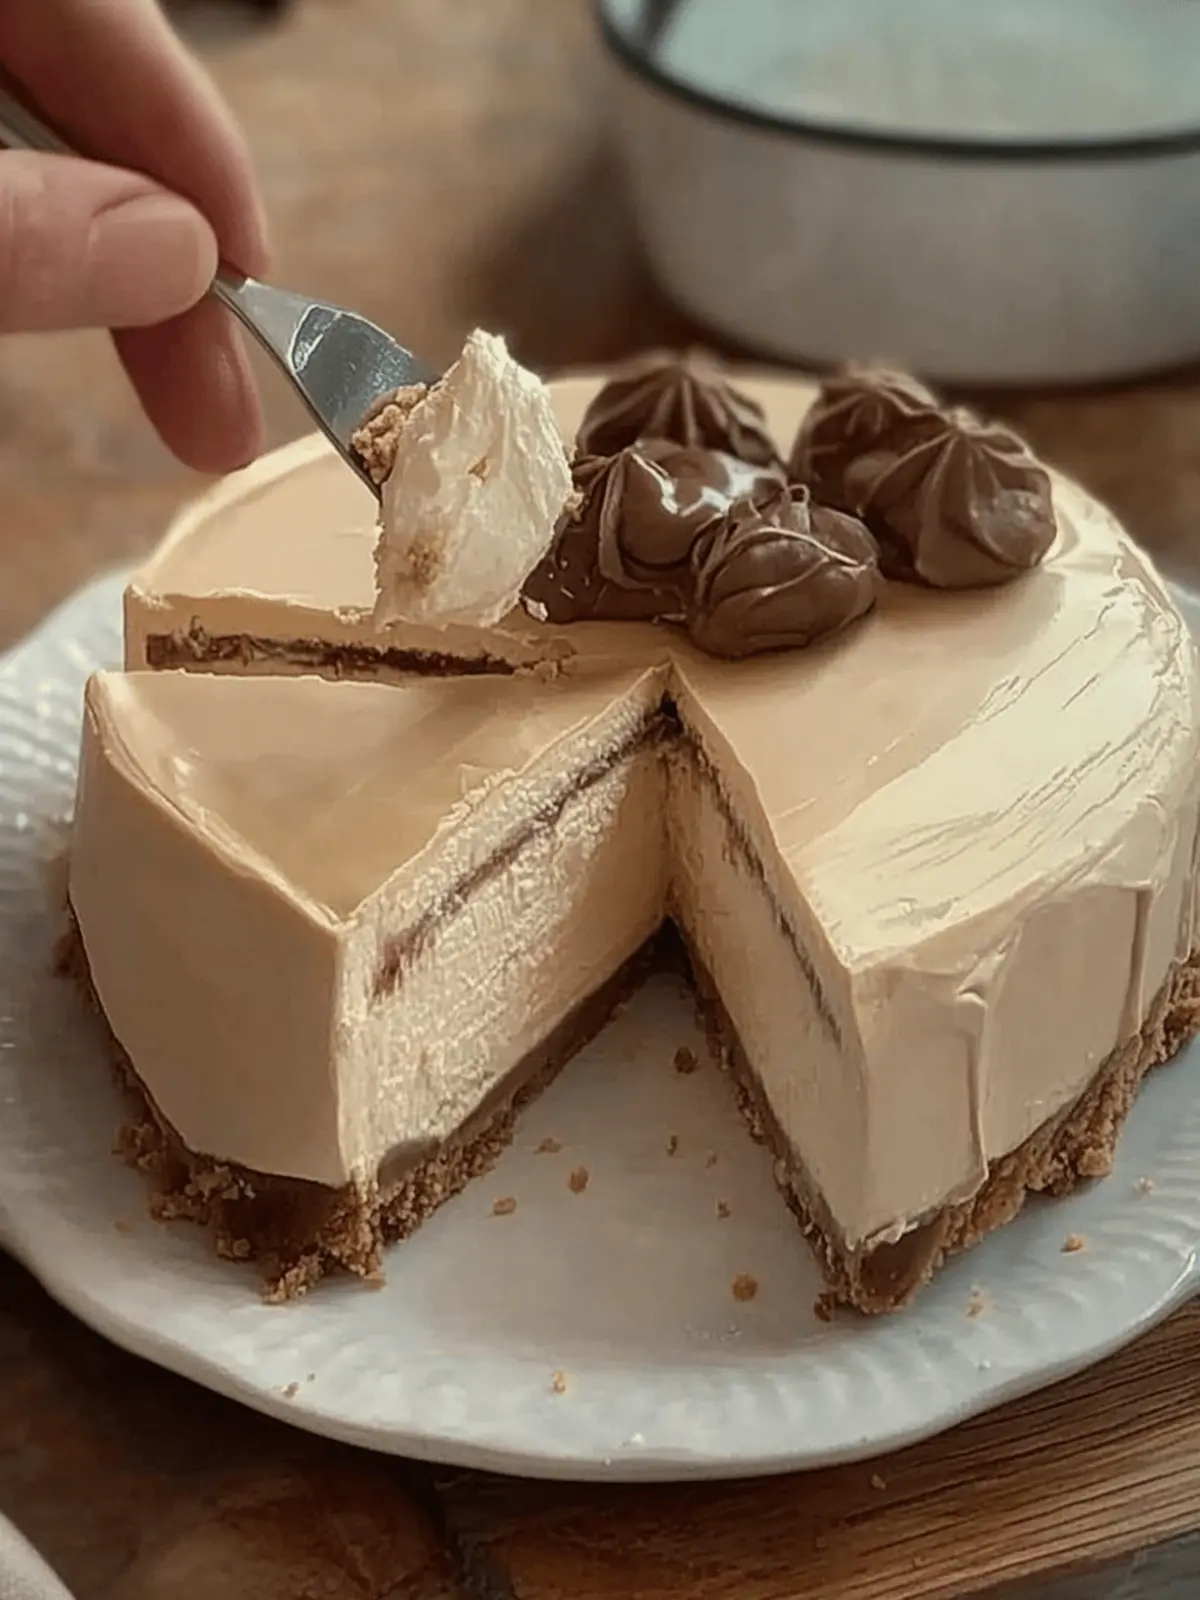
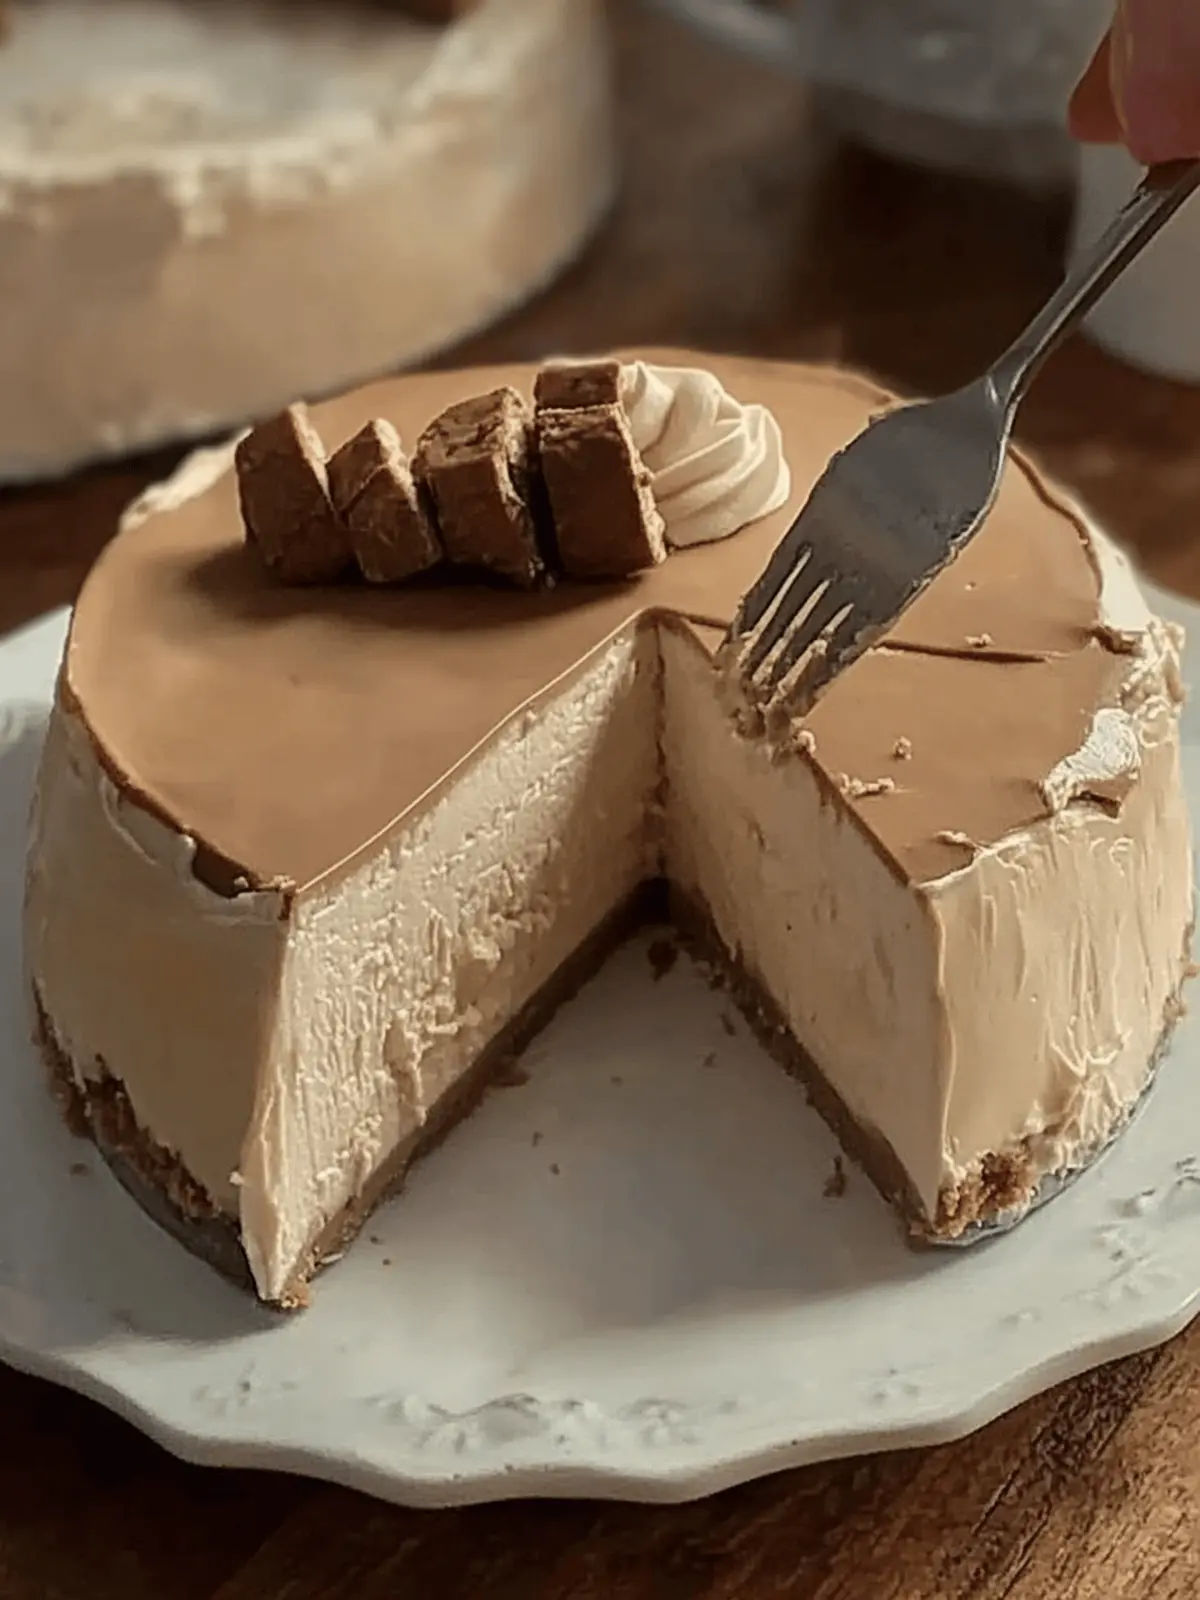
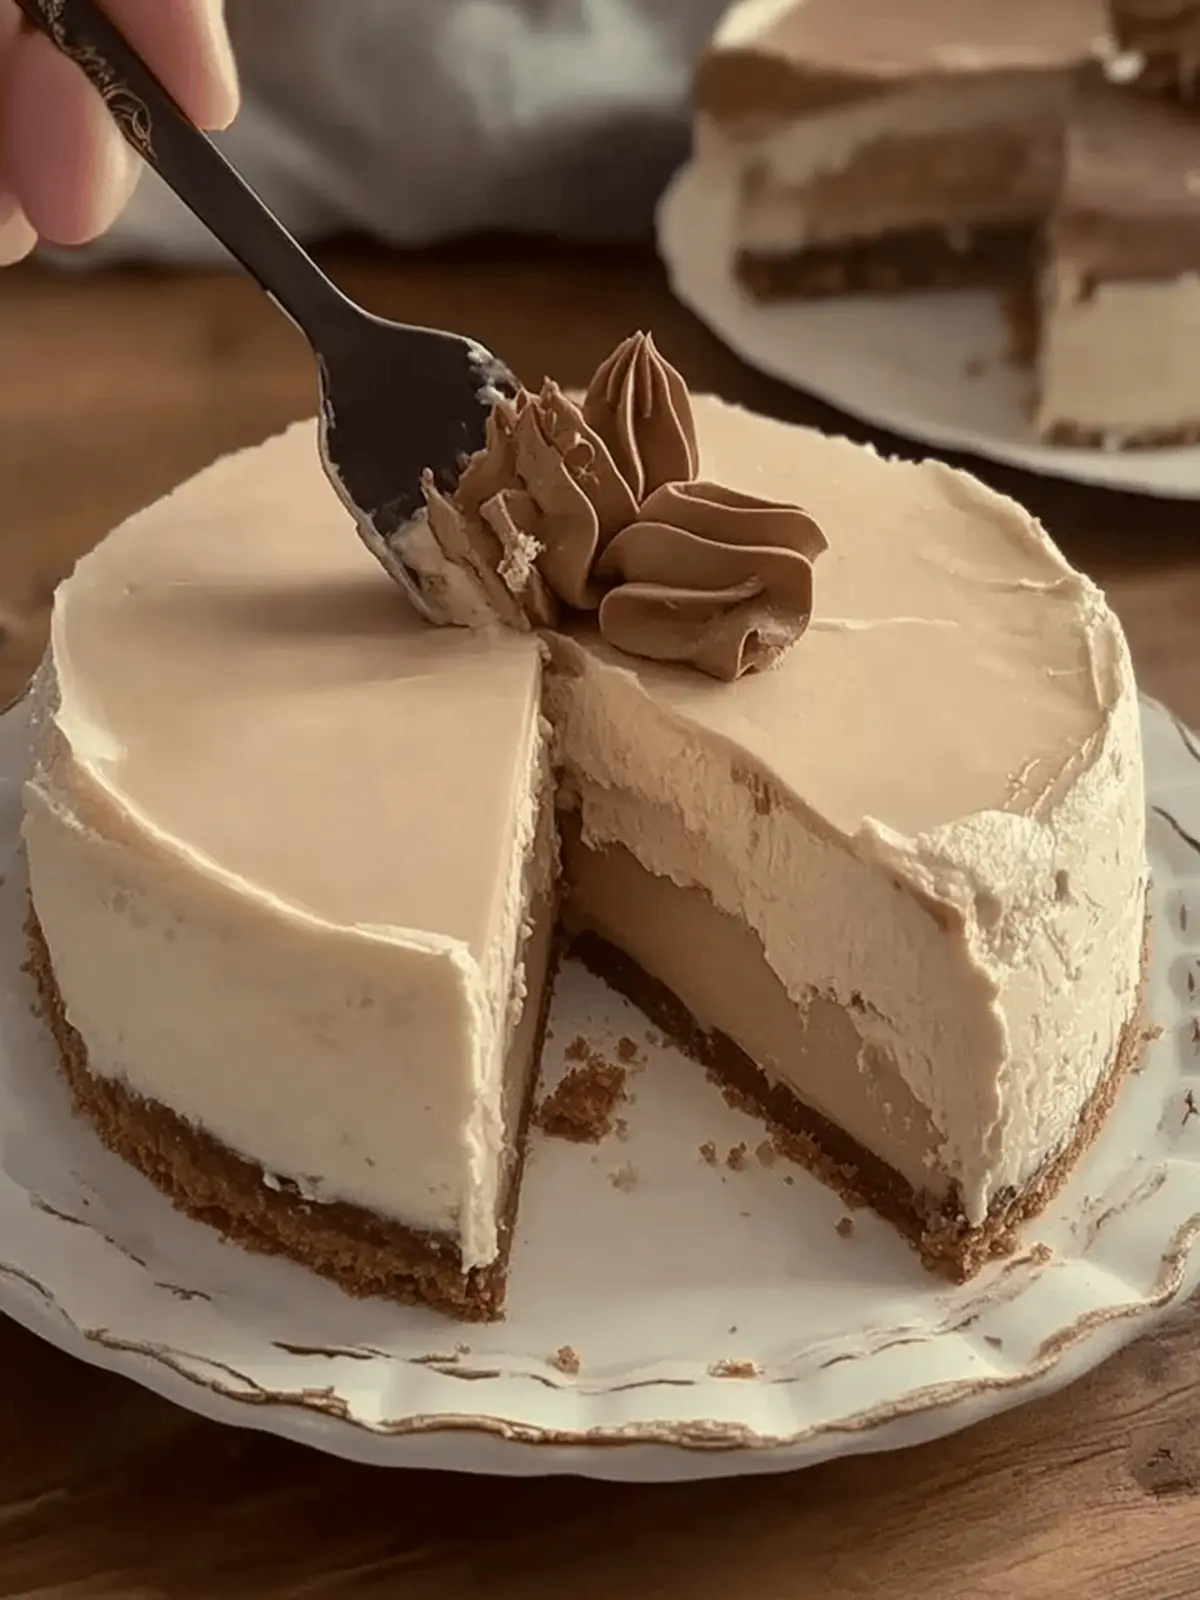
There’s nothing quite like the joy of creating a dessert that feels luxurious yet is deceptively simple to make. As the days get busier, I’ve found myself leaning toward no-bake recipes, and my latest obsession is this No-Bake Kinder Bueno Cheesecake. Just the thought of creamy layers infused with rich chocolate-hazelnut flavor brings a smile to my face.
You won’t believe how effortless it is to whip up this sweet delight! Perfect for surprising guests or treating yourself on a cozy evening, this cheesecake promises a melt-in-your-mouth experience that’s pure decadence. Plus, with a few easy substitutions, you can cater to various dietary needs without sacrificing flavor.
Grab your ingredients, and let’s dive into this delightful journey—because life is too short to say no to dessert!
Why is kinder bueno cheesecake a must-try?
Creamy Delight: This no-bake cheesecake features an indulgent, smooth texture that melts in your mouth.
Simplicity: With minimal ingredients and straightforward instructions, it’s perfect for novice bakers and experienced chefs alike!
Versatile Options: You can easily swap ingredients to suit gluten-free or vegan diets without compromising flavor.
Effortless Elegance: Impress your guests with a show-stopping dessert that requires no oven time!
Flavor Explosion: The harmonious blend of chocolate and hazelnut in this dessert ensures every bite is a pure joy.
Timely Treat: Whip it up in no time and let it chill overnight for a convenient dessert that’s ready when you are!
Kinder Bueno Cheesecake Ingredients
For the Crust
• Graham Crackers – Provides a crunchy base; substitute with Oreo crumbs for a chocolaty twist.
• Butter or Margarine – Binds the crust; try plant-based margarine for a dairy-free option.
For the Filling
• Cream Cheese – Creates the creamy texture; non-dairy cream cheese works great for vegan diets.
• Kinder Bueno Spread – Adds that signature chocolate-hazelnut flavor; melted Kinder Maxi bars can be a delicious alternative.
• Powdered Sugar – Sweetens the filling; reduce or swap with a sugar alternative if desired.
• Heavy Cream – Ensures a light, airy texture; whipped coconut cream is a fantastic lighter substitute.
Enjoy crafting your delectable Kinder Bueno cheesecake!
How to Make Kinder Bueno Cheesecake
-
Prepare Crust: Start by crushing graham crackers in a food processor until they resemble fine crumbs. Mix in the melted butter until well combined, then firmly press this mixture into a 17 cm (6.7 inches) diameter pan. Chill in the fridge for about 30 minutes to set.
-
Make Filling: In a mixing bowl, blend softened cream cheese, Kinder Bueno spread, and powdered sugar together until the mixture is smooth and creamy. This step ensures that your filling will have that delightful, rich flavor.
-
Fold in Whipped Cream: Gently fold in whipped heavy cream to the filling mixture. Be careful not to deflate the mixture – you want to keep that airy texture which makes the cheesecake so light and fluffy.
-
Layering: Spread the creamy filling over the chilled crust evenly. For a fun twist, you can freeze a small portion of the filling to create a layered effect atop the cheesecake.
-
Chill: Cover the cheesecake and refrigerate for at least 8 hours, or preferably overnight. This allows the flavors to meld beautifully, resulting in a treat that’s both luscious and perfectly set.
-
Decorate: Before serving, decorate your cheesecake with your choice of toppings—shaved chocolate, crushed Kinder Bueno bars, or a generous drizzle of chocolate sauce will elevate its presentation and flavor!
Optional: Sprinkle some crushed nuts for an extra crunch!
Exact quantities are listed in the recipe card below.
What to Serve with No-Bake Kinder Bueno Cheesecake?
Elevate your dessert experience with these delightful pairings that perfectly complement rich and creamy desserts like this cheesecake.
-
Fresh Berries: The tartness of raspberries or strawberries cuts through the richness, offering a refreshing contrast that balances the flavors beautifully.
-
Chocolate Drizzle: A warm drizzle of chocolate sauce on the plate brings added decadence, enhancing the integrative flavor of chocolate and hazelnut.
-
Whipped Cream: Light and airy, a dollop of freshly whipped cream adds a fluffy texture that complements the smooth cheesecake, creating a dreamy finish for each bite.
-
Espresso or Coffee: A robust cup of espresso pairs wonderfully, providing a deep, bold flavor that contrasts nicely with the sweetness of the cheesecake.
-
Vanilla Ice Cream: A scoop of creamy vanilla ice cream offers a classic touch, adding a cold and velvety layer to each bite of cheesecake. Indulging in the combo will make you feel like you’re in dessert paradise!
-
Nutty Biscotti: For those who enjoy a crunch, serve toasted biscotti on the side. The additional texture contrasts beautifully with the cheesecake’s creaminess, making for an exciting taste adventure.
-
Caramel Sauce: A drizzle of caramel creates a sweet, buttery layer that complements the chocolate-hazelnut richness of the cheesecake, enhancing every mouthful to pure bliss.
-
Mint Leaves: Adding a few fresh mint leaves not only brightens the presentation but also contributes a hint of freshness that awakens the palate, making it an invaluable addition to your dessert spread.
Let these diverse options inspire your serving suggestions and create a delightful dining experience!
Kinder Bueno Cheesecake Variations
Feel free to let your creativity shine by customizing this delightful cheesecake to suit your taste!
- Nut-Free: Use a sunflower seed spread instead of Kinder Bueno spread for a delicious nut-free alternative.
- Fruit-Infused: Swirl in a fruit puree, like raspberry or strawberry, into the filling for a fresh burst of flavor.
- No-Bake Oreo Cheesecake: Replace the graham crackers with crushed Oreos for a decadent chocolate cookie crust.
- Vegan Delight: Substitute all dairy components with coconut cream and vegan cream cheese for a luscious vegan version.
- Spicy Kick: Add a pinch of cayenne or chili powder to the filling for a surprisingly delightful spicy twist.
- Layered Chocolate: Create a double-layer cheesecake by adding melted chocolate to half of the filling for a tasty contrast.
- Zesty Contrast: Incorporate lemon zest into the filling for a fresh citrus twist that balances the rich flavors perfectly.
- Tiered Celebration: Bake layers of different flavors, like Nutella and cookies and cream, for an impressive tiered dessert that wows!
No matter how you choose to customize, each variation will put a unique spin on your kinder bueno cheesecake experience!
Expert Tips for Kinder Bueno Cheesecake
-
Be Gentle Folding: When incorporating whipped cream into the filling, gently fold to retain the airy texture, ensuring your kinder bueno cheesecake is light and fluffy.
-
Crust Consistency: Make sure your graham cracker crumbs are finely ground. This helps in creating a firm and sturdy base to support your cheesecake.
-
Chill Thoroughly: Allow the crust to chill completely for at least 30 minutes before adding the filling. This step is crucial for a well-structured cheesecake.
-
Flavor Infusion: For added depth, let the cheesecake chill overnight. This allows the flavors to meld beautifully, enhancing the chocolatety goodness.
-
Use Quality Ingredients: High-quality chocolate-hazelnut spread and cream cheese will elevate your kinder bueno cheesecake, creating a richer and more indulgent flavor.
-
Experiment with Toppings: Feel free to mix and match toppings! Use crushed cookies, fruit, or even different chocolate varieties to personalize your cheesecake and impress your guests.
How to Store and Freeze Kinder Bueno Cheesecake
Fridge: Store your kinder bueno cheesecake tightly covered in the refrigerator for up to 2 days. This keeps it fresh and delicious, ready for quick indulgence!
Freezer: For longer storage, freeze the cheesecake for up to 3 months. Wrap it well in plastic wrap and then aluminum foil to prevent freezer burn.
Thawing: When ready to enjoy, simply transfer the cheesecake from the freezer to the fridge and let it thaw overnight before serving.
Reheating: This dessert is best served chilled straight from the fridge. For best texture, do not attempt to reheat the cheesecake.
Make Ahead Options
These No-Bake Kinder Bueno Cheesecake preparations are perfect for meal prep enthusiasts! You can make the crust and filling up to 24 hours in advance, allowing for a smoother baking experience on the day you’re ready to serve. Simply prepare the crust and refrigerate it, then blend the filling ingredients and store them separately in an airtight container. For best results, keep the whipped cream folded into the filling until you’re just about to layer it over the crust to maintain that light, airy texture. When you’re ready to finish the recipe, simply spread the filling over the chilled crust, refrigerate for at least 8 hours, and enjoy a decadent dessert that’s just as delicious as freshly made!
Kinder Bueno Cheesecake Recipe FAQs
How do I choose and prepare my ingredients for the kinder bueno cheesecake?
Absolutely! For the best results, aim for fresh cream cheese that’s been at room temperature to ensure a smooth mix. Your Kinder Bueno spread is at its best when it’s slightly warm—as it will blend more easily into the cream cheese. For the graham crackers, look for ones without dark spots; they should be uniformly golden, which indicates freshness.
What’s the best way to store my kinder bueno cheesecake?
Very! You can keep your kinder bueno cheesecake tightly covered in the refrigerator for up to 2 days. Just make sure it’s well-wrapped to prevent it from absorbing any fridge odors. If you want to store it for longer, put the whole cheesecake in the freezer, well-wrapped, where it will last up to 3 months. This way, you can have a delicious dessert ready any time!
Can I freeze kinder bueno cheesecake? If so, how?
Of course! To freeze your kinder bueno cheesecake, wrap it tightly in plastic wrap and then in aluminum foil to ensure no moisture gets in. When you’re ready to enjoy it again, transfer it from the freezer to the fridge to thaw overnight. This gentle thawing helps preserve its creamy texture.
Why isn’t my cheesecake firming up properly?
Don’t worry! If your cheesecake isn’t setting, it may need more chilling time. Make sure to refrigerate for at least 8 hours or, preferably, overnight. If the filling still feels soft, it might be that your cream cheese wasn’t adequately blended or was too warm when combined. A soft filling might also be due to not folding in the whipped cream gently enough, causing airiness needed for structure to deflate.
Are there any dietary considerations for this kinder bueno cheesecake?
Yes, indeed! This cheesecake can easily be adapted for various dietary needs. For a gluten-free option, substitute the graham crackers with gluten-free biscuits or an almond crust. If you’re vegan or dairy-sensitive, using non-dairy cream cheese, plant-based margarine, and whipped coconut cream makes it inclusive for everyone at the gathering. Always check labels to ensure there are no hidden allergens!
How long can I keep the cheesecake in the fridge once it’s made?
Your lovely kinder bueno cheesecake will stay fresh in the fridge for about 2 days. After that, the quality may begin to deteriorate. Always cover it well to help maintain its delightful flavor and texture during that time!
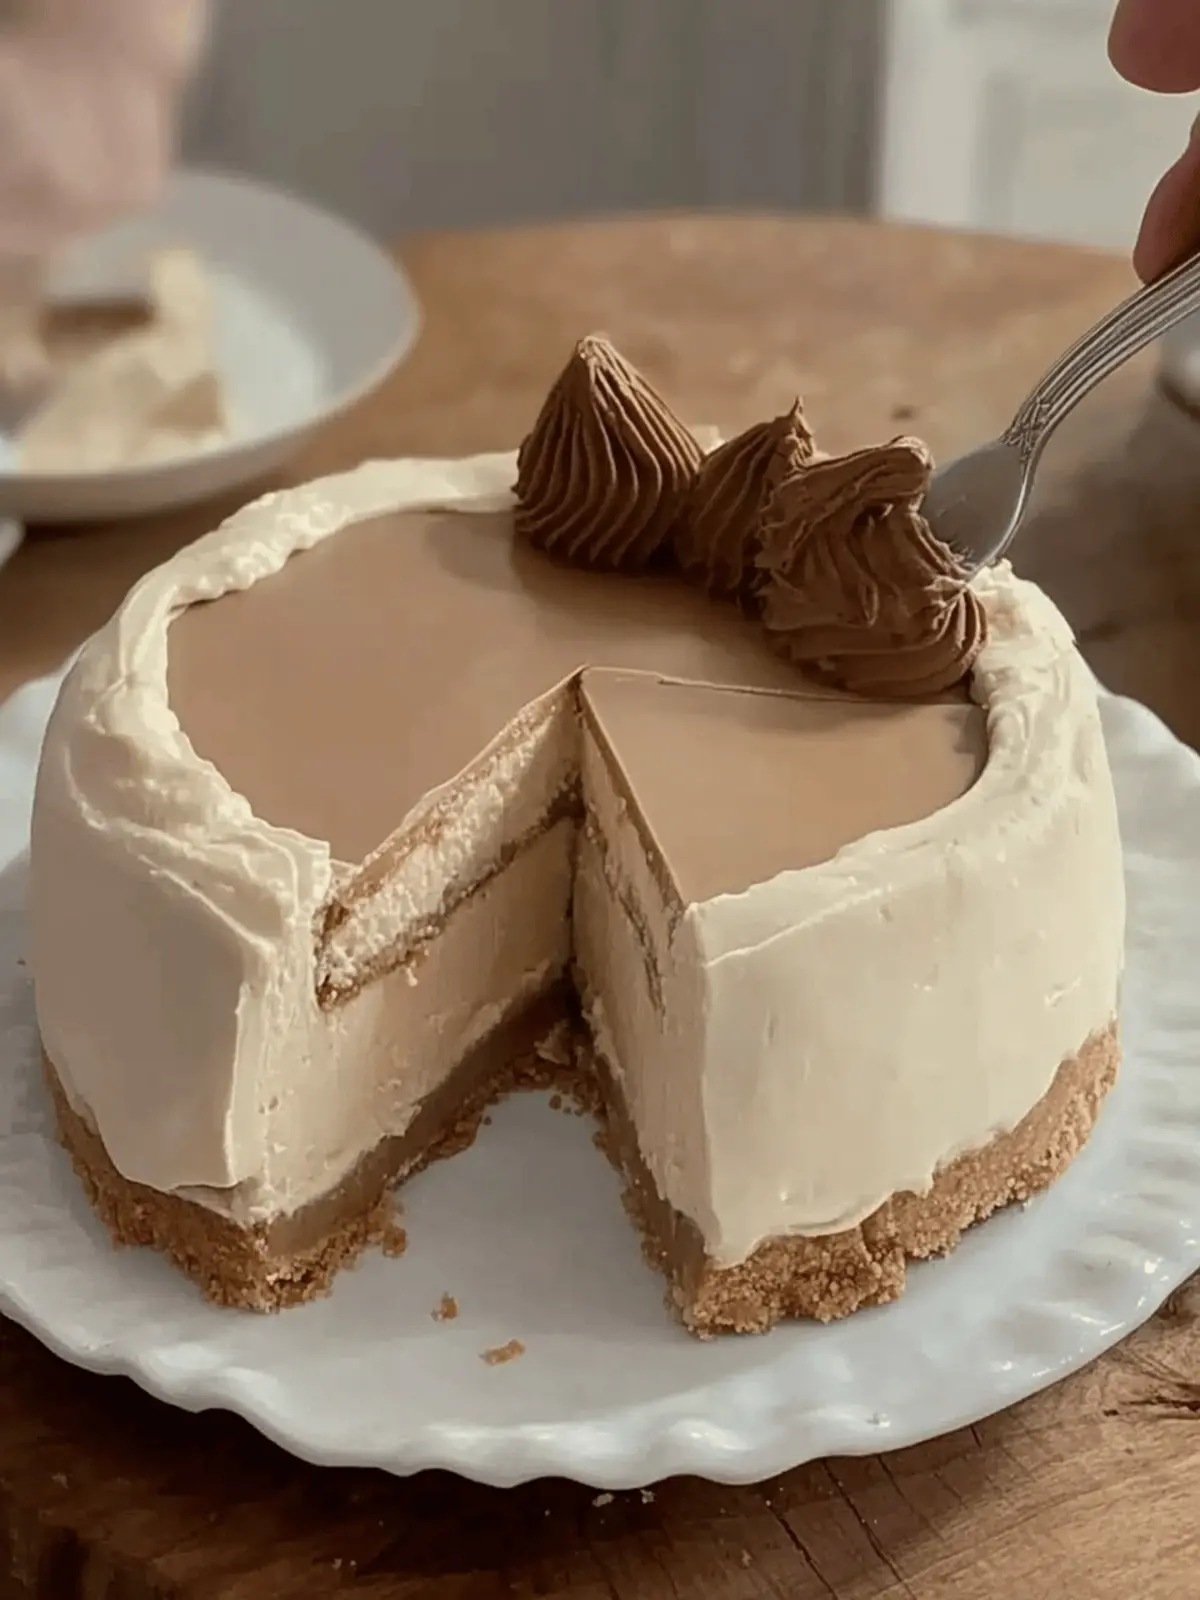
Indulge in Kinder Bueno Cheesecake Bliss at Home
Ingredients
Equipment
Method
- Start by crushing graham crackers in a food processor until they resemble fine crumbs. Mix in the melted butter until well combined, then firmly press this mixture into a 17 cm (6.7 inches) diameter pan. Chill in the fridge for about 30 minutes to set.
- In a mixing bowl, blend softened cream cheese, Kinder Bueno spread, and powdered sugar together until the mixture is smooth and creamy.
- Gently fold in whipped heavy cream to the filling mixture, being careful not to deflate it.
- Spread the creamy filling over the chilled crust evenly. You can freeze a small portion of the filling to create a layered effect atop the cheesecake.
- Cover the cheesecake and refrigerate for at least 8 hours, preferably overnight.
- Before serving, decorate your cheesecake with your choice of toppings for presentation.

