
There’s something truly special about the summer sun shining on a fresh batch of strawberry bars, drawing everyone into the kitchen with their sweet, irresistible aroma. One afternoon, as I rummaged through my pantry seeking a treat that wouldn’t throw off my diet, I stumbled upon a great combination of vibrant strawberries and wholesome ingredients. What began as a simple desire for a snack quickly evolved into a delightful recipe that’s not just gluten-free, but also vegan!
These Strawberry Bars (Gluten Free + Vegan) are an absolute game-changer, bursting with flavor while being incredibly easy to whip up. The natural sweetness of strawberries shines through, perfectly balanced by a hint of lemon zest and maple syrup. Whether you’re treating yourself to a midday snack or looking for a unique dessert to impress guests, these bars promise to be a crowd-pleaser that you can feel good about enjoying. Let’s dive into this berry-inspired adventure—I can’t wait for you to try them!
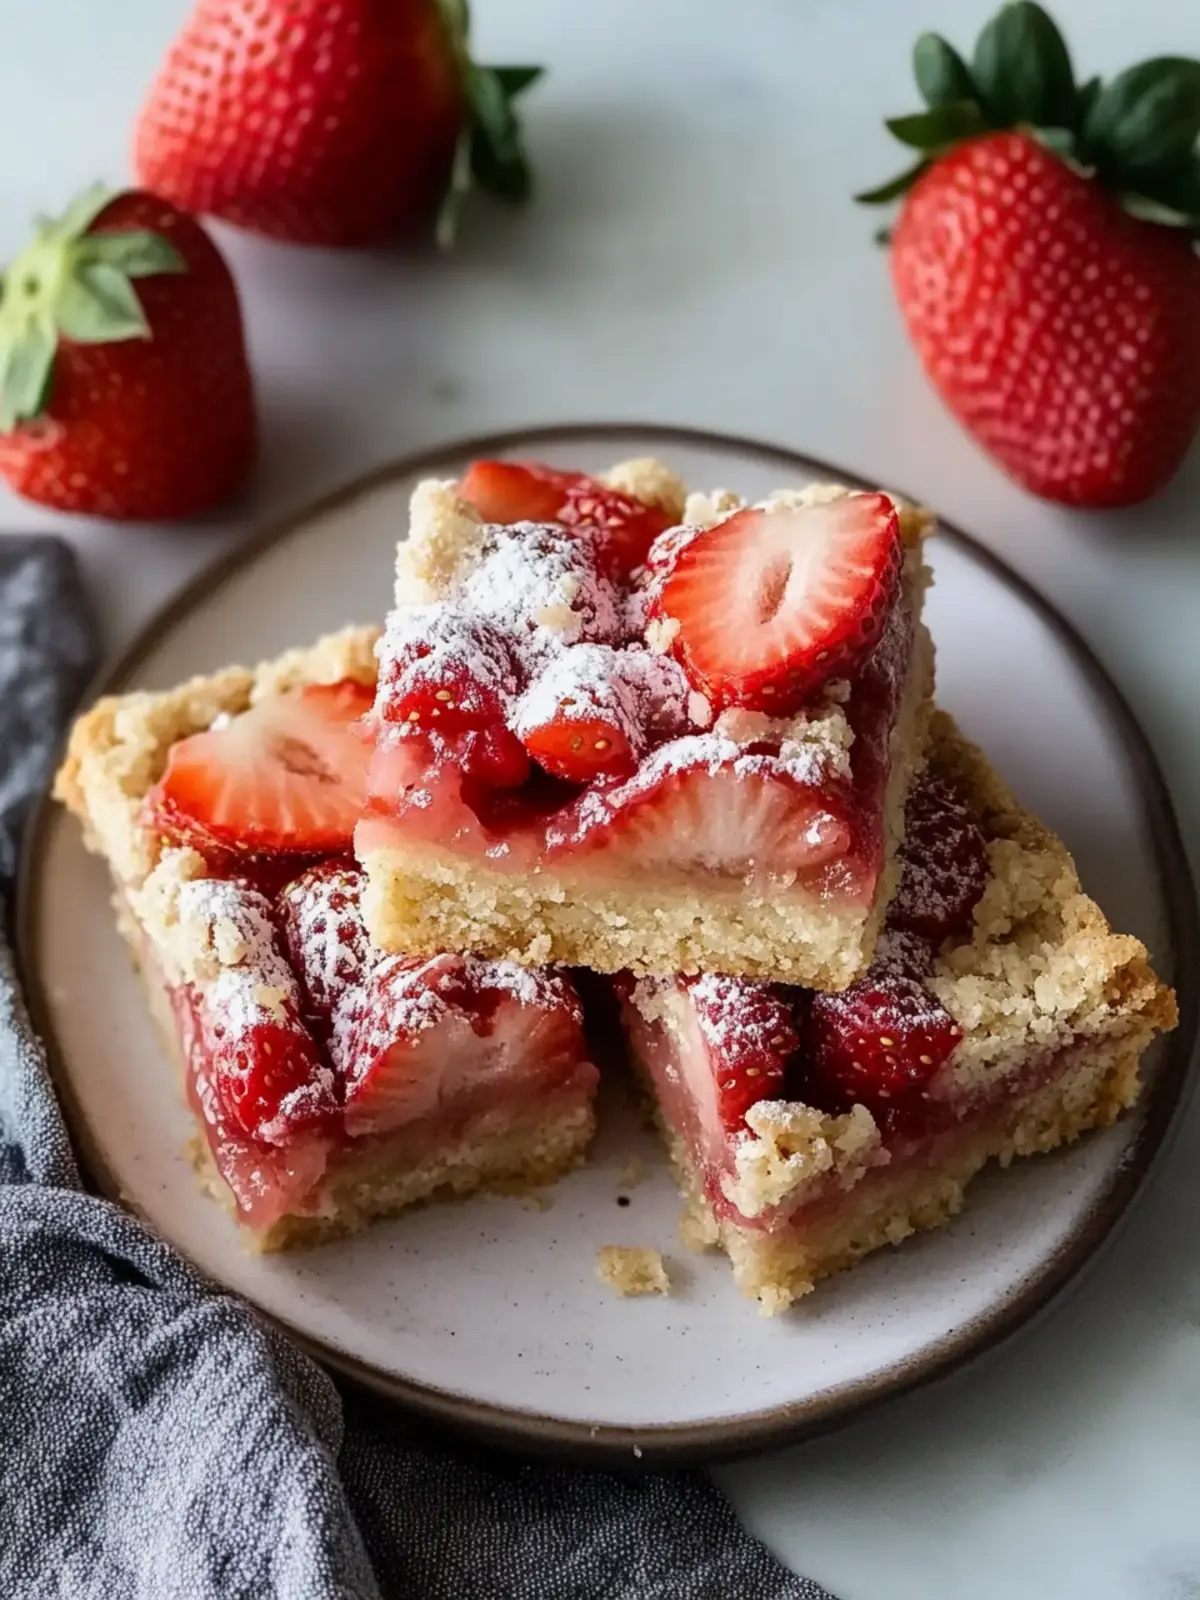
Why are these Strawberry Bars a must-try?
Deliciously Healthy: These Strawberry Bars pack in fresh strawberries, maple syrup, and lemon zest, making each bite a taste of summer close to your heart.
Gluten-Free & Vegan: Enjoy these delightful bars without sacrificing your dietary preferences. They’re perfect for everyone at the table!
Quick to Make: Ready in just 35 minutes, these bars are a fantastic solution for a last-minute treat.
Versatile Snack: Serve them as a dessert, breakfast, or snack—your choice! They’re incredibly adaptable to any occasion.
Crowd-Pleasing: The vibrant colors and flavors are sure to brighten up any gathering, making them a hit with family and friends!
Strawberry Bars Ingredients
Here’s what you’ll need to make these delightful Strawberry Bars (Gluten Free + Vegan).
For the Strawberry Filling
• 3 cups diced fresh strawberries – Fresh strawberries are key for that bright flavor and vibrant color.
• 1/4 cup maple syrup – This natural sweetener brings a rich taste without refined sugars.
• 1 Tablespoon lemon juice – A splash of lemon juice enhances the strawberries’ natural sweetness.
• 2 Tablespoons lemon zest – Zest adds a fragrant, zesty note that brightens up the filling.
• a pinch sea salt (optional) – Just a hint of salt can elevate the sweetness of the strawberries.
• 2 Tablespoons tapioca starch – This helps thicken the filling and keep everything nicely together.
For the Crust and Topping
• 3 cups almond flour – Provides a nutty flavor and ensures these bars are gluten-free.
• 2 Tablespoons tapioca starch – A second addition for extra binding and structure in the dough.
• 1/4 teaspoon baking soda – Helps the bars achieve a light, fluffy texture.
• 1/8 teaspoon sea salt – Balances the sweetness and enhances the overall flavor.
• 1/2 cup coconut oil (softened) – Adds moisture and a hint of tropical flavor to the crust.
• 1/4 cup maple syrup – Another layer of sweetness that makes these bars irresistibly delicious!
How to Make Strawberry Bars
-
Prepare the Strawberries: Wash, hull, and dice fresh strawberries into bite-sized pieces. If using frozen strawberries, simply let them thaw, drain off excess liquid, and then dice them.
-
Cook the Filling: In a small saucepan over medium heat, combine the diced strawberries, maple syrup, lemon juice, lemon zest, and optional sea salt. Cook until the mixture boils, stirring occasionally until it thickens and the liquid cooks out—this takes about 5-10 minutes.
-
Thicken the Filling: Stir in the tapioca starch, ensuring it’s fully mixed, then remove from heat and let it cool.
-
Preheat the Oven: Set your oven to 350°F (175°C) and line a 9×9 baking dish with parchment paper for easy removal later.
-
Mix the Crust: In a mixing bowl, whisk together almond flour, tapioca starch, baking soda, and sea salt. Add softened coconut oil and maple syrup, stirring until a thick, dough-like consistency forms.
-
Form the Base: Reserve 3/4 cup of dough for the topping. Press the remaining dough into an even layer in your prepared baking dish. Use a fork to poke holes about an inch apart to ensure even baking, then bake for 10 minutes.
-
Add the Filling: Once the crust is out of the oven, carefully spread the cooled strawberry filling evenly on top.
-
Top with Dough: Crumble the reserved 3/4 cup of dough over the strawberry layer, making sure it’s evenly distributed for a lovely topping.
-
Bake the Bars: Return the baking dish to the oven and bake for 20-25 minutes, or until the edges turn lightly golden. Allow the bars to cool completely in the pan before slicing into squares.
Optional: Serve with a dusting of powdered sugar for an added touch of sweetness!
Exact quantities are listed in the recipe card below.
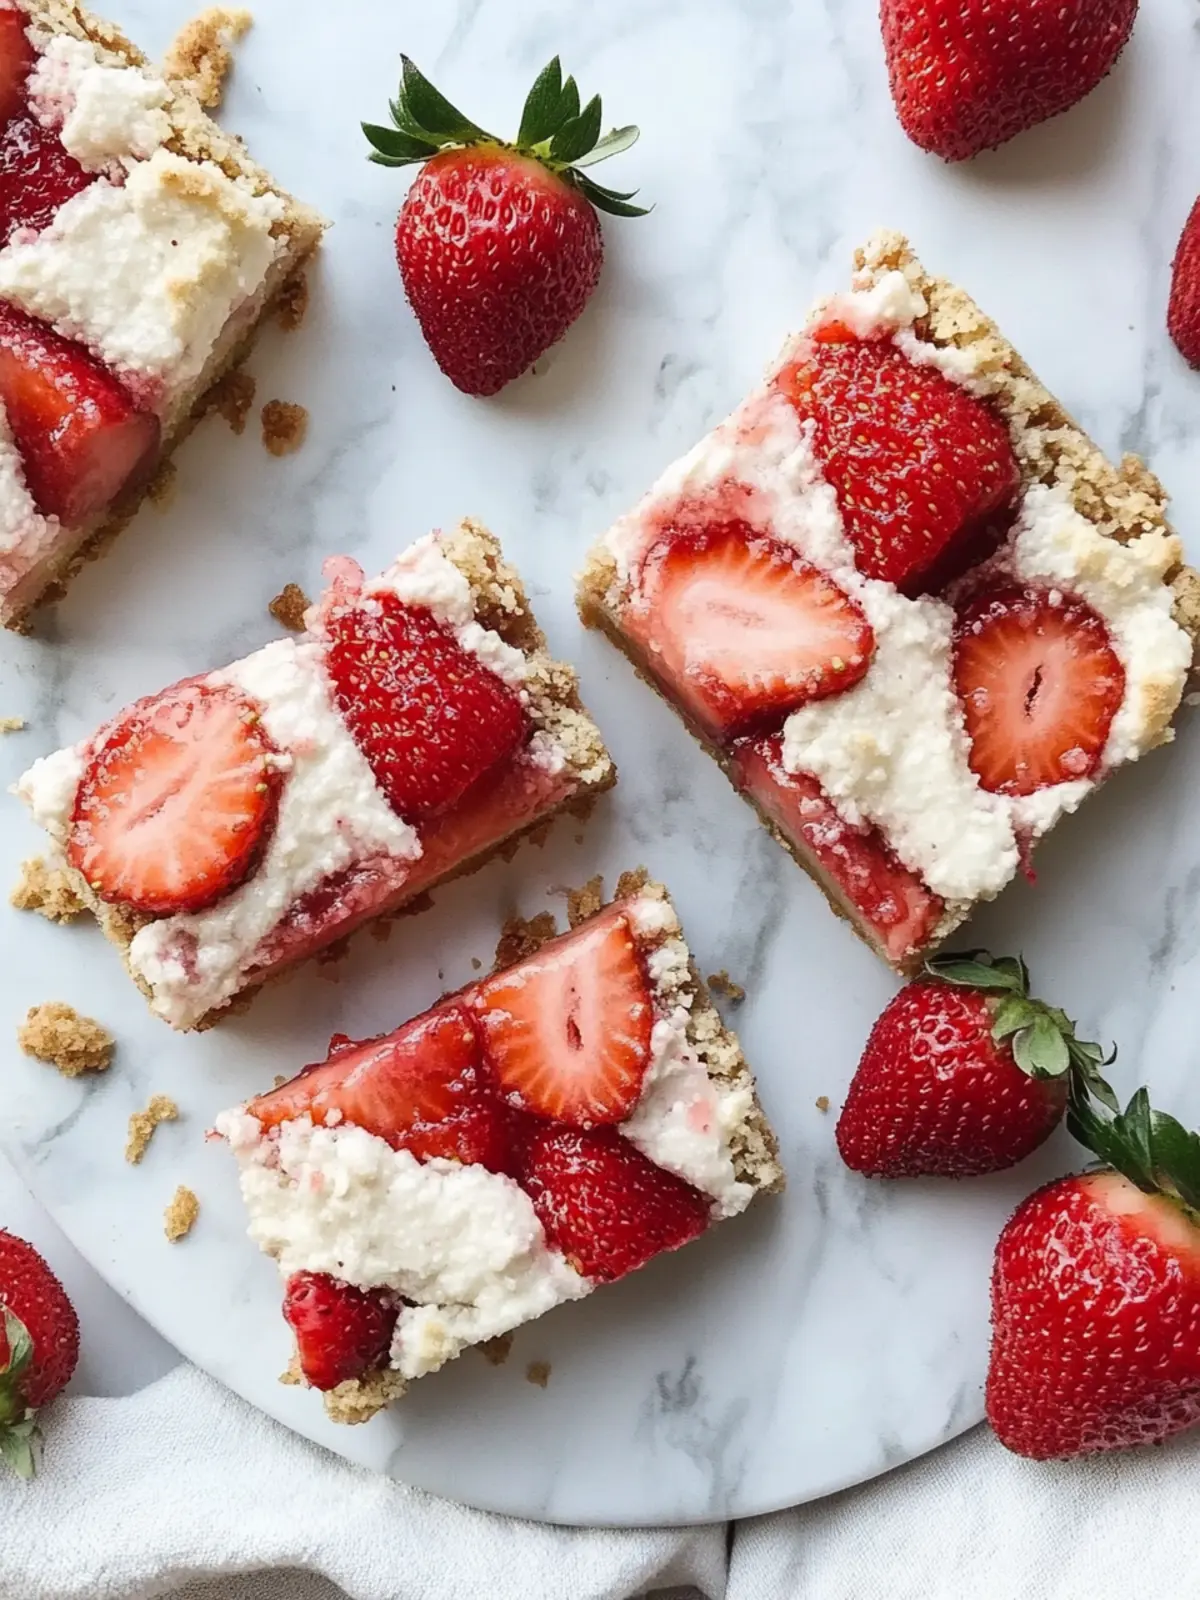
Expert Tips for Perfect Strawberry Bars
-
Choose the Best Strawberries: Opt for ripe, fresh strawberries for the best flavor. Avoid overripe or underripe fruits that can affect the sweetness balance.
-
Don’t Skip Poking Holes: Poking holes in the crust helps it bake evenly. Neglecting this step may result in an undercooked base.
-
Cooling is Key: Allow the bars to cool completely before slicing. This helps the filling set and makes cutting easier, preventing messy pieces.
-
Storage Tips: Store leftover Strawberry Bars in an airtight container in the fridge for up to a week. Enjoy them chilled for a refreshing treat!
-
Experiment with Flavors: Feel free to add a pinch of cinnamon or vanilla extract to the crust for an extra flavor dimension in your Strawberry Bars!
Strawberry Bars Variations
Customize your delicious strawberry bars for delightful surprises with just a few simple swaps and additions!
-
Berry Medley: Swap strawberries for a mix of raspberries and blueberries for a vibrant, mixed-berry flavor explosion. The tartness of raspberries pairs wonderfully with the sweetness of blueberries!
-
Coconut Flour: Replace almond flour with coconut flour for a different texture and subtle coconut flavor. Just remember to reduce the amount, as coconut flour is more absorbent.
-
Nut-Free: For a nut-free option, substitute almond flour with sunflower seed flour. It’ll still yield a deliciously satisfying base, perfect for those with nut allergies.
-
Maple Sugar: Use maple sugar instead of maple syrup for a deeper, more caramelized sweetness in both the filling and crust. The slight crunch will add an exciting texture!
-
Citrus Twist: Add orange zest along with the lemon zest for an extra citrusy kick that enhances the flavor profile. You’ll have your taste buds dancing with joy!
-
Chocolate Drizzle: Once cooled, drizzle with melted dark chocolate for a rich, indulgent touch. Not only does it look stunning, but the chocolate complement will make these bars irresistible.
-
Spicy Touch: Sprinkle in some cayenne pepper or finely chopped jalapeños into the strawberry filling for a unique sweet-and-spicy combination. Spice lovers will truly appreciate this thrilling twist!
-
Chia Seed Addition: Stir in some chia seeds into the filling for added nutrition and a pleasant crunch. It’s a wholesome way to boost fiber content while staying true to flavor!
What to Serve with Strawberry Bars?
Create a delightful pairing experience with these irresistibly sweet treats that bring sunshine to your table!
-
Fresh Whipped Cream: A dollop of light whipped cream adds a fluffy texture that perfectly complements the chewy strawberry filling.
-
Minty Fruit Salad: Refreshing mint and a variety of fruits provide a vibrant contrast, enhancing the summer vibe of your strawberry bars.
-
Vanilla Almond Milk: The nutty sweetness of almond milk rounds out your dessert, creating a deliciously creamy beverage to wash it all down.
-
Lemon Sorbet: A refreshing citrus sorbet will elevate the flavors of your bars, offering a cool, tangy counterpart that balances the sweetness.
-
Dark Chocolate Drizzle: A rich, bittersweet chocolate drizzle adds a gourmet flair, making each bite an indulgent experience that tantalizes your taste buds.
-
Herbal Iced Tea: A refreshing herbal iced tea with hints of chamomile or mint can cleanse the palate and provide a soothing contrast to the sweet bars.
-
Coconut Energy Bites: Pairing these bars with chewy coconut energy bites gives a delicious crunch and adds a nutritious touch to your dessert experience.
-
Lemonade Spritzer: A bubbly lemonade spritzer brightens up your meal, adding a fizzy zest that beautifully complements the fruity flavors of the strawberry bars.
-
Almond Biscotti: Enjoying crunchy almond biscotti alongside your bars creates a delightful texture contrast, enhancing the whole dessert experience.
Make Ahead Options
These Strawberry Bars (Gluten Free + Vegan) are perfect for busy home cooks looking to make meal prep a breeze! You can prepare the strawberry filling up to 3 days in advance; simply cook and cool as directed, then store it in an airtight container in the refrigerator to maintain freshness. The crust dough can also be made ahead of time and refrigerated for up to 24 hours. Just remember to bring the dough to room temperature before pressing it into the baking dish. When you’re ready to serve, layer the filling and topping as directed and bake them fresh. Enjoy delicious, homemade treats with minimal effort!
How to Store and Freeze Strawberry Bars
Fridge: Keep leftover Strawberry Bars in an airtight container for up to 5 days. They make for a delightful chilled snack or dessert!
Freezer: For longer storage, freeze the bars for up to 3 months. Wrap them individually in plastic wrap before placing them in a freezer-safe bag to prevent freezer burn.
Thawing: To enjoy frozen bars, simply remove from the freezer and let them thaw in the fridge overnight or at room temperature for about an hour before serving.
Reheating: If you prefer them warm, pop the bars in a preheated oven at 350°F for about 5-10 minutes until heated through. Enjoy your tasty Strawberry Bars!
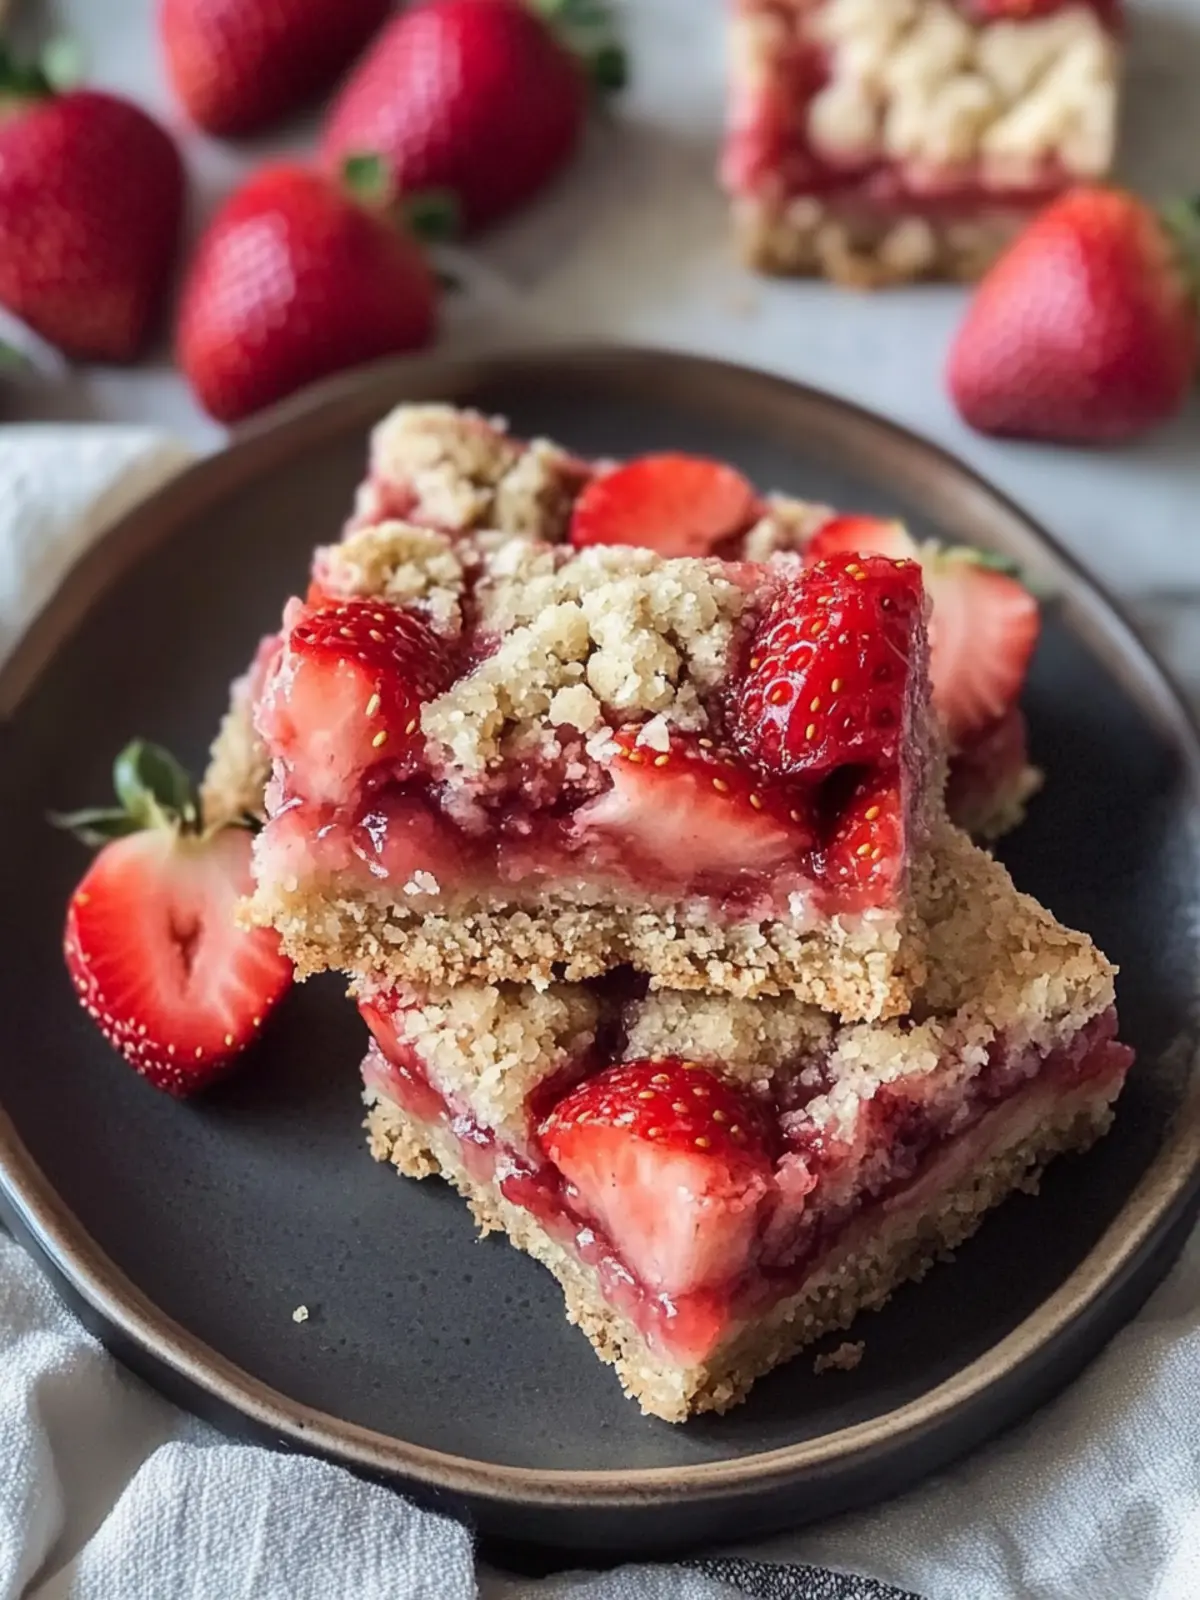
Strawberry Bars (Gluten Free + Vegan) Recipe FAQs
How do I select the best strawberries for my bars?
Absolutely! When choosing strawberries, look for ones that are bright red, firm to the touch, and free from dark spots or bruises. Ripe strawberries will have a sweet aroma. If you find any that have considerable dark spots or are too soft, they’re likely overripe. Remember, the better the strawberries, the tastier your Strawberry Bars will be!
What’s the best way to store leftover Strawberry Bars?
Very simple! Leftover Strawberry Bars should be stored in an airtight container in the fridge for up to 5 days. They’re delightful served chilled, so feel free to grab one straight from the fridge whenever you need a snack!
Can I freeze Strawberry Bars?
Absolutely! To freeze your Strawberry Bars, individually wrap each bar in plastic wrap and then place them in a freezer-safe bag. They can be frozen for up to 3 months. This method helps prevent freezer burn while keeping them fresh and tasty!
How do I thaw frozen Strawberry Bars?
To enjoy your frozen Strawberry Bars, simply transfer them to the fridge and let them thaw overnight. If you’re in a hurry, you can also thaw them at room temperature for about an hour before serving. For a warm treat, just pop them in a preheated oven at 350°F for 5-10 minutes!
What are some common troubleshooting tips for making these bars?
If your bars don’t hold together well, it could be due to insufficient cooling before slicing; allow them to cool completely! Also, make sure the strawberry filling has thickened properly before adding it to the crust. If it appears too watery, it may need a bit more time on the heat or additional tapioca starch to help it set!
Are these Strawberry Bars safe for individuals with nut allergies?
Great question! Since this recipe contains almond flour, it’s not suitable for those with nut allergies. However, you can easily replace almond flour with a suitable gluten-free flour blend such as oat flour or a seed-based flour to keep them gluten-free and vegan while accommodating those with nut sensitivities.
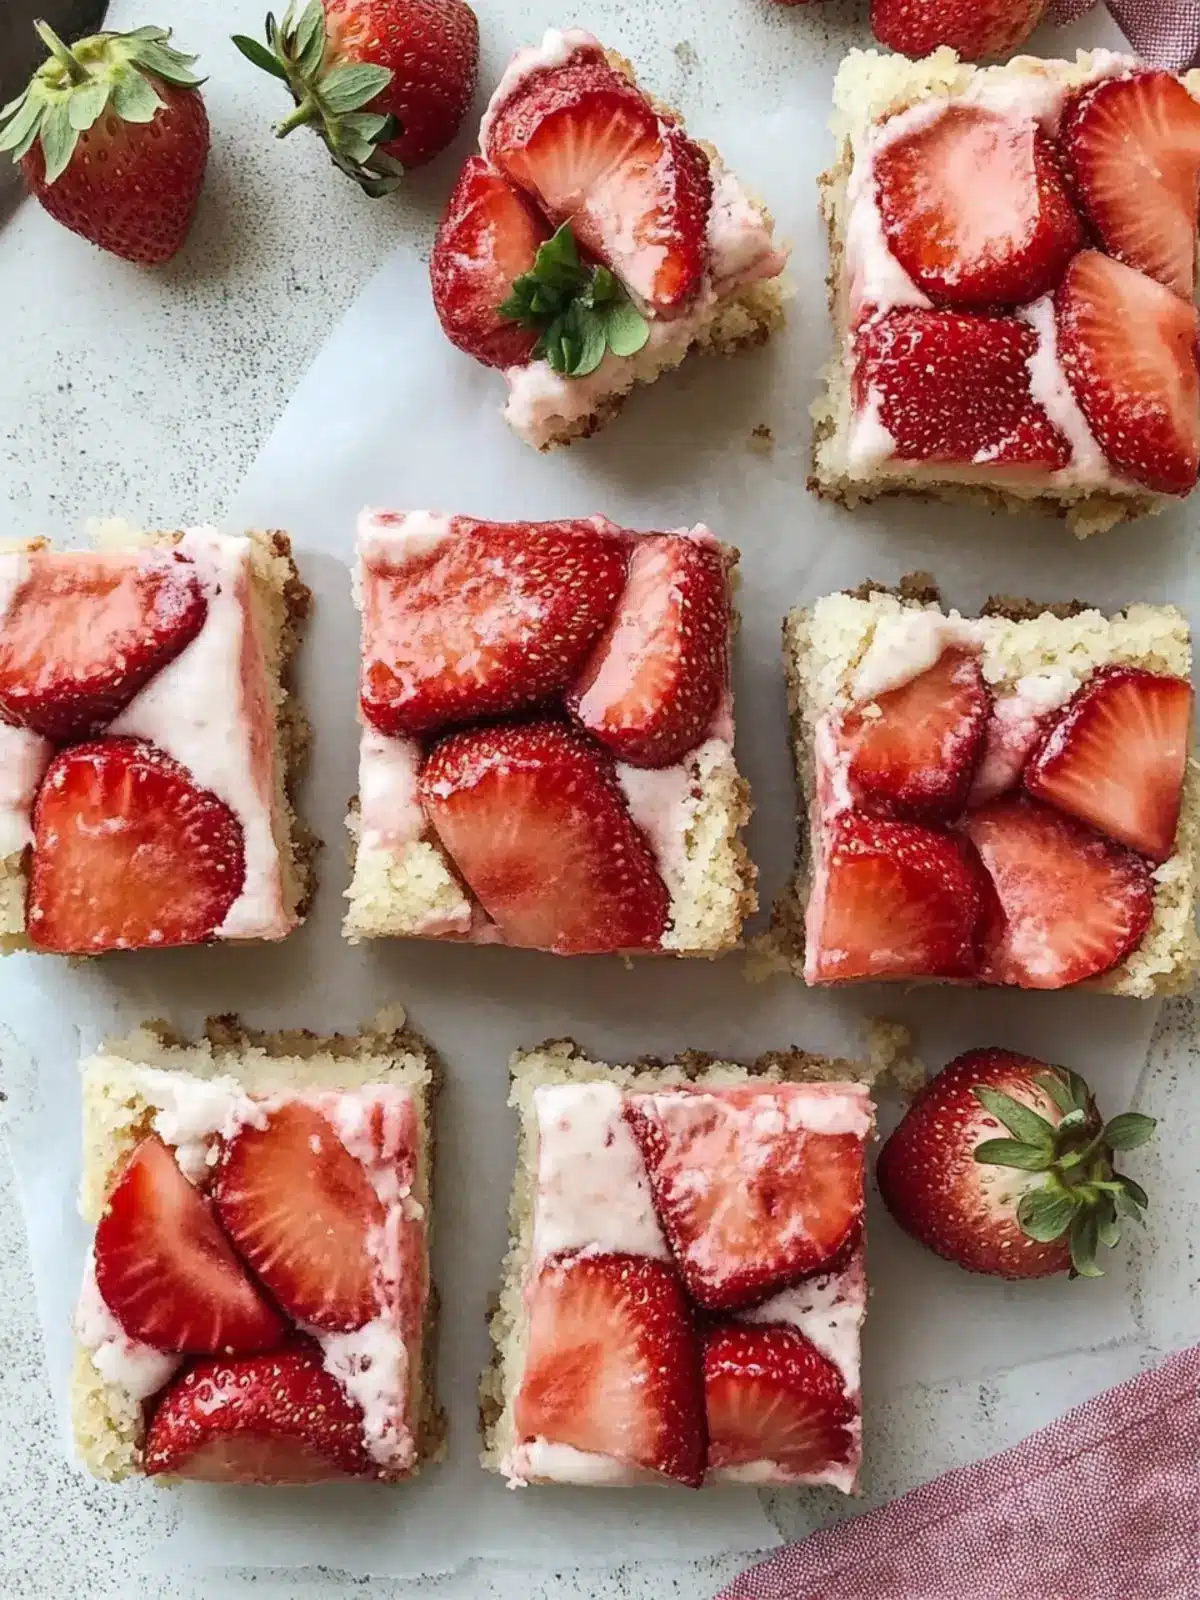
Delicious Strawberry Bars Gluten Free and Vegan Bliss
Ingredients
Equipment
Method
- Prepare the Strawberries: Wash, hull, and dice fresh strawberries into bite-sized pieces.
- Cook the Filling: In a small saucepan over medium heat, combine the diced strawberries, maple syrup, lemon juice, lemon zest, and optional sea salt. Cook until the mixture boils, stirring occasionally until it thickens and the liquid cooks out—this takes about 5-10 minutes.
- Thicken the Filling: Stir in the tapioca starch, ensuring it’s fully mixed, then remove from heat and let it cool.
- Preheat the Oven: Set your oven to 350°F (175°C) and line a 9x9 baking dish with parchment paper for easy removal later.
- Mix the Crust: In a mixing bowl, whisk together almond flour, tapioca starch, baking soda, and sea salt. Add softened coconut oil and maple syrup, stirring until a thick, dough-like consistency forms.
- Form the Base: Reserve 3/4 cup of dough for the topping. Press the remaining dough into an even layer in your prepared baking dish. Use a fork to poke holes about an inch apart to ensure even baking, then bake for 10 minutes.
- Add the Filling: Once the crust is out of the oven, carefully spread the cooled strawberry filling evenly on top.
- Top with Dough: Crumble the reserved 3/4 cup of dough over the strawberry layer, making sure it’s evenly distributed for a lovely topping.
- Bake the Bars: Return the baking dish to the oven and bake for 20-25 minutes, or until the edges turn lightly golden. Allow the bars to cool completely in the pan before slicing into squares.