
There’s nothing quite like the delightful fragrance of fresh strawberries mingling with a hint of lemon zest in your kitchen. The moment I began making these Strawberry Bars, I found myself transported to sun-kissed summer picnics, where delicious desserts are meant to be shared and enjoyed.
These Gluten-Free and Vegan Strawberry Bars are not just a treat; they’re a celebration of simplicity and flavor that will impress both your family and friends. Whether you’re looking for a new way to enjoy strawberries or craving a wholesome dessert that aligns with your dietary preferences, this recipe is your answer.
Baking these bars transforms your kitchen into a haven of warmth and nostalgia. Each layer unfolds with a moist, buttery crust and a luscious strawberry filling, creating a harmonious blend that will have everyone reaching for seconds. So, roll up your sleeves and let’s make a batch of these irresistible Strawberry Bars that remind us all of the joy in homemade goodness!
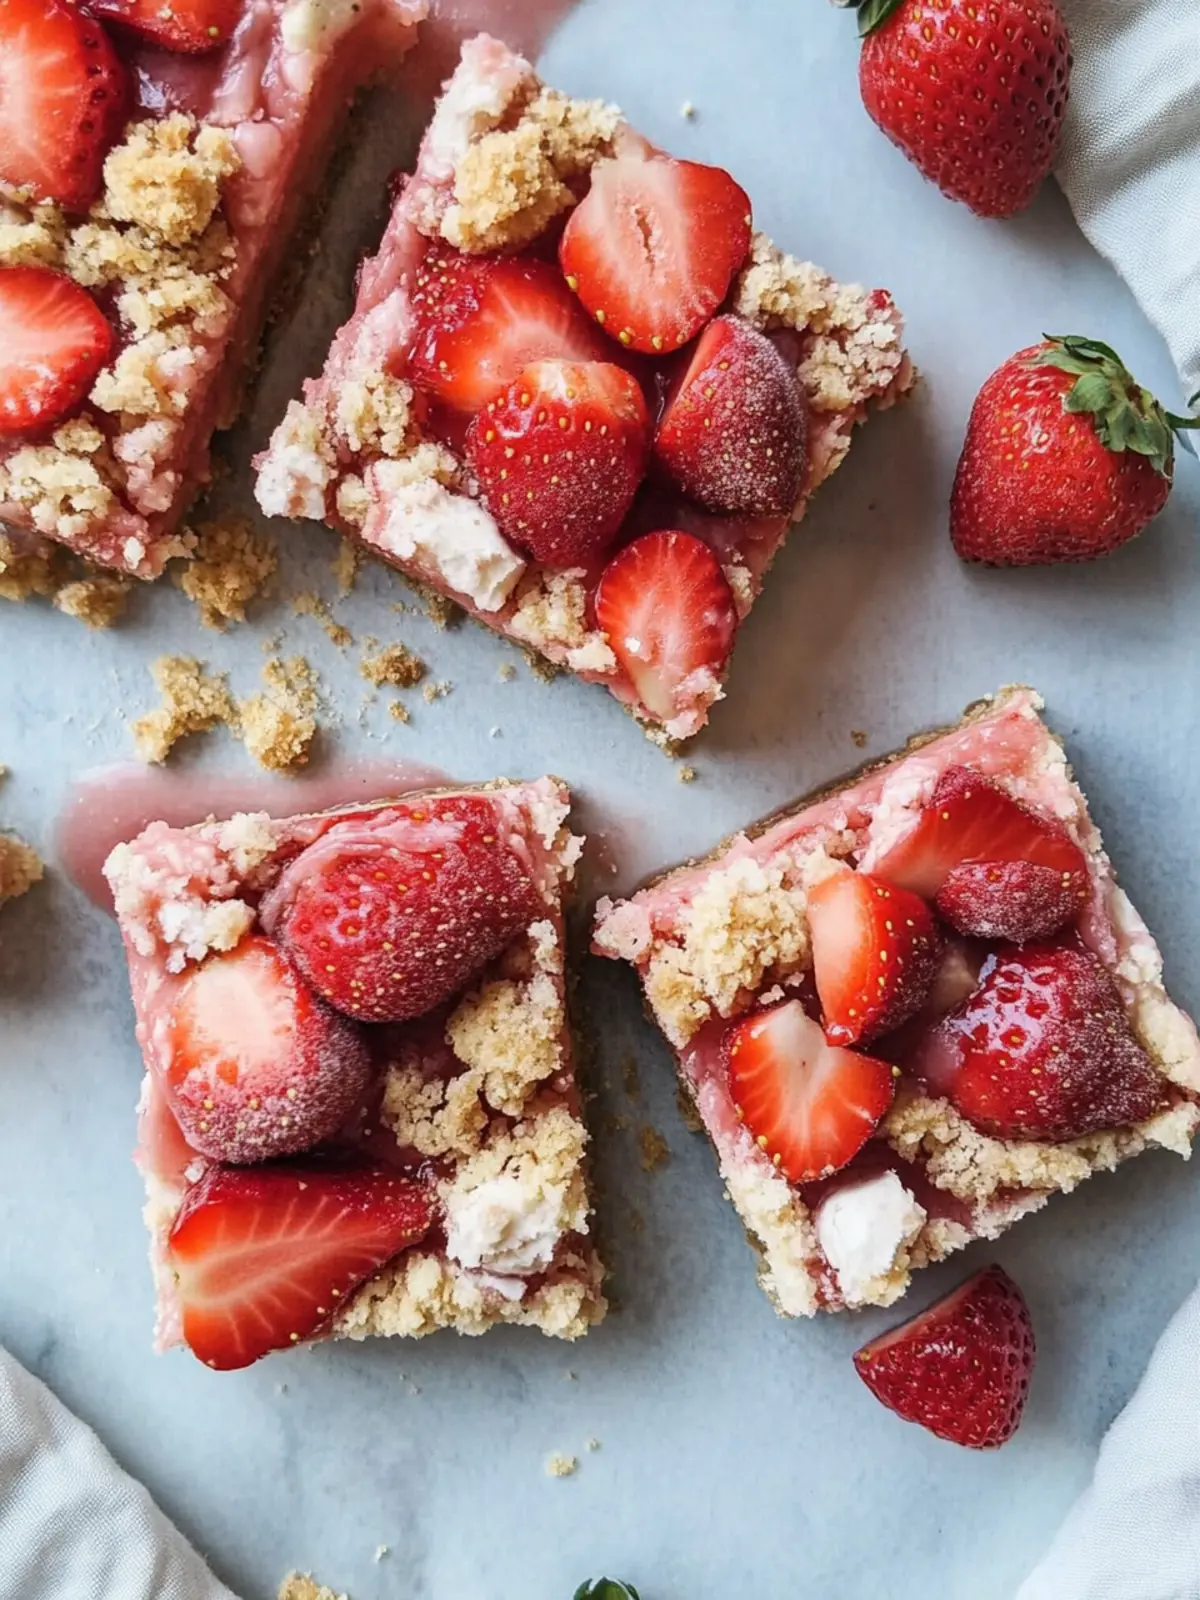
Why are Strawberry Bars so irresistible?
Fresh, Juicy Strawberries: The star ingredient bursts with natural sweetness and vibrant color, making every bite a fruity delight.
Easy to Make: This simple recipe allows anyone to whip up a batch with minimal effort, perfect for beginners!
Healthy Indulgence: Enjoy guilt-free snacking thanks to its gluten-free and vegan ingredients, bringing joy without the excess.
Versatile Dessert: These bars are great for picnics, potlucks, or as a sweet treat after dinner!
Crowd-Pleasing Flavor: The combination of lemon and strawberry creates a refreshing taste that appeals to all ages.
These Strawberry Bars will surely elevate your dessert game, and if you’re looking for other delicious ideas, try exploring my low-sugar dessert recipes for more guilt-free options!
Strawberry Bars Ingredients
• To whip up these delightful Strawberry Bars, gather these fresh ingredients!
For the Strawberry Filling
- Diced fresh strawberries – choose ripe berries for the sweetest flavor.
- Maple syrup – offers natural sweetness; can be adjusted based on your taste.
- Lemon juice – brings a zesty brightness that complements the strawberries.
- Lemon zest – enhances the lemon flavor; fresh zest delivers the best aroma.
- Sea salt (optional) – a pinch helps to bring out the strawberries’ natural sweetness.
- Tapioca starch – thickens the filling while keeping it gluten-free.
For the Crust
- Almond flour – provides a buttery texture; great for gluten-free baking.
- Tapioca starch – helps bind the crust together while adding chewiness.
- Baking soda – a leavening agent that contributes to a light texture.
- Sea salt – balances the flavors and enhances sweetness.
- Coconut oil (softened) – adds moisture and a subtle tropical flavor.
- Maple syrup – sweetens the crust, creating a perfect pairing with the filling.
These Strawberry Bars not only taste divine but also leave your kitchen smelling heavenly. Enjoy the process of making them as much as the final treat!
How to Make Strawberry Bars
-
Prepare the Strawberries: Wash, hull, and dice fresh strawberries. For frozen strawberries, let them defrost and drain excess liquid. Combine them in a small saucepan with maple syrup, lemon juice, lemon zest, and sea salt. Cook over medium heat until the liquid cooks out, about 5-10 minutes.
-
Thicken the Filling: Stir in the tapioca starch and then remove the saucepan from the heat. Set aside to cool slightly while you prepare the crust.
-
Preheat the Oven: Set your oven to 350°F (175°C) and line a 9×9 baking dish with parchment paper to prevent sticking.
-
Make the Crust: In a mixing bowl, combine almond flour, tapioca starch, baking soda, and sea salt. Add softened coconut oil and maple syrup, stirring until a thick dough forms.
-
Shape the Crust: Reserve 3/4 cup of the dough for topping and press the remaining portion into an even layer in the prepared baking dish. Poke holes in the crust with a fork, spaced about an inch apart, to ensure even baking. Bake for 10 minutes.
-
Add the Strawberry Filling: Once the crust is baked, remove it from the oven and spread the strawberry filling evenly over the top.
-
Top with Dough: Take the reserved crust dough and sprinkle it across the strawberry layer for a crumbly topping.
-
Bake Again: Return the baking dish to the oven and bake for an additional 20-25 minutes, or until the edges turn lightly golden. Allow to cool completely before slicing into bars.
Optional: Drizzle with a bit of maple syrup before serving for extra sweetness.
Exact quantities are listed in the recipe card below.
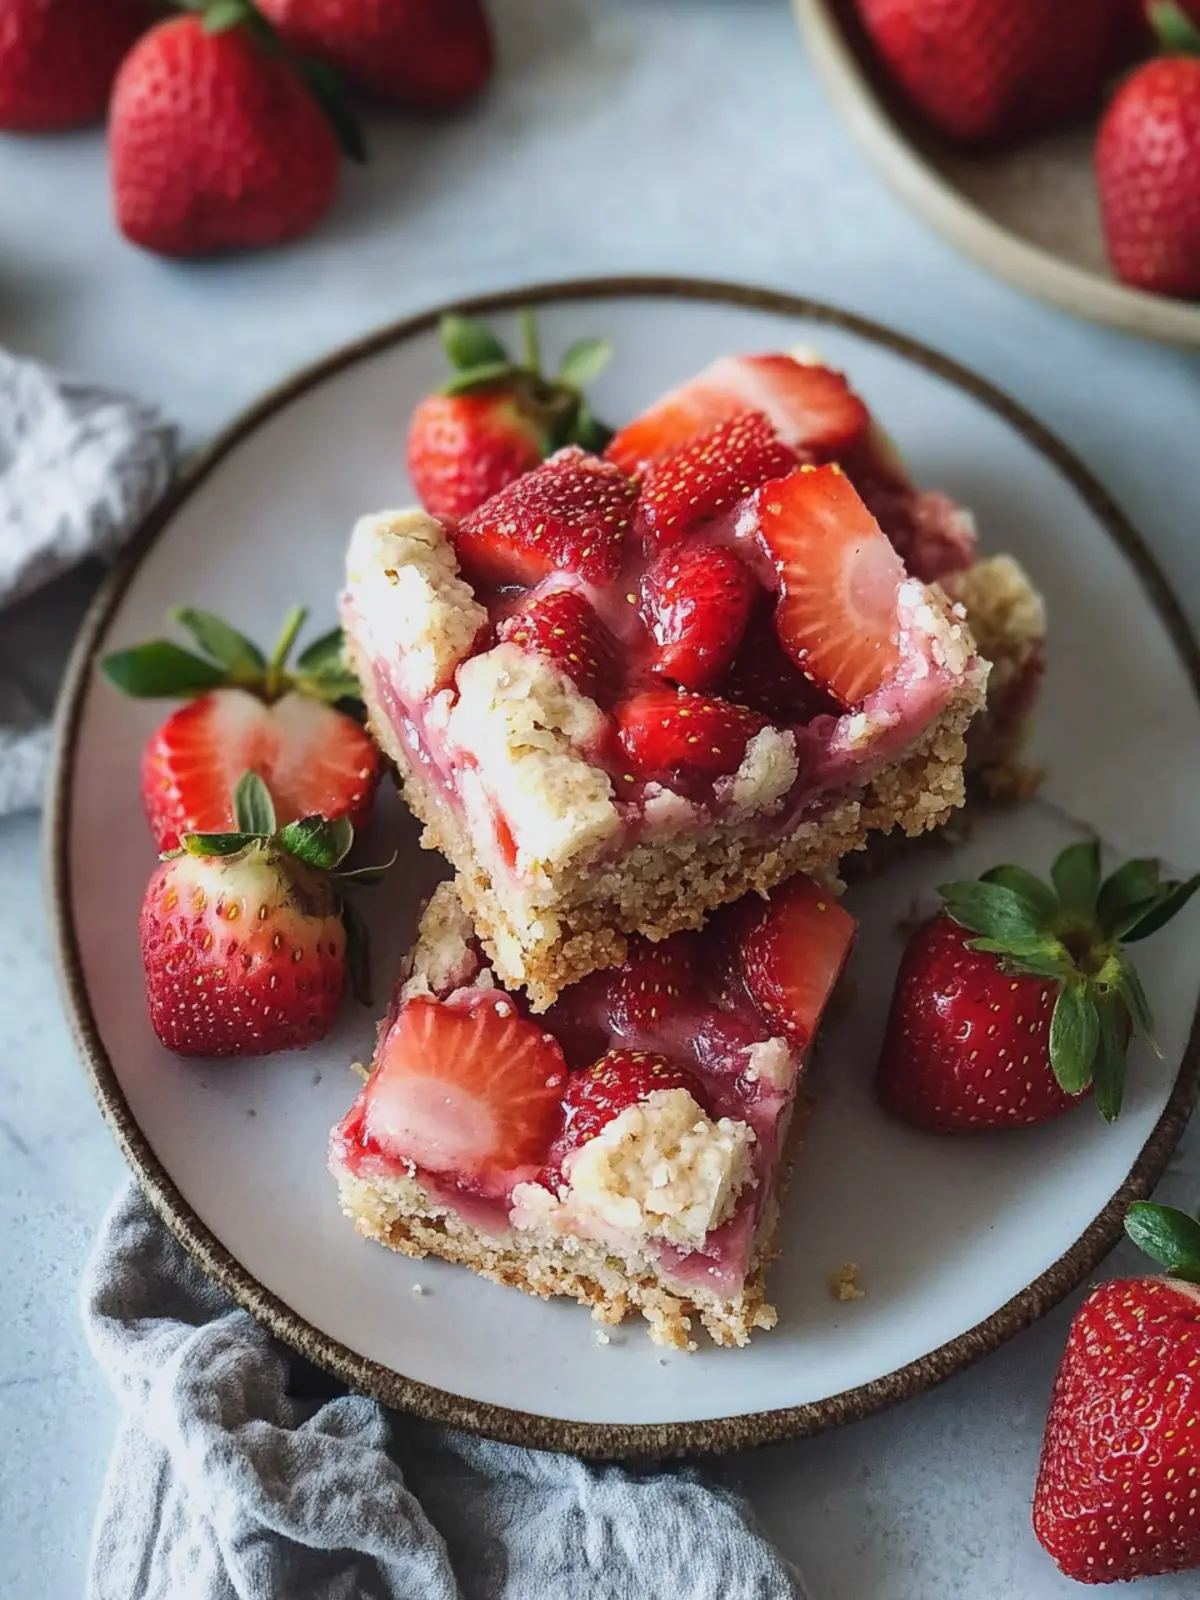
Make Ahead Options
These delicious Strawberry Bars are perfect for meal prep enthusiasts! You can prepare the strawberry filling up to 3 days in advance, storing it in an airtight container in the refrigerator to maintain freshness. Likewise, the crust can be made and pressed into the baking dish a day ahead of time; just cover it tightly with plastic wrap and refrigerate. When you’re ready to bake, simply spread the strawberry filling over the crust, sprinkle the reserved dough topping, and bake as directed. This pre-preparation not only saves you time but also means you can whip up these delightful bars with minimal effort, making them just as scrumptious as if they were made fresh that day!
What to Serve with Strawberry Bars?
Indulging in these delightful treats is just the beginning; let’s craft a full experience that tickles the taste buds and warms the heart.
-
Fresh Mint Tea: The refreshing herbal notes complement the sweetness of the bars while providing a light, soothing drink option.
-
Coconut Whipped Cream: A dollop of this creamy delight adds a luscious texture that pairs beautifully with the fruity flavors. It’s a decadent touch that feels like summer on a spoon.
-
Mixed Berry Salad: This vibrant mix of seasonal berries echoes the strawberry filling and adds a natural sweetness that balances the richness of the bars.
-
Lemonade: A glass of chilled lemonade enhances the zesty notes of the dessert, making it an uplifting accompaniment for gatherings or sunny afternoons.
-
Vanilla Bean Ice Cream: The creamy, dreamy flavor of vanilla ice cream melts seamlessly into the warm strawberry bars, creating a delightful contrast that’s simply irresistible.
-
Chocolate Drizzle: For an added touch of luxury, drizzle dark chocolate over the bars. This rich flavor complements the strawberries and adds an elegant flair.
-
Almond Milkshake: Creamy and nutritious, this vanilla almond milkshake provides a smooth, dairy-free contrast to the soft texture of the bars, making every bite a pleasure.
Let your culinary imagination soar by pairing these ideas with your Strawberry Bars, and watch as they elevate your dessert experience to new heights!
How to Store and Freeze Strawberry Bars
Room Temperature: Allow the bars to cool completely before storing. They can be kept in an airtight container for up to 3 days at room temperature.
Fridge: For longer freshness, store the Strawberry Bars in an airtight container in the fridge for up to 1 week. This keeps them moist and delicious!
Freezer: To freeze, slice the bars and wrap them individually in plastic wrap, then place them in a freezer-safe bag. They will stay fresh for up to 3 months.
Reheating: Simply thaw at room temperature or microwave for 15-20 seconds to enjoy a taste of summer whenever you crave these gluten-free and vegan Strawberry Bars!
Expert Tips for Strawberry Bars
-
Choose Ripe Berries: Use fresh, juicy strawberries for the best flavor; underripe berries can lead to less sweetness in your filling.
-
Avoid Watery Filling: Make sure to cook the strawberry filling long enough to reduce excess liquid; this prevents sogginess in your bars.
-
Proper Dough Consistency: Ensure your dough is thick enough before baking. If too wet, add a bit more almond flour to achieve the right texture.
-
Don’t Skip the Poking: Poking holes in the crust helps it bake evenly and prevents bubbling; it’s a small step that makes a big difference!
-
Cool Before Slicing: Let the bars cool completely for easier slicing. Cutting them too soon can lead to messy, crumbled edges.
These tips will enhance your experience with making these delightful Strawberry Bars (Gluten Free + Vegan)!
Strawberry Bars Variations
Feel free to explore these delightful twists on the classic recipe that will bring exciting flavors to your table!
-
Berry Medley: Swap strawberries with a mix of blueberries, raspberries, or blackberries for a fruity explosion. Each berry brings a unique taste you’ll adore!
-
Citrus Burst: Add orange or lime juice and zest for a zesty variation that brightens up the filling beautifully. The citrus undertones will elevate the overall flavor profile.
-
Nutty Crunch: Fold in chopped nuts, like almonds or walnuts, into the crust for a satisfying crunch that’s packed with protein. A nutty texture adds an extra layer of delight!
-
Chocolate Drizzle: After cooling, drizzle melted dark chocolate or vegan chocolate over the bars for a luxurious touch. The combination of strawberry and chocolate is always a crowd favorite!
-
Spicy Kick: Add a pinch of cayenne pepper to the filling for a surprising heat that perfectly balances the sweetness. It’s a playful twist that adventurous eaters will love!
-
Maple Pecan: Incorporate chopped pecans into the crust and drizzle maple syrup over the top before baking. The nutty flavor marries wonderfully with the sweet strawberries.
-
Coconut Flakes: Mix shredded coconut into the filling for a tropical flair and chewy texture. Coconut’s sweet essence harmonizes so wonderfully with the strawberries!
-
Dairy-Free Cream Cheese: For an extra creamy layer, combine a vegan cream cheese alternative with the strawberry filling. This will add richness while keeping it plant-based.
Let your creativity shine with these scrumptious variations, and make every batch of Strawberry Bars uniquely yours!
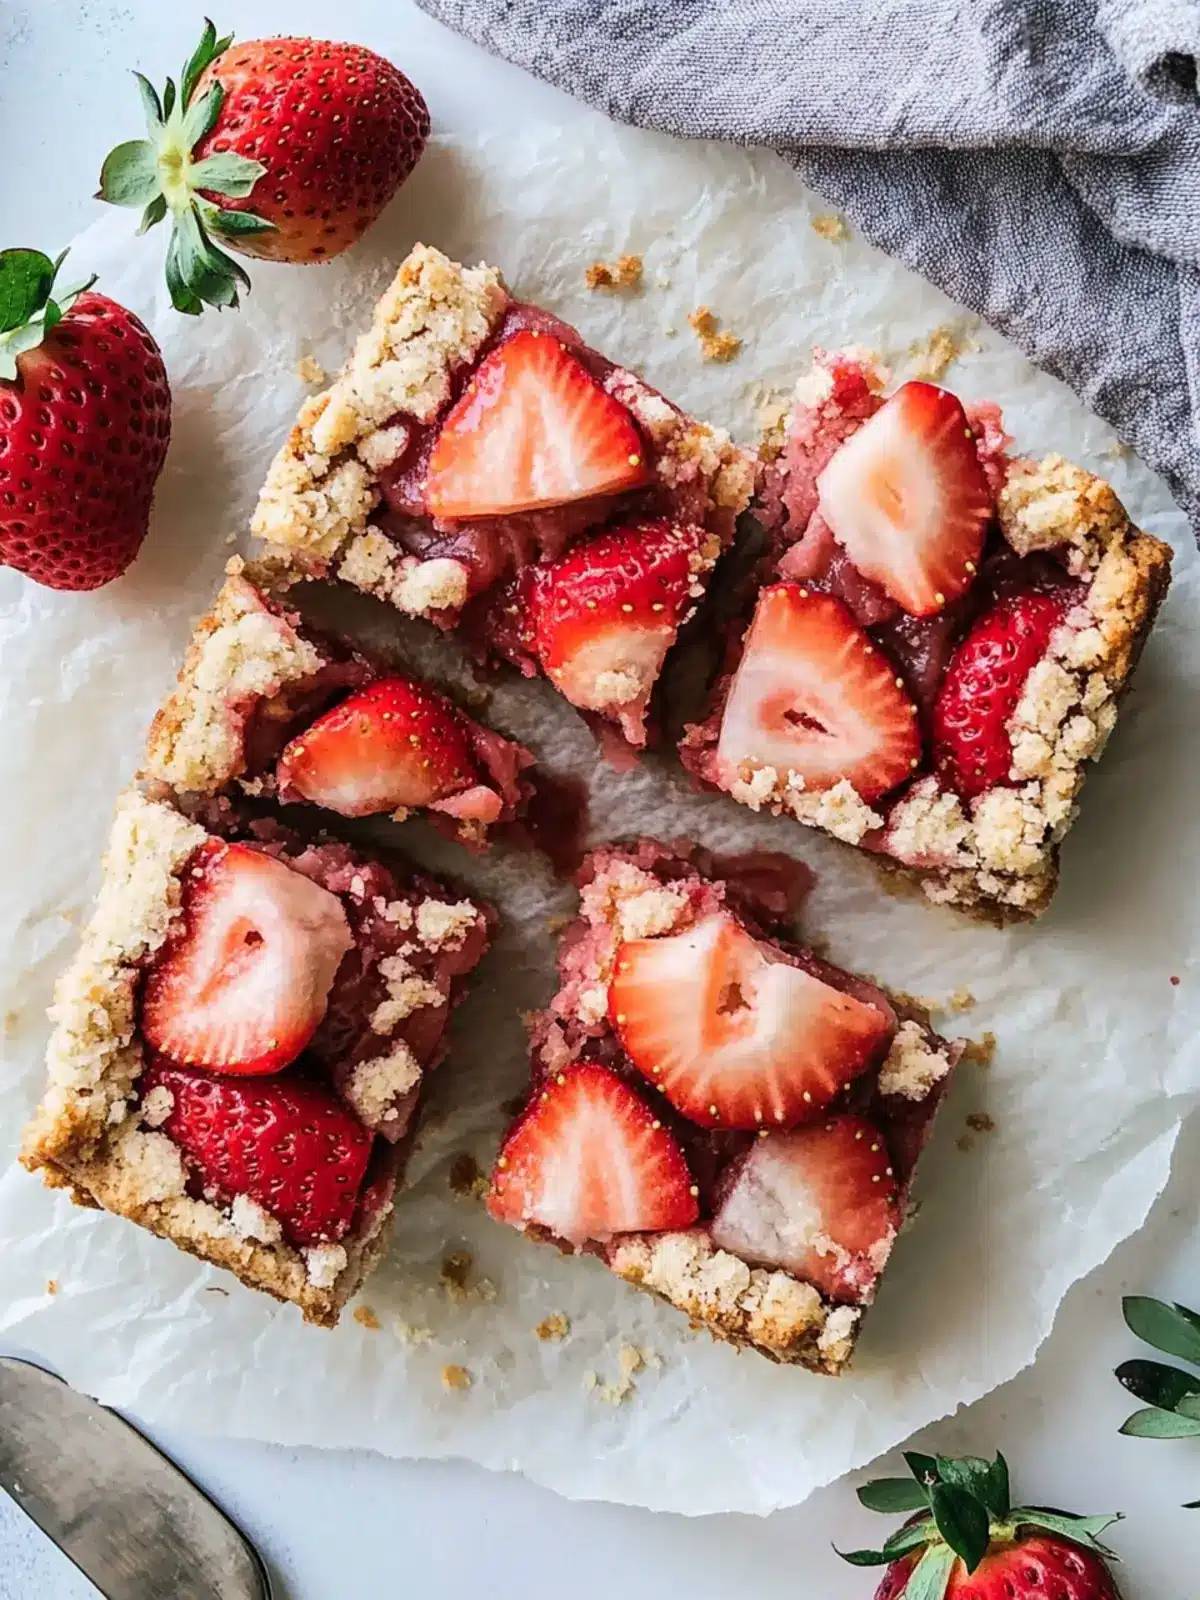
Strawberry Bars Recipe FAQs
What kind of strawberries should I use for the best flavor?
Absolutely! For the freshest and sweetest Strawberry Bars, use ripe, juicy strawberries. Look for berries that are vibrant in color without any dark spots or bruising, as this indicates ripeness.
How should I store my Strawberry Bars?
To keep your Strawberry Bars at their best, let them cool completely and store them in an airtight container. At room temperature, they will stay fresh for about 3 days. For optimal freshness, place them in the fridge, where they can last up to one week.
Can I freeze these Strawberry Bars?
Yes! Freezing is a fantastic option to preserve their deliciousness. Slice the cooled Strawberry Bars, wrap each piece individually in plastic wrap, and place them in a freezer-safe bag. They’ll stay fresh for up to 3 months. When you’re ready to indulge, just thaw at room temperature or pop them in the microwave for 15-20 seconds.
What should I do if my filling is too watery?
Very! If your strawberry filling ends up watery, ensure you cook the strawberries long enough to reduce moisture – typically around 5-10 minutes should suffice. If you find it still too runny, you can stir in a bit more tapioca starch while on the heat to thicken the mixture further.
Are these Strawberry Bars suitable for pets or those with allergies?
While these Strawberry Bars are gluten-free and vegan, the use of maple syrup and coconuts might not be suitable for all pets or individuals with nut allergies. It’s always best to consult with a veterinarian for pets or a healthcare provider for people with specific allergies before sharing.
Can I substitute any ingredients in this recipe?
Absolutely! If almond flour isn’t available, you could use oat flour or a gluten-free all-purpose flour blend. For those avoiding coconut oil, a flavorless vegetable oil or vegan butter can work well as a substitute. Just keep in mind that it may slightly alter the taste and texture. Enjoy baking!
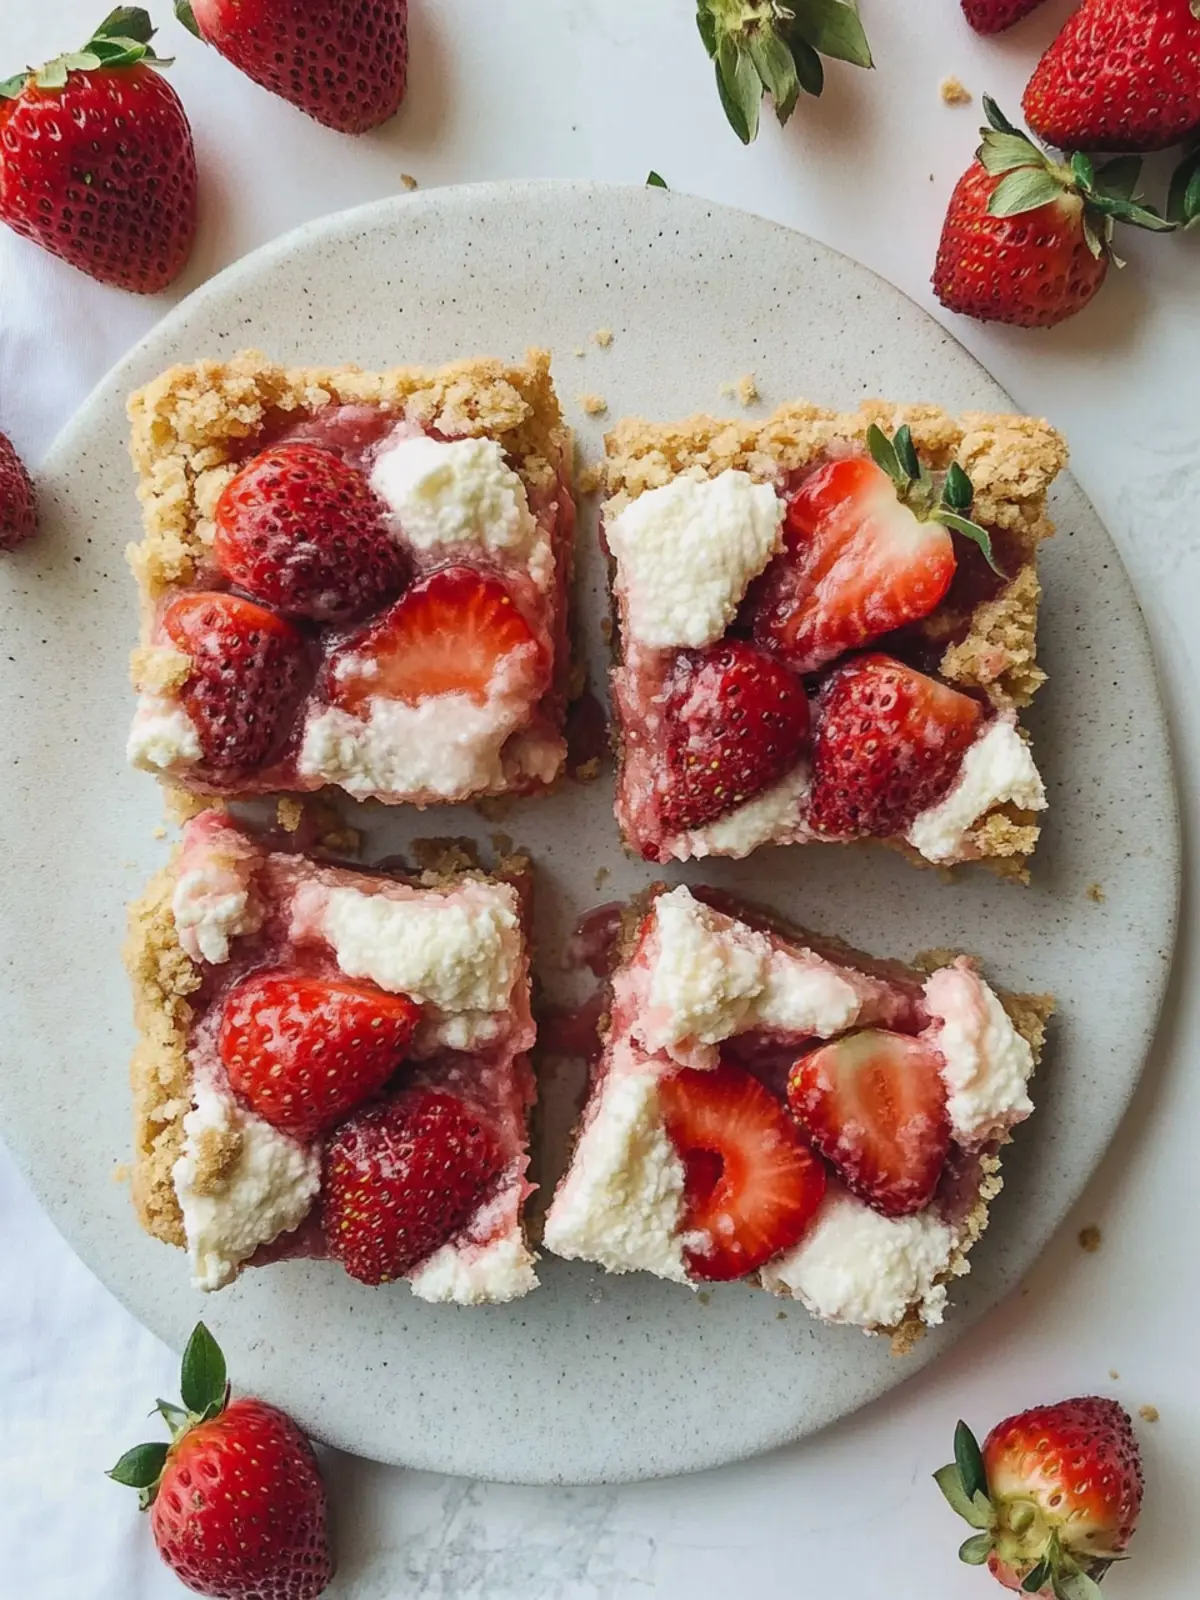
Delicious Gluten Free Vegan Strawberry Bars You'll Crave
Ingredients
Equipment
Method
- Wash, hull, and dice fresh strawberries. For frozen strawberries, let them defrost and drain excess liquid. Combine them in a small saucepan with maple syrup, lemon juice, lemon zest, and sea salt. Cook over medium heat until the liquid cooks out, about 5-10 minutes.
- Stir in the tapioca starch and then remove the saucepan from the heat. Set aside to cool slightly while you prepare the crust.
- Preheat the oven to 350°F (175°C) and line a 9×9 baking dish with parchment paper to prevent sticking.
- In a mixing bowl, combine almond flour, tapioca starch, baking soda, and sea salt. Add softened coconut oil and maple syrup, stirring until a thick dough forms.
- Reserve 3/4 cup of the dough for topping and press the remaining portion into an even layer in the prepared baking dish. Poke holes in the crust with a fork, spaced about an inch apart, to ensure even baking. Bake for 10 minutes.
- Once the crust is baked, remove it from the oven and spread the strawberry filling evenly over the top.
- Take the reserved crust dough and sprinkle it across the strawberry layer for a crumbly topping.
- Return the baking dish to the oven and bake for an additional 20-25 minutes, or until the edges turn lightly golden. Allow to cool completely before slicing into bars.
- Optional: Drizzle with a bit of maple syrup before serving for extra sweetness.