
There’s something truly heartwarming about the smell of fresh bread baking in the oven. Each whiff of the robust garlic mingling with aromatic herbs transports me to my grandmother’s kitchen, where patience and love were the secret ingredients. As I prepared this Rustic Garlic Parmesan Herb Bread, I couldn’t help but feel a wave of nostalgia. Who needs takeout when you can whip up such a delight in your own kitchen?
This isn’t just any bread; it’s a simple yet sophisticated creation that pairs beautifully with soups, salads, or just a smear of butter on a cozy evening. The combination of garlic, Parmesan, and mixed dried herbs creates a flavor profile that feels both rustic and gourmet, impressing guests while being easy enough for a weeknight dinner. If you’re craving a homemade touch that will elevate any meal, grab your apron—this recipe promises to deliver warmth, flavor, and an irresistible aroma that will have everyone asking for seconds!
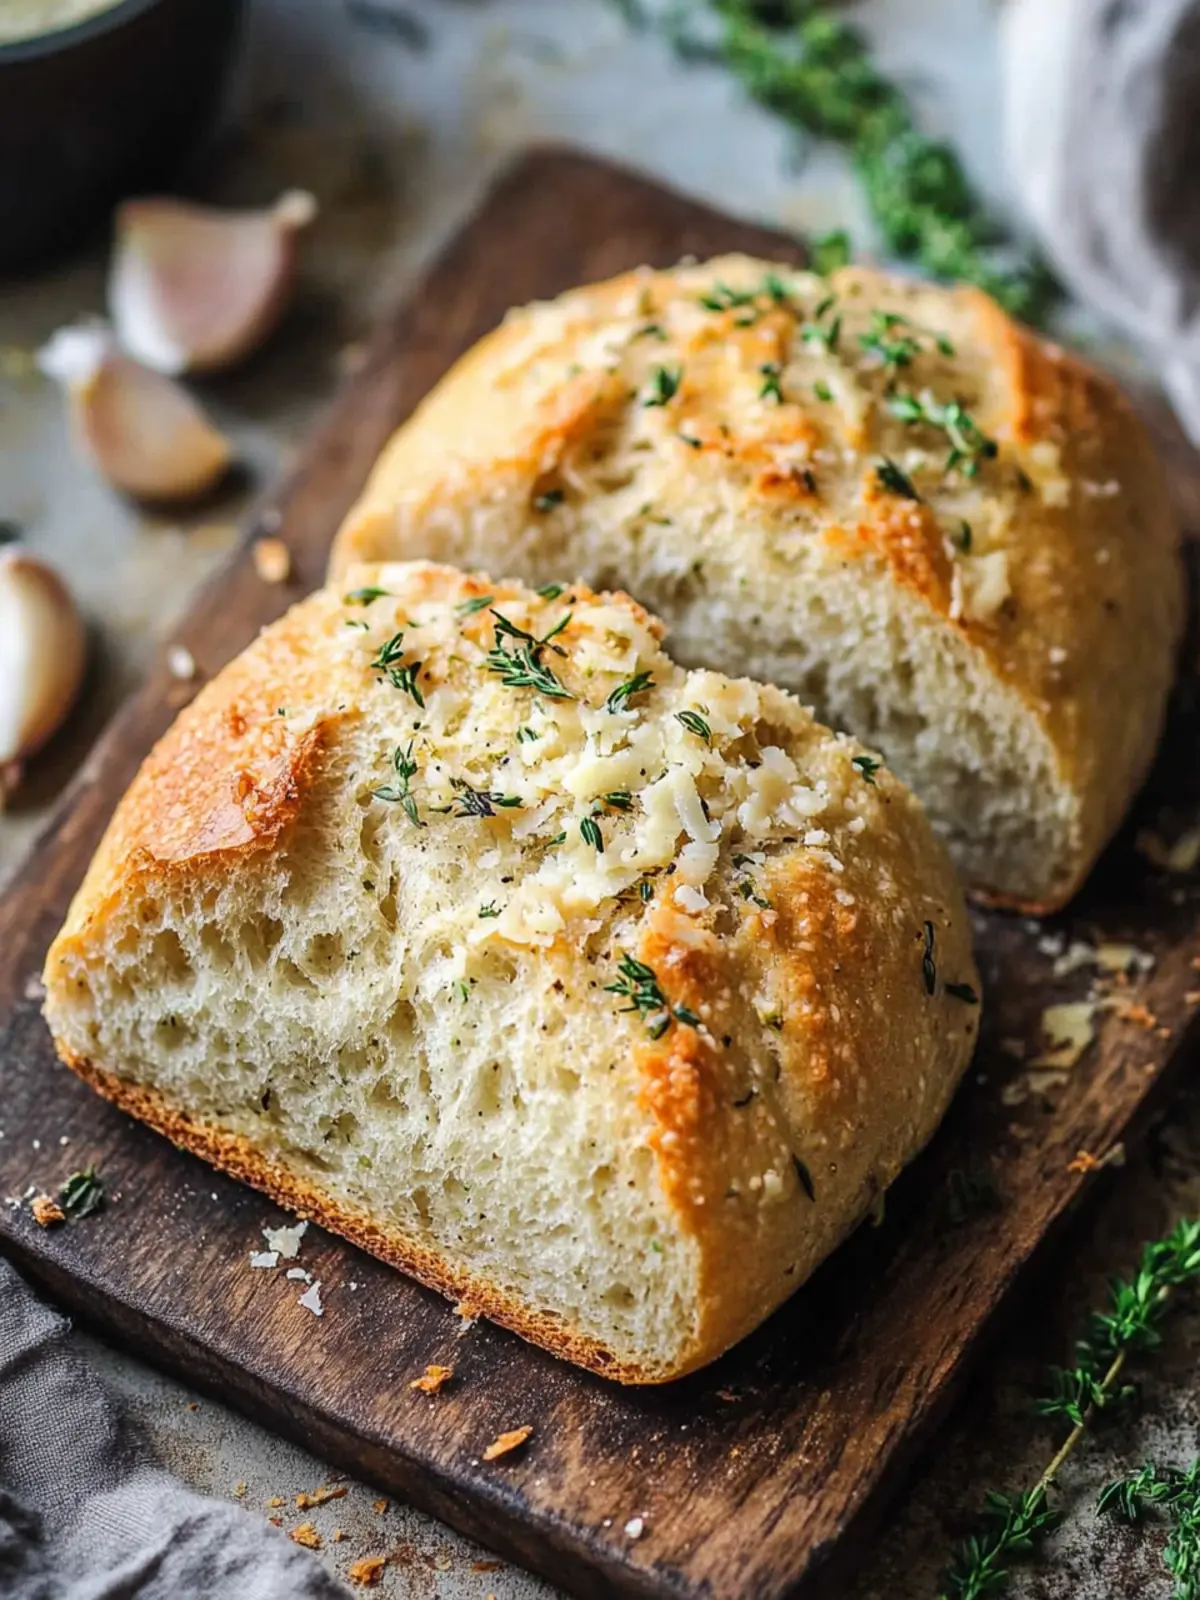
Why will you love this Rustic Garlic Parmesan Herb Bread?
Simplicity at its finest: With just a few ingredients and straightforward steps, this bread makes homemade baking accessible for everyone.
Aromatic Experience: The blend of garlic and herbs creates an intoxicating aroma that will fill your kitchen, invoking warm memories.
Versatile in flavor: Perfect as a side for soups, salads, or enjoyed on its own with butter, making it an ideal companion for any meal.
Impressive Yet Easy: Delight your guests without stressing—this bread is sure to wow with minimal effort.
Comforting Homemade Touch: Elevate your dinners with a rustic, gourmet feel that beats any takeout option.
Rustic Garlic Parmesan Herb Bread Ingredients
Explore the delightful components of this homemade treasure!
For the Dough
• Instant dry yeast – This helps the bread rise quickly, giving it a fluffy texture.
• Granulated sugar – Balances the flavors and fuels the yeast for a better rise.
• Warm water (100-110℉) – Activates the yeast; be mindful not to use water that’s too hot!
• Salt – Enhances the overall flavor of the bread, making each bite irresistible.
• Dried rosemary – Provides an earthy aroma and a hint of piney flavor.
• Dried basil – Infuses a sweet, savory essence that complements the garlic.
• Dried oregano – Adds depth and complexity, making this bread feel authentically rustic.
• Minced garlic (6 cloves) – The heart of your Rustic Garlic Parmesan Herb Bread, delivering a rich, robust flavor.
• All-purpose flour (2 to 2 1/2 cups) – Forms the backbone of the bread; adjust based on the dough’s texture.
• Grated parmesan cheese (1/3 cup) – Adds a savory, nutty taste that brings your bread to life.
For the Topping
• Olive oil (2 tablespoons) – Ensures a golden crust on your bread and adds a lovely richness.
• Butter (1 tablespoon) – A finishing touch that enhances the flavor of the crust when baked.
How to Make Rustic Garlic Parmesan Herb Bread
-
Combine Ingredients: In a large mixing bowl, mix together 1 tablespoon of instant dry yeast, 1 tablespoon of granulated sugar, and 1 cup of warm water (100-110℉). Add in 1 teaspoon of salt, 2 teaspoons of dried rosemary, 1 teaspoon of dried basil, 1 teaspoon of dried oregano, and 6 cloves of minced garlic for a fragrant start.
-
Form the Dough: Gradually incorporate 2 cups of all-purpose flour and 1/3 cup of grated parmesan cheese into the mixture. Stir until a rough dough forms, then add the remaining 1/2 cup of flour little by little until the dough is smooth and elastic—soft and slightly tacky, but not sticky.
-
Let it Rise: Transfer your dough to a lightly greased bowl and cover it with a kitchen towel or plastic wrap. Set it in a warm spot to rise for about 1 hour, or until it has doubled in size. This step is where the magic happens!
-
Preheat the Oven: As you wait, preheat your oven to 375°F (190°C). Prepare a baking sheet by drizzling 2 tablespoons of olive oil over it for that perfect, crispy crust.
-
Shape the Loaves: Once your dough has risen, divide it into two equal portions. Shape each portion into a lovely round loaf and place them on the prepared baking sheet. Cover again, letting them rise for an additional 15 to 20 minutes.
-
Butter It Up: For a delicious finish, top each loaf with a piece of butter (about 1/2 tablespoon in size) before baking. This will melt into the bread, adding extra flavor.
-
Bake to Perfection: Place the loaves in your preheated oven and bake for 18-20 minutes, or until they are beautifully golden brown and sound hollow when tapped on the bottom. Your kitchen will smell divine!
-
Cool and Slice: Once baked, remove the bread from the oven and let it cool on a wire rack before slicing into those warm, fragrant loaves. Enjoy the homemade goodness!
Optional: Serve warm with a side of olive oil for dipping.
Exact quantities are listed in the recipe card below.
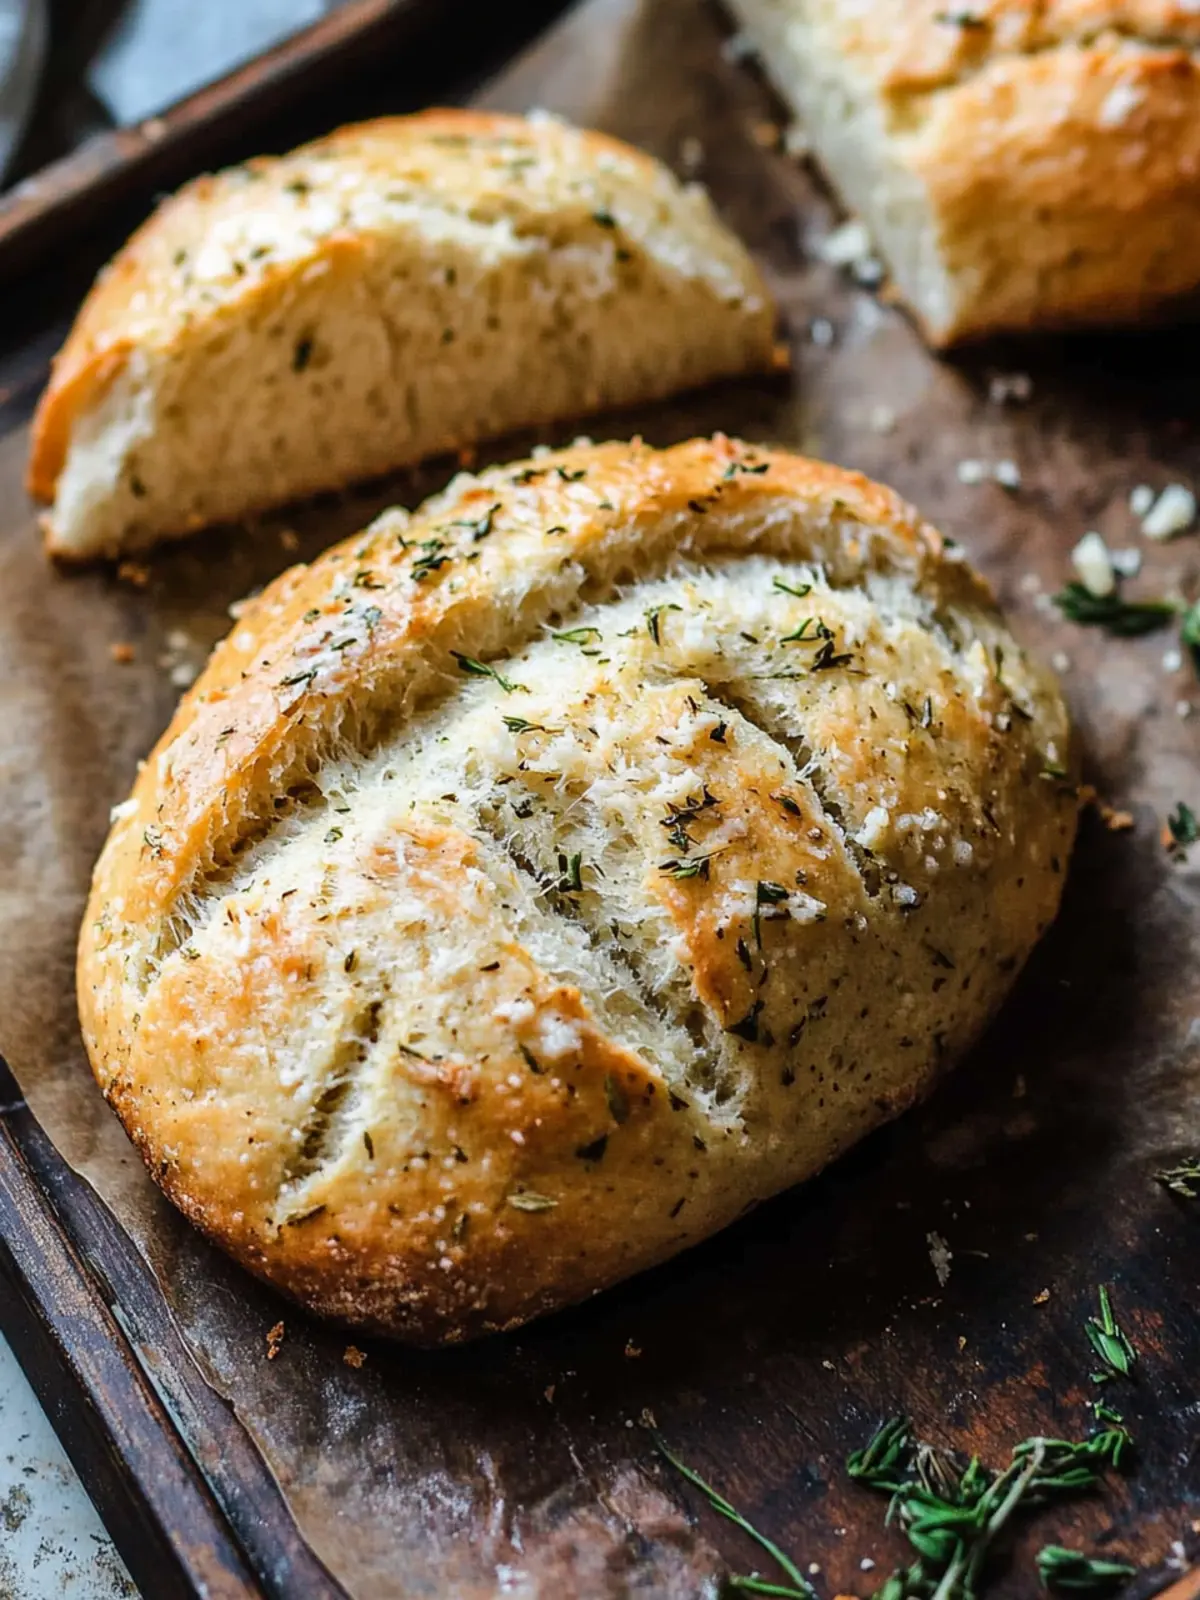
Expert Tips for Rustic Garlic Parmesan Herb Bread
-
Warm Water Magic: Ensure your water is between 100-110℉ to activate the yeast properly; too hot can kill the yeast, leading to dense bread.
-
Flour Adjustments: Start with 2 cups of flour and add more gradually. The dough should be soft and slightly tacky, not sticky, for the best texture in your Rustic Garlic Parmesan Herb Bread.
-
Rising Time: Allow the dough to rise in a warm place, covering it well. Rising too little can result in flat loaves; doubling in size is key for that fluffy quality.
-
Proper Baking: Tap the bottom of the bread when they come out of the oven; if it sounds hollow, they’re perfectly baked! Avoid overbaking to maintain moisture.
-
Cooling Counts: Resist the urge to slice while hot; let the bread cool for better slicing and to lock in those flavors. Enjoy with butter or olive oil for an extra treat!
Rustic Garlic Parmesan Herb Bread Variations
Feel free to let your creativity shine and customize this delicious bread recipe to fit your taste!
- Gluten-Free: Substitute all-purpose flour with a 1:1 gluten-free flour blend for a similar texture.
- Herb Explosion: Add an extra tablespoon of fresh chopped herbs like thyme or parsley for a vibrant flavor boost.
- Cheesy Delight: Mix in shredded mozzarella or cheddar cheese for a gooey, cheesy interior that stretches with each bite.
- Spicy Twist: Incorporate red pepper flakes or diced jalapeños into the dough for a kick of heat that brings excitement to your bread.
- Honeyed Sweetness: Drizzle in a tablespoon of honey to the wet ingredients for a subtly sweet contrast to the savory garlic and herbs.
- Savory Olive Tapenade: Swirl in some olive tapenade before shaping the loaves for an exciting Mediterranean flair.
- Nutty Goodness: Add in a handful of chopped nuts like walnuts or pecans into the dough for a delightful crunch and added nutrition.
Experiment with these variations to discover your own perfect version of this Rustic Garlic Parmesan Herb Bread!
How to Store and Freeze Rustic Garlic Parmesan Herb Bread
Room Temperature: Store leftover bread in a paper bag or wrapped in a kitchen towel for up to 3 days to maintain freshness. Avoid plastic as it encourages moisture buildup.
Fridge: If needing to keep your Rustic Garlic Parmesan Herb Bread longer, place it in an airtight container in the fridge for up to a week. However, this can change the texture slightly.
Freezer: For longer storage, freeze the bread after cooling completely. Wrap each loaf tightly in plastic wrap and then in aluminum foil to prevent freezer burn. It can last up to 3 months!
Reheating: To enjoy that freshly baked taste, reheat frozen bread in the oven at 350°F for about 10-15 minutes after thawing, or toast slices for a quick warm-up.
What to Serve with Rustic Garlic Parmesan Herb Bread?
There’s nothing quite like a warm, crusty loaf to elevate your meal experience. Pairing the aromatic flavors of this delightful bread with complementary dishes enhances the overall dining experience.
-
Classic Tomato Soup: The acidity and sweetness of a fresh tomato soup beautifully balance the rich flavors of the bread, creating a comforting duo.
-
Creamy Mushroom Risotto: The earthy tones of mushroom risotto work perfectly with the garlic and herbs, offering a luscious texture that blankets the palate.
-
Simple Arugula Salad: A crisp arugula salad with a zesty vinaigrette cuts through the richness of the bread, adding a refreshing bite that invigorates the meal.
-
Garlic Herb Butter: Mix softened butter with fresh herbs and garlic to slather on warm slices of the bread, heightening its fantastic flavor even more.
-
Grilled Vegetable Platter: A colorful assortment of seasonally grilled vegetables brings a smoky, charred element that contrasts beautifully with the soft texture of the bread.
-
Cheesy Spinach and Artichoke Dip: This creamy, cheesy dip creates a rich, indulgent experience that pairs wonderfully with the chewiness of your Rustic Garlic Parmesan Herb Bread.
-
Olive Oil and Balsamic Vinegar: A simple dipping dish of quality olive oil and balsamic vinegar elevates the tasting experience, allowing the bread to shine on its own.
Make Ahead Options
These Rustic Garlic Parmesan Herb Bread loaves are perfect for meal prep enthusiasts! You can prepare the dough up to 24 hours in advance by following the initial steps. After mixing your ingredients and allowing the dough to rise for about 1 hour, simply cover the bowl tightly with plastic wrap and refrigerate it. When you’re ready to bake, let the dough sit at room temperature for about 30 minutes before shaping it into loaves. This approach not only saves you time but also enhances the flavors! For the best results, keep your bread freshly baked by enjoying it the same day or storing it in an airtight container for up to 3 days—just as delicious, and perfect for busy weeknights!
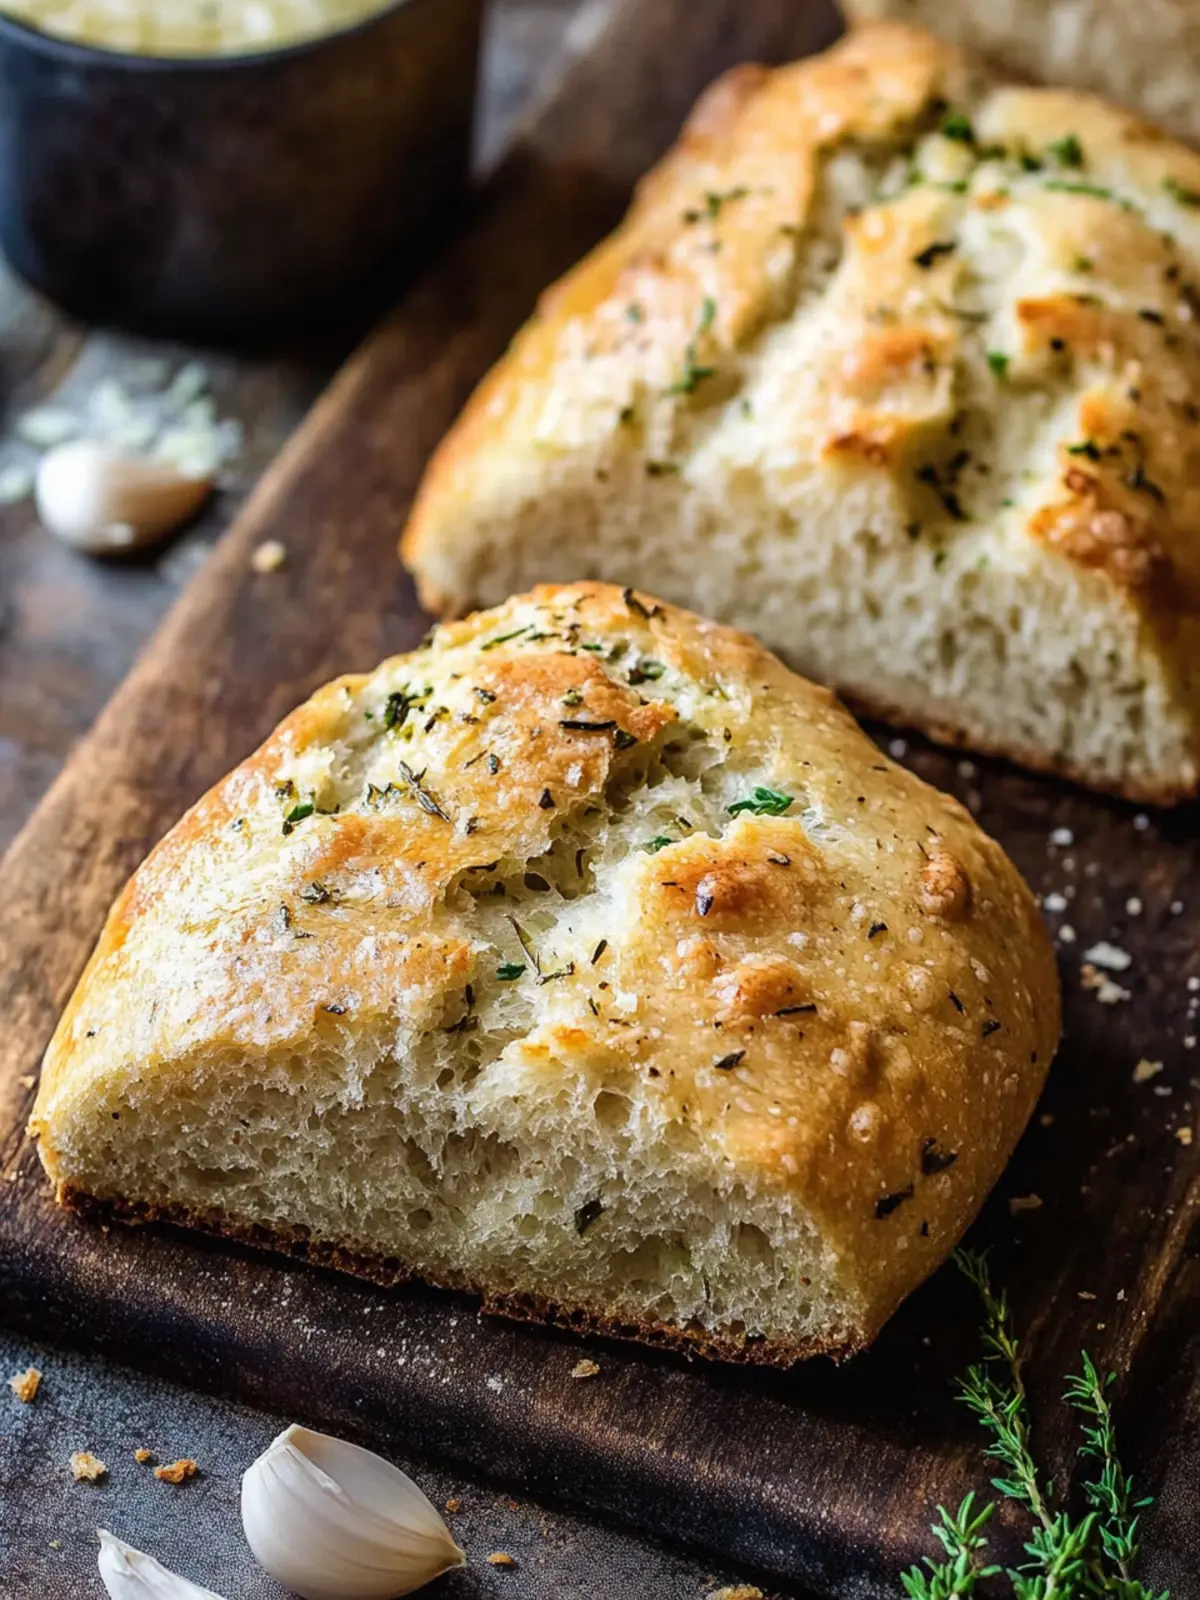
Rustic Garlic Parmesan Herb Bread Recipe FAQs
How do I know if my yeast is fresh?
Absolutely! To check the freshness of your instant dry yeast, mix 1 tablespoon of the yeast with 1 tablespoon of sugar and 1 cup of warm water (100-110℉). Let it sit for about 5-10 minutes. If it becomes foamy, your yeast is active and good to go. If not, you might need to purchase new yeast for your Rustic Garlic Parmesan Herb Bread.
How should I store the leftover bread?
To keep your bread fresh, store it in a paper bag or wrap it in a kitchen towel at room temperature for up to 3 days. This method helps to maintain the outer crust’s crispiness while keeping the inside soft. Avoid plastic wrap as it traps moisture, which can make the bread soggy.
Can I freeze Rustic Garlic Parmesan Herb Bread?
Very! After allowing the bread to cool completely, you can freeze it for longer storage. Wrap each loaf tightly in plastic wrap and then in aluminum foil to prevent freezer burn. It can stay fresh in the freezer for up to 3 months. When you’re ready to enjoy, simply thaw and heat in the oven at 350°F for about 10-15 minutes to bring back that freshly baked taste.
What do I do if my dough is too sticky?
If your dough feels too sticky, don’t worry! Simply sprinkle in more all-purpose flour, one tablespoon at a time, while kneading, until it reaches a soft, slightly tacky texture. It can be tricky, but staying close to the recommended measurements helps. Remember, each flour can absorb moisture differently, so adjustments are often necessary.
Are there any dietary considerations I should be aware of?
Yes! If you have dietary restrictions, it’s essential to consider ingredient alternatives. For a gluten-free option, you can use a 1:1 gluten-free flour blend, but your texture may vary slightly. Additionally, check for allergies related to garlic or dairy, especially since this recipe uses grated parmesan cheese. You can substitute nutritional yeast for a dairy-free option!
How do I know when the bread is baked correctly?
To check if your bread is baked to perfection, tap the bottom of a loaf lightly; it should sound hollow. If it doesn’t, pop it back in the oven for a few more minutes. Aim for a golden-brown crust; this delightful visual cue tells you that your Rustic Garlic Parmesan Herb Bread is ready to impress!
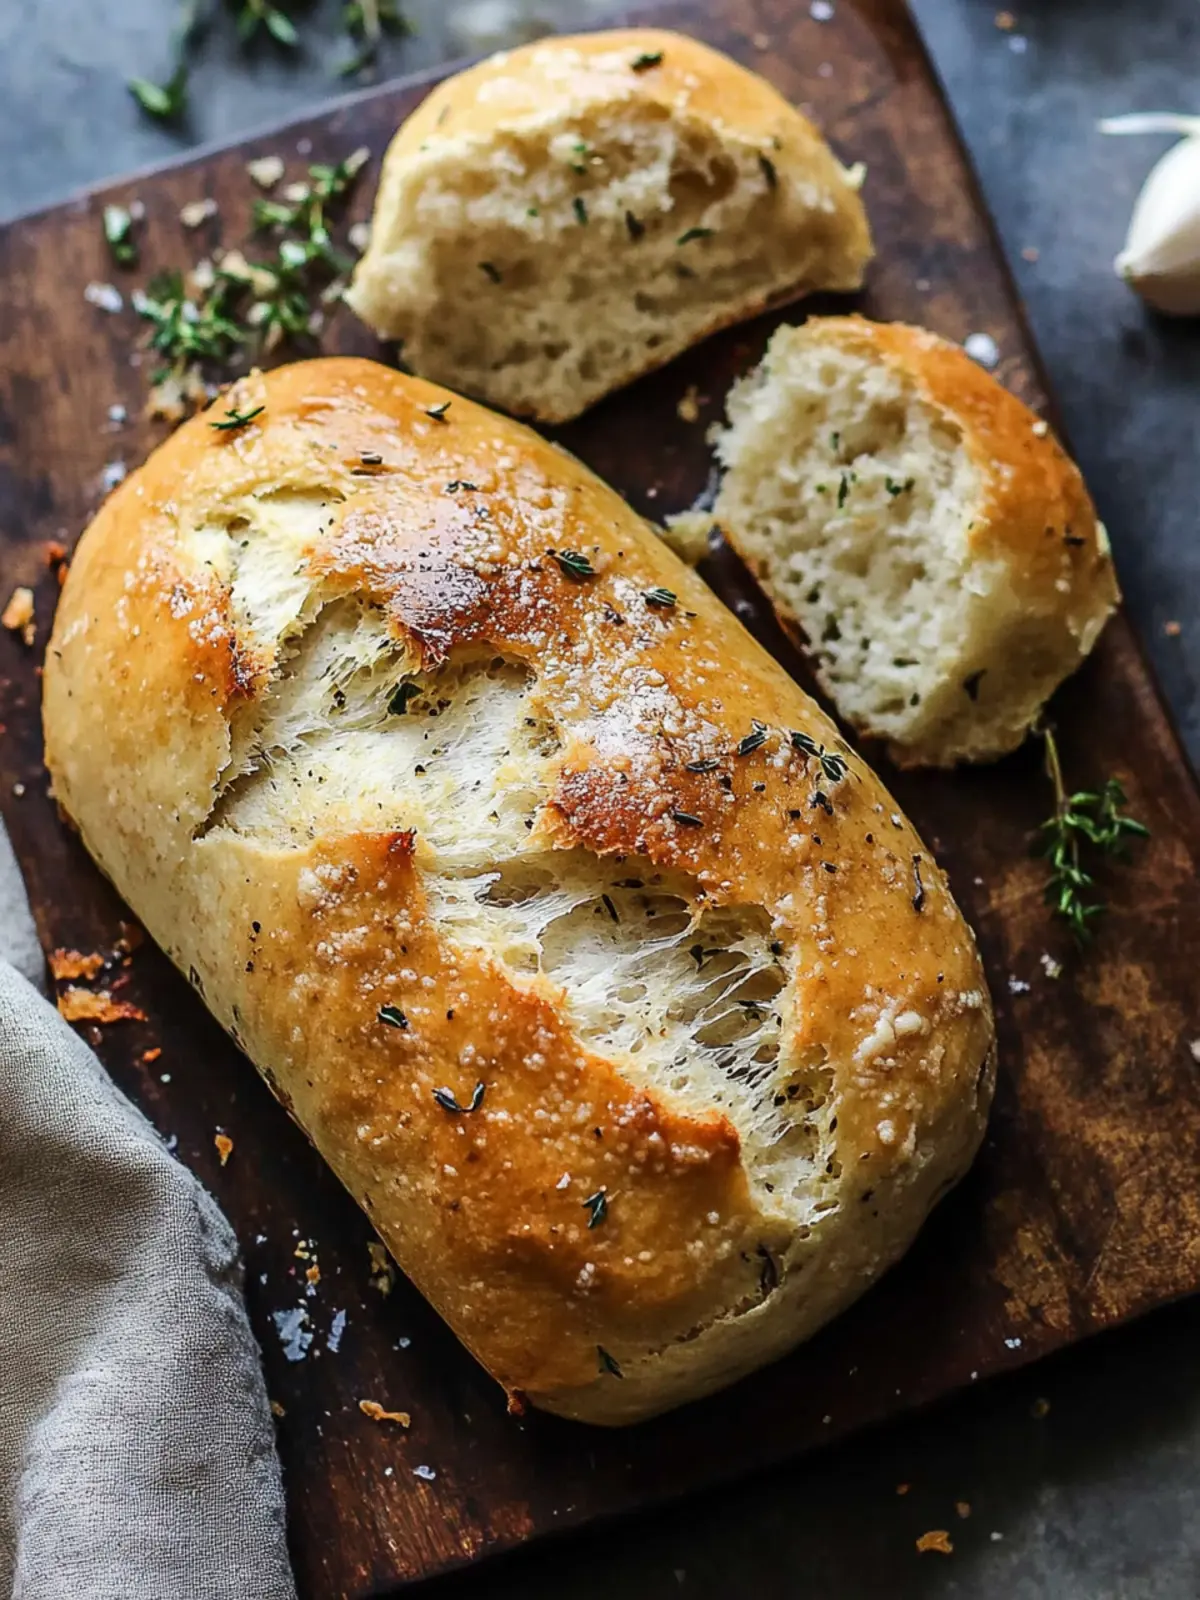
Rustic Garlic Parmesan Herb Bread for Cozy Evenings at Home
Ingredients
Equipment
Method
- In a large mixing bowl, mix together 1 tablespoon of instant dry yeast, 1 tablespoon of granulated sugar, and 1 cup of warm water (100-110℉). Add in 1 teaspoon of salt, 2 teaspoons of dried rosemary, 1 teaspoon of dried basil, 1 teaspoon of dried oregano, and 6 cloves of minced garlic for a fragrant start.
- Gradually incorporate 2 cups of all-purpose flour and 1/3 cup of grated parmesan cheese into the mixture. Stir until a rough dough forms, then add the remaining 1/2 cup of flour little by little until the dough is smooth and elastic—soft and slightly tacky, but not sticky.
- Transfer your dough to a lightly greased bowl and cover it with a kitchen towel or plastic wrap. Set it in a warm spot to rise for about 1 hour, or until it has doubled in size.
- As you wait, preheat your oven to 375°F (190°C). Prepare a baking sheet by drizzling 2 tablespoons of olive oil over it for that perfect, crispy crust.
- Once your dough has risen, divide it into two equal portions. Shape each portion into a lovely round loaf and place them on the prepared baking sheet. Cover again, letting them rise for an additional 15 to 20 minutes.
- For a delicious finish, top each loaf with a piece of butter (about 1/2 tablespoon in size) before baking.
- Place the loaves in your preheated oven and bake for 18-20 minutes, or until they are beautifully golden brown and sound hollow when tapped on the bottom.
- Once baked, remove the bread from the oven and let it cool on a wire rack before slicing into those warm, fragrant loaves.