
As summer days stretch into warm, lazy evenings, there’s nothing quite like the joy of indulging in a scoop of ice cream to bring instant happiness. This Homemade Biscoff Ice Cream is my favorite way to beat the heat, transforming the delightful crunch of spiced Biscoff cookies into a creamy frozen treat that’s simple to whip up. With just a handful of ingredients and no ice cream machine required, you can craft this dreamy dessert in just 15 minutes!
Whether you’re savoring it on a cozy night in or impressing guests at your next gathering, this recipe strikes the perfect balance between rich, velvety vanilla and the irresistible caramel notes of Biscoff. Picture this: a luxurious scoop of ice cream swirled with luscious cookie butter and studded with crunchy cookie pieces—each bite is a little taste of heaven. Get ready to fall in love with this homemade delight that’s not just easy to make but also the ultimate crowd-pleaser! Let’s dive into the creamy bliss of Biscoff ice cream, and together we’ll make some sweet memories.

Why is Homemade Biscoff Ice Cream so special?
Indulgence at Home: This no-churn recipe allows you to create a gourmet dessert without any fancy equipment.
Quick and Easy: In just 15 minutes, you can whip up this delicious ice cream, making it a perfect choice for spontaneous cravings.
Unique Flavor: The combination of creamy vanilla and spiced Biscoff creates a dreamy flavor profile that’s hard to resist.
Versatile Delight: Feel free to mix in chocolates or other cookie butters for even more exciting variations to suit your taste.
Perfect for Gatherings: Impress friends and family with this homemade treat that’s sure to become the star of any dessert spread.
Enjoy it solo or pair it with brownies for an unforgettable dessert experience—this is one recipe you’ll want to keep on hand!
Homemade Biscoff Ice Cream Ingredients
For the Base
- Sweetened Condensed Milk – Provides sweetness and creaminess to the ice cream; opt for low-fat for a lighter version.
- Biscoff Cookie Butter – Acts as a flavor enhancer, delivering that iconic Biscoff taste; try substituting with other cookie butters for new flavor twists.
- Heavy Whipping Cream – Creates the luxurious texture; be sure it’s cold to achieve the best whipping results. Non-dairy whipping cream can also be used for a lactose-free option.
- Vanilla Extract – Adds depth of flavor; pure vanilla is recommended, but imitation can work in a pinch.
For the Crunch
- Chopped Biscoff Cookies – Contributes crunchy texture and enhances flavor; feel free to swap with any similar spiced cookie if desired.
This combination of ingredients makes crafting your own Homemade Biscoff Ice Cream both delightful and straightforward!
How to Make Homemade Biscoff Ice Cream
-
Whisk Together: In a large bowl, whisk together the sweetened condensed milk and 1/2 cup of Biscoff cookie butter until smooth and well combined. Set this delightful mixture aside.
-
Melt Cookie Butter: Microwave the remaining Biscoff cookie butter for about 30 seconds, just until it’s slightly melted. This will make it easier to drizzle later—set it aside to cool.
-
Whip the Cream: In a separate bowl, use an electric mixer to whip the heavy cream and vanilla extract together until stiff peaks form. This will create that luxurious fluffy texture in your ice cream.
-
Fold Together: Gently fold the whipped cream into the milk and cookie butter mixture. Be careful not to deflate the whipped cream too much; you’re aiming for a light and airy texture.
-
Add Cookies: Fold in 1 cup of chopped Biscoff cookies gently, ensuring they’re evenly distributed throughout the mixture.
-
Layer the Mixture: Into a 9×5 inch loaf pan, spread 1/3 of the ice cream mixture as the first layer. Drizzle with the melted cookie butter, then repeat layering twice more, finishing with a drizzle of melted cookie butter on top.
-
Swirl and Top: Use a knife to swirl the cookie butter into the ice cream gently. To add a crunch, sprinkle the remaining chopped Biscoff cookies over the top.
-
Freeze: Cover the pan and place it in the freezer for at least 8 hours, or until firm. When you’re ready, scoop and enjoy your creamy creation!
Optional: Serve with a sprinkle of sea salt for a gourmet touch!
Exact quantities are listed in the recipe card below.
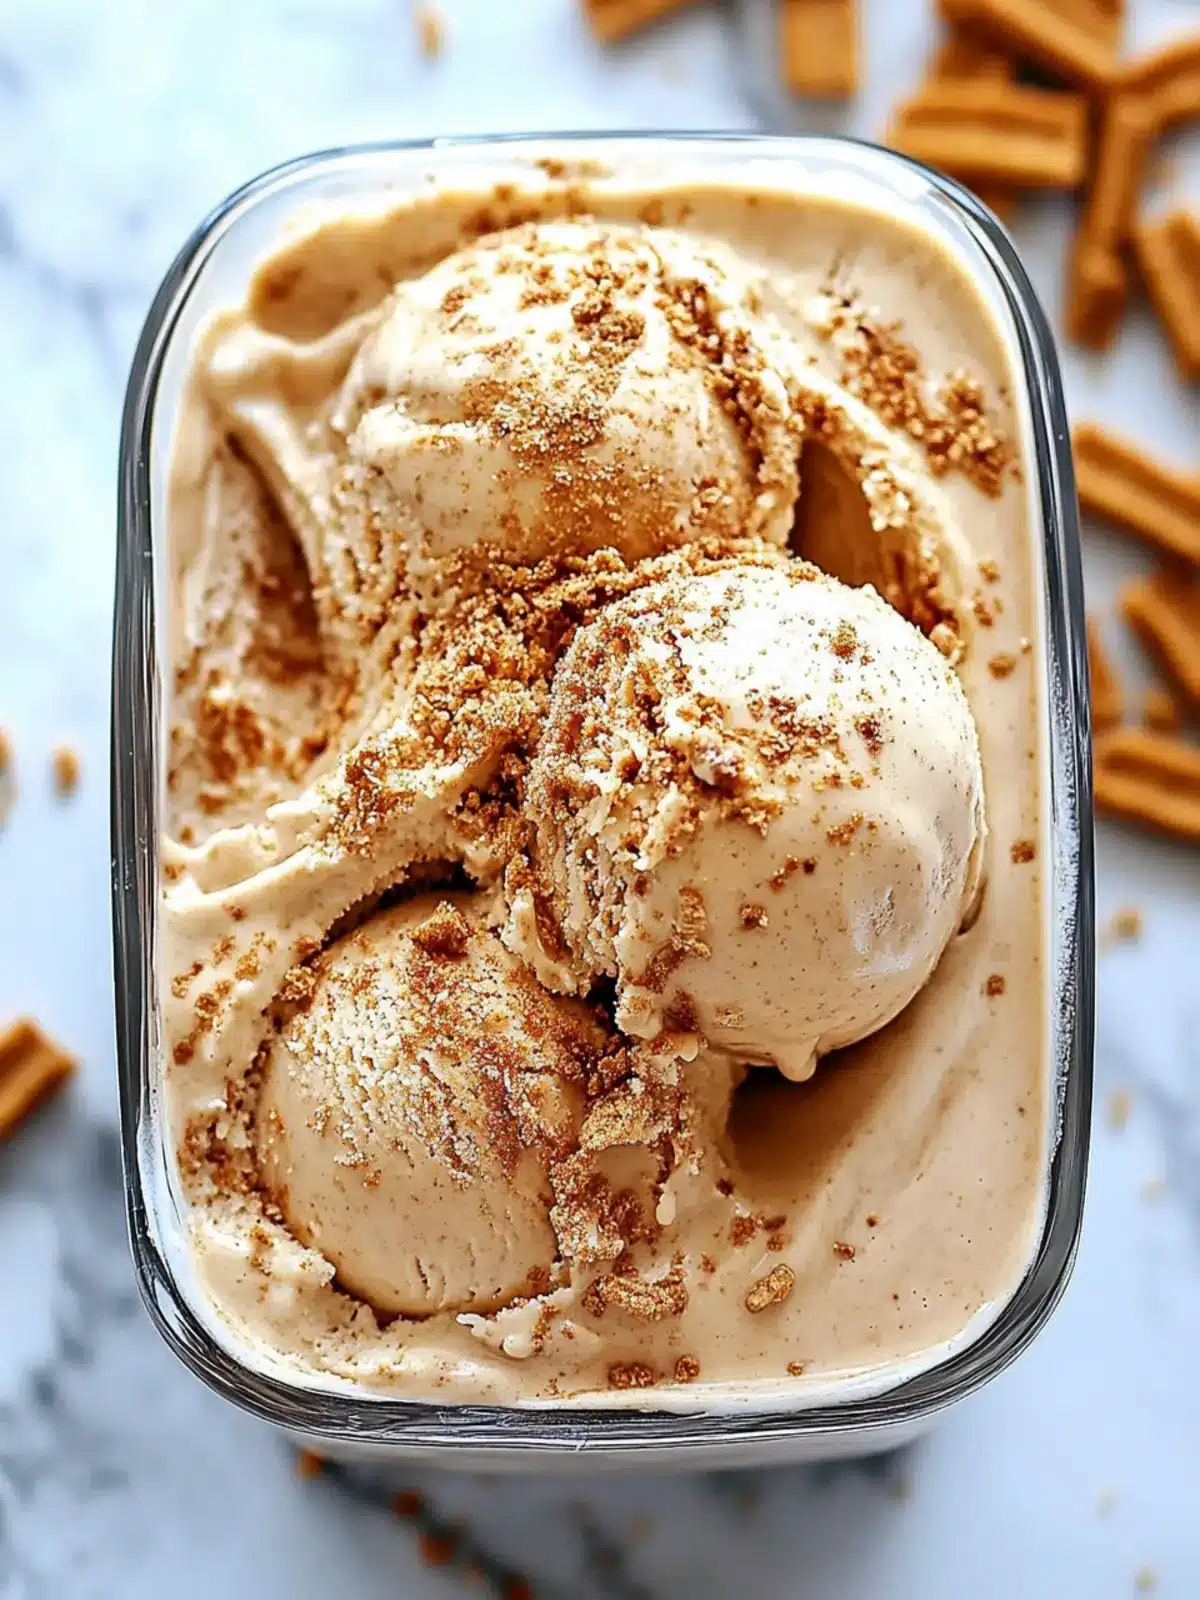
Expert Tips for Homemade Biscoff Ice Cream
- Chill Before Whipping: Ensure your heavy cream is well-chilled; this guarantees better volume and creaminess in your homemade Biscoff ice cream.
- Control the Temperature: Let the ice cream sit at room temperature for 5-10 minutes before scooping. This helps achieve the perfect serving texture without the struggle.
- Prevent Ice Crystals: Store your ice cream in a tightly sealed container to avoid ice crystals forming, keeping it smooth and creamy for longer.
- Right Mixing Technique: When folding in the whipped cream, do it gently to maintain lightness; overmixing can lead to a dense texture.
- Melted Cookie Butter Tip: Use slightly cooled melted cookie butter for layering—it makes for a perfect swirl and enhances the flavor depth in your ice cream.
Homemade Biscoff Ice Cream Variations
Dive into a world of delightful twists on this delicious ice cream recipe!
-
Dairy-Free: Substitute heavy cream with coconut cream and use dairy-free sweetened condensed milk for a creamy, vegan alternative. Embrace the tropical flavor of coconut paired with Biscoff for a unique treat.
-
Gluten-Free: Use gluten-free Biscoff cookies and cookie butter to ensure everyone can enjoy this creamy delight. It’s a simple swap that maintains the rich flavor you love.
-
Cookie Swirls: Fold in chunks of your favorite cookies, like Oreos or chocolate chip cookies, for an exciting cookie-heavy version. This adds different textures and flavors, bringing a new twist each time.
-
Chocolate Lovers: Mix in chocolate chips or a swirl of chocolate sauce for an indulgent chocolate-Biscoff combination. Each scoop turns decadent with that added chocolatey goodness.
-
Caramel Drizzle: Layer in caramel sauce between the ice cream layers for an extra-sweet touch. This creates a luscious caramel swirl that complements the spiced notes of Biscoff beautifully.
-
Nutty Fun: Fold in chopped nuts like almonds or pecans for a crunchy texture. The nuttiness pairs wonderfully with the spices in Biscoff, enhancing the overall flavor profile.
-
Spice It Up: Add a pinch of cinnamon or nutmeg to the base before mixing for a spiced kick that elevates the whole dessert. These warm flavors dance perfectly with the caramel notes of the cookie butter.
-
Bold Heat: Stir in a few teaspoons of chili powder or cayenne for a surprising spicy edge. The heat enhances the sweetness and makes every bite a thrilling experience!
How to Store and Freeze Homemade Biscoff Ice Cream
Fridge: Store leftover homemade Biscoff ice cream in the fridge for up to 3 days, but it’s best enjoyed fresh from the freezer.
Freezer: Keep the ice cream in an airtight, freezer-safe container to maintain its creamy texture for up to 2 weeks.
Reheating: If the ice cream becomes too hard, let it sit at room temperature for 5-10 minutes before scooping for the perfect serving texture.
Covering: Always ensure the container is tightly covered to prevent ice crystal formation, preserving the delicious smoothness of your homemade Biscoff ice cream.
What to Serve with Homemade Biscoff Ice Cream?
Indulge in a delightful array of pairings that enhance the rich, creamy experience of your dessert!
- Warm Brownies: Serve with fudgy brownies to create a delightful contrast between the warm, gooey chocolate and the cold ice cream.
- Waffles: Topped with a scoop of ice cream, crispy waffles transform into a decadent dessert that everyone will love.
- Fresh Berries: Juicy strawberries or raspberries add brightness and acidity, balancing the sweetness of the ice cream beautifully.
- Chocolate Sauce: A drizzle of rich chocolate sauce complements the flavors and elevates the dessert to a new level of indulgence.
- Caramel Drizzle: Sweet, buttery caramel sauce enhances the Biscoff’s flavors while creating an irresistible richness in every bite.
- Homemade Cookies: Serve alongside freshly baked cookies for the ultimate treat—dipping a cookie in ice cream is a classic delight!
- Espresso or Coffee: Pairing this ice cream with a shot of espresso creates a rich, bittersweet contrast that coffee lovers will adore.
- Crushed Nuts: Sprinkle chopped pecans or walnuts for a crunchy texture that pairs wonderfully with the smoothness of the ice cream.
Make Ahead Options
These Homemade Biscoff Ice Cream is perfect for meal prep! You can easily prepare the ice cream base up to 24 hours in advance, allowing the flavors to meld beautifully. To do this, just follow the recipe instructions until you layer the mixture into the loaf pan, then cover it tightly and refrigerate until you’re ready to freeze. When you’re ready to finish, simply drizzle with melted cookie butter and sprinkle the remaining chopped cookies on top before placing it in the freezer for at least 8 hours. This way, you’ll have an indulgent dessert waiting for you, just as delicious as if you made it fresh!
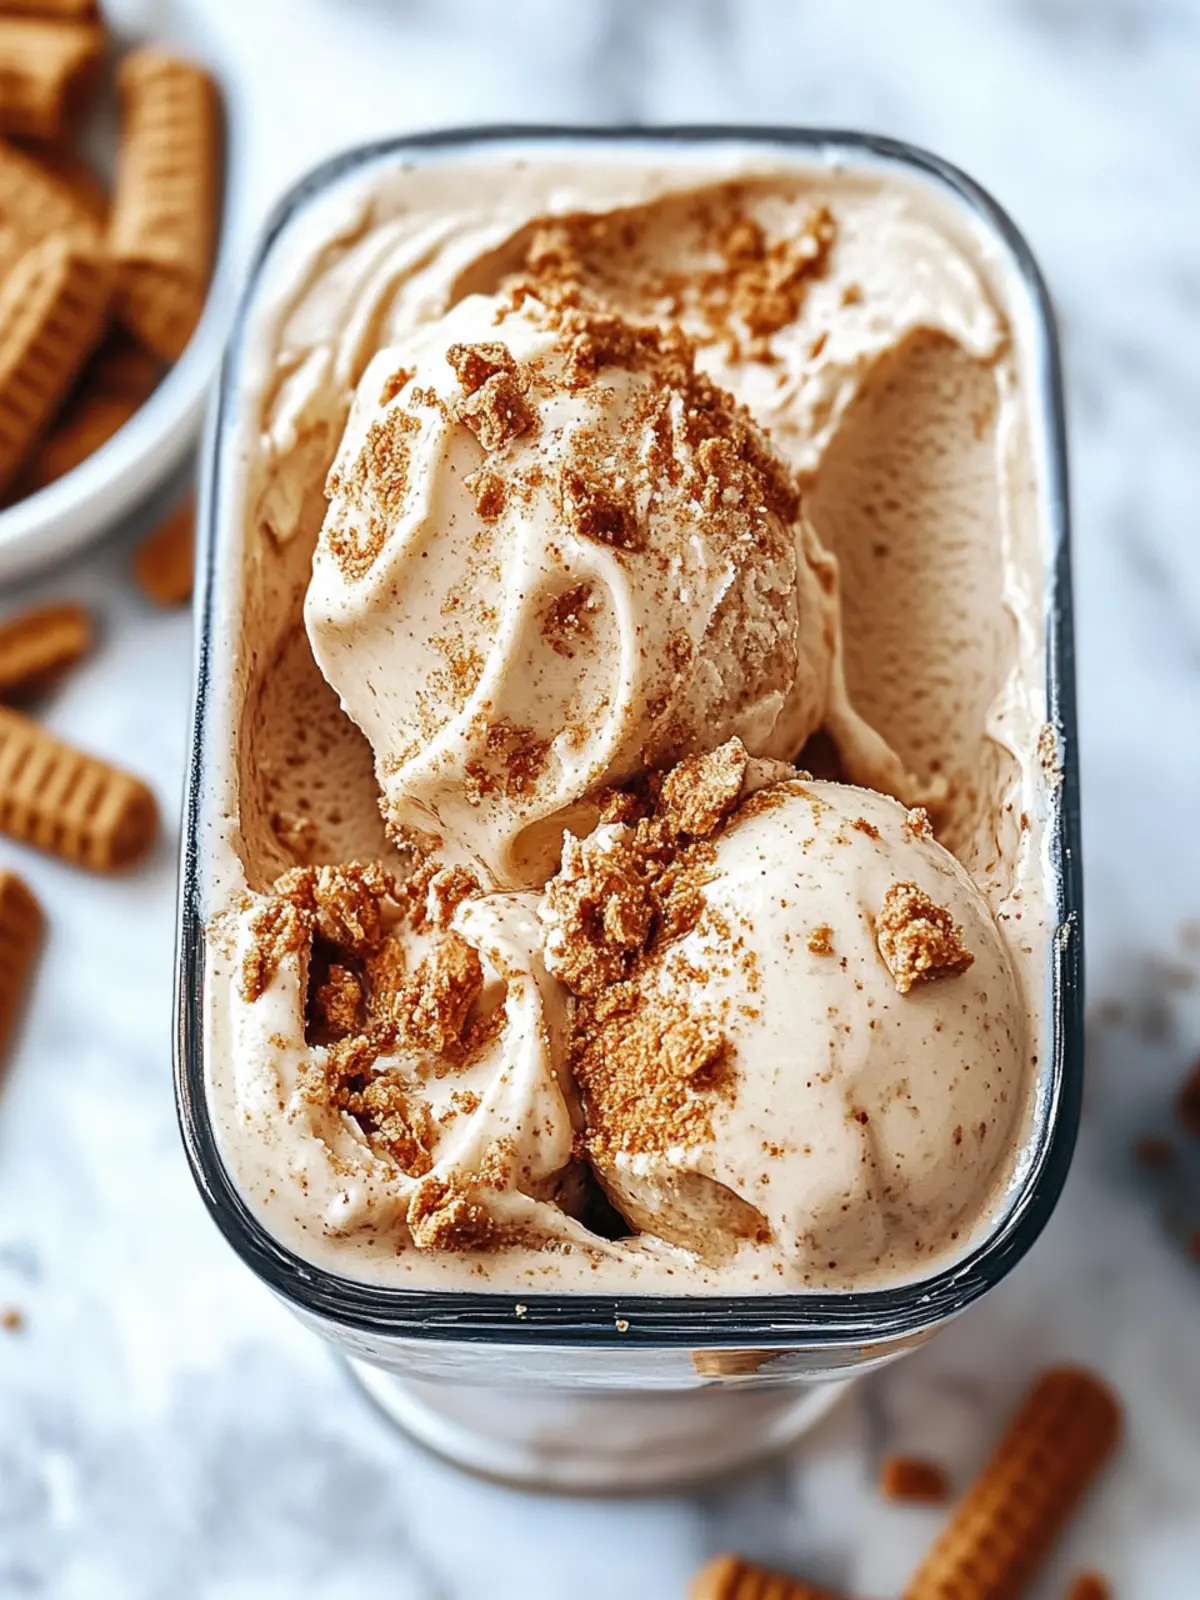
Homemade Biscoff Ice Cream Recipe FAQs
How do I select the best Biscoff cookies for my ice cream?
Absolutely! When choosing Biscoff cookies, look for those that are crisp and free from dark spots—this indicates freshness. Fresh cookies will add the best flavor and texture to your ice cream.
What is the best way to store leftover Homemade Biscoff Ice Cream?
For storage, keep your ice cream in an airtight, freezer-safe container. This will help maintain its creamy texture for up to 2 weeks. If you notice any ice crystals forming on top, that’s a sign it needs to be tightly covered again!
Can I freeze Homemade Biscoff Ice Cream for later?
Yes, you certainly can! After following the recipe, freeze the ice cream in an airtight container. It will stay fresh and delicious for up to 2 weeks. If freezing for longer, consider wrapping the container in plastic wrap for extra protection against freezer burn.
What should I do if my ice cream becomes too hard to scoop?
Very! If your ice cream is too hard after freezing, let it sit at room temperature for 5-10 minutes to soften. This way, it will scoop easily without losing that creamy texture. Alternatively, you can use a warm ice cream scooper—just run it under warm water for a few seconds!
Are there any dietary considerations I should be aware of for my guests?
Indeed! If you’re serving this ice cream to guests, consider any allergies. The recipe contains dairy and gluten, so for lactose-intolerant individuals, you might want to use lactose-free whipping cream and gluten-free Biscoff products. You can easily customize the ingredients to make this treat inclusive and delicious for everyone!
Can I use a different cookie butter if I can’t find Biscoff?
Absolutely! While Biscoff provides a unique flavor, you can experiment with other types of cookie butter, like speculoos or even nut-based spreads like almond or peanut butter. This opens up a world of flavor possibilities, so feel free to get creative!
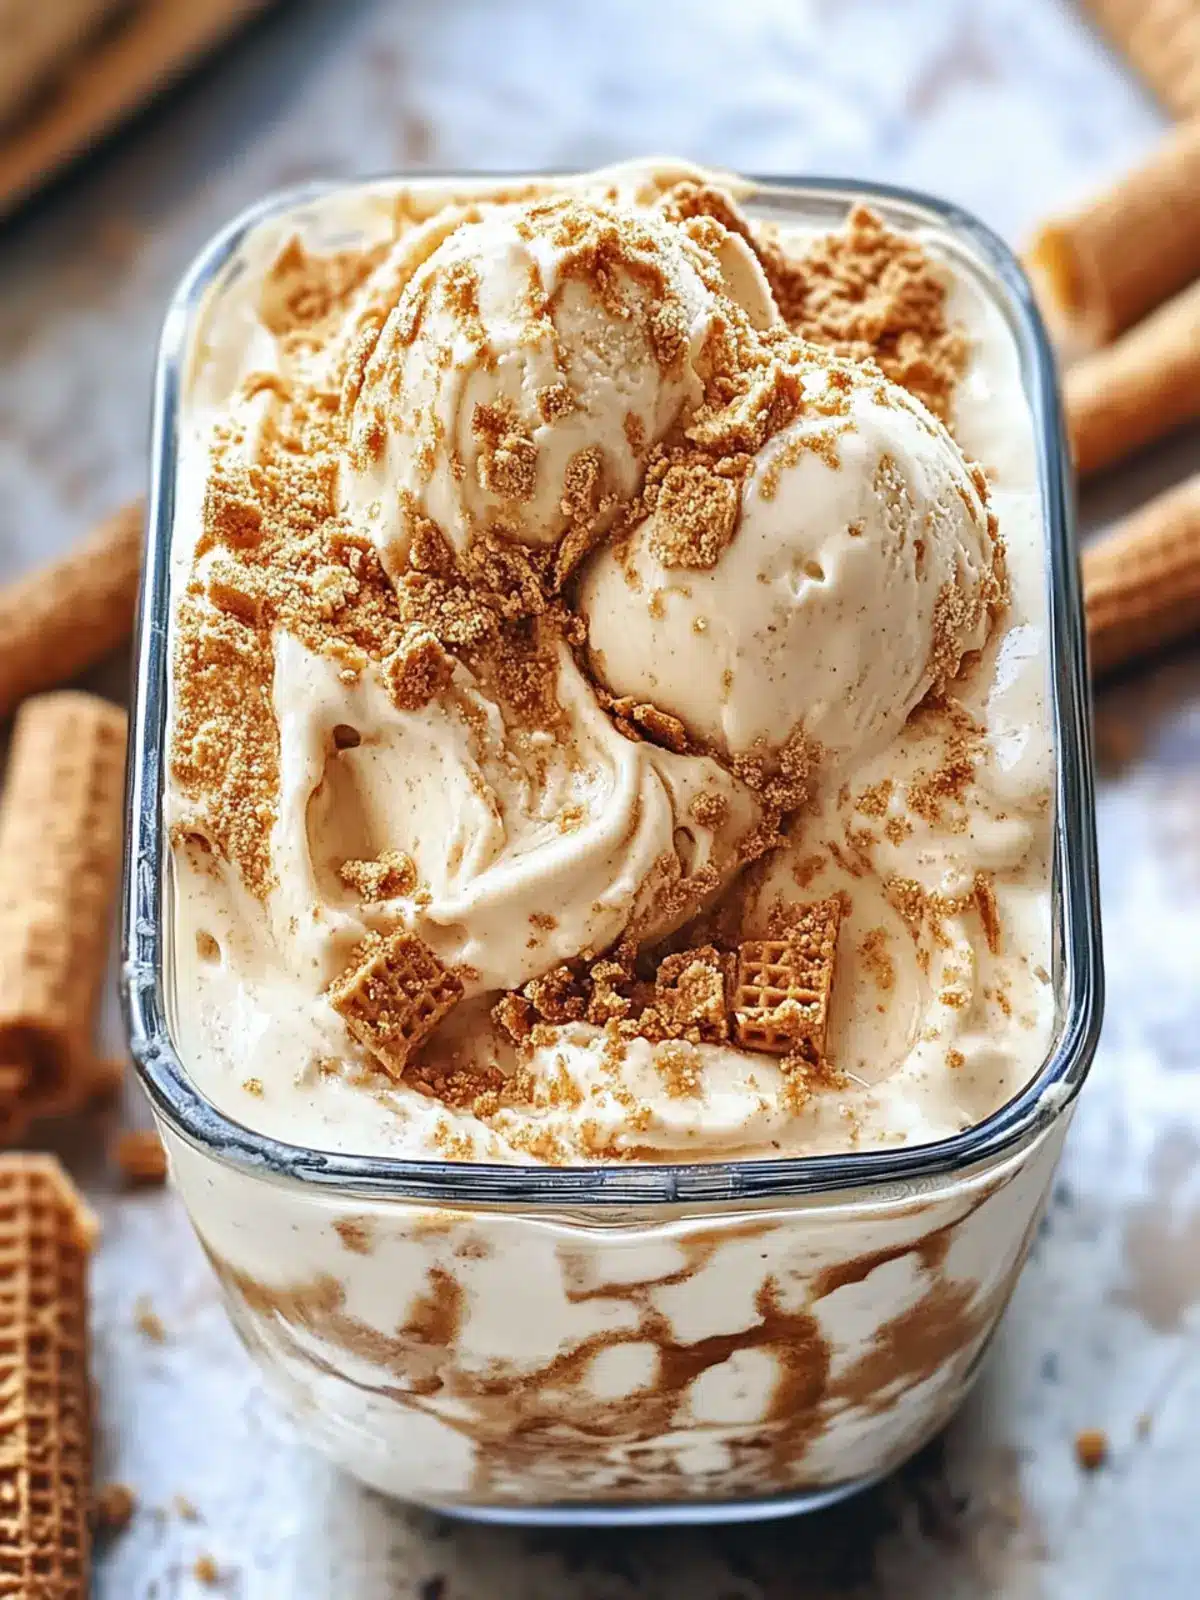
Creamy Homemade Biscoff Ice Cream Without an Ice Cream Machine
Ingredients
Equipment
Method
- In a large bowl, whisk together the sweetened condensed milk and 1/2 cup of Biscoff cookie butter until smooth and well combined. Set this mixture aside.
- Microwave the remaining Biscoff cookie butter for about 30 seconds until slightly melted and set aside to cool.
- In a separate bowl, whip the heavy cream and vanilla extract together until stiff peaks form.
- Gently fold the whipped cream into the milk and cookie butter mixture, being careful not to deflate the whipped cream too much.
- Fold in 1 cup of chopped Biscoff cookies gently until evenly distributed.
- Spread 1/3 of the ice cream mixture into a loaf pan, drizzle with melted cookie butter, and repeat layering twice more, finishing with a drizzle on top.
- Use a knife to swirl the melted cookie butter into the ice cream and sprinkle the remaining chopped Biscoff cookies on top.
- Cover the pan and freeze for at least 8 hours, or until firm. Scoop and enjoy your creamy creation.