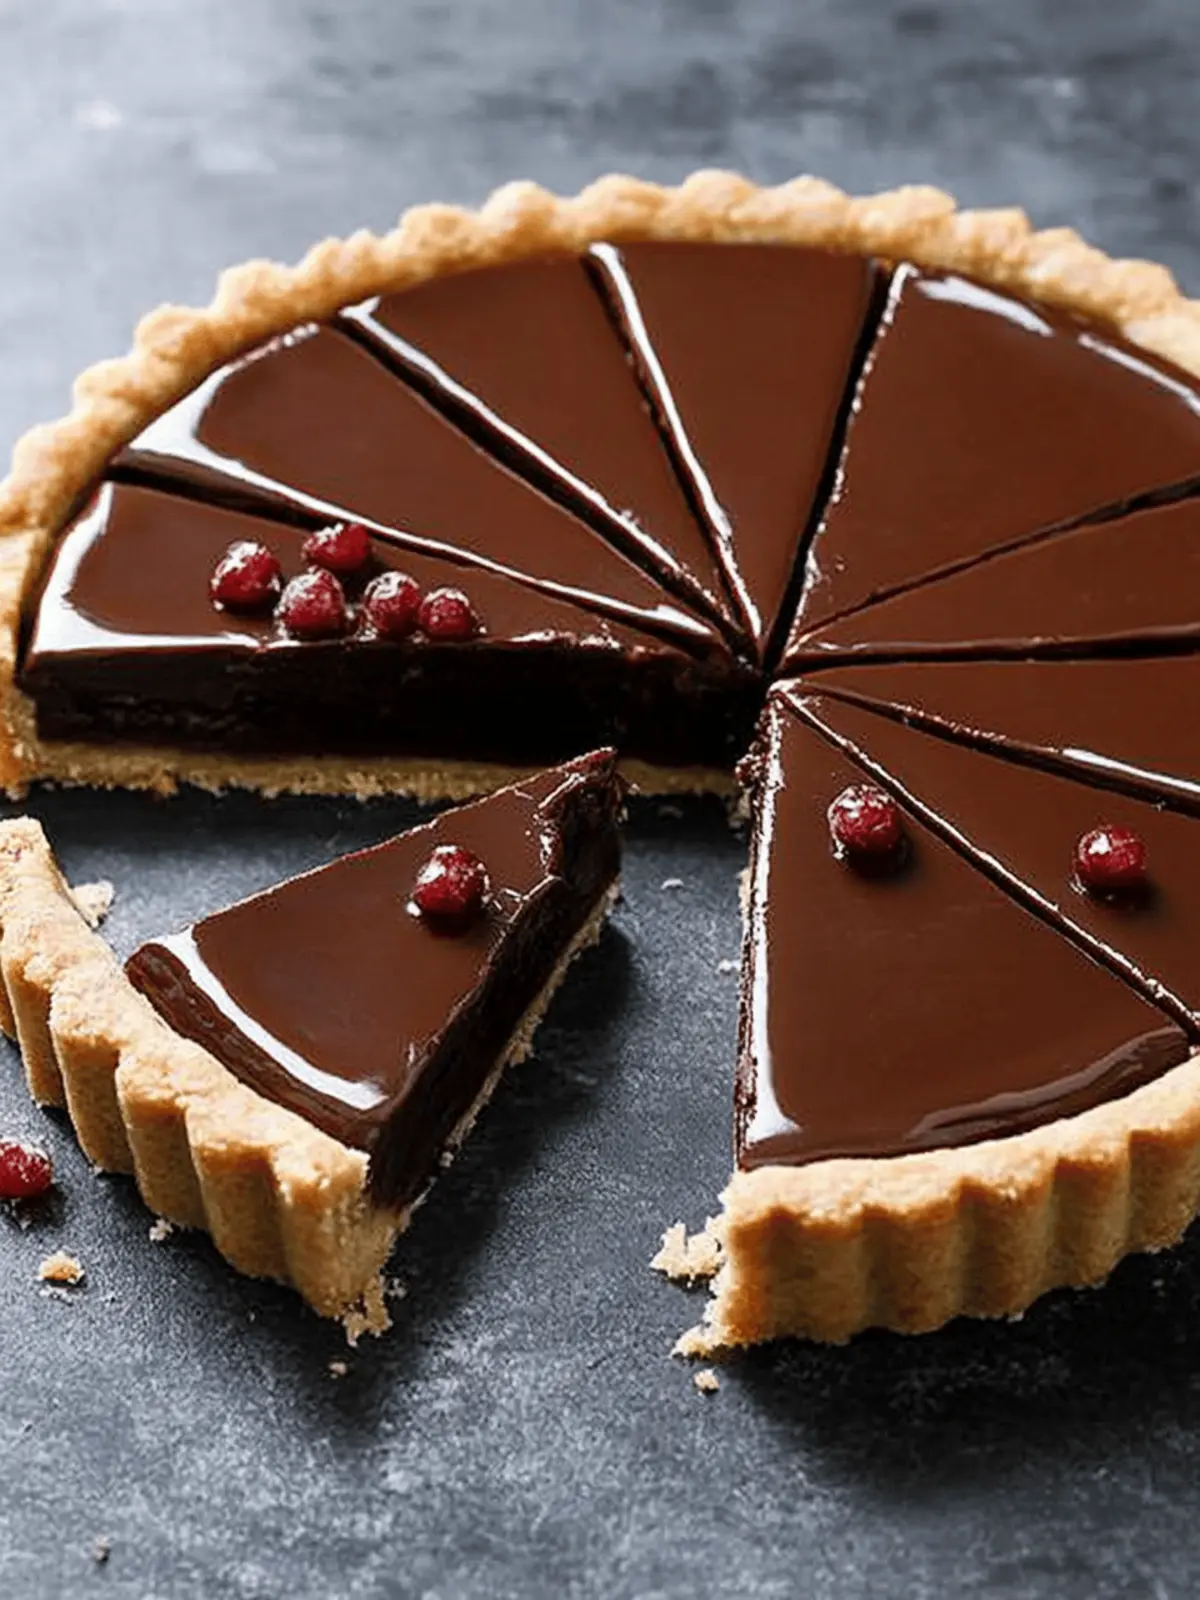
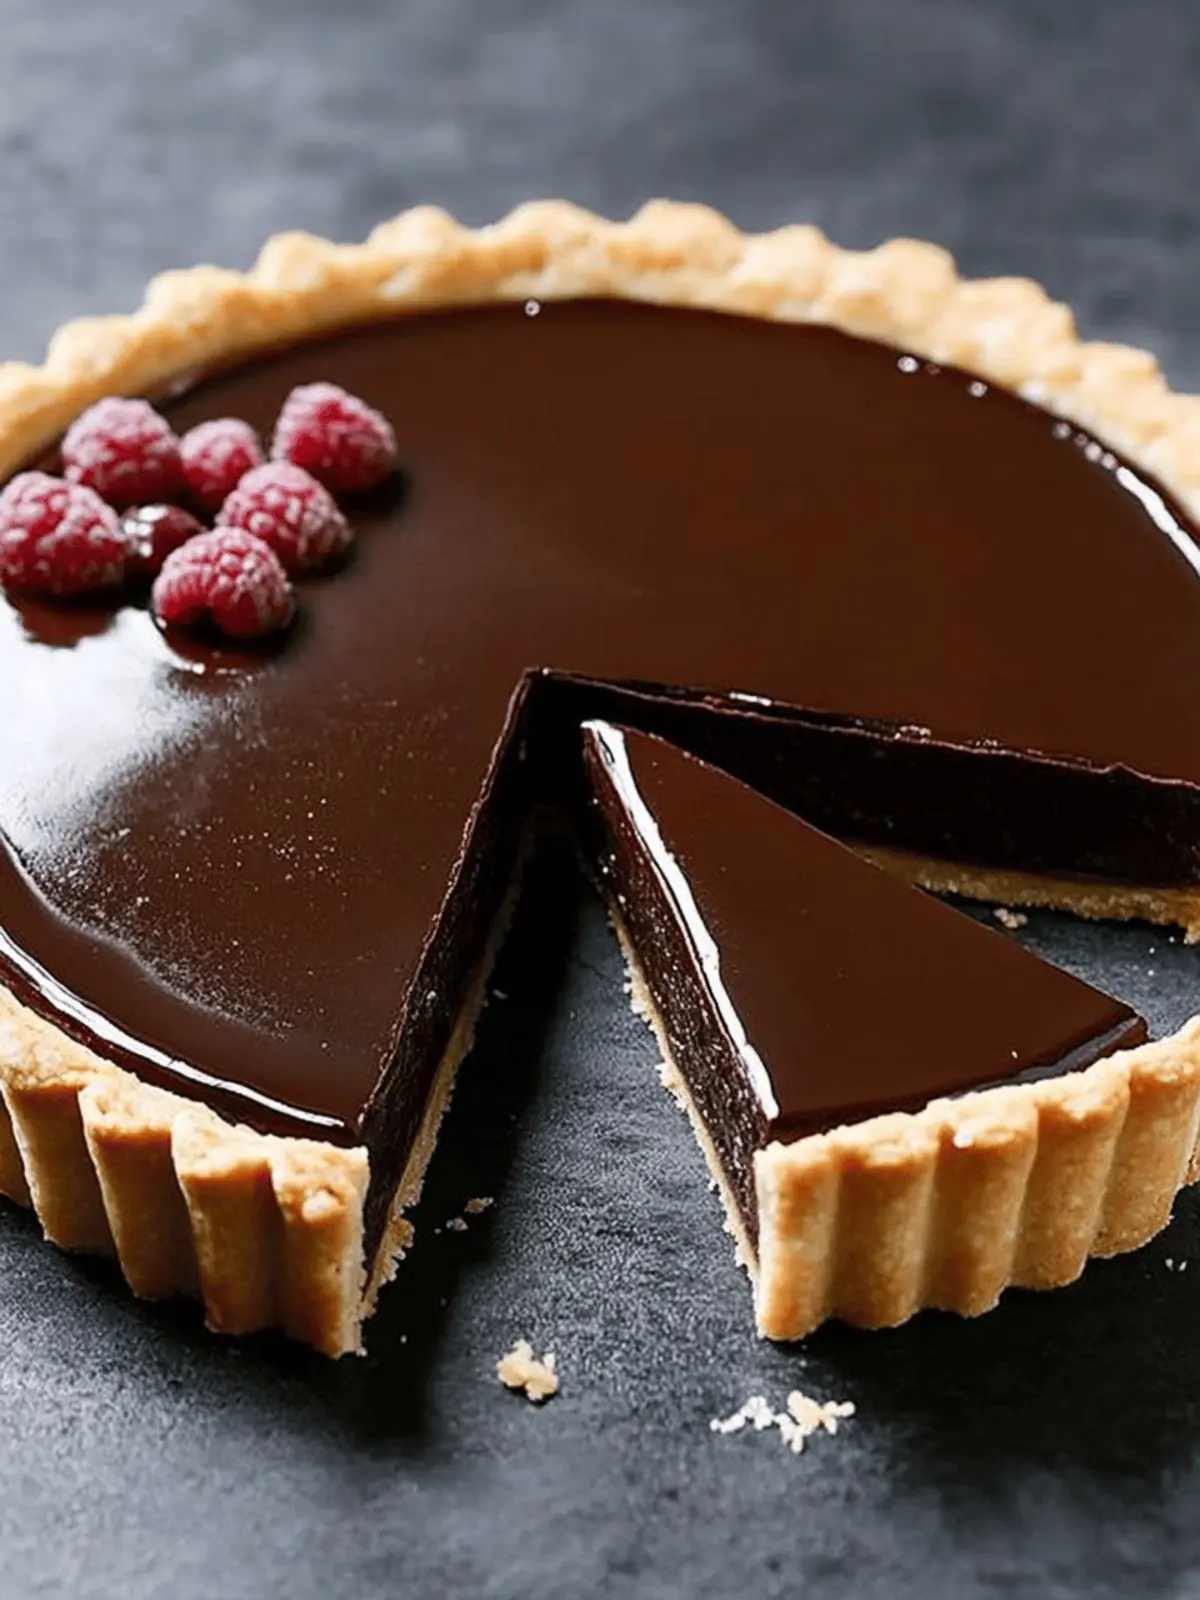
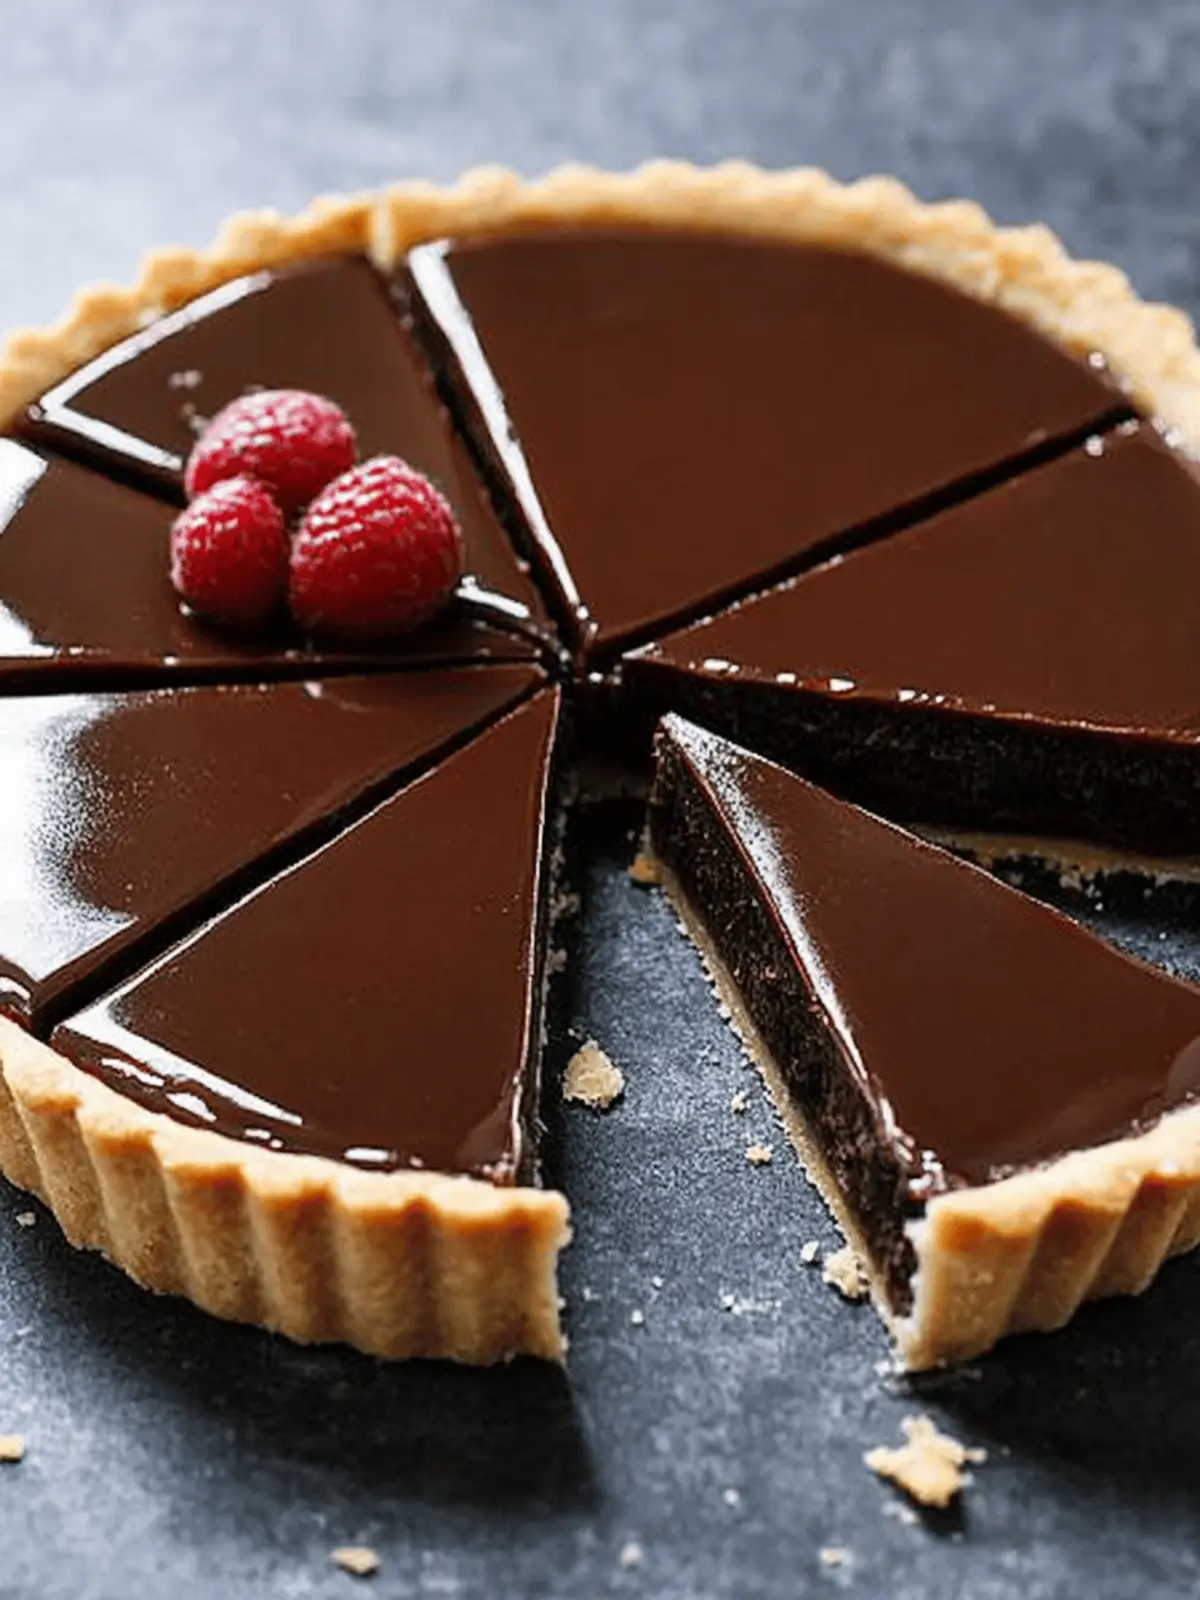
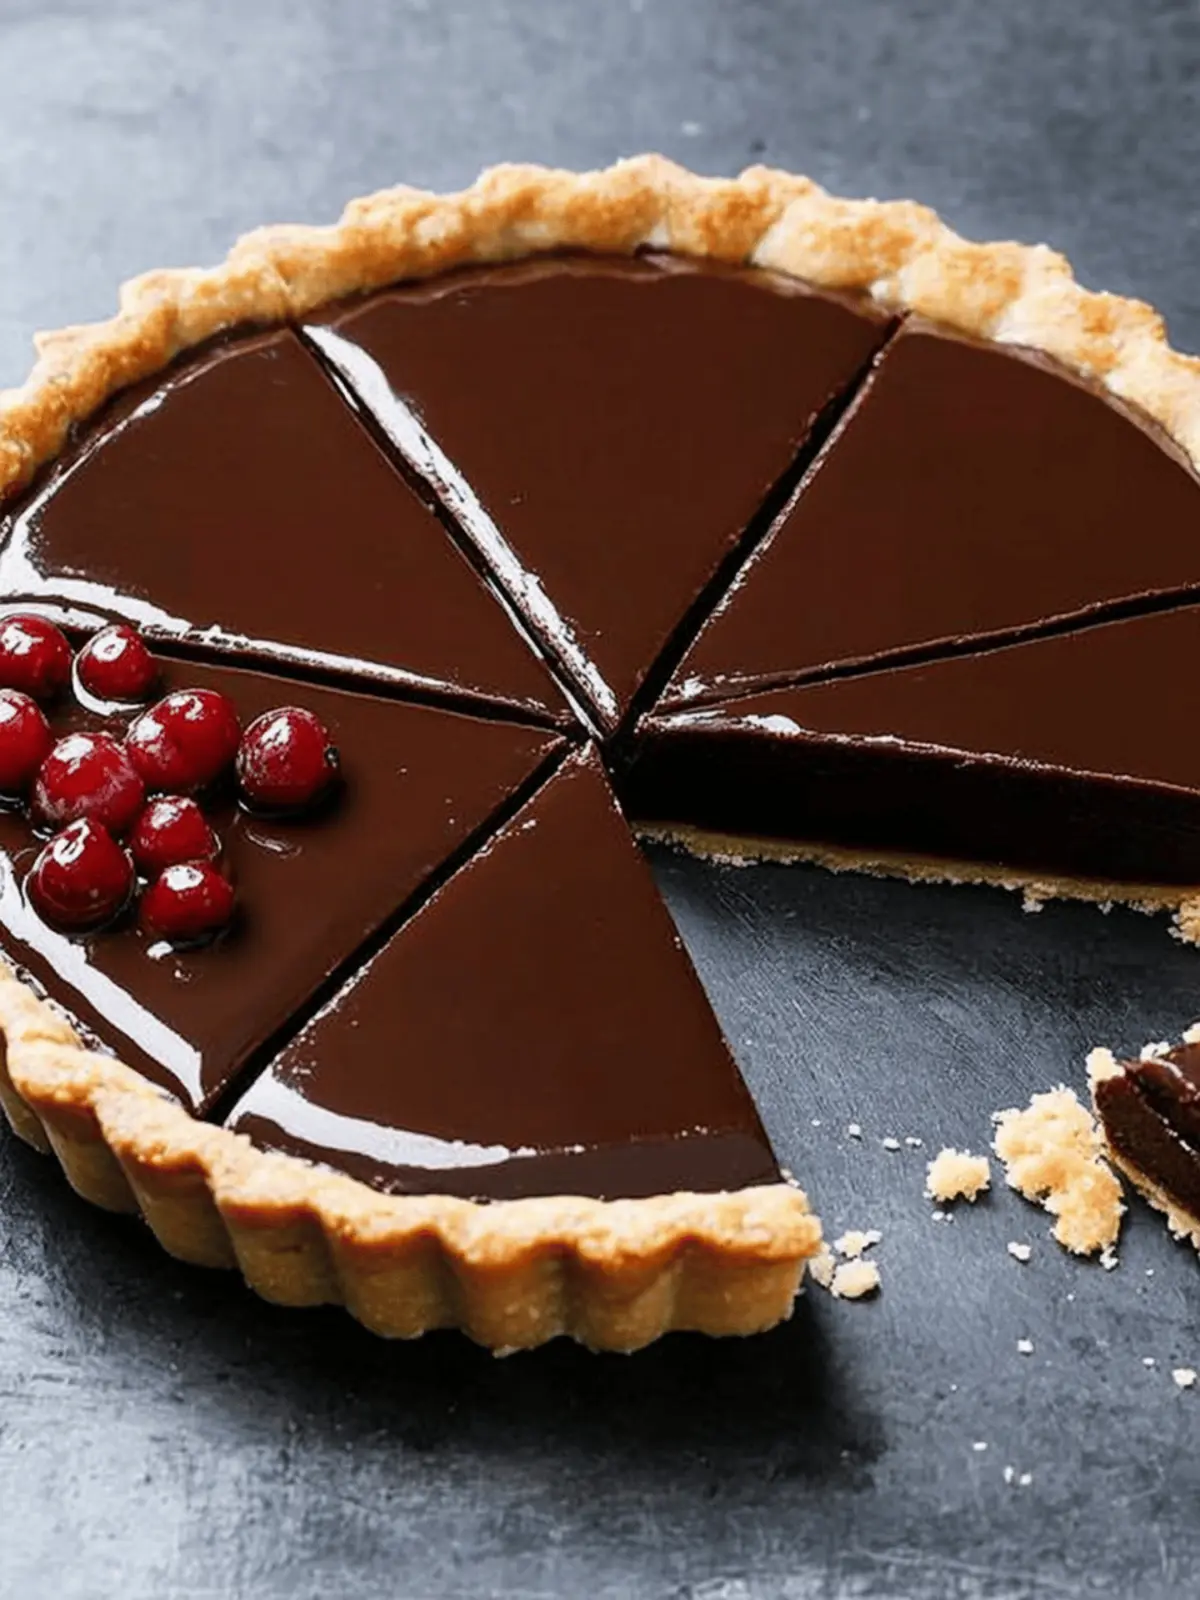
As I sliced into this rich Chocolate Tart, the glossy surface glimmered back at me, tempting my senses. The first bite enveloped my taste buds in a dark, velvety embrace, a reminder of why homemade desserts are simply the best. You know that feeling when you’re craving something sweet, but not just any treat will do? This tart strikes that perfect balance, offering the elegance of a gourmet dessert with the comforting vibes of home.
Whether it’s for a special occasion or a delightful afternoon indulgence, this Chocolate Tart is versatile enough to shine at any gathering. Trust me, once you whip up this crowd-pleaser from scratch, you’ll say goodbye to store-bought sweets forever. Let’s dive into the steps that will turn your kitchen into a haven of irresistible aromas and heavenly chocolate bliss!
Why is Chocolate Tart a Must-Try?
Irresistible richness: The deep, dark chocolate filling provides an explosion of flavor that’s sure to impress.
Elegant presentation: This tart is as stunning as it is delicious, making it perfect for special occasions or dinner parties.
Easy to make: With simple ingredients, anyone can create a show-stopping dessert without the fuss.
Versatile delight: Serve it plain or dressed up with whipped cream and berries for added flair.
Satisfies cravings: It’s the ideal cure for your sweet tooth when only something rich will do!
If you love chocolate desserts, this Chocolate Tart is a delightful way to elevate your baking game.
Chocolate Tart Ingredients
Unveil the delicious secrets of this divine treat!
For the Crust
• ½ cup unsalted butter – at room temperature, for easy creaming and a tender crust.
• ¼ cup sugar – for just the right touch of sweetness in the crust.
• ¼ teaspoon salt – enhances the flavors and balances the sweetness.
• 1¼ cups all-purpose flour – forms the base for a flaky and rich tart crust.
• 1 large egg yolk – adds richness and helps bind the dough together.
For the Filling
• 8 ounces semisweet chocolate – chopped or broken into pieces for smooth melting and rich flavor.
• 1¼ cups heavy cream – creates a luscious filling that melts in your mouth.
• 2 tablespoons sugar – sweetens the filling just enough to enhance the chocolate.
• ¼ teaspoon salt – balances the sweetness of the filling.
• 2 large eggs – at room temperature, for a creamy, custard-like consistency.
• 1 teaspoon vanilla extract – adds warmth and depth to the chocolate flavor.
For the Glaze
• 3 tablespoons heavy cream – gives the glaze its silky texture.
• 1 tablespoon light corn syrup – helps achieve a beautiful shine on the glaze.
• 2 ounces semisweet chocolate – chopped for a rich and glossy finish.
• 1 tablespoon hot water – helps to blend the glaze smoothly.
How to Make Chocolate Tart
-
Cream together the butter, sugar, and salt in a stand mixer on medium speed until the mixture is pale and creamy, about 2 minutes. Don’t forget to scrape down the sides and bottom of the bowl for even mixing!
-
Mix in the flour on low speed for about 30 seconds, just until incorporated. Watch for clumps of dough forming, as we want a smooth texture without overmixing.
-
Add the egg yolk and mix again on low speed until the yolk is evenly incorporated, resulting in a clumpy dough, about 30 seconds. You’ll know it’s ready when it begins to hold together.
-
Knead the dough lightly into a ball, then press it into a 6-inch disk. Wrap it in plastic wrap and refrigerate for about 30 minutes to help it firm up.
-
Preheat the oven to 350°F (175°C) while you prepare the tart pan. Lightly spray a 9.5-inch tart pan with nonstick cooking spray to ensure easy removal later.
-
Press the chilled dough evenly into the tart pan, making sure there are no seams or gaps. Trim any excess dough sticking over the edge for a clean finish.
-
Cover the prepared tart shell with plastic wrap and place it in the freezer for at least 30 minutes. This helps the crust maintain its shape while baking.
-
Bake the crust for about 20 minutes until it’s dry and lightly golden. Once done, let it cool completely on a wire rack.
-
Combine the chopped chocolate in a medium bowl. In a saucepan, bring the heavy cream to a boil, then pour it over the chocolate. Let it sit for a few minutes before whisking until melted and smooth.
-
Stir in the sugar, salt, eggs, and vanilla extract, whisking until the mixture is completely smooth. Pour this luscious filling into the baked tart shell.
-
Bake the tart again for 20 to 25 minutes until it’s mostly set but still slightly wobbly in the center. This will create that perfect creamy filling texture.
-
Cool the tart completely in the pan for about 1 hour. For the best flavors, you can refrigerate it for up to 2 days before glazing.
-
Prepare the glaze by pouring cream and corn syrup into a microwave-safe bowl, then microwave until boiling, about 30 seconds to 1 minute.
-
Add the chopped chocolate to the hot cream and let it sit for a few minutes. Whisk gently until smooth, and then whisk in the hot water to help the glaze emulsify.
-
Pour the warm glaze onto the center of the tart, tilting the tart to spread it evenly over the top. Allow it to set for about 1 hour before serving.
Optional: Top with fresh berries or a dollop of whipped cream for an extra touch!
Exact quantities are listed in the recipe card below.
What to Serve with Chocolate Tart?
Indulge your guests with the perfect accompaniments that enhance the rich flavors of this heavenly dessert.
-
Fresh Berries: A medley of strawberries, raspberries, and blueberries adds vibrant color and a refreshing tartness that balances the chocolate’s richness.
-
Whipped Cream: Fluffy and lightly sweetened, whipped cream offers a delightful creamy contrast that melts beautifully with each slice of chocolate tart.
-
Espresso: A robust shot of espresso or a rich coffee pairs wonderfully, enhancing the deep chocolate flavor and making it feel like an elegant café experience at home.
-
Chocolate Sauce: For the ultimate decadence, drizzle extra chocolate sauce over your slice. It intensifies the chocolate experience and adds an enticing sheen!
-
Vanilla Ice Cream: A scoop of vanilla ice cream creates a delightful temperature contrast and adds a creamy note, ensuring each bite remains indulgent and satisfying.
-
Mint Leaves: Garnishing with fresh mint provides a refreshing pop of color and flavor, which heightens the overall dessert experience and cleanses the palate.
-
Port or Dessert Wine: Pairing a glass of sweet port or dessert wine complements the rich chocolate notes, enhancing the overall taste sensation with each sip.
Elevate your dessert experience by choosing any of these delightful pairings for your Chocolate Tart feast!
Expert Tips for Chocolate Tart
• Chill the Dough: A proper chill keeps the crust from shrinking during baking. Don’t skip the refrigeration time; it’s essential for perfect texture!
• Use Room Temperature Ingredients: Ensure your eggs and cream are at room temperature for a smooth filling. This helps everything blend beautifully, preventing lumps.
• Watch the Baking Time: Every oven is different! Keep an eye on your tart filling—it should be mostly set but wobbly in the center for that creamy texture.
• Cooling Matters: Letting the tart cool completely before glazing helps the glaze adhere better, resulting in a stunning finish.
• Avoid Overmixing: When combining the filling, mix until just combined to maintain that delicate structure. Overmixing can lead to a dense tart instead of a light and creamy Chocolate Tart.
How to Store and Freeze Chocolate Tart
Fridge: Store the Chocolate Tart in an airtight container in the refrigerator for up to 2 days. This keeps it fresh and maintains its rich flavor.
Freezer: If you’re looking to enjoy it later, wrap the tart tightly in plastic wrap and aluminum foil. It can be frozen for up to 1 month.
Thawing: To thaw, simply place the frozen Chocolate Tart in the fridge overnight. For a quicker method, leave it at room temperature for about 2 hours.
Reheating: If you prefer a warm slice, gently reheat individual servings in the microwave for about 10-15 seconds. Enjoy the velvety chocolate filling at its best!
Chocolate Tart Variations
Feel free to get creative with your Chocolate Tart, adding your personal touch to make it truly your own!
-
Nutty Crust: Substitute half the flour with almond flour for a nutty flavor and a gluten-free crust option. This will add a delightful texture to your tart.
-
Spicy Kick: Incorporate a pinch of cayenne pepper or chili powder to the filling for a surprising heat that beautifully complements the sweetness of the chocolate. Your taste buds will thank you!
-
Mint Infusion: Use peppermint extract instead of vanilla for a refreshing minty twist. This variation creates a delightful and fragrant dessert that’s perfect for the holidays.
-
Fruit-Forward: Top the tart with fresh berries or a layer of thinly sliced bananas before glazing for a fruity layer that adds freshness and color. It’s like spring on a plate!
-
Vegan Delight: Replace eggs with flax eggs and the heavy cream with coconut cream to create a delicious vegan version. You won’t miss the traditional ingredients!
-
Dark Chocolate Boost: Use dark chocolate with a higher cocoa content for a richer flavor. A touch of espresso powder can also intensify the chocolate experience. The more, the merrier!
-
Coconut Cream Glaze: Swap out the heavy cream in the glaze with coconut cream for a tropical twist. This creamy, dreamy topping will transport you to an island paradise!
-
Boozy Twist: Adding a splash of your favorite liqueur, such as Grand Marnier or Amaretto, to the filling or glaze captures an indulgent flavor that feels festive and special. Cheers to chocolate!
Make Ahead Options
These Chocolate Tart preparations are perfect for busy home cooks looking to save time without compromising on flavor! You can prepare the tart shell up to 3 days in advance. Simply follow the crust steps, bake it, and once cooled, wrap it tightly in plastic wrap and refrigerate. Additionally, the filling can be made a day ahead; just cover it and keep it chilled until ready to pour into the crust. On the day you plan to serve, assemble the tart by pouring the filling into the pre-baked shell and baking it as instructed. This way, your Chocolate Tart will still taste just as delicious and fresh, making your dessert planning a breeze!
Chocolate Tart Recipe FAQs
How do I select the perfect chocolate for my Chocolate Tart?
Absolutely! For the best flavor, choose high-quality semisweet chocolate (at least 60% cacao). Look for chocolate bars rather than chips, as they melt more smoothly. If you want a touch of bitterness, dark chocolate is a fantastic option!
What’s the best way to store my Chocolate Tart?
To keep your Chocolate Tart fresh, store it in an airtight container in the refrigerator for up to 2 days. This helps maintain its rich flavor and creamy texture. Just remember to let it cool completely before refrigerating!
Can I freeze my Chocolate Tart?
Yes, you can freeze your Chocolate Tart! Wrap it tightly in plastic wrap and aluminum foil to prevent freezer burn. It can be frozen for up to 1 month. When you’re ready to indulge, thaw it overnight in the fridge or let it sit at room temperature for about 2 hours.
What should I do if my tart filling is too runny?
Very! If your filling doesn’t set properly, you might be underbaking it. Ensure that the filling is only slightly wobbly in the center after baking; it will continue to firm up as it cools. Next time, try adding an extra egg to achieve a firmer texture if preferred.
Are there any dietary considerations I should keep in mind for this Chocolate Tart?
For sure! If anyone has a dairy intolerance, you can substitute the heavy cream with coconut cream or a dairy-free option. Be cautious about allergens, as this recipe contains eggs and gluten. Always double-check all ingredients, especially if you’re sharing with family members who may have specific dietary restrictions!
How long does the glaze need to set before serving?
To achieve that perfect finish, let the glaze set for about 1 hour after pouring it over the tart. This waiting period allows the glaze to firm up, giving your Chocolate Tart a beautiful sheen, not to mention making it extra delicious when you’re ready to slice and serve!

Indulge in Decadent Chocolate Tart Bliss at Home
Ingredients
Equipment
Method
- Cream together the butter, sugar, and salt in a stand mixer on medium speed until pale and creamy, about 2 minutes.
- Mix in the flour on low speed for about 30 seconds, just until incorporated.
- Add the egg yolk and mix again on low speed until the yolk is evenly incorporated, resulting in a clumpy dough.
- Knead the dough lightly into a ball, then press it into a 6-inch disk. Wrap in plastic wrap and refrigerate for about 30 minutes.
- Preheat the oven to 350°F (175°C) and spray a 9.5-inch tart pan with nonstick cooking spray.
- Press the chilled dough evenly into the tart pan and trim any excess dough.
- Cover the prepared tart shell with plastic wrap and place in the freezer for at least 30 minutes.
- Bake the crust for about 20 minutes until lightly golden. Let cool completely.
- Combine chopped chocolate in a bowl. In a saucepan, bring heavy cream to a boil. Pour over chocolate and let sit before whisking until smooth.
- Stir in sugar, salt, eggs, and vanilla extract, whisking until smooth. Pour filling into baked tart shell.
- Bake tart again for 20 to 25 minutes until mostly set but slightly wobbly in the center.
- Cool completely in the pan for about 1 hour.
- Prepare the glaze by pouring cream and corn syrup into a bowl and microwave until boiling.
- Add chopped chocolate to hot cream, whisk gently until smooth, then whisk in hot water.
- Pour the warm glaze onto the tart, tilting to spread evenly. Allow to set for about 1 hour before serving.


