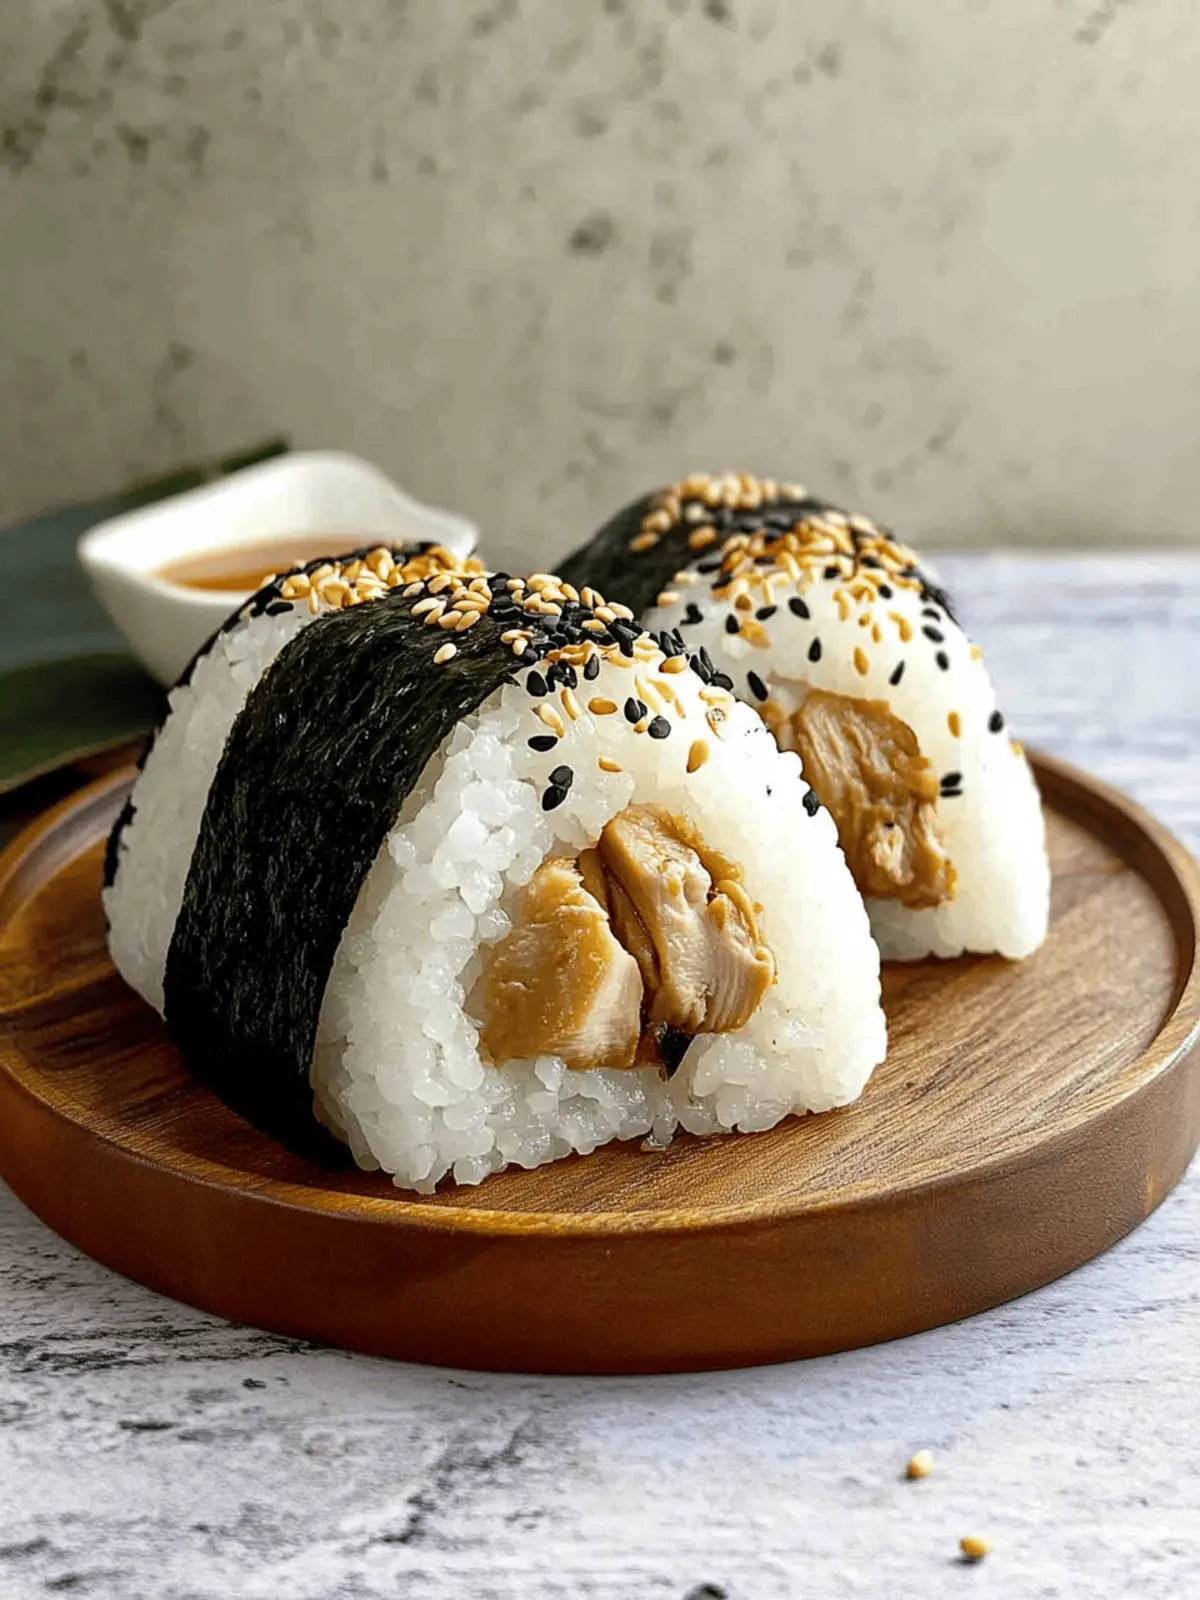
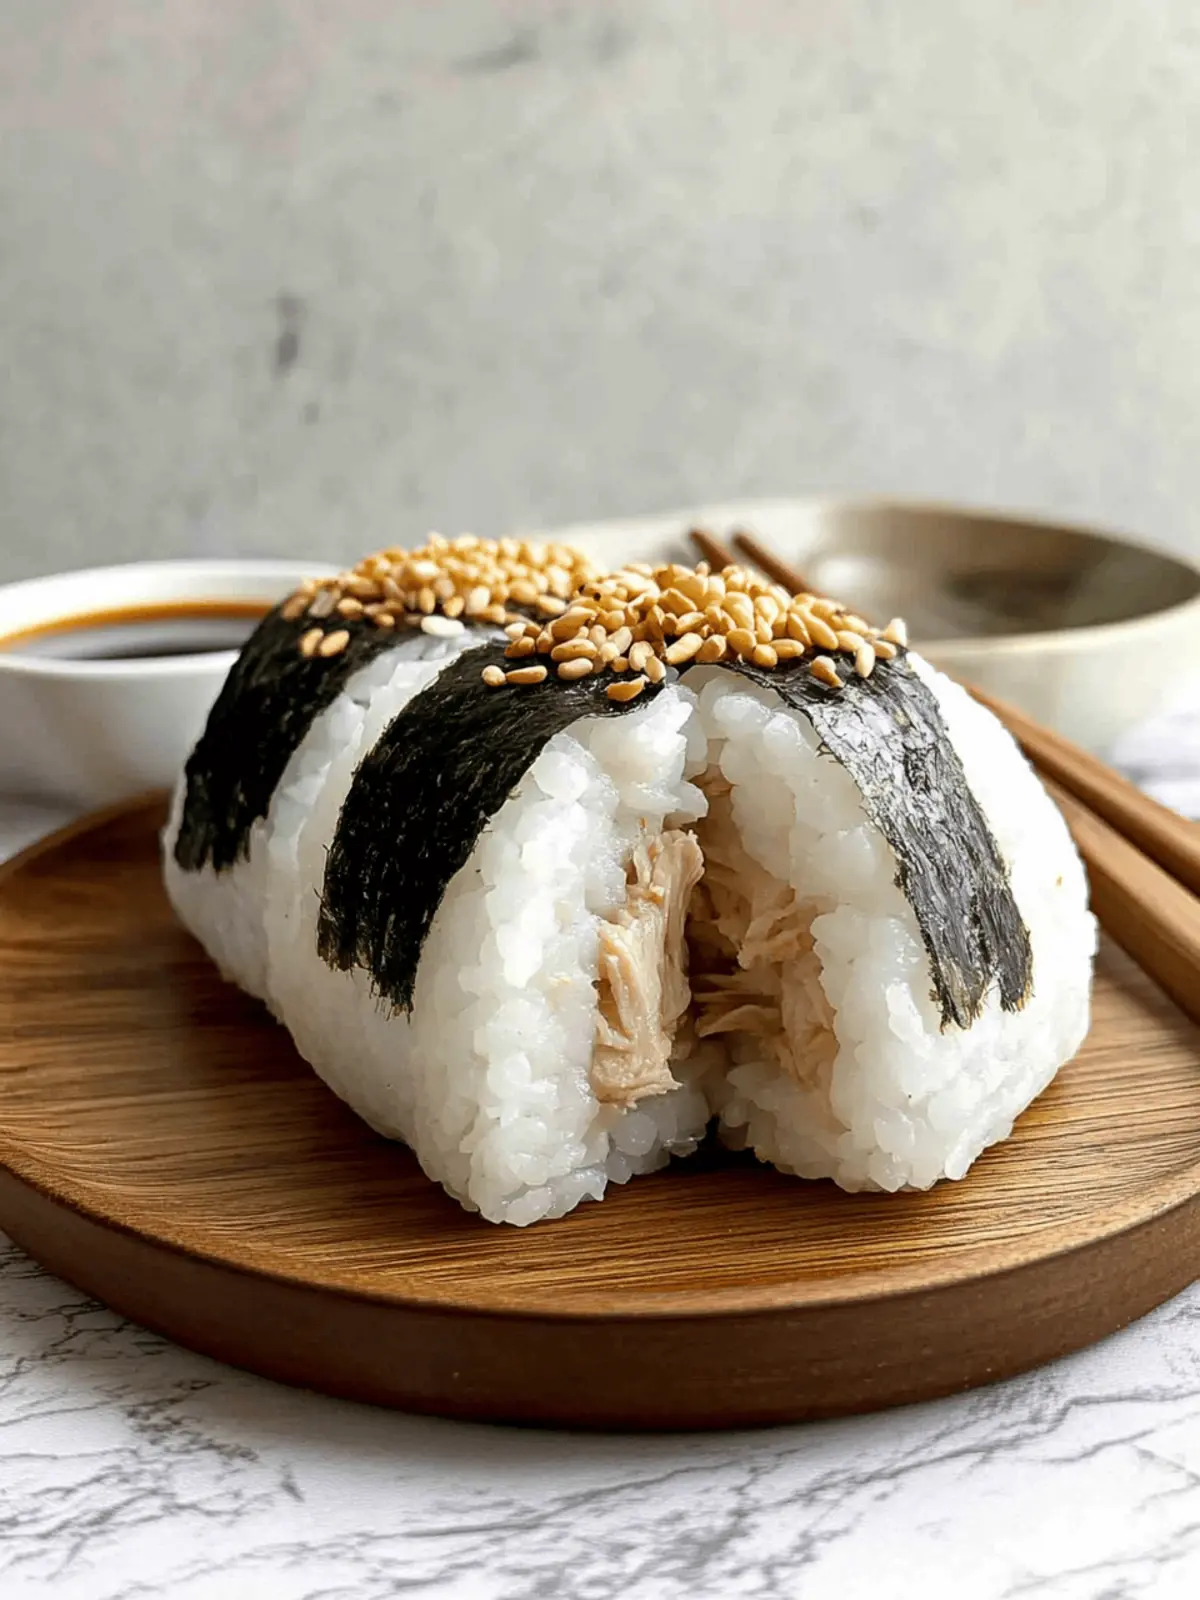
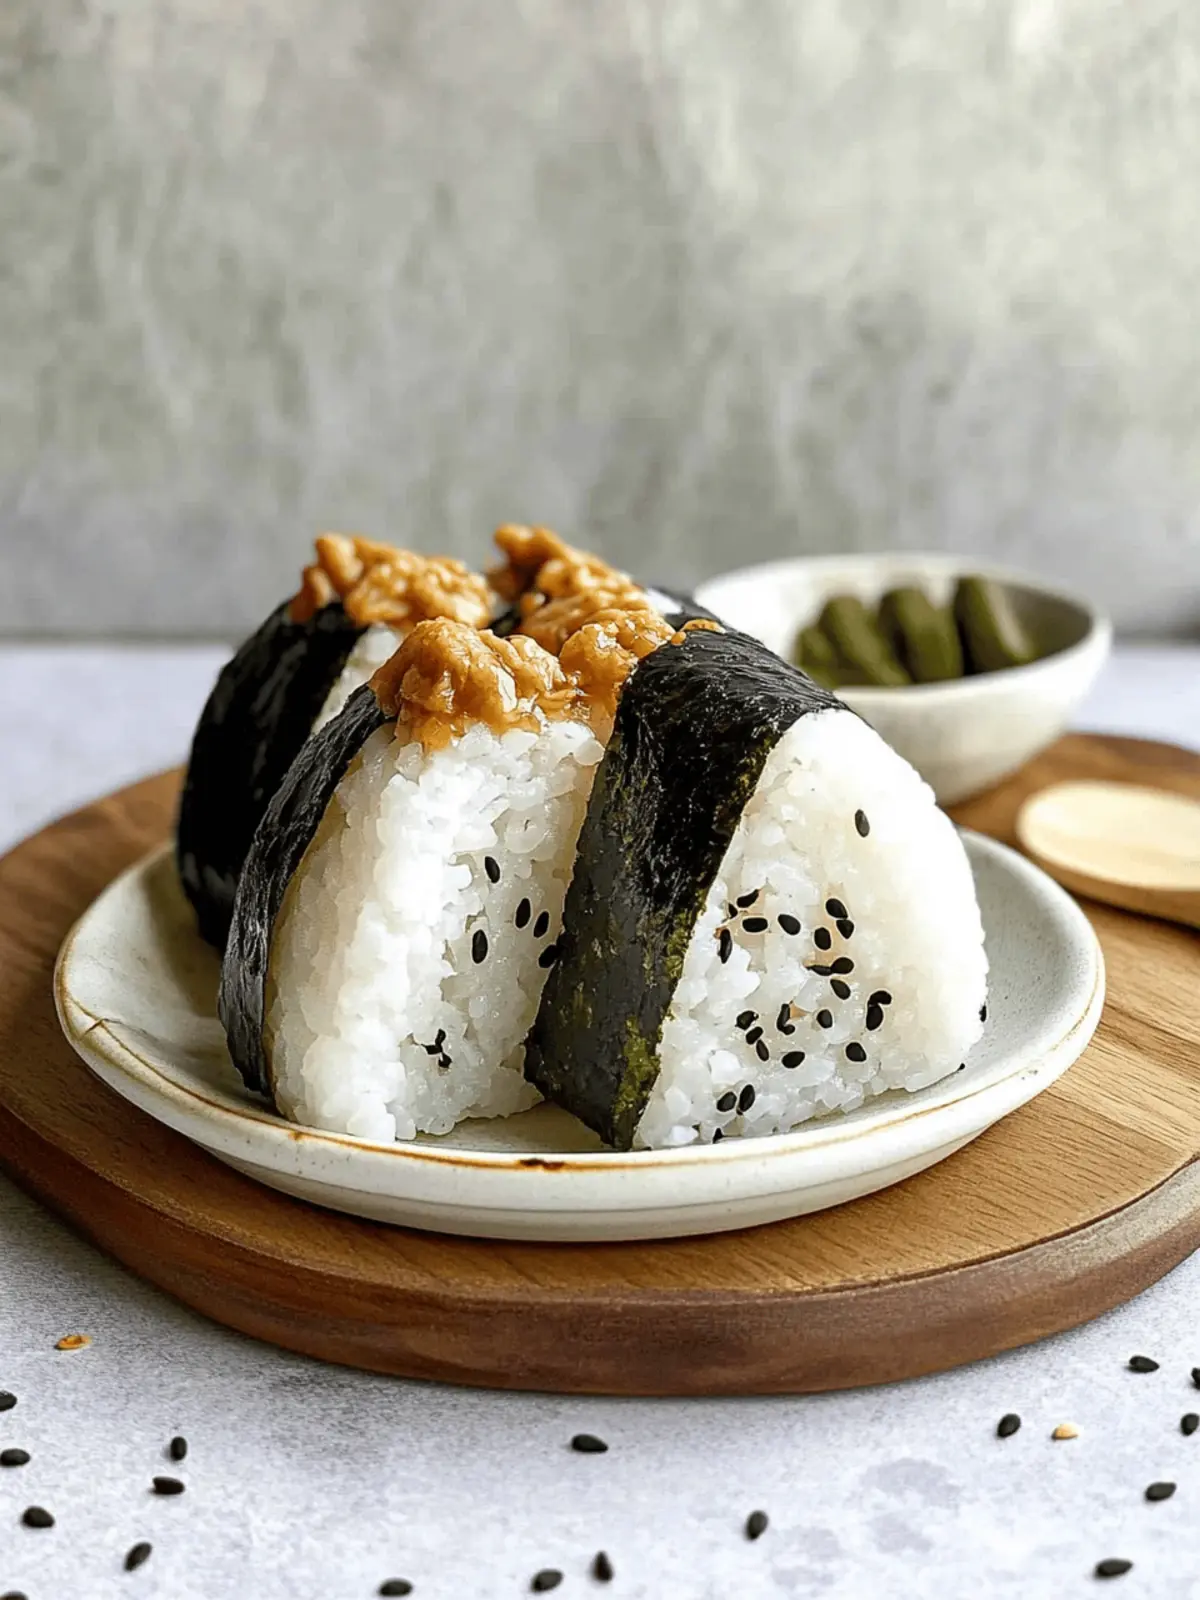
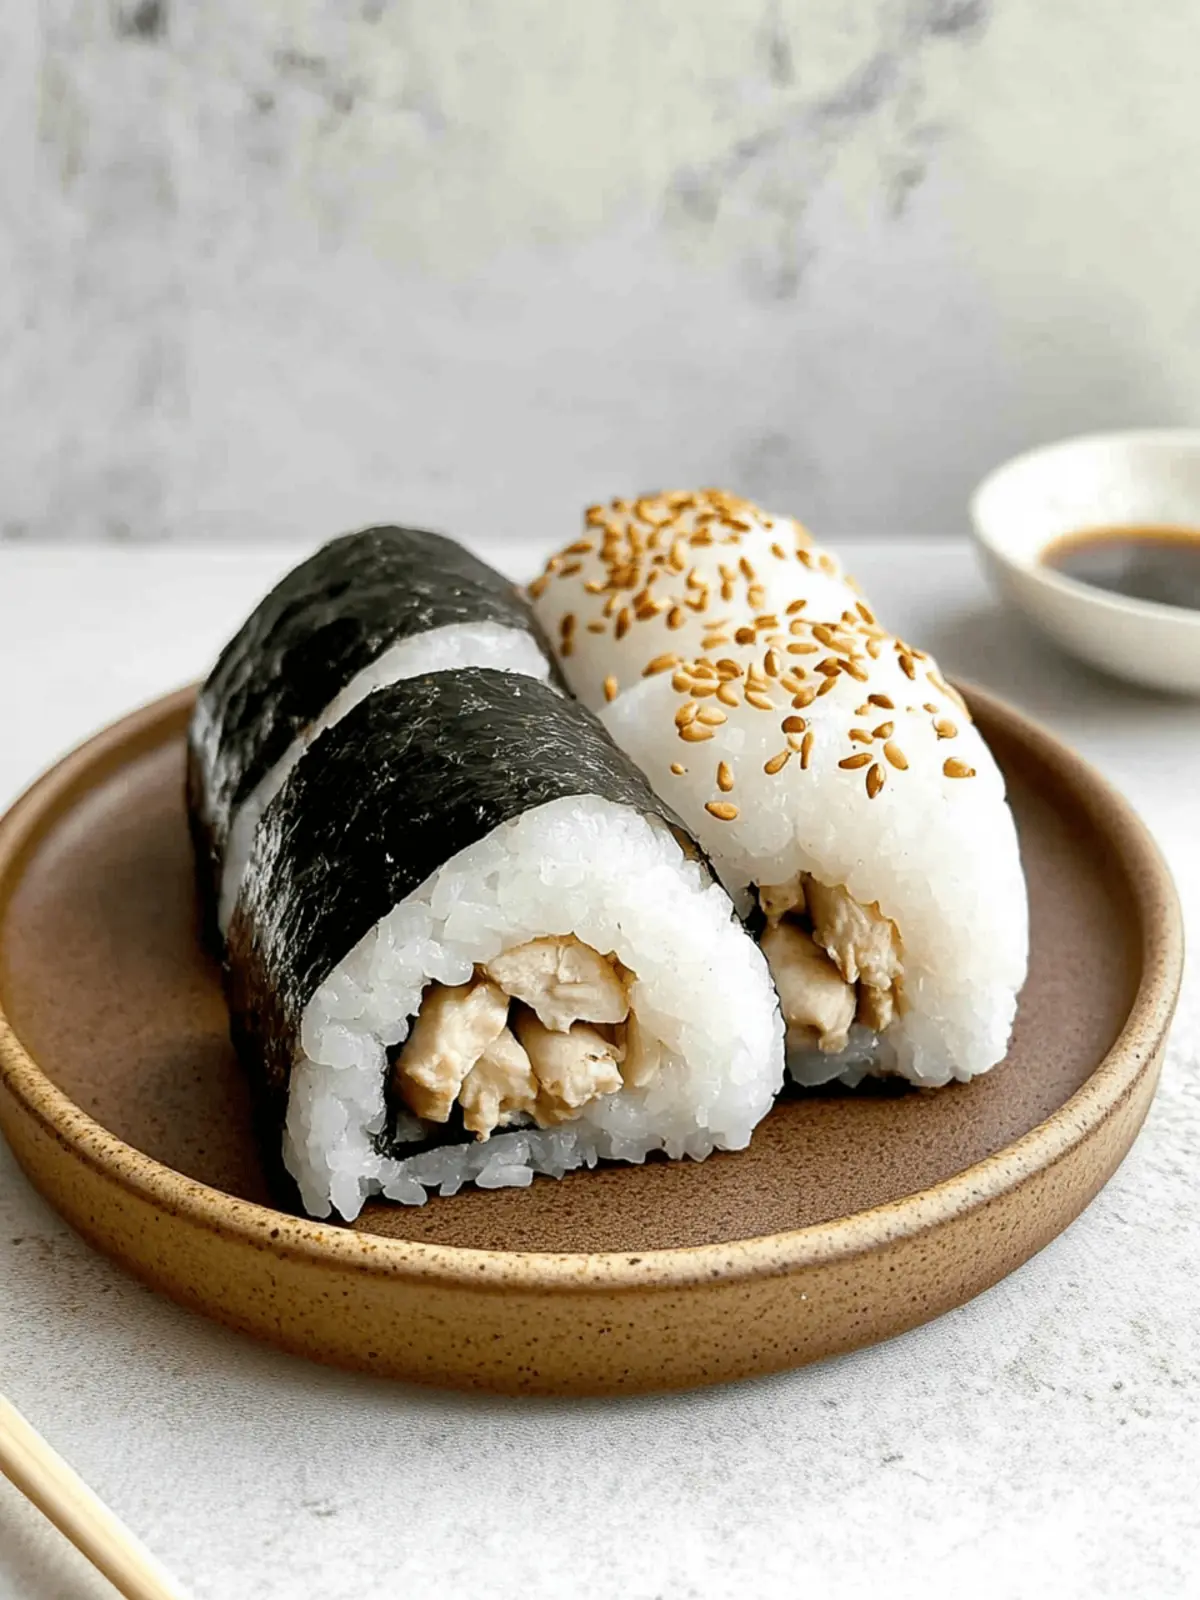
When I first discovered Chicken Onigiri, it was like falling in love all over again—with food! The moment you take a bite, you’re greeted by a delightful combination of flavors and textures that dance on your palate. The warm, slightly sticky sushi rice hugging perfectly seasoned teriyaki chicken creates not just a meal, but a comforting experience.
Picture this: a sunny afternoon where you decide to whip up something special. The gentle aroma of garlic sizzling in the pan instantly transforms your kitchen into a haven of deliciousness. And if you’ve ever felt the craving for a wholesome lunch or a snack that’s a far cry from fast food, these little rice triangles are the answer. They’re surprisingly easy to make, and the versatility means you can customize the filling to whatever suits your fancy!
Join me as we dive into this delightful recipe that promises to elevate your cooking game and satisfy your cravings for homemade goodness. Let’s get started!
Why is Chicken Onigiri a must-try?
Simplicity at its core: This Chicken Onigiri recipe is incredibly accessible, making it perfect for cooks of all skill levels.
Flavor explosion: The sweet and savory teriyaki chicken pairs beautifully with the sushi rice, creating a unique taste experience.
Quick and easy: With minimal prep and cook time, you can whip these up in no time, making them ideal for busy days or spontaneous cravings.
Customizable: Feel free to experiment with different fillings, from vegetables to seafood, ensuring something for everyone!
Perfect for sharing: These delightful little triangles are not only delicious but also fun to eat, making them a hit at gatherings or picnics.
Whether you’re looking to impress guests or simply treat yourself, this Chicken Onigiri is the perfect homemade solution!
Chicken Onigiri Ingredients
• Here’s everything you need to create these tasty Chicken Onigiri!
For the Rice
- 4 cups cooked sushi rice – Use short-grain rice for the perfect stickiness needed to mold onigiri.
- ½ teaspoon salt – Just a hint to enhance the flavor of the rice.
- 2 tablespoons furikake (optional) – This Japanese rice seasoning adds an extra layer of umami; don’t skip if you have it!
For the Chicken
- ½ pound boneless skinless chicken meat – Chicken thighs work beautifully, offering juiciness that complements the rice.
- 2 teaspoons soy sauce – A key ingredient for marination, giving the chicken that savory depth.
- 1 tablespoon sake (or water) – Helps tenderize the chicken and adds a touch of flavor.
- ¼ teaspoon baking soda – This helps tenderize the chicken for an extra juicy bite.
- 1 teaspoon cornstarch – Aids in achieving a delightful glaze on the chicken.
For the Teriyaki Sauce
- 1 ½ tablespoons soy sauce – Essential for that rich, savory-sweet teriyaki flavor.
- 1 tablespoon mirin – Adds sweetness and depth to the sauce; if you don’t have mirin, use a bit more sugar.
- 1 tablespoon brown sugar – Balances the salty and savory with a touch of sweetness.
For Cooking
- 1 tablespoon oil – Use a neutral oil like vegetable or canola for frying.
- 1 tablespoon minced garlic – This will infuse your chicken with a lovely aroma and flavor.
For Wrapping
- 1 sheet nori (cut into small rectangles) – Adds the perfect crunchy finish to your Chicken Onigiri; feel free to toast it for extra flavor!
These ingredients come together to create a delightful Chicken Onigiri that’s sure to be a hit with family and friends. Enjoy making this delicious treat!
How to Make Chicken Onigiri
-
Prepare the Rice: In a large bowl, mix your 4 cups of cooked sushi rice with ½ teaspoon of salt and 2 tablespoons of furikake, if using. This creates the flavorful base for your onigiri.
-
Marinate the Chicken: Cut the ½ pound of boneless skinless chicken into small pieces. Combine with 2 teaspoons of soy sauce, 1 tablespoon of sake (or water), ¼ teaspoon of baking soda, and 1 teaspoon of cornstarch. Mix well and let it sit in the refrigerator for 30 minutes to soak up all the flavors.
-
Make the Teriyaki Sauce: In a small bowl, whisk together 1 ½ tablespoons of soy sauce, 1 tablespoon of mirin, and 1 tablespoon of brown sugar. This will give your chicken that sweet and savory teriyaki flavor.
-
Cook the Chicken: Heat 1 tablespoon of oil in a large nonstick pan over medium-high heat. Add the marinated chicken and cook for about 2-3 minutes, stirring frequently, until golden brown and cooked through.
-
Add Garlic and Sauce: Lower the heat to medium, then add 1 tablespoon of minced garlic to the pan. Cook for 30 seconds until fragrant, then pour in your teriyaki sauce mixture. Cook until the sauce thickens into a lovely glaze, then remove from heat.
-
Form the Onigiri: Wet your hands with water to prevent sticking. Take ⅓ cup of rice and gently shape it into a small ball. Make a little well in the center and fill it with 1 tablespoon of the teriyaki chicken. Add another ⅓ cup of rice on top and mold it into a triangle shape. Finally, wrap with a strip of nori.
Optional: Serve with extra nori strips for a delightful crunch!
Exact quantities are listed in the recipe card below.
How to Store and Freeze Chicken Onigiri
Fridge: Store leftover Chicken Onigiri in an airtight container for up to 3 days; this keeps the rice moist and flavors intact while preventing contamination.
Freezer: Wrap individual onigiri tightly in plastic wrap, then place in a freezer-safe bag. They’re best used within 1 month for optimal flavor and texture.
Reheating: To reheat, remove from the freezer and let thaw in the fridge overnight. Heat in the microwave for about 30 seconds, or until warmed through, taking care not to dry them out.
Avoid sogginess: If you plan to freeze onigiri, leave out the nori until ready to eat. Add fresh nori just before serving for that perfect crunch!
What to Serve with Chicken Onigiri?
Elevate your Chicken Onigiri experience by pairing it with delightful sides and complementary flavors!
- Miso Soup: A warm, savory soup that perfectly balances the flavors of your onigiri, providing a heartwarming touch.
- Pickled Vegetables: Add some crunch and brightness; pickles balance rich teriyaki with their tangy zing, offering a refreshing bite.
- Edamame: Steamed edamame pods sprinkled with sea salt are a fantastic protein-rich side and add a fun textural contrast.
- Japanese Salad: A light salad with cucumber, seaweed, and sesame dressing complements the onigiri’s savory elements beautifully.
- Teriyaki Glazed Vegetables: Stir-fried seasonal veggies drizzled with a bit of teriyaki sauce echo the onigiri’s flavors while adding vibrant colors.
- Green Tea: Enjoy a cup of freshly brewed green tea alongside to cleanse your palate, enhancing the overall dining experience.
- Fruit Skewers: Finish your meal with sweet fruit skewers; the natural sweetness provides a delightful contrast to the savory rice and chicken.
- Dango: These sweet Japanese rice dumplings can serve as a dessert, bringing a delightful twist to your meal.
- Sake: For adults, a chilled sake pairs excellently with the umami flavors, enriching the culinary adventure of your homemade onigiri.
Expert Tips for Chicken Onigiri
- Use Short-Grain Rice: Opt for sushi rice, as its sticky nature is essential for properly shaping onigiri. Long-grain rice won’t hold together as well.
- Marinate Wisely: Allow at least 30 minutes for marinating the chicken to ensure the teriyaki flavor fully penetrates, leading to a more delicious Chicken Onigiri.
- Control the Heat: When cooking the chicken, avoid high heat after adding garlic to prevent burning; a medium heat ensures both the chicken and garlic cook evenly.
- Shape with Care: Wet your hands when forming the onigiri. This prevents the rice from sticking and helps achieve a perfect triangle shape without frustration.
- Experiment with Fillings: Don’t hesitate to get creative! Add cooked vegetables or seafood as different fillings—this makes each Chicken Onigiri unique and exciting.
Make Ahead Options
These Chicken Onigiri are a fantastic option for meal prep enthusiasts! You can cook and prepare the sushi rice (up to 24 hours in advance), storing it in an airtight container in the refrigerator to maintain moisture. The chicken can also be marinated and stored in the fridge for up to 3 days. When you’re ready to serve, simply cook the marinated chicken as instructed and assemble the onigiri with freshly prepared rice. This way, you enjoy restaurant-quality Chicken Onigiri with minimal effort during your busy week, making wholesome homemade meals a breeze! Remember to keep the nori separate until serving to ensure it stays crunchy and fresh.
Chicken Onigiri Variations
Feel free to get creative with this recipe to suit your tastes and dietary needs!
- Vegan Chicken: Substitute chicken with marinated tofu or tempeh for a delicious plant-based option. Simply marinate as you would with chicken.
- Spicy Kick: Add a dash of sriracha to the teriyaki sauce for an irresistible heat that will elevate each bite. A little kick goes a long way!
- Vegetable Fusion: Mix in finely diced cooked vegetables, like bell peppers or carrots, with the chicken for added nutrition and flavor. This creates a colorful twist that’s also satisfying.
- Quinoa Alternative: Swap sushi rice for quinoa to make this dish gluten-free and add a nutty flavor that complements the teriyaki sauce beautifully.
- Nutty Crunch: Sprinkle some chopped nuts, like peanuts or cashews, inside the onigiri before shaping for a delightful crunch and flavor contrast. The bit of texture enriches each bite.
- Savory Miso: Blend miso paste into the rice for an umami-packed flavor that tantalizes your taste buds and adds a unique depth to the dish.
- Flavored Nori: Use seaweed snacks or flavored nori sheets for wrapping to introduce an exciting new layer of taste. Experiment with wasabi or sesame flavors for an adventure!
- Sweet Twist: Add a small amount of pineapple or mango to the chicken mixture for a sweet-and-savory combination that’s both refreshing and surprising.
Chicken Onigiri Recipe FAQs
What type of rice should I use for Chicken Onigiri?
Absolutely! For Chicken Onigiri, you want to use short-grain sushi rice. This type of rice has the perfect stickiness and texture that holds the shape of the onigiri beautifully. Long-grain rice won’t provide the same results, so stick to sushi rice for the best experience!
How should I store leftover Chicken Onigiri?
Very! To keep your Chicken Onigiri fresh, store them in an airtight container in the refrigerator. They will stay delicious for up to 3 days. This method preserves the moisture in the rice while keeping the flavors intact, ensuring you can enjoy them as a quick snack or meal.
Can I freeze Chicken Onigiri?
Absolutely! To freeze Chicken Onigiri, wrap each piece tightly in plastic wrap and then place them in a freezer-safe bag. I suggest doing this within 24 hours for the best flavor and texture. For optimal taste, aim to consume them within 1 month. When you’re ready to eat, thaw in the fridge overnight and reheat in the microwave, around 30 seconds should do the trick!
What should I do if my Chicken Onigiri falls apart?
Don’t worry; it happens! If your Chicken Onigiri falls apart, it might be due to using the wrong type of rice or not enough moisture in the rice. Make sure to use sticky sushi rice and wet your hands while molding to help shape them. You can also try pressing the rice firmly together to ensure they hold their form. If they still crumble, consider a little extra seasoning to combine flavors even more!
Can I use other fillings besides teriyaki chicken?
Very much! The beauty of Chicken Onigiri lies in its versatility. Feel free to experiment with different fillings like sautéed vegetables, grilled shrimp, or even tofu for a vegetarian option. Getting creative with your fillings allows for a fun twist every time you make them. Just remember to keep the moisture content in check to maintain a delightful rice texture.
Is it safe for pets to eat Chicken Onigiri?
Not really! While the ingredients in Chicken Onigiri are generally safe for humans, be cautious when it comes to pets. The soy sauce and seasonings can be harmful to animals, so it’s best to keep this treat strictly for human enjoyment. Always check with a vet if you’re unsure about sharing any human food with your furry friends!

Delicious Chicken Onigiri for a Quick Homemade Treat
Ingredients
Equipment
Method
- In a large bowl, mix your cooked sushi rice with salt and furikake, if using.
- Cut the chicken into small pieces and marinate with soy sauce, sake, baking soda, and cornstarch for 30 minutes.
- In a small bowl, whisk together soy sauce, mirin, and brown sugar for the teriyaki sauce.
- Heat oil in a nonstick pan and cook the marinated chicken for 2-3 minutes until golden and cooked through.
- Add garlic and cook until fragrant, then pour in the teriyaki sauce mixture and cook until thick.
- Wet your hands, take rice, shape it, fill with chicken, and mold into a triangle wrapped with nori.


