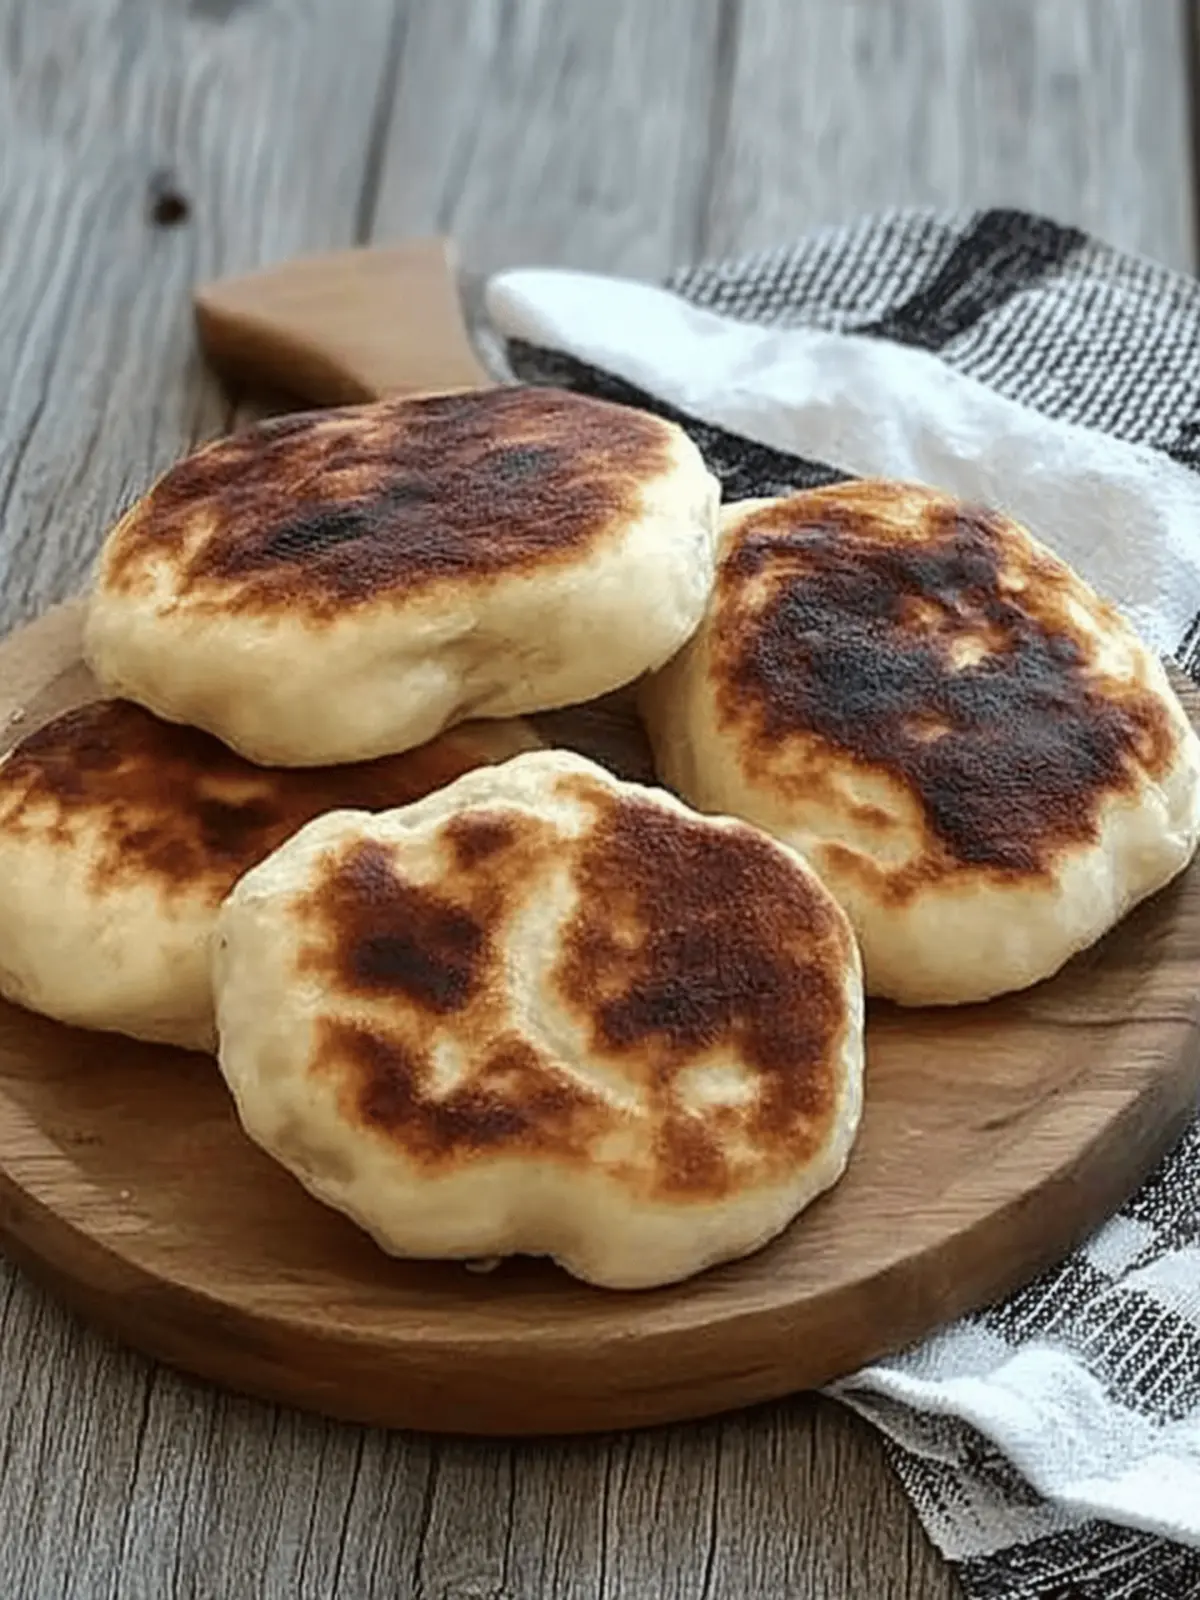
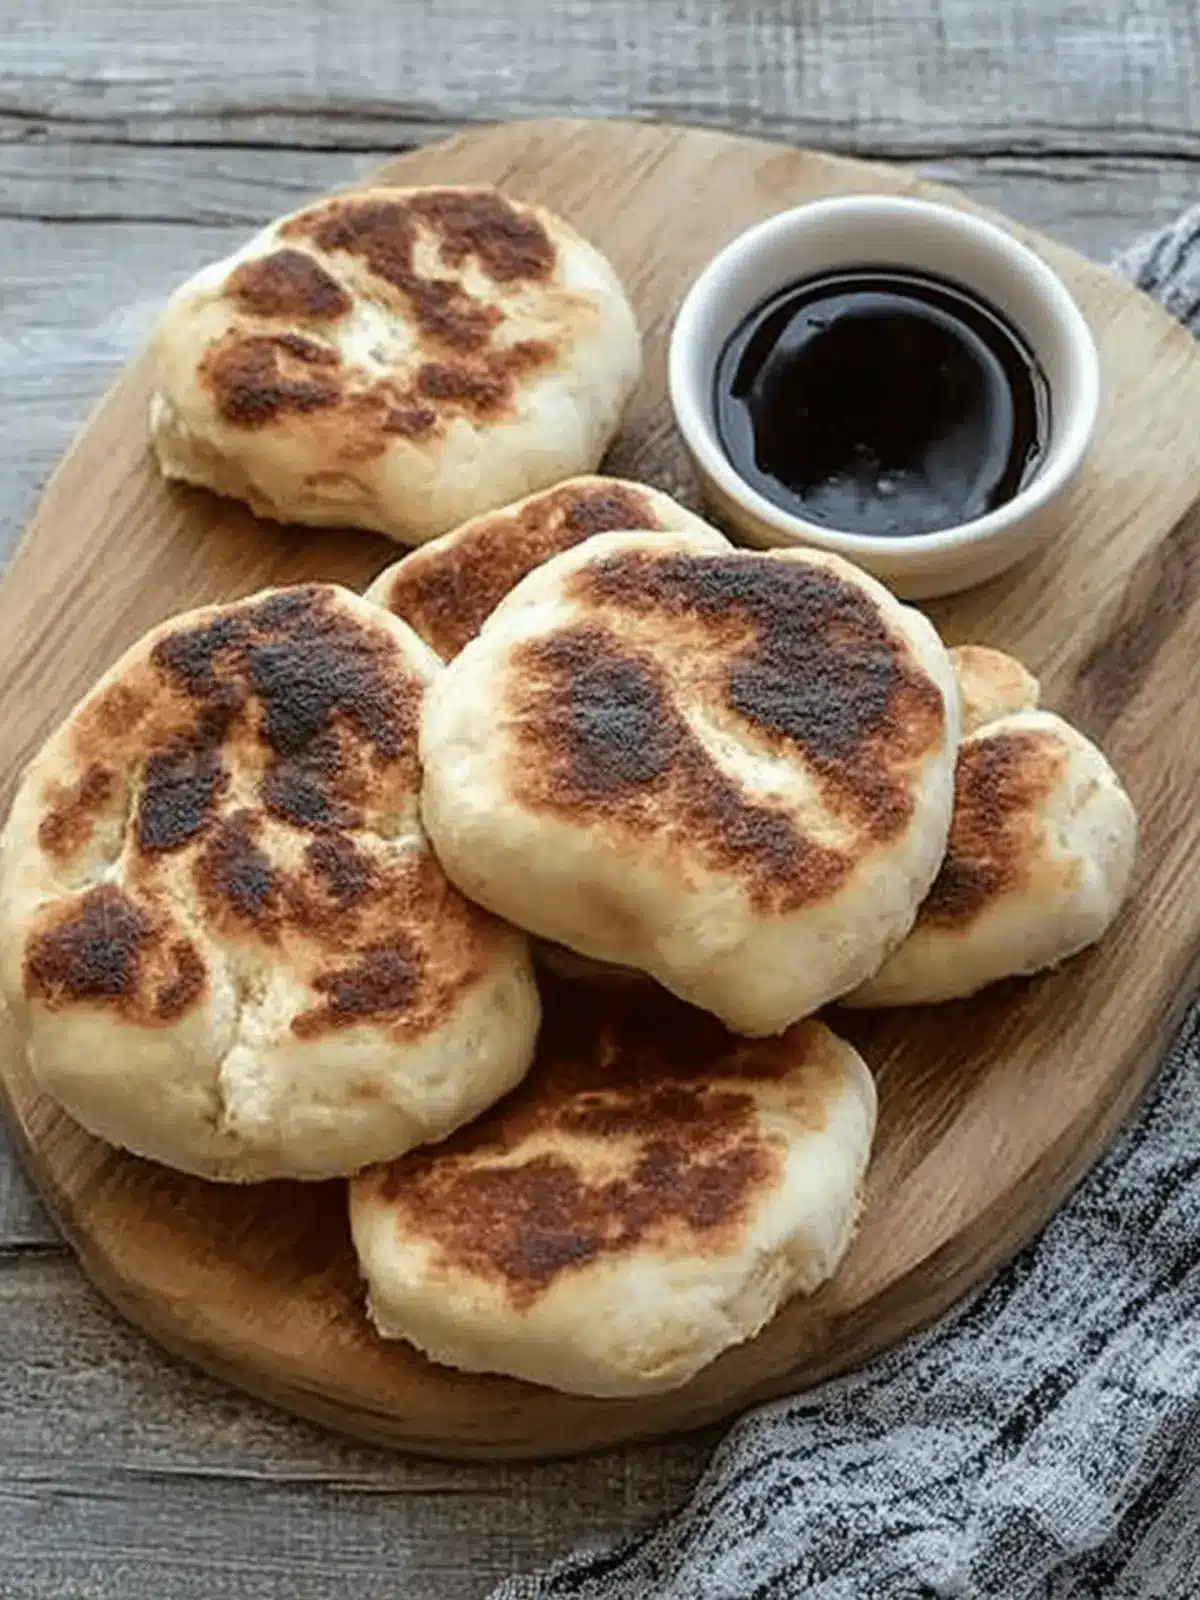
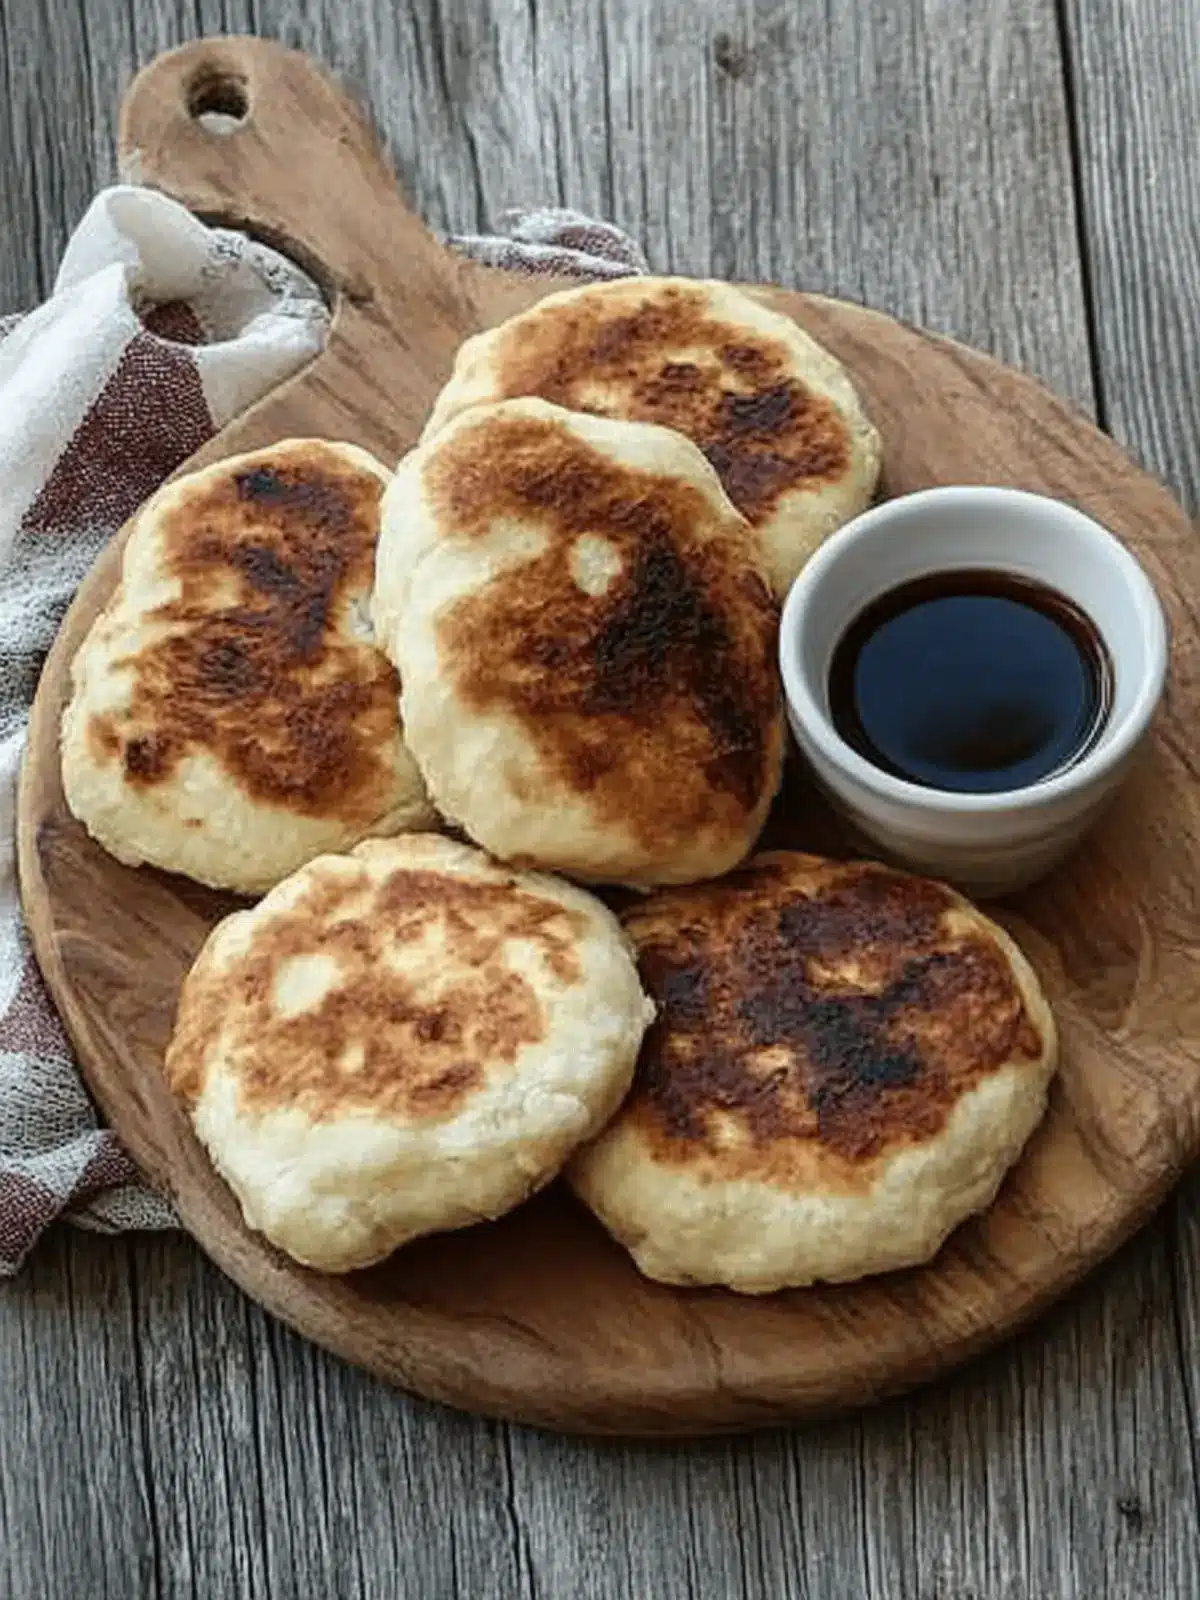
The moment the warm aroma of freshly baked bannock fills my kitchen, I find myself transported to the cozy gatherings around my grandmother’s table. This traditional Indigenous bread, with its golden crust and soft, fluffy center, has always been a beloved comfort food in my family. What I love most about bannock is its versatility; whether cooked on the stovetop for a delightful skillet treat or baked in the oven for that perfect golden finish, this recipe is as easy as it is delicious. Recommended by elders, it carries not just heritage but heart, making it a wonderful way to connect with culture and community through food. So, if you’re tired of the same fast-food routine and looking for something genuine, let’s dive into this “elder approved” recipe that will surely please everyone at your table!
Why is Bannock a Must-Try?
Authentic Flavor: Bannock delivers a rich, comforting taste, capturing the essence of Indigenous tradition.
Versatile Cooking: With both stovetop and baked options, there’s a method to suit everyone’s preference and schedule.
Simple Ingredients: This recipe uses pantry staples, making it easy to whip up a batch whenever you crave something homemade.
Cultural Connection: Each bite takes you on a journey through history, as this “elder approved” bread evokes memories of community gatherings.
Perfectly Pairs: Serve it warm with butter or alongside your favorite soup for an ideal comfort meal. Discover how you can elevate your cooking with this traditional delight!
Bannock Ingredients
• Experience the authentic taste of bannock with these simple ingredients.
For the Dough
- All-Purpose Flour – Provides structure and form to the dough; swap with gluten-free flour for a tasty alternative.
- Baking Powder – Acts as a leavening agent to help the dough rise; essential for achieving that fluffy texture.
- Salt – Enhances flavor; don’t skip this ingredient for the best taste.
- Warm Water – Binds the ingredients and hydrates the flour; use more or less as needed to reach the right dough consistency.
For the Baked Version
- Lard or Butter – Adds richness and moisture to the baked bannock; you can use oil for a dairy-free option.
For the Stovetop Version
- Oil – Needed for frying; opt for vegetable oil for a neutral flavor during frying.
How to Make Bannock
-
Prepare Dry Ingredients: In a large bowl, combine 4 cups of all-purpose flour, 2 tablespoons of baking powder, and 1 teaspoon of salt. This creates a solid foundation for your bannock dough.
-
Mix Wet Ingredients: For the baked version, create a well in the dry mixture and add 1 ½ to 2 cups of warm water, stirring gently until everything is combined into a soft dough.
-
Shape the Dough (baked method): Spread the dough into a greased or parchment-lined 9×13-inch pan, ensuring it’s evenly distributed. Top it off with dollops of lard or butter for added richness.
-
Bake: Preheat your oven to 400°F, then bake for 20-25 minutes, flipping halfway through for even browning. You’ll know it’s ready when it turns golden-brown and emits an inviting aroma.
-
Shape the Dough (stovetop method): For stovetop bannock, gradually add warm water to the dry ingredients until it forms a ball. Knead gently about 10 times on a floured surface, being careful not to over-knead.
-
Cook Patties: Shape the dough into ½-inch thick round patties and fry them in a well-oiled skillet for 3-4 minutes on each side, until they achieve a beautiful golden-brown color.
Optional: Serve warm with honey or alongside your favorite soup for a cozy meal.
Exact quantities are listed in the recipe card below.
Storage Tips for Bannock
-
Room Temperature: Store bannock in an airtight container at room temperature for up to 2 days to maintain its softness and flavor.
-
Fridge: If you prefer to keep bannock longer, refrigerate it in a sealed container for up to a week, though it may slightly dry out.
-
Freezer: For extended storage, freeze bannock in an airtight bag or container for up to 3 months. Thaw overnight in the fridge before reheating.
-
Reheating: Warm up thawed or refrigerated bannock in a preheated oven at 350°F for about 10 minutes, or briefly in a skillet to revive its crispy exterior.
Bannock Variations
Feel free to get creative with this bannock recipe—it’s delicious no matter how you customize it!
-
Herb-Infused: Add chopped fresh herbs like rosemary or thyme for a savory twist that elevates your bannock’s flavor.
-
Cheesy Delight: Mix in shredded cheese (cheddar or feta) before baking or frying for a rich, savory addition that melts wonderfully.
-
Sweet Berries: Fold in saskatoon berries or blueberries for a delightful burst of sweetness, making it a perfect pairing for breakfast.
-
Spiced Up: Sprinkle in spices like cinnamon or nutmeg for a cozy, warm flavor, great for serving with honey or jam.
-
Gluten-Free: Swap all-purpose flour with a gluten-free baking blend, allowing everyone to enjoy this traditional recipe without the gluten.
-
Coconut Oil: For a tropical flair, replace lard or butter with coconut oil, infusing your bannock with a light coconut aroma.
-
Heat It Up: Add a pinch of cayenne pepper or red pepper flakes for a gentle kick that warms every bite, ideal for adventurous eaters.
-
Veggie Boost: Incorporate finely chopped vegetables, like bell peppers or green onions, into the dough for added texture and nutrients.
Expert Tips for Making Bannock
-
Avoid Over-Kneading: Overworking the dough can lead to tough bannock. Gently knead just until combined for that soft texture.
-
Watch Your Skillet Heat: Adjust the heat as needed when frying; too high can burn the outside while leaving the inside doughy.
-
Perfectly Measure Water: Start with less warm water and add more slowly until the dough reaches a workable consistency; too much can make it sticky.
-
Use Proper Greasing: Grease your baking pan or skillet well to prevent sticking; even a light coat of oil makes a big difference!
-
Rest the Dough: Allow the shaped dough to rest for a few minutes before cooking; this helps ingredients meld for better flavor in your bannock.
What to Serve with Bannock?
Bannock is a warm, versatile bread that pairs beautifully with a variety of dishes, making every meal feel special.
-
Homemade Soup: A comforting bowl of soup—like butternut squash or tomato—creates a delightful contrast with bannock’s fluffy texture.
-
Savory Stews: Rich beef or vegetable stews allow bannock to soak up flavorful juices, providing a satisfying experience for the palate.
-
Honey Garlic Chicken: The sweet and savory notes of honey garlic chicken complement the mildness of bannock perfectly, bringing a balance of flavors to your meal.
-
Herb Cream Cheese Dip: A zesty dip made with cream cheese and fresh herbs elevates your bannock, adding a creamy texture and delightful taste.
-
Grilled Vegetables: Charred veggies add vibrant color and smoky flavor, creating a beautiful plate alongside your warm bannock.
-
Green Salad: A refreshing green salad with zesty dressing acts as a perfect light contrast to the warm bread, enhancing the entire dining experience.
-
Hot Chai or Herbal Tea: A steaming cup of chai or herbal tea provides a soothing drink option that pairs beautifully with the comforting notes of bannock.
-
Jam and Butter: Simple yet delightful, spreading butter and your favorite jam on warm bannock turns it into a sweet indulgence, perfect for breakfast or dessert.
Make Ahead Options
These bannock options are fantastic for busy home cooks looking to save time during the week! You can prepare the dry ingredients—4 cups of all-purpose flour, 2 tablespoons of baking powder, and 1 teaspoon of salt—up to 3 days ahead; simply store them in an airtight container at room temperature. For an even quicker meal, you can also prep your wet ingredients (the warm water and any fats) and refrigerate them for up to 24 hours. When you’re ready to enjoy your bannock, just combine the wet and dry ingredients and follow the final steps of shaping and cooking. This way, you’ll have comforting, homemade bannock on the table with minimal effort!
Bannock Recipe FAQs
What type of flour should I use for bannock?
I recommend using all-purpose flour as it provides the right structure for the dough. If you’re looking for a gluten-free option, you can substitute with gluten-free flour blends, but keep in mind the texture might be slightly different.
How should I store leftover bannock?
Store your bannock in an airtight container at room temperature for up to 2 days. If you want to keep it longer, you can refrigerate it for up to a week, although it may lose some moisture. For the best results, I suggest freezing it in an airtight bag or container, where it will last up to 3 months.
Can I freeze bannock? How do I do it?
Absolutely! To freeze bannock, let it cool completely, then wrap individual pieces in plastic wrap and place them in an airtight freezer bag. This keeps them fresh and prevents freezer burn. To thaw, simply transfer them to the refrigerator overnight, and you can reheat in the oven at 350°F for about 10 minutes.
What should I do if my bannock dough is too sticky?
If you find your dough to be too sticky, don’t worry! Start by adding a little more flour, one tablespoon at a time, while kneading it gently until it reaches a workable consistency. Remember, a softer dough can also yield fluffier bannock, so aim for a balance—you want it manageable but not overly dry.
Is it safe for pets if I drop some bannock on the floor?
While bannock is not toxic to pets, it’s not a recommended treat due to the high-fat content and the presence of salt and baking powder, which can be harmful in larger amounts. If your pet sneaks a small piece, they should be fine, but it’s best to keep it as an occasional snack rather than a regular one. Always consult your vet if you’re unsure!

Delicious Bannock: Easy Stovetop and Oven-Baked Recipes
Ingredients
Equipment
Method
- In a large bowl, combine 4 cups of all-purpose flour, 2 tablespoons of baking powder, and 1 teaspoon of salt.
- Create a well in the dry mixture and add 1 ½ to 2 cups of warm water, stirring gently until combined into a soft dough.
- Spread the dough into a greased or parchment-lined 9x13-inch pan.
- Top with dollops of lard or butter.
- Preheat your oven to 400°F, then bake for 20-25 minutes, flipping halfway through.
- Bake until golden-brown and aromatic.
- Gradually add warm water to the dry ingredients until a ball forms; knead gently about 10 times on a floured surface.
- Shape into ½-inch thick round patties and fry in a well-oiled skillet for 3-4 minutes on each side.


