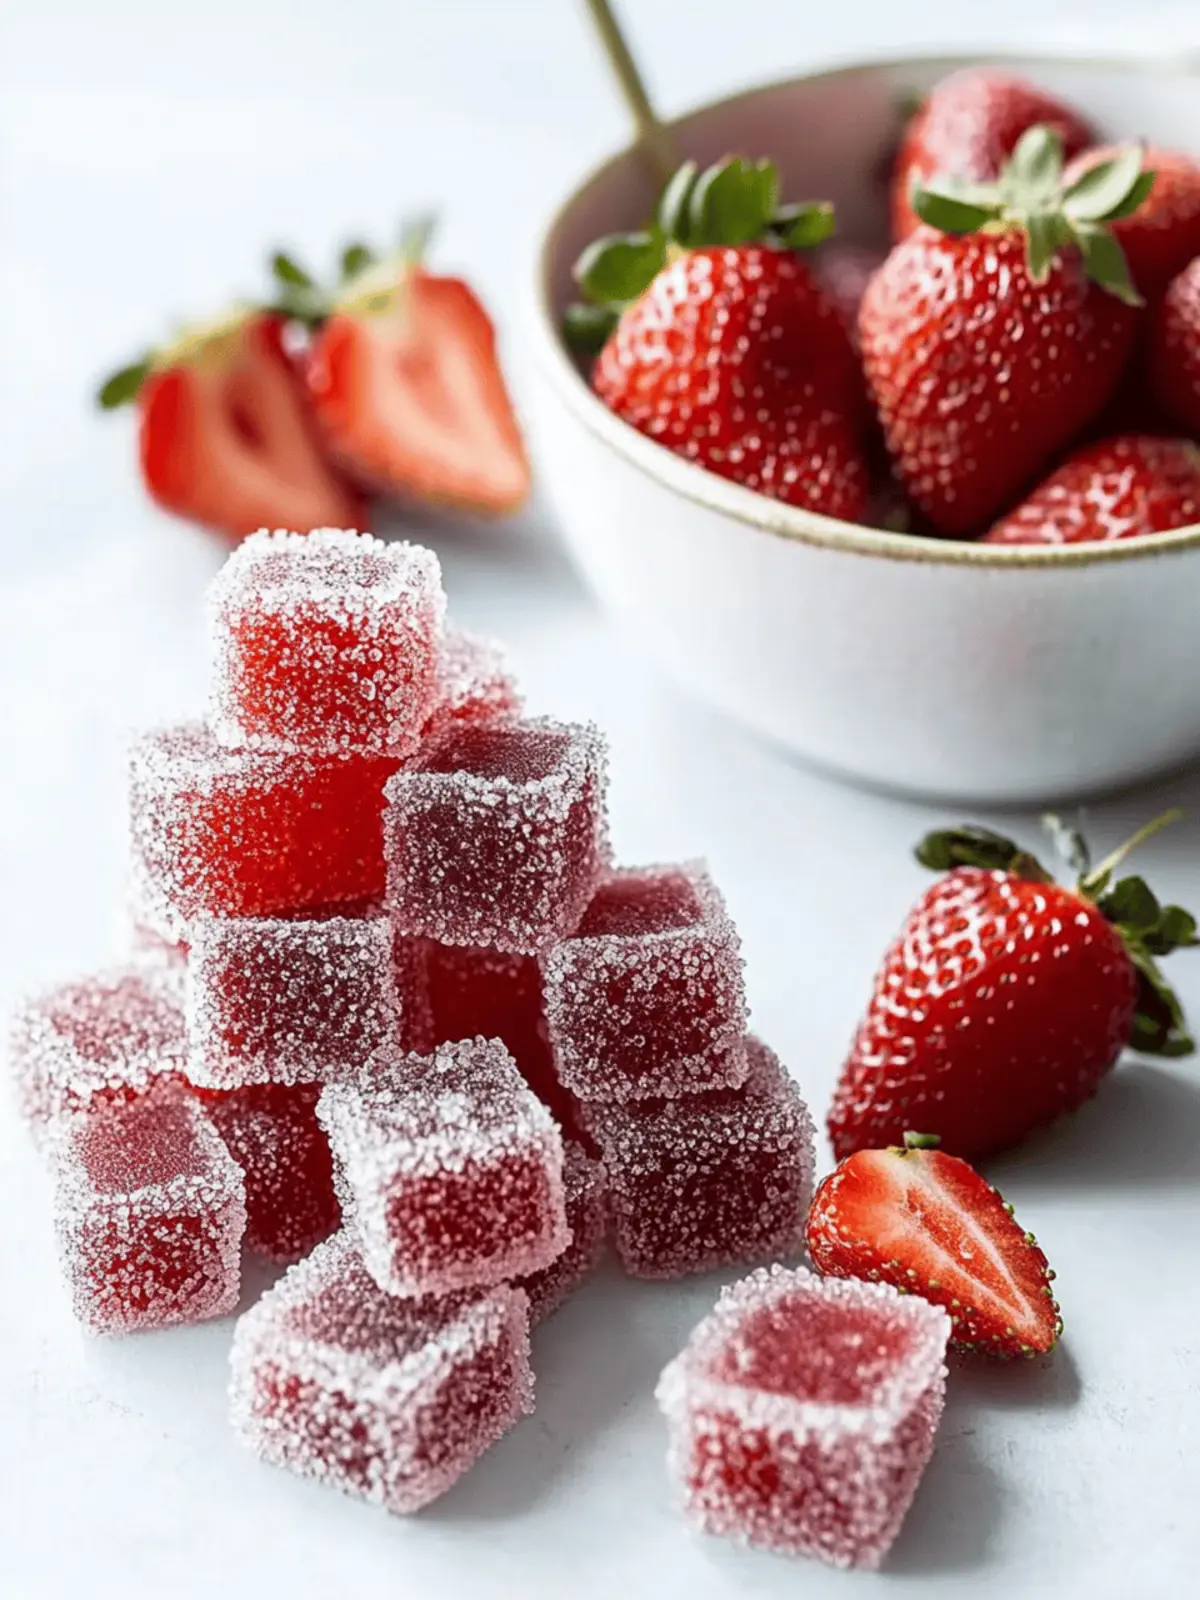
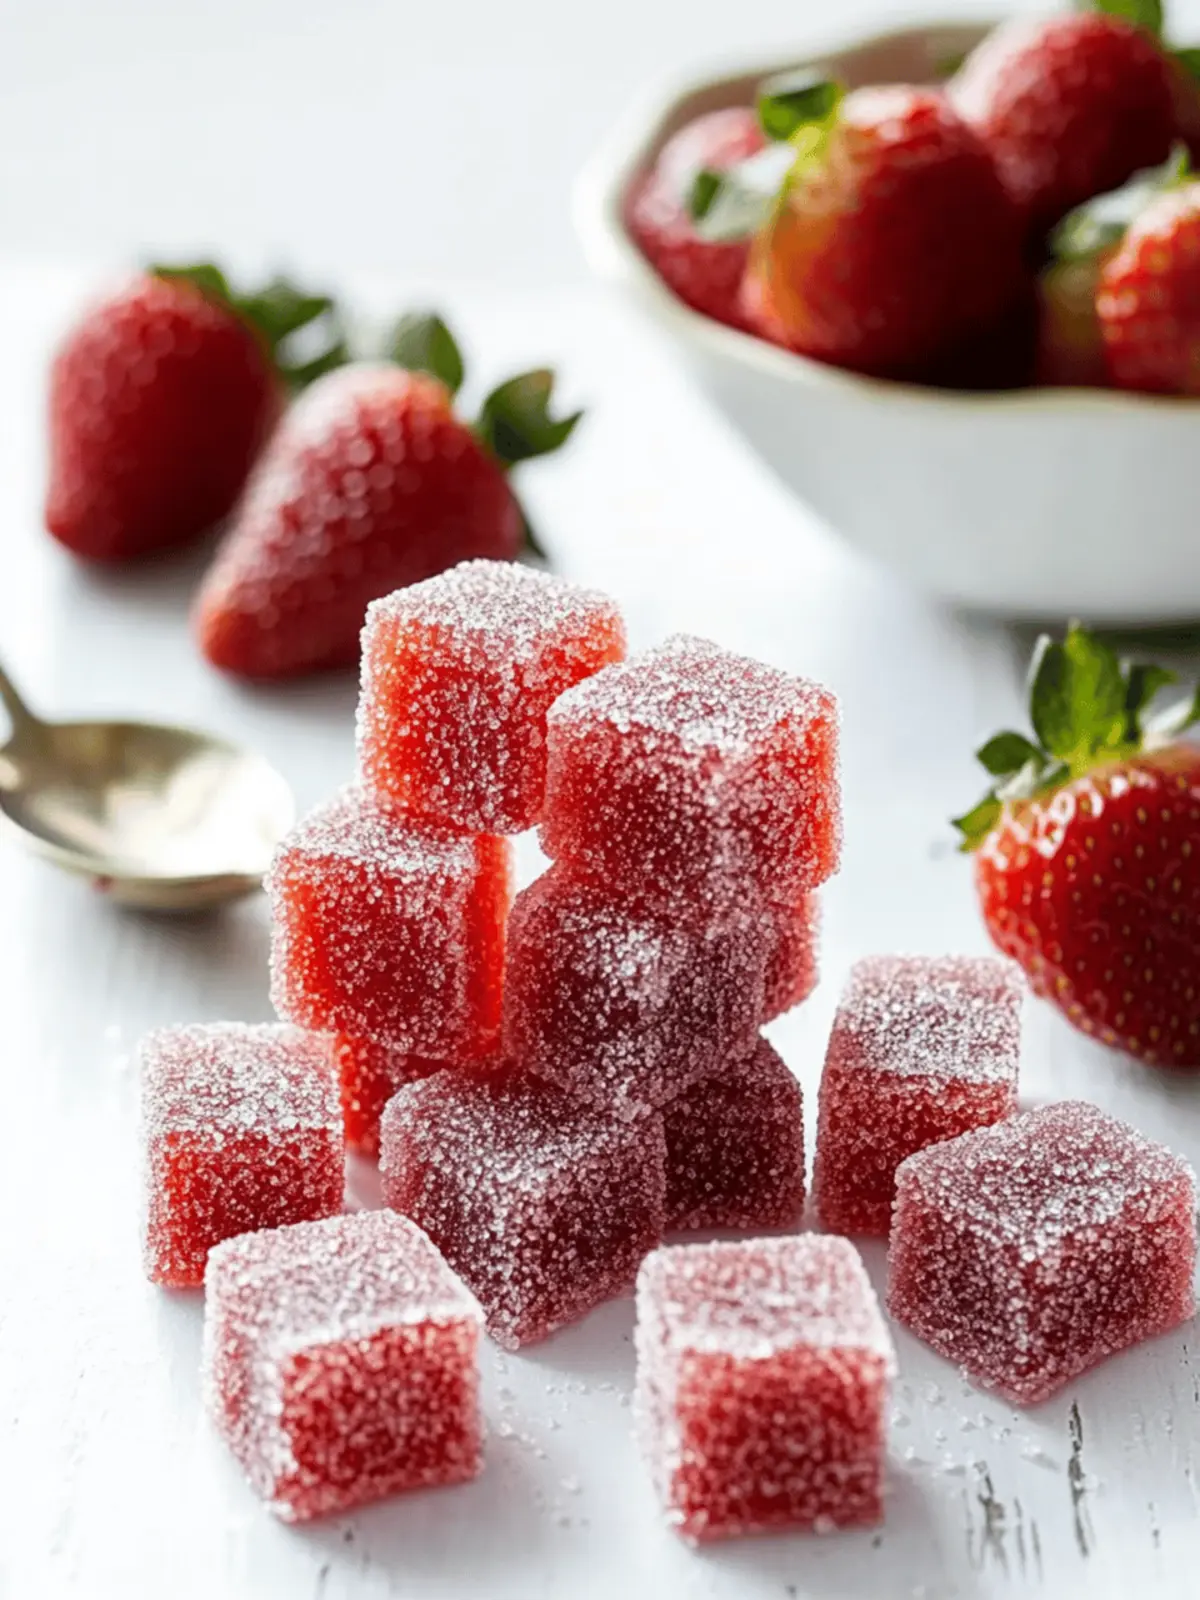
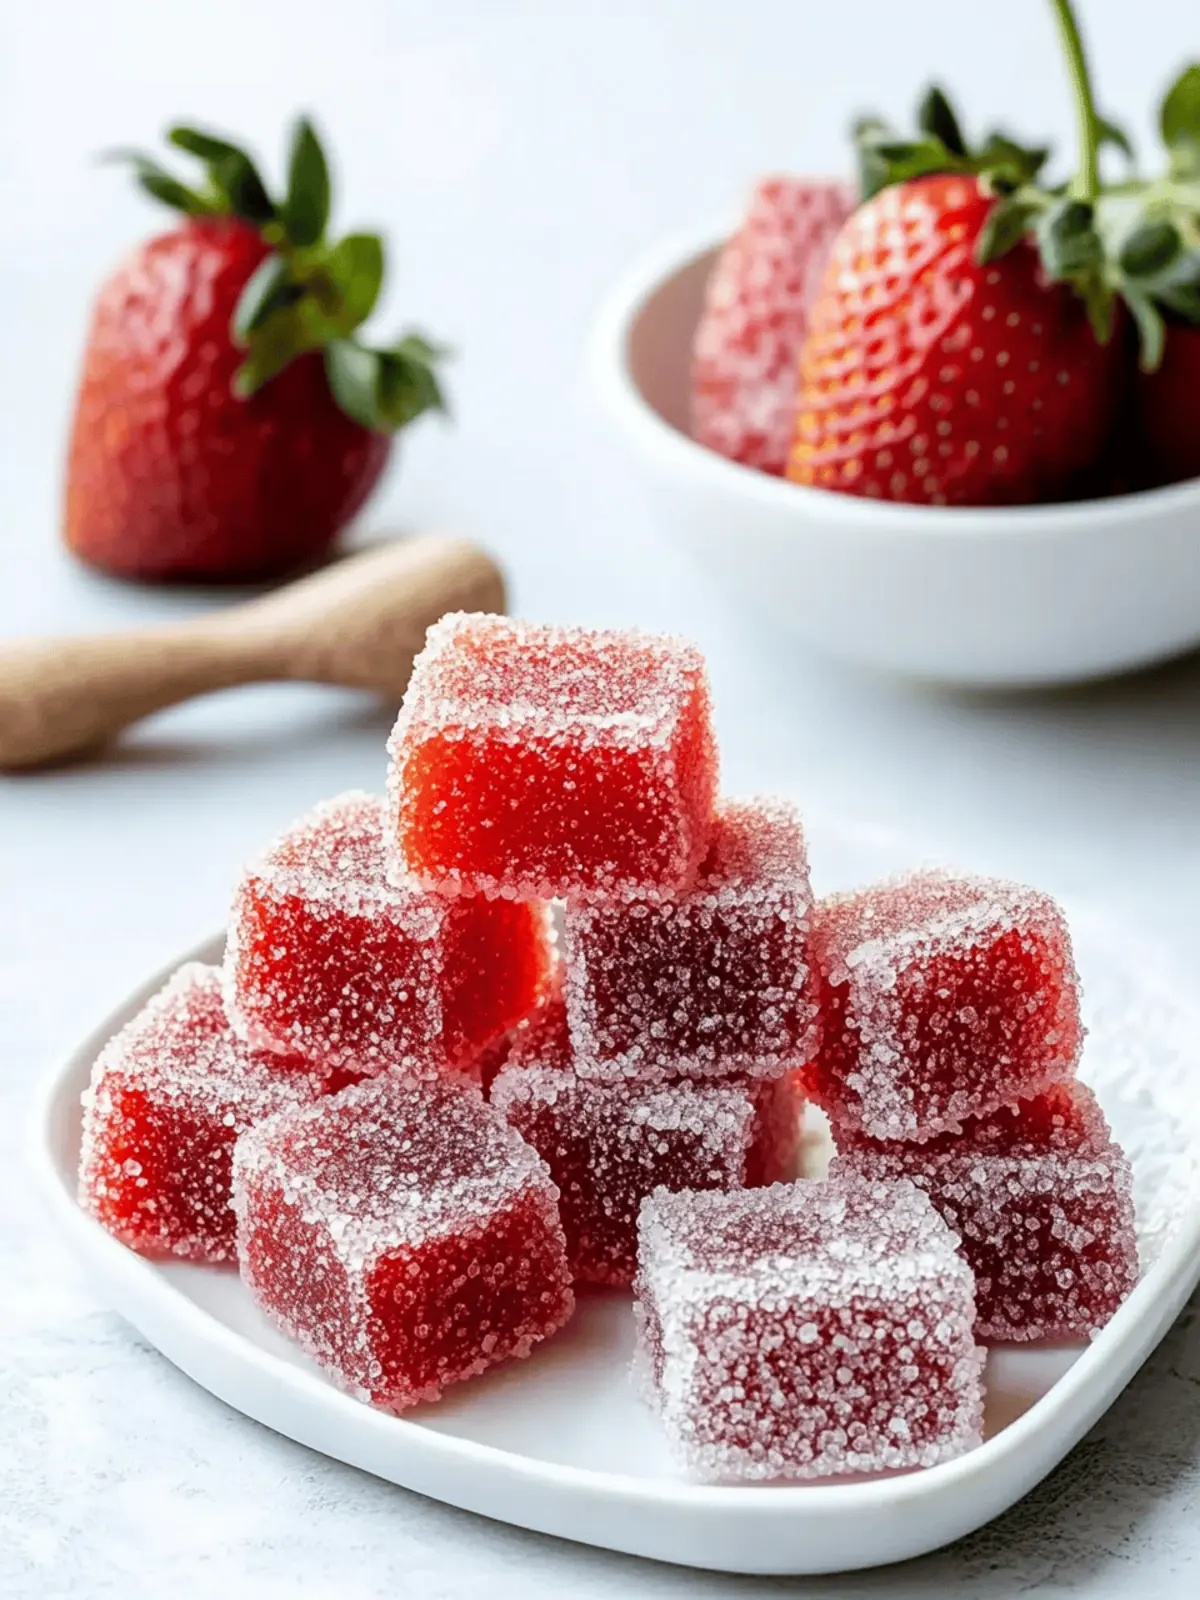
The first time I ever made homemade sour strawberry gummies, I was absolutely amazed by the vibrant color and aroma that filled my kitchen. Picture the sweet, tangy scent of fresh strawberries mingling with a sugar-coated sour bite; it’s an experience that’s hard to beat! I wanted to recreate that delightful childhood treat, but with a twist—the kind of chewiness that makes you savor every bite.
Whether you’re a seasoned chef or just looking to escape the fast-food rut, this easy recipe will elevate your candy game to new heights. These gummies not only burst with authentic strawberry flavor but also offer a fun and tangy kick that’s sure to be a hit with friends and family alike. Gather your ingredients, and let’s dive into a world of irresistible homemade sweetness!
Why Are Homemade Sour Strawberry Gummies a Must-Try?
Bursting with Flavor: The sweet and tangy explosion of real strawberries creates an unforgettable taste experience.
Simple Process: With just a few ingredients and straightforward steps, these gummies are accessible for everyone, from beginners to experienced cooks.
Customizable Fun: Feel free to experiment with other fruits or adjust the tanginess level in the coating for your family’s preferences.
Perfect for Sharing: These treats make delightful gifts or party snacks that are sure to impress your guests.
Nostalgic Joy: Making homemade gummies is a perfect way to relive childhood memories while creating new ones with loved ones.
Get ready to indulge your senses with these delightful candies!
Homemade Sour Strawberry Gummies Ingredients
For the Gummy Base
- Fresh or Frozen Strawberries – 12 ounces / 300 g; This is your star ingredient for an authentic strawberry flavor; feel free to substitute with other berries, but watch the texture!
- Granulated Sugar – 1⅔ cup / 330 g; A critical ingredient for sweetness and achieving that perfect candy consistency; don’t even think about reducing it!
- Corn Syrup – 2 tablespoons / 44 g; Helps create that chewy texture while preventing crystallization; glucose syrup is a good substitute if needed.
- Regular Fruit Pectin – 1 box / 48 g; Essential for that iconic gummy texture; steer clear of low-sugar pectin as it won’t set right.
- Baking Soda – ½ teaspoon; Helps balance the pH for a proper set; this is key in candy-making magic!
- Filtered Water – ½ cup / 120 g; Used to dissolve pectin; there are no good substitutes for this one.
For the Sour Coating
- Powdered Citric Acid – ¼ teaspoon, dissolved; Adds the perfect amount of tartness to each gummy; lemon juice works too but stick to citric acid in the base recipe.
- Granulated Sugar for Coating – ¼ cup / 50 g; This sweet and sour finish is delightful; increase the amount for a bolder sour punch!
Now you have everything you need to make these tantalizing homemade sour strawberry gummies that are sure to wow your taste buds!
How to Make Homemade Sour Strawberry Gummies
-
Prepare Molds: Set up your silicone molds or line a baking pan with parchment paper on a heat-proof surface. This will help ensure easy release once the gummies are set.
-
Combine Mixtures: In a saucepan, lovingly mix the strawberry puree, granulated sugar, and corn syrup together. Bring this delightful mixture to a boil over medium heat, stirring gently until everything is well combined and bubbling.
-
Pectin Mixture: In a separate pan, whisk together the fruit pectin, baking soda, and filtered water. Bring this mixture to a simmer, stirring until it becomes frothy and fragrant.
-
Combine & Cook: Pour the pectin mixture into the boiling strawberry mixture, stirring continuously. Attach a candy thermometer and keep an eye on it as it cooks, stirring until it reaches a perfectly precise temperature of 230°F (this should take about 45 minutes).
-
Add Citric Acid: Once you’ve hit that ideal temperature, quickly stir in the dissolved citric acid. Pour the luscious mixture into your prepared molds while it’s still warm for the best results.
-
Cool: Let the gummies set happily at room temperature for at least 2 hours or, for a firmer texture, overnight. The longer, the better!
-
Coat: Once set, roll the gummies in a mixture of granulated sugar and citric acid until they’re fully coated for that irresistibly tangy finish. Store your delicious creations in an airtight container.
Optional: For an extra zing, sprinkle in some lemon zest during the coating process.
Exact quantities are listed in the recipe card below.
What to Serve with Homemade Sour Strawberry Gummies?
Create magical moments with these delightful candies that bring joy to any table setting.
- Fresh Fruit Salad: A mix of seasonal berries and citrus complements the gummies’ sweetness while adding refreshing juiciness.
- Chocolate Fondue: The rich sweetness of melted chocolate pairs beautifully, offering a fun dip that contrasts perfectly with tangy gummies.
- Vanilla Ice Cream: Creamy, indulgent ice cream balances the gummies’ sourness, creating a delightful textural contrast that’s simply irresistible.
- Sparkling Water with Lime: A bubbly beverage garnished with fresh lime enhances the sweet and sour flavors, making for a refreshing drink pairing.
- Nutty Granola Bars: The chewiness of those bars adds a delightful crunch to your snack spread, perfectly complementing the soft texture of the gummies.
Indulging in these pairings while making memories with loved ones will take your homemade sour strawberry gummies to the next level!
Expert Tips for Homemade Sour Strawberry Gummies
- Choose Quality Ingredients: Use only fresh or frozen strawberries to enhance flavor; cheap alternatives will lead to bland gummies.
- No Sugar Substitutes: Stick to granulated sugar; reducing sugar changes the chemistry and ruins the gummy texture.
- Monitor Temperature: An accurate candy thermometer is your best friend; too high or low can result in gummies that don’t set properly.
- Avoid Humidity: Make gummies in dry weather; humidity can prevent them from firming up and affect their texture.
- Experiment with Coatings: Adjust the amount of citric acid in the coating for your desired sourness in your homemade sour strawberry gummies.
How to Store and Freeze Homemade Sour Strawberry Gummies
Room Temperature: Keep gummies at room temperature in an uncovered container for up to one week; storing them this way will maintain their chewy texture and prevent stickiness.
Fridge: If you prefer a firmer texture, refrigerate the gummies in an airtight container for up to two weeks; this also helps preserve their flavor.
Freezer: For longer storage, freeze your homemade sour strawberry gummies in an airtight container or freezer bag for up to three months without losing texture or taste.
Reheating: There’s no need to reheat these gummies; just thaw them in the fridge or at room temperature and enjoy their delicious flavor!
Make Ahead Options
These Homemade Sour Strawberry Gummies are perfect for meal prep enthusiasts! You can make the gummy mixture up to 24 hours in advance, allowing the flavors to meld beautifully. Simply follow the initial instructions up through cooling in the molds, then cover them with plastic wrap and refrigerate. To maintain their delightful chewiness, ensure they are stored in an airtight container after cooling. When you’re ready to serve, simply roll the gummies in the sugar and citric acid mixture to add that irresistible tang. With these make ahead options, you can enjoy freshly made sweets without the last-minute rush!
Homemade Sour Strawberry Gummies Variations
Invite your creativity to flourish as you explore exciting twists for these delightful gummies!
- Berry Bliss: Substitute the strawberries with raspberries or blueberries for a unique berry flavor, enhancing your gummy experience.
- Tropical Twist: Try mango or pineapple puree instead of strawberries, bringing a sunny, exotic flair to your gummies.
- Vegan Variation: Use vegan sugar instead of regular granulated sugar to make these gummies completely plant-based while retaining their sugary goodness.
- Herbal Infusion: Add fresh mint or basil to the strawberry mixture before boiling for a refreshing herbal note that dances on your palate.
- Sour Booster: Increase the citric acid in the coating to amplify the sour kick, creating a zesty explosion that tantalizes every taste bud.
- Citrus Zing: Incorporate some lemon or lime juice into the strawberry mixture for an additional layer of tang that enhances the overall flavor profile.
- Extra Chewy: Replace corn syrup with honey or agave nectar for a different texture and naturally sweet addition that can smooth out the gummies.
- Nutty Delight: Roll the finished gummies in crushed nuts or desiccated coconut instead of sugar for a crunchy, nutty surprise that adds texture.
Let your inspiration guide you, and enjoy the magic of creating your very own signature gummy treats!
Homemade Sour Strawberry Gummies Recipe FAQs
What are the best strawberries to use for this recipe?
Absolutely! The best choice for your homemade sour strawberry gummies is fresh, ripe strawberries, as they have the sweetest flavor and the right pectin level. If fresh strawberries aren’t available, frozen strawberries work just as well—just ensure they are fully thawed and well-drained before use!
How should I store my homemade sour strawberry gummies?
I recommend storing your gummies at room temperature in an uncovered container for up to one week. This method keeps them chewy and prevents stickiness. If you prefer a firmer texture, pop them into an airtight container and refrigerate for up to two weeks to lock in that delightful strawberry flavor.
Can I freeze homemade sour strawberry gummies?
Yes, indeed! You can freeze your homemade sour strawberry gummies in an airtight container or a freezer bag. They will last for up to three months without losing texture or taste! Simply thaw them in the fridge or at room temperature when you’re ready to enjoy them again.
What should I do if my gummies are too sticky?
Very well! If your gummies turn out sticky, it could be due to humidity or not using enough sugar in the coating. To troubleshoot, roll them in extra sugar mixed with citric acid to help absorb some of the moisture. If you’re working in a humid environment, try making them on a drier day to avoid this issue altogether.
Are homemade sour strawberry gummies suitable for dietary restrictions?
While these gummies are vegetarian and can be made vegan with vegan sugar, they are not suitable for low-sugar diets due to the significant amount of granulated sugar used. If you have sugar allergies, this recipe wouldn’t be ideal. Always consider alternative candy recipes for specific dietary needs if necessary!
How can I enhance the flavor of my gummies?
I often encourage experimenting with different fruits! You can try using raspberries or blueberries instead of strawberries. Just be mindful to adjust the pectin content accordingly, as different fruits have varying levels of natural pectin, which affects the gummy texture. For an extra kick, mix in some natural extracts like vanilla or lemon during the cooking process!
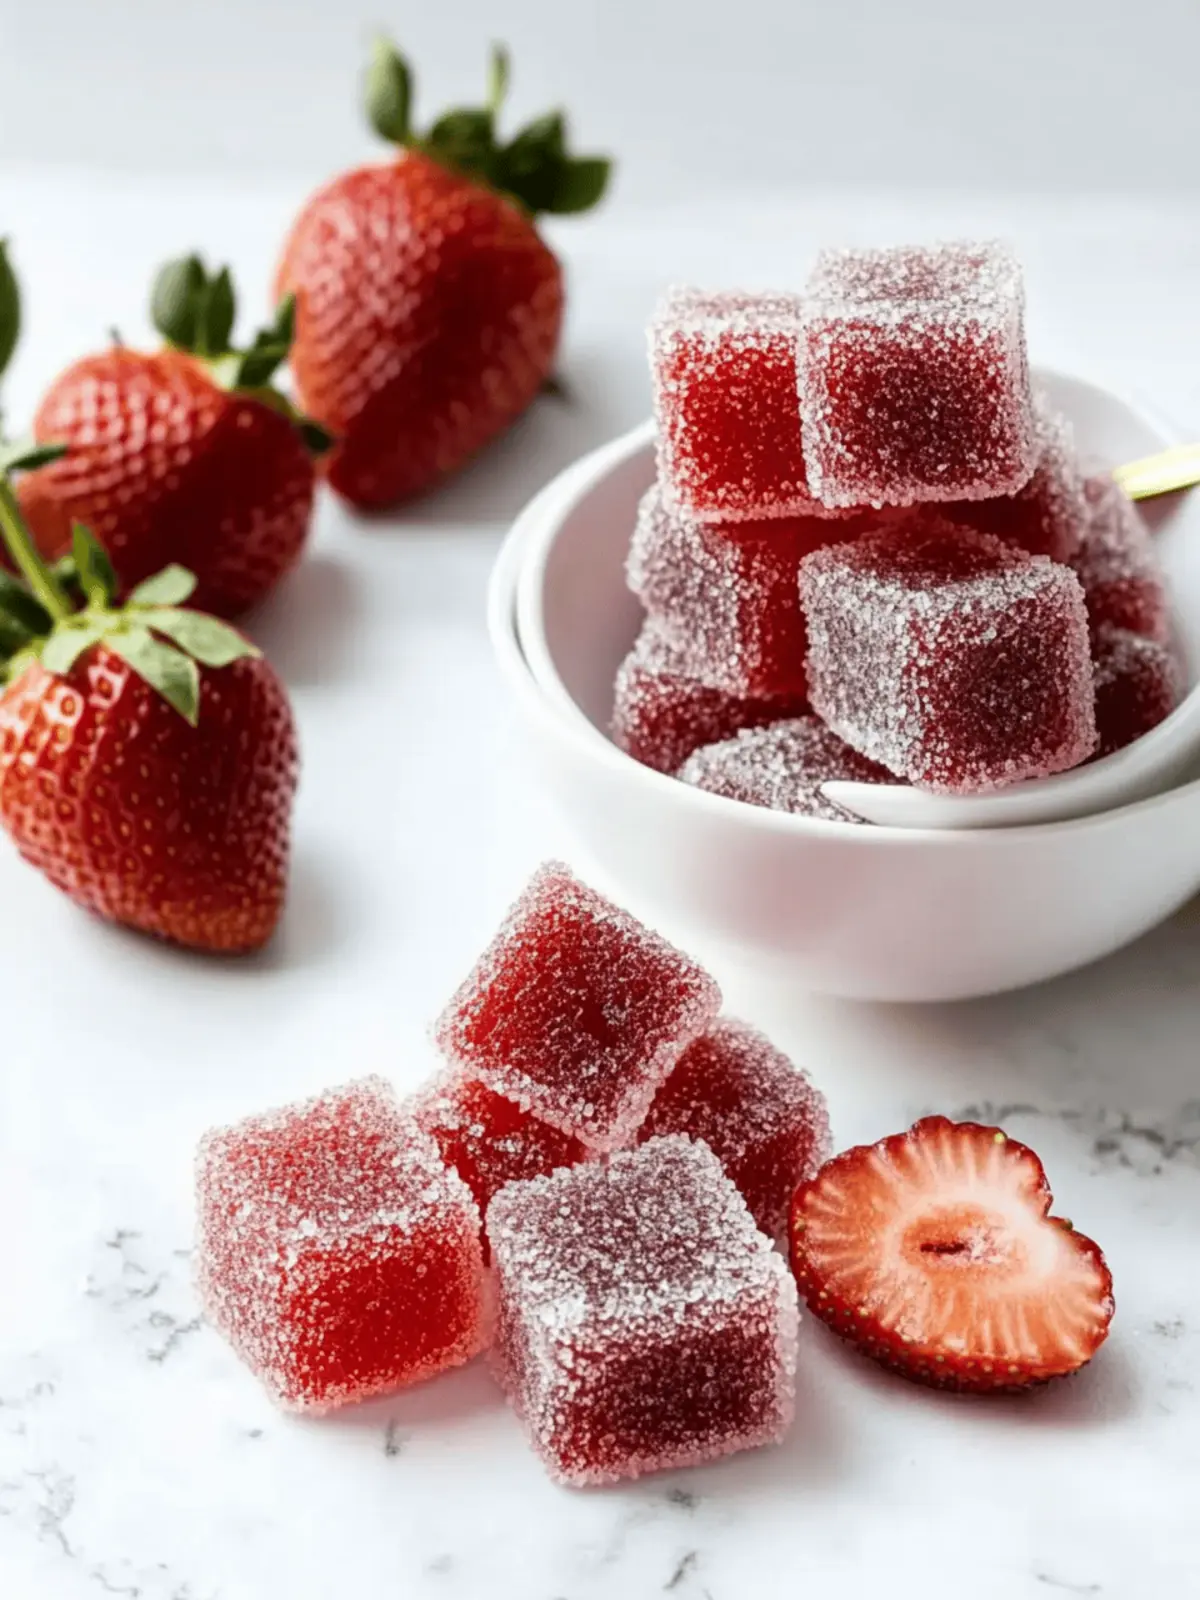
Homemade Sour Strawberry Gummies That Wow Your Taste Buds
Ingredients
Equipment
Method
- Prepare Molds: Set up your silicone molds or line a baking pan with parchment paper on a heat-proof surface.
- Combine Mixtures: In a saucepan, mix the strawberry puree, granulated sugar, and corn syrup together. Bring to a boil, stirring gently.
- Pectin Mixture: In a separate pan, whisk together the fruit pectin, baking soda, and filtered water. Bring this mixture to a simmer.
- Combine & Cook: Pour the pectin mixture into the boiling strawberry mixture, stirring continuously until it reaches 230°F.
- Add Citric Acid: Stir in the dissolved citric acid once the ideal temperature is reached and pour into molds.
- Cool: Let the gummies set at room temperature for at least 2 hours or overnight for firmer texture.
- Coat: Roll the gummies in granulated sugar and citric acid mixture until fully coated.

