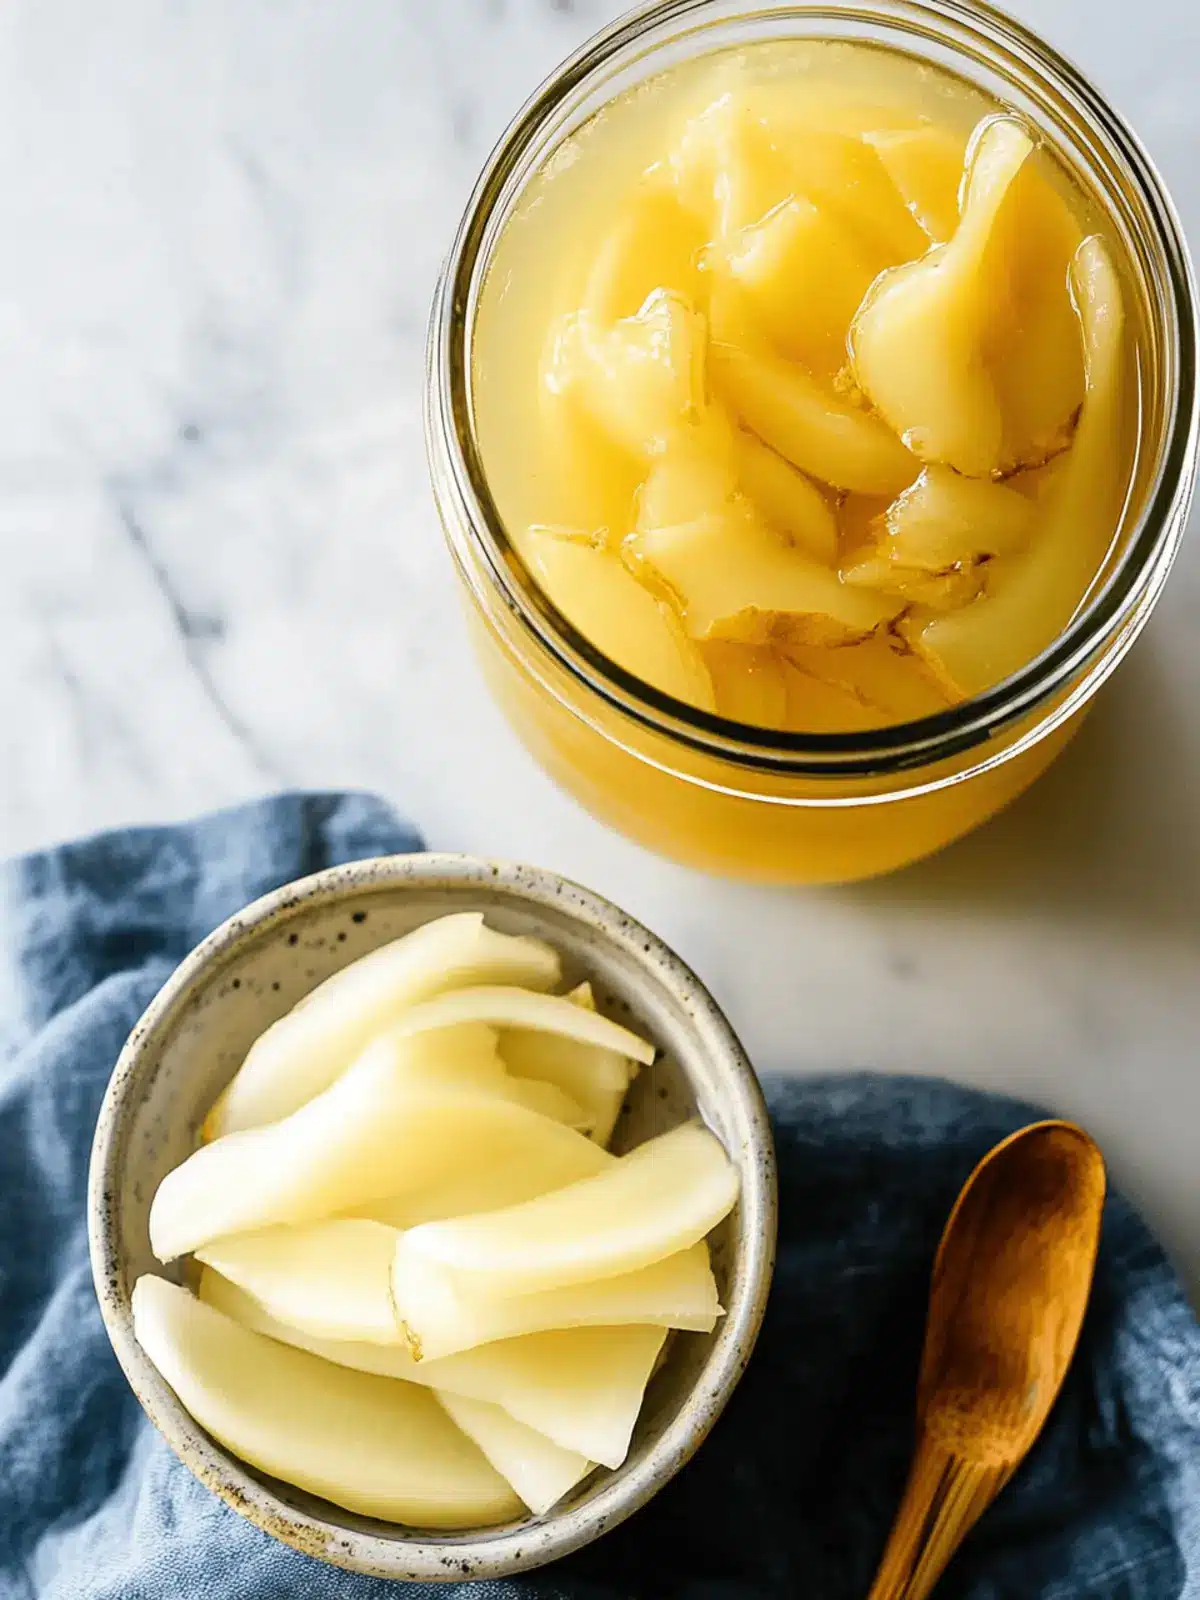
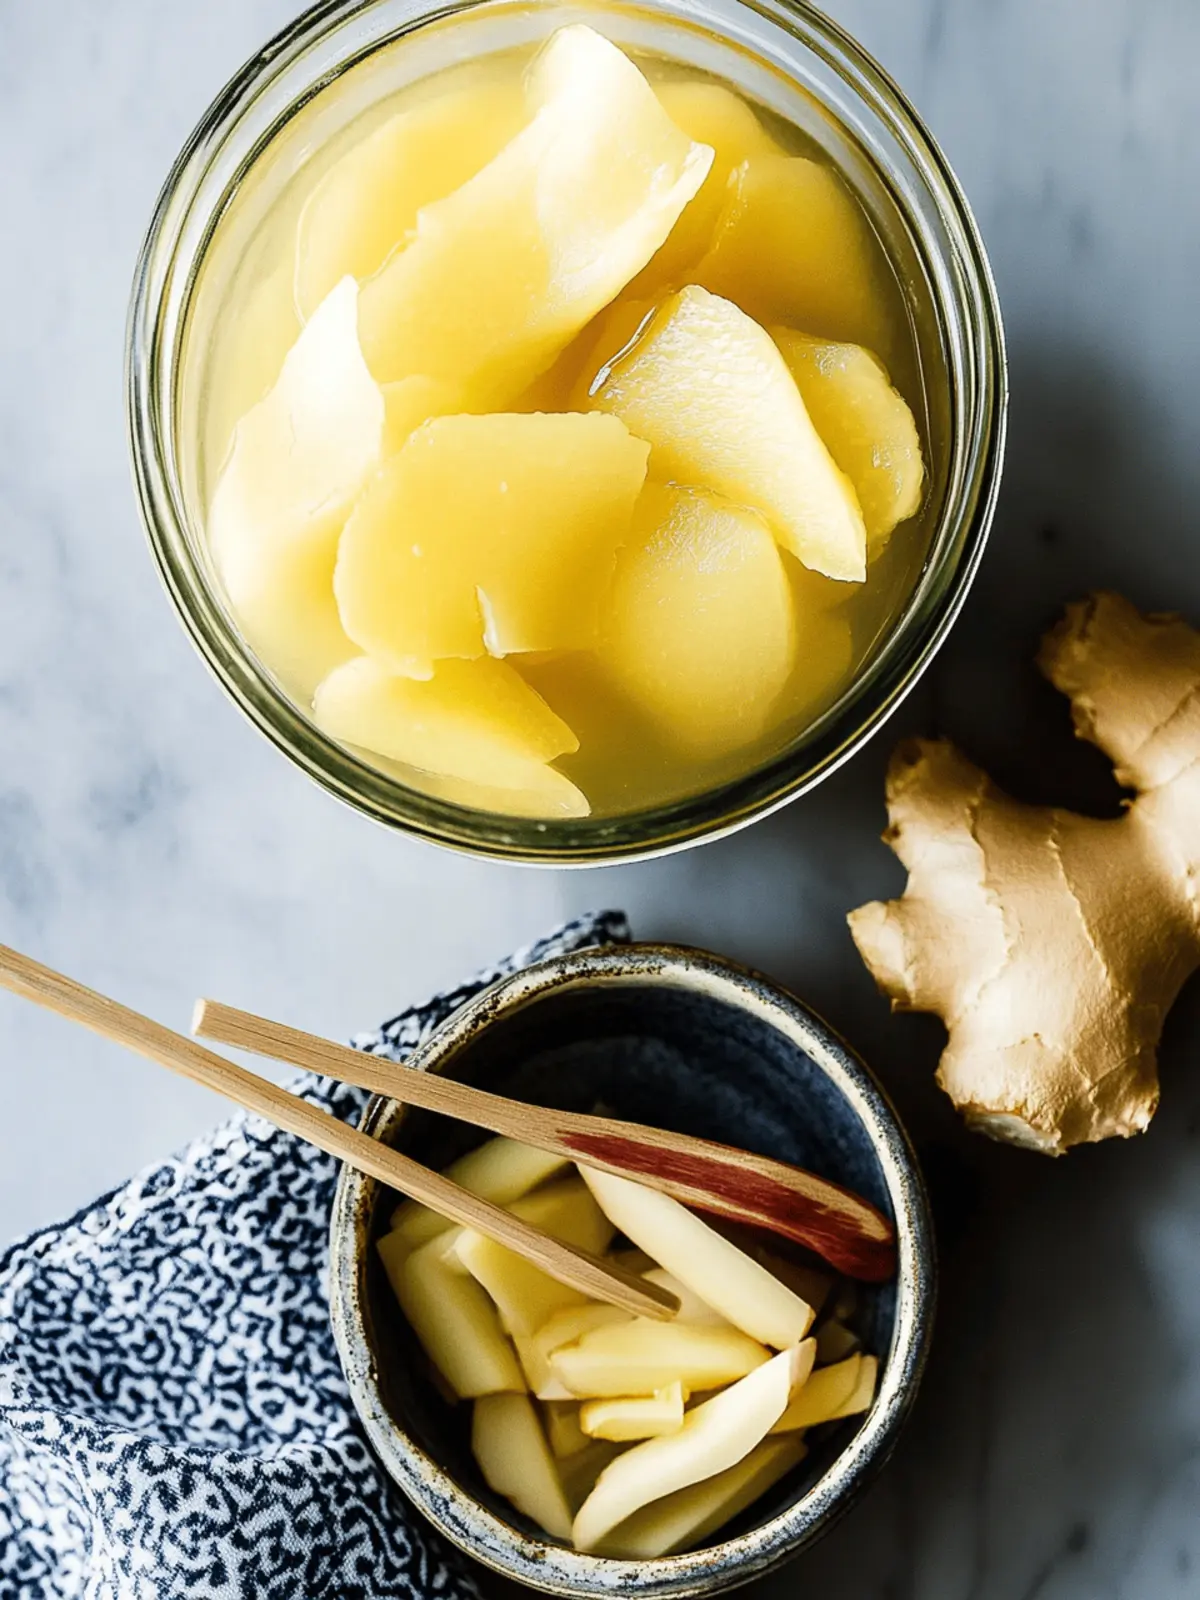
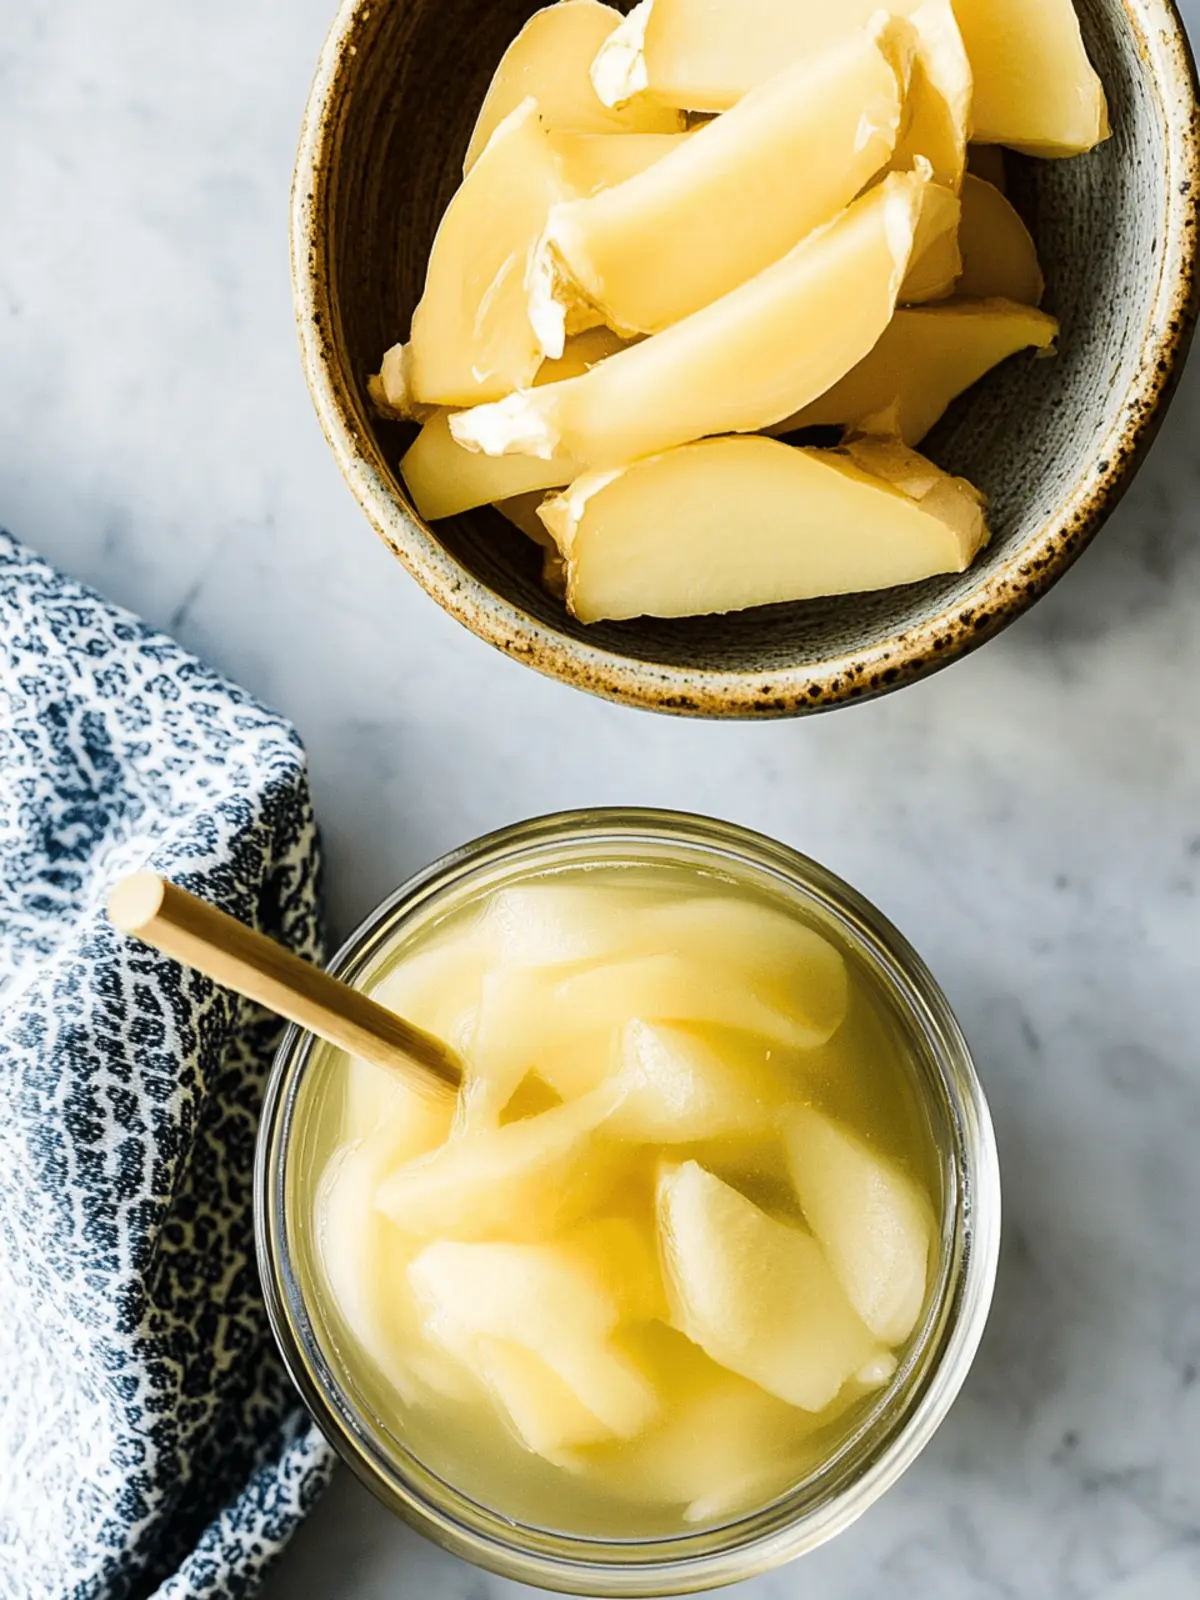
There’s something about the crispness of fresh ginger that instantly brightens up a dish. I remember the first time I stumbled upon quick pickled ginger at a local sushi restaurant, the tangy-sweet bite instantly captivated my taste buds and transformed the way I enjoyed my meals. This recipe is my go-to for creating that same vibrant flavor right at home, and the best part? It takes minimal effort!
Imagine finding a versatile condiment that pairs beautifully with everything from sushi and salads to roasted veggies and sandwiches. This Quick Pickled Ginger not only enhances your dishes but also adds a delightful zing that keeps your meals exciting. With just a few ingredients and a little patience, you can elevate your culinary repertoire and say goodbye to bland fast food forever. Let’s dive into this easy, aromatic journey that will make your taste buds dance!
Why is Quick Pickled Ginger a Must-Try?
Brighten your meals: This Quick Pickled Ginger adds a zesty kick that elevates any dish.
Quick and easy: With minimal preparation, you’ll have a vibrant condiment ready to impress your family and friends.
Versatile pairing: From sushi rolls to salads, it complements a variety of flavors, turning ordinary meals into extraordinary ones.
Healthy option: Low in calories but high in flavor, this recipe is a guilt-free way to enhance your cooking.
Make-ahead magic: Prepare it in advance; it keeps well in the fridge, making every meal feel fresh and exciting!
Quick Pickled Ginger Ingredients
• Create your homemade flavor magic!
For the Pickling Brine
- Rice vinegar – gives a tangy depth perfect for balancing the ginger’s spice.
- Boiling hot water – helps dissolve the honey or maple syrup, creating a smooth brine.
- Honey or maple syrup – adds a touch of sweetness to complement the ginger’s heat.
- Kosher salt – enhances the overall flavor and aids in preservation.
For the Ginger
- Young ginger – preferred for its tender texture and milder flavor, making it ideal for pickling.
- Additional water – optional, to adjust the brine concentration if desired.
How to Make Quick Pickled Ginger
-
Peel the ginger using a vegetable peeler or mandoline, ensuring you remove the skin gently to preserve the tender flesh. Once peeled, get ready to slice it thinly for that perfect crunch!
-
Slice the ginger into thin pieces, ideally about 1/8 inch thick. This allows the pickling brine to penetrate beautifully, creating a harmonious balance of flavors.
-
Combine the sliced ginger with the vinegar, boiling hot water, honey, and kosher salt in a glass storage container. Stir gently until the honey dissolves and everything melds for that scrumptious pickling brine.
-
Seal the jar with a lid and let it sit at room temperature for 1 hour. This step allows the ginger to infuse with the flavors, enhancing its tangy character before being chilled.
-
Refrigerate the mixture for at least 4 hours before enjoying. The longer you wait, the more intense the flavor becomes, creating a delightful condiment that’s sure to impress!
Optional: Serve it as a garnish for sushi or add it to your next salad for an extra zing.
Exact quantities are listed in the recipe card below.
What to Serve with Quick Pickled Ginger?
Transform your meals into a vibrant culinary experience with delightful accompaniments that balance and enhance flavors.
- Sushi Rolls: Perfect for pairing with sushi, the quick pickled ginger cuts through the richness of the fish and adds a refreshing bite.
- Rice Bowls: Add a zesty splash to any rice bowl, brightening up the dish with contrasting flavors and textures.
- Grilled Vegetables: This pickled ginger can elevate grilled veggies, adding a tangy zing that harmonizes with smokiness.
- Salads: Toss it into salads for a delightful crunch and a sharp flavor that complements greens and proteins beautifully.
- Tacos: Use as a light condiment in tacos to balance flavors, especially with spicy meats or roasted veggies.
- Charcuterie Boards: Layer it on cheese and meats for an unexpected burst of flavor that guests will love.
- Sautéed Greens: Mix into sautéed greens for an added layer of complexity, highlighting the earthiness of the vegetables.
- Dessert: Try it atop vanilla ice cream or as a garnish for fruit salads; the spiciness contrasts the sweetness wonderfully.
- Miso Soup: Garnish your miso soup with a few slices for a flavor twist that enhances the umami base.
Make Ahead Options
These Quick Pickled Ginger are perfect for busy home cooks looking to streamline meal prep! You can easily prepare the ginger up to 24 hours in advance, allowing the flavors to meld beautifully. To do this, simply peel and slice the ginger, then combine it with the pickling brine in a glass container, as outlined in the recipe. After sealing the jar, let it sit at room temperature for 1 hour before refrigerating for at least 4 hours. For optimal quality, keep them stored in the fridge where they can last for up to 3 weeks. When you’re ready to serve, just give it a gentle stir to refresh the flavors, and enjoy that vibrant zing in your dishes with no fuss!
Quick Pickled Ginger Variations
Feel free to get creative and make this recipe your own with these delightful twists!
-
Spicy Kick: Add 1-2 teaspoons of red pepper flakes to the brine for a fiery touch that amplifies the flavor.
-
Garlic Infusion: Incorporate 1-2 smashed cloves of garlic into the brine for a savory depth that enhances the ginger’s zing.
-
Herbaceous Boost: Toss in a few sprigs of fresh herbs like dill or cilantro for a refreshing twist that brightens every bite.
-
Citrus Zing: Add the zest of a lemon or lime to the brine; this brightens the flavor, bringing a sunny note to your pickled ginger.
-
Sweet & Sour: Swap honey for a tart fruit puree, like apricot or raspberry, to create a vibrantly sweet and tangy condiment.
-
Sesame Flavor: Drizzle in 1 teaspoon of toasted sesame oil for a nutty, fragrant addition that pairs beautifully with Asian dishes.
-
Pickled Variety: Use daikon radish strips instead of ginger for a wonderful crunch and distinct flavor, giving a whole new take to pickling.
-
Flavor Depth: Experiment with different vinegars like apple cider or white wine vinegar for unique flavor profiles that can transform your dish entirely.
Expert Tips for Quick Pickled Ginger
-
Select Young Ginger: Choose young ginger for a tender texture and fresher flavor. Older ginger can be fibrous and tough to slice.
-
Slice Thinly: Aim for thin slices (about 1/8 inch) to ensure even pickling. Thick slices may remain too spicy or crunchy.
-
Dissolve Honey Well: Stir vigorously to fully dissolve honey or maple syrup in the brine. If it’s not mixed well, the sweetness can clump.
-
Infuse Flavor Longer: Although 4 hours is the minimum, letting it chill overnight intensifies the flavors of your Quick Pickled Ginger.
-
Store Properly: Make sure to keep the ginger submerged in the brine while storing. This helps maintain its vibrant flavor and prevents spoilage.
Storage Tips for Quick Pickled Ginger
Fridge: Store your Quick Pickled Ginger in a tightly sealed glass container for up to 2 weeks. This ensures that it stays fresh and flavorful for all your culinary adventures.
Freezer: While it’s best enjoyed fresh, you can freeze the ginger for up to 3 months. Just make sure to seal it in airtight bags, separating slices with parchment paper to avoid sticking.
Serving: Before serving chilled ginger from the fridge, give it a gentle stir to redistribute the brine for optimum flavor. Enjoy it straight from the jar or as a garnish on your meals!
Quick Pickled Ginger Recipe FAQs
How do I select the best ginger for this recipe?
Absolutely! For the best results, look for young ginger. It’s recognizable by its smooth skin and plump form, which ensures a tender texture and milder flavor. Avoid ginger with dark spots or wrinkled skin, as these indicate age and potential fibrousness.
How should I store Quick Pickled Ginger?
Very simple! Once made, keep your Quick Pickled Ginger in a tightly sealed glass container in the refrigerator. It can last up to 2 weeks, maintaining its delicious flavor and crispness. Just remember to keep it submerged in the brine for optimal freshness.
Can I freeze Quick Pickled Ginger?
Yes, you can! While not ideal for all pickled items, to freeze it effectively, first slice the ginger and layer pieces with parchment paper in an airtight freezer bag. This way, they won’t stick together. You can freeze it for up to 3 months. When ready to use, thaw it in the fridge overnight!
What if my pickling brine doesn’t taste balanced?
If you find that the brine is too tangy or too sweet, adjust it by adding more honey or vinegar to taste. You can also sprinkle in a bit more salt if needed. Remember, it’s about balancing flavors to suit your preferences; don’t hesitate to experiment!
Are there any dietary considerations for serving Quick Pickled Ginger?
Absolutely! This recipe is naturally gluten-free and vegan, making it suitable for a variety of dietary preferences. However, if you have allergies, ensure that your brand of rice vinegar and any sweeteners used are allergy-friendly.
How can I serve Quick Pickled Ginger in dishes?
There are so many wonderful ways! Use it as a garnish for sushi, mix it into salads for a fresh kick, or serve it alongside roasted vegetables. The more the merrier—don’t be afraid to get creative and enhance your meals with its vibrant zing!
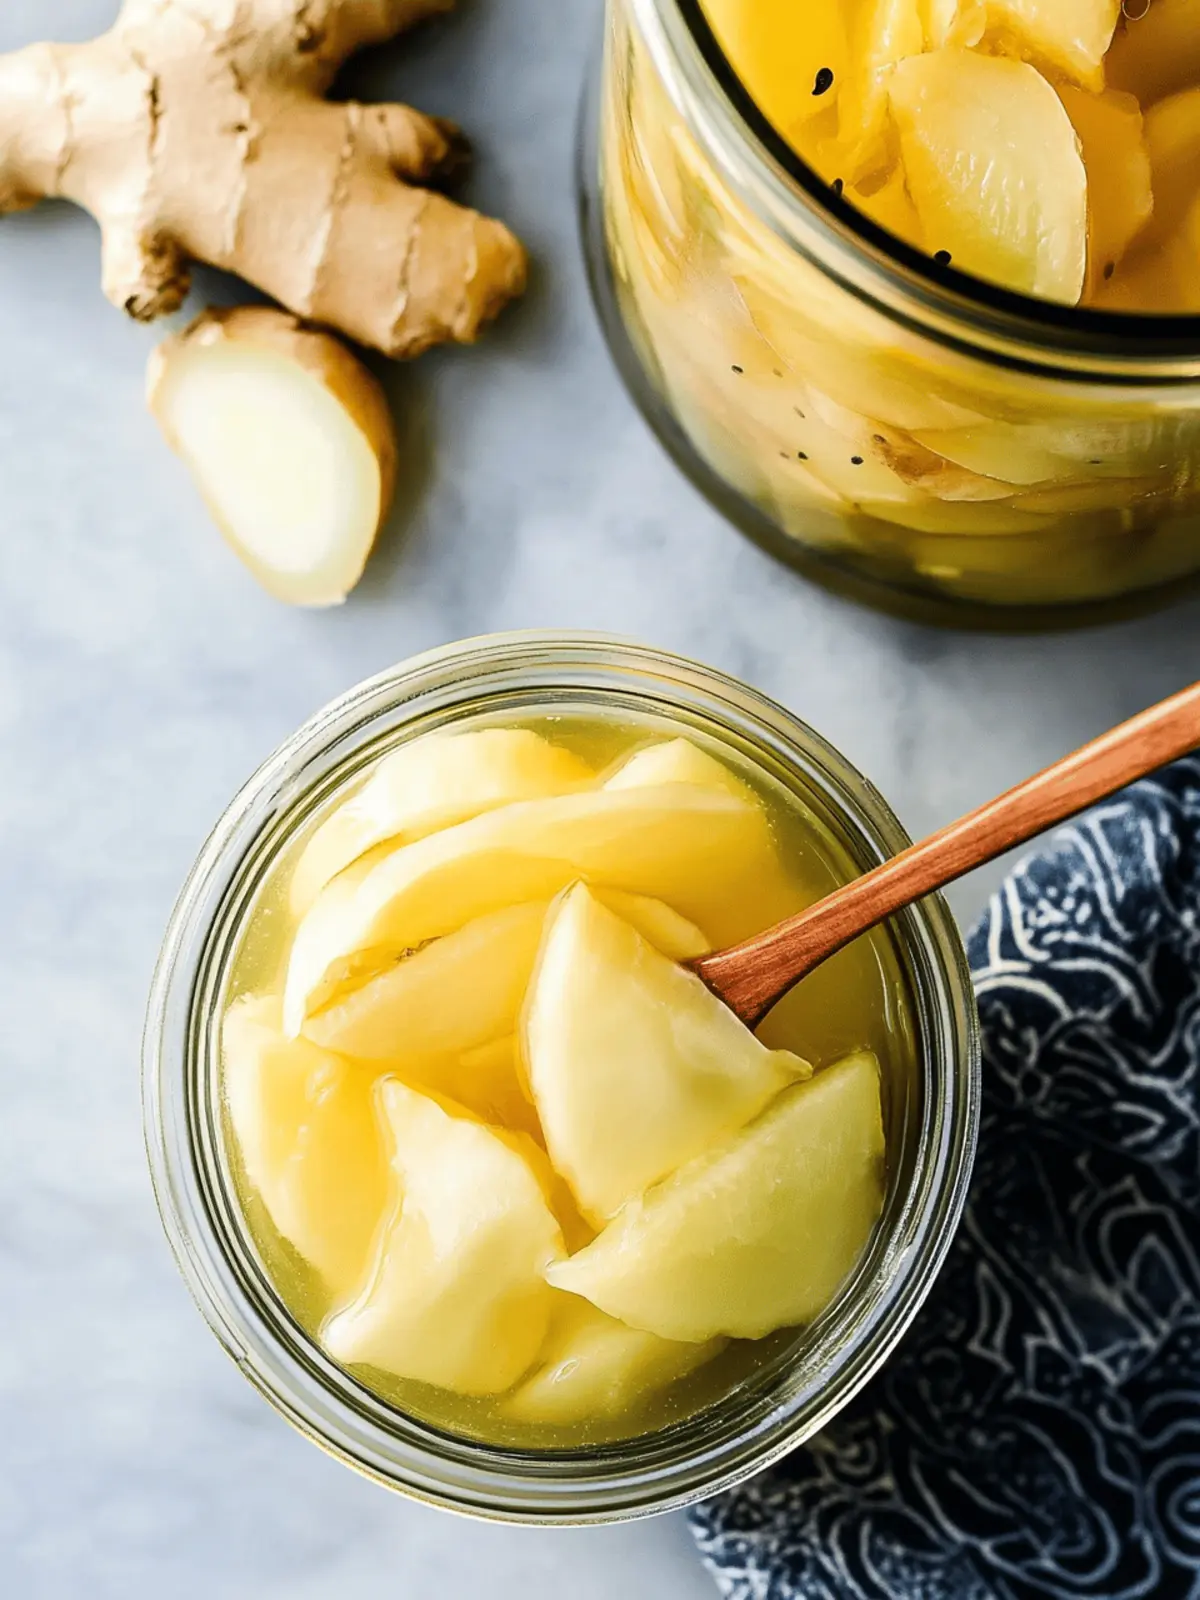
Quick Pickled Ginger for an Instant Flavor Boost at Home
Ingredients
Equipment
Method
- Peel the ginger using a vegetable peeler or mandoline, ensuring you remove the skin gently to preserve the tender flesh.
- Slice the ginger into thin pieces, ideally about 1/8 inch thick.
- Combine the sliced ginger with the vinegar, boiling hot water, honey, and kosher salt in a glass storage container. Stir gently until the honey dissolves.
- Seal the jar with a lid and let it sit at room temperature for 1 hour.
- Refrigerate the mixture for at least 4 hours before enjoying.

