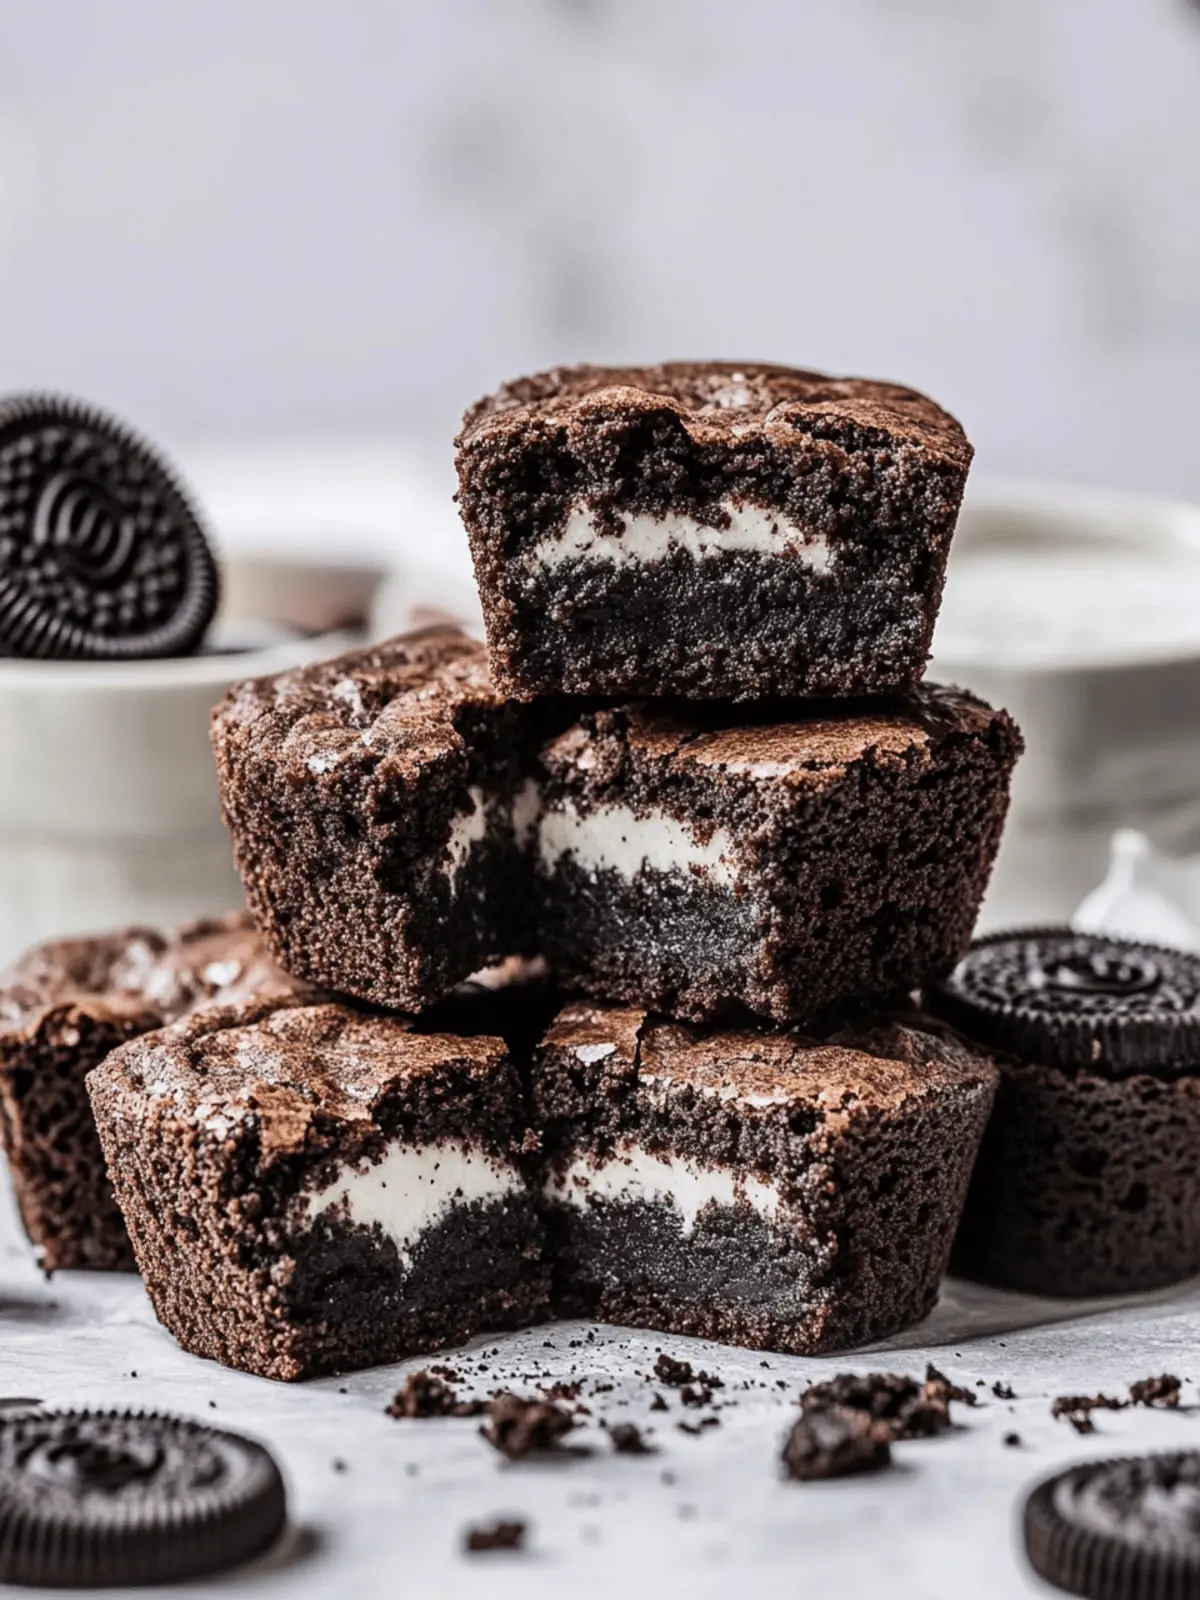
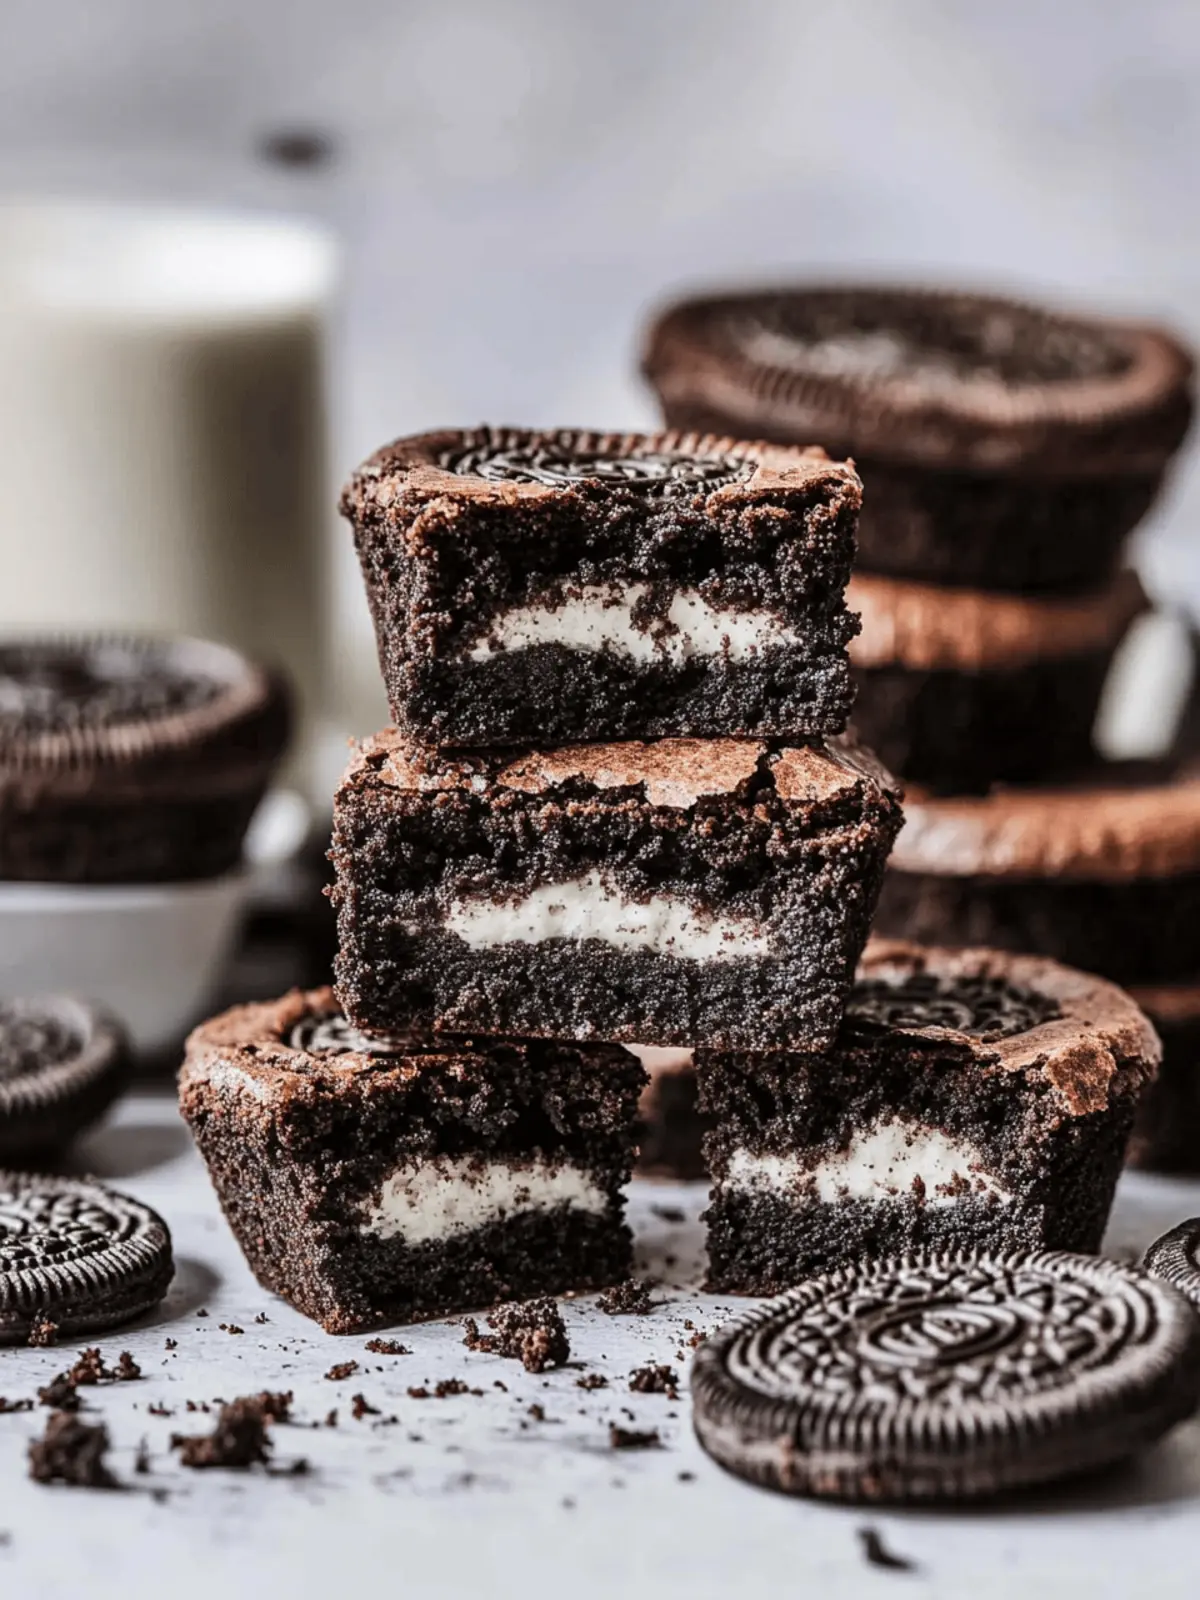
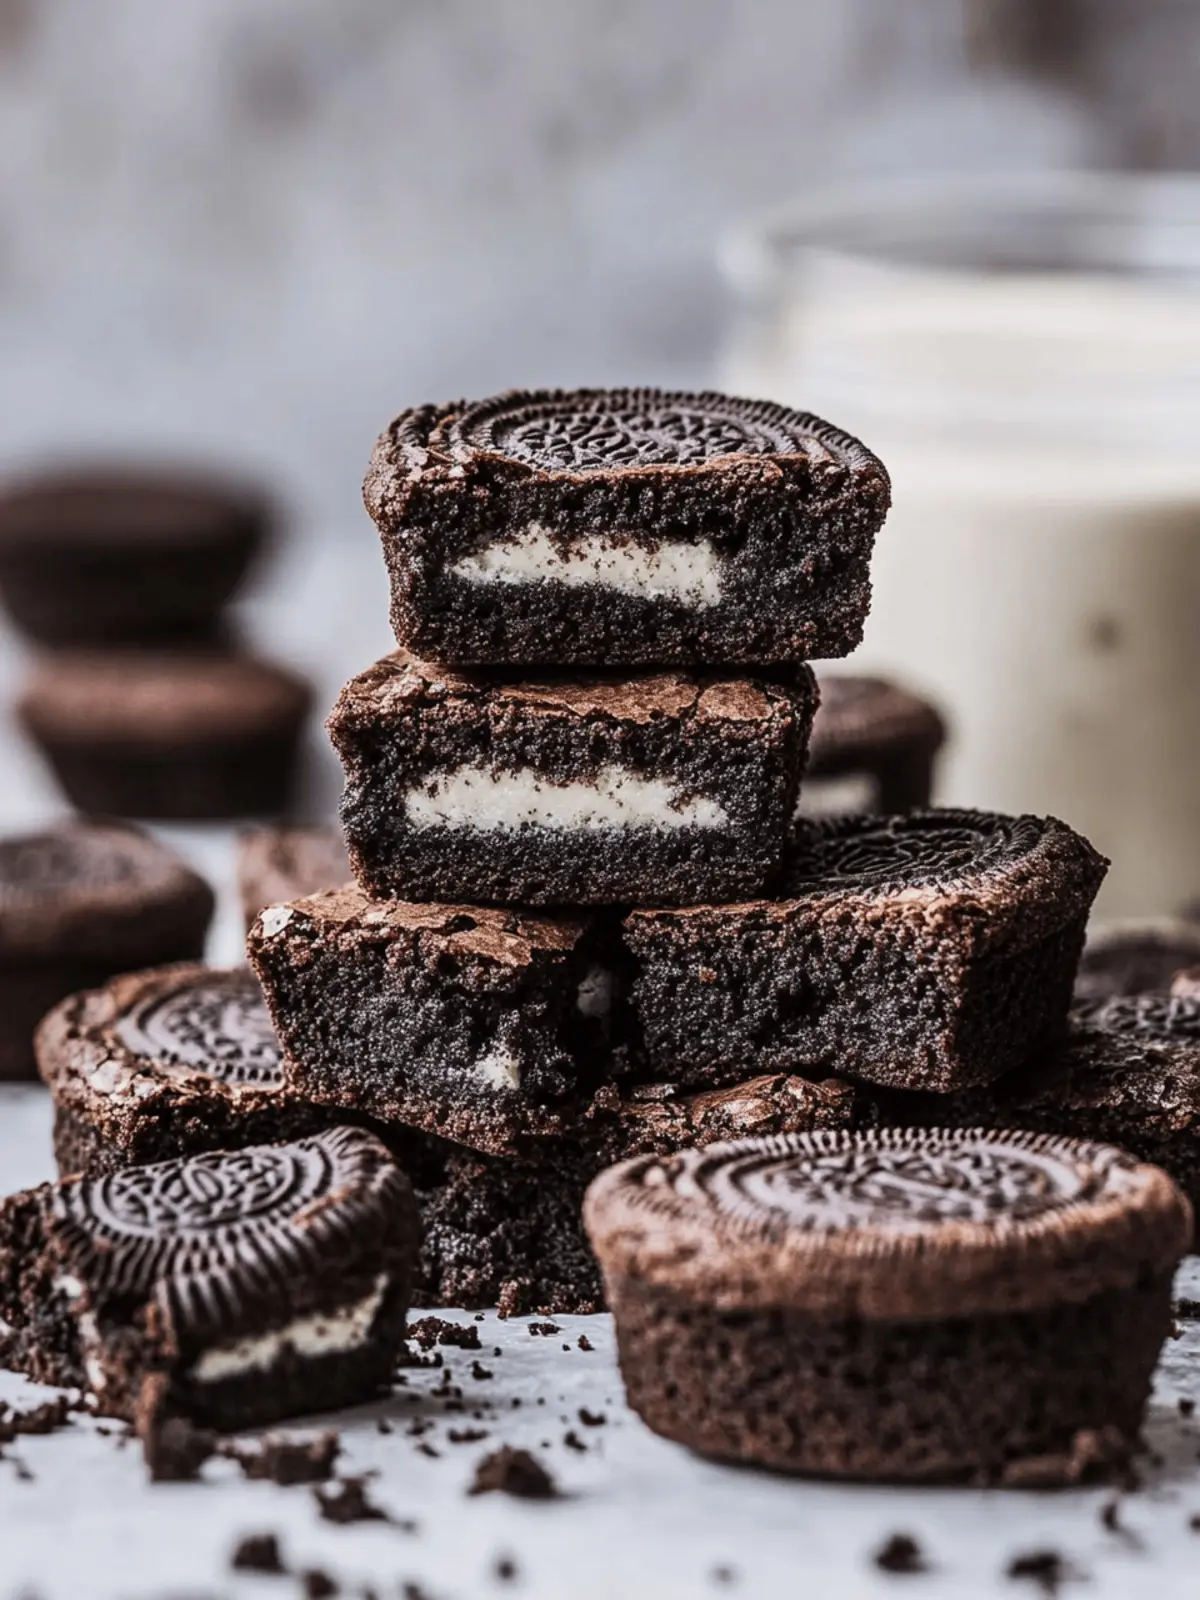
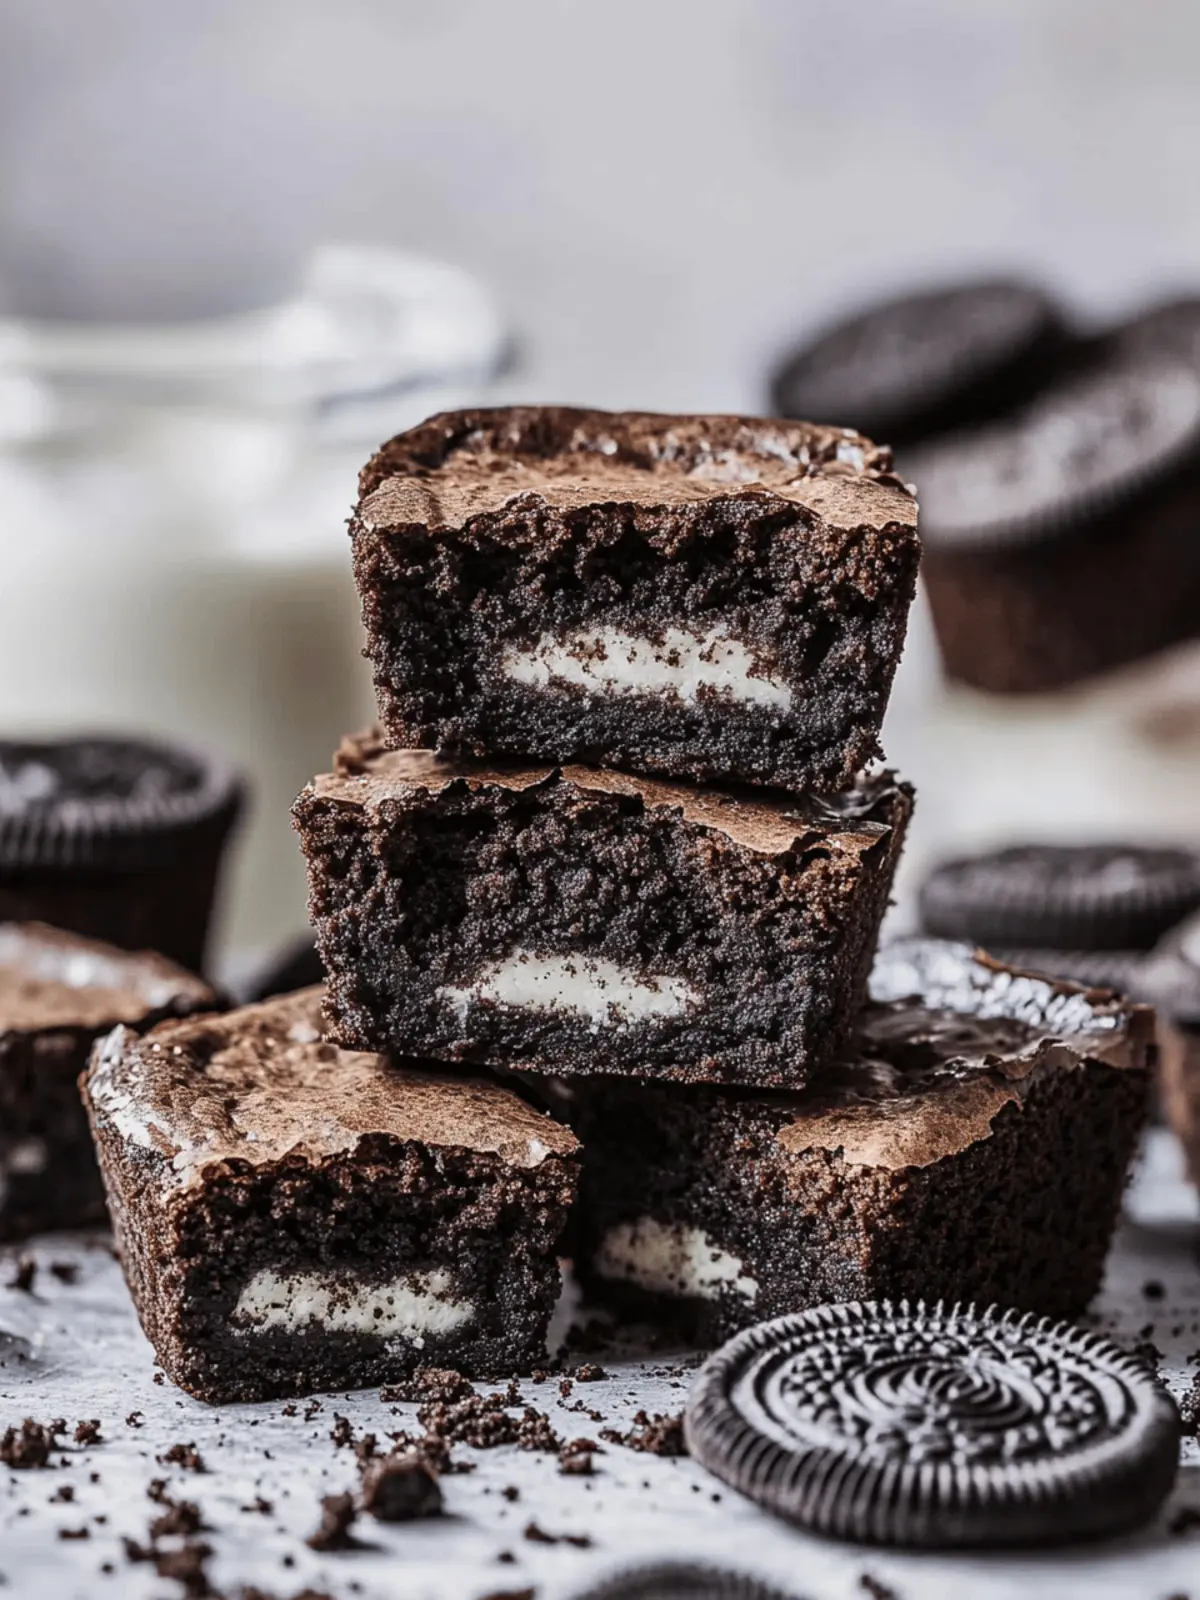
There’s something truly special about the combination of chocolate and cream, and when it comes to indulgent desserts, Oreo Stuffed Brownies take the cake—or should I say, the brownie! Picture this: the rich aroma of baked chocolate wafting through your kitchen, paired with the irresistible crunch of Oreo cookies peeking through the fudgy layers. This delightful treat is perfect for those evenings when a fast-food restaurant just won’t do and homemade comfort food calls your name.
I was on a quest for a sweet fix, craving the deep flavor of chocolate but wanting to elevate it to something a little more decadent. That’s when I stumbled upon the idea of layering chocolate brownies around those classic Oreo cookies. The easy preparation makes these brownies not only an ideal choice for dessert but a fun project to share with loved ones. Get ready to transform ordinary brownie batter into an extraordinary masterpiece that will make every bite melt in your mouth. Let’s dive into this deliciously gooey adventure!
Why choose Oreo Stuffed Brownies over others?
Decadence at its Peak: These brownies elevate every chocolate lover’s dream with rich, gooey textures combined with crunchy Oreos.
Quick & Easy: The simple preparation makes these brownies a delightful weekend project or a last-minute dessert solution.
Crowd-Pleaser: Perfect for gatherings, they’re sure to satisfy both young and old alike. Imagine the smiles as they bite into this delicious dessert!
Versatile Options: Swap in dairy-free butter for a treat suitable for everyone—it’s that accommodating!
Incredibly Satisfying: Every bite is packed with layers of chocolate and cream, making them irresistibly indulgent. Don’t forget to check out our serving suggestions for the ultimate experience!
Oreo Stuffed Brownies Ingredients
• Get ready to gather your essentials for these mouthwatering treats!
For the Brownie Batter
- Unsalted Butter – Provides moisture and richness; for dairy-free, swap with a dairy-free spread.
- Soft Light Brown Sugar – Adds sweetness and depth of flavor; no substitutions recommended unless adjusting sweetness levels.
- Caster Sugar – Enhances sweetness and contributes to the chewy texture; can substitute with granulated sugar if needed.
- Large Eggs – Bind the ingredients and add moisture; ensure they’re at room temperature for the best results.
- Self-Raising Flour – Creates structure and provides lift; can swap with a gluten-free blend, but the brownies won’t remain Oreo stuffed.
- Cocoa Powder – Intensifies chocolate flavor and adds fudginess; no specific substitutes, but Dutch-processed may alter the taste.
For the Oreo Layer
- Oreo Biscuits – The star ingredient! Adds flavor, texture, and a delightful crunch; no substitutes can replicate this.
Dive into making these Oreo stuffed brownies, and experience a dessert that’s sure to impress!
How to Make Oreo Stuffed Brownies
-
Preheat oven: Begin by preheating your oven to 170°C (340°F). Line an 8-inch square baking tin with parchment paper to prevent sticking and ensure easy removal later.
-
Melt butter: In a large mixing bowl, melt the unsalted butter until it’s fully liquid, then whisk in both the soft light brown sugar and caster sugar until the mixture is smooth and well combined.
-
Incorporate eggs: Crack in the large eggs one at a time, mixing thoroughly after each addition. This helps create a rich batter, so take your time to mix well!
-
Combine dry ingredients: Sift the self-raising flour and cocoa powder directly into the wet mixture. Gently stir until just combined; be careful not to overmix, as this could make the brownies tough.
-
Layer with batter: Pour half of your luscious brownie batter into the prepared tin, spreading it evenly. Then, lay down 16 Oreo biscuits on top, pressing them in slightly for an added treat.
-
Finish layering: Carefully pour the remaining brownie batter over the Oreos, ensuring they’re completely covered. For extra yumminess, break and scatter any remaining Oreos on top before baking.
-
Bake and cool: Pop the tin into your preheated oven and bake for 25-35 minutes. To check for doneness, insert a toothpick—it should come out with a few moist crumbs. Allow the brownies to cool completely in the tin before slicing.
Optional: Serve warm with a scoop of vanilla ice cream for an extra indulgent touch!
Exact quantities are listed in the recipe card below.
Expert Tips for Oreo Stuffed Brownies
-
Use Quality Ingredients: Opt for high-quality cocoa powder and fresh eggs; this elevates your Oreo stuffed brownies and ensures rich flavor.
-
Proper Storage: Keep your brownies in an airtight container at room temperature for up to two days. For longer freshness, freeze individual pieces.
-
Cool Completely: Allow the brownies to cool fully in the tin before cutting. This prevents them from crumbling and helps achieve clean, beautiful slices.
-
Even Baking: Avoid using glass or silicone pans; they can lead to uneven baking. Stick with metal pans for the best results.
-
Customize Toppings: Feel free to get creative! Try adding nuts or different cookie varieties along with your Oreos for a unique twist.
Make Ahead Options
These Oreo Stuffed Brownies are perfect for busy home cooks looking to save time during the week! You can prepare the brownie batter up to 24 hours ahead; simply store it in an airtight container in the refrigerator to maintain freshness. Additionally, you can layer the Oreos within the batter at this stage, ensuring they stay perfectly crunchy when baked. When you’re ready to indulge, simply pour the mixture into your prepared baking tin and bake. If you prefer, bake the brownies first and refrigerate them for up to 3 days in an airtight container. Reheat in the microwave for a few seconds before serving to enjoy them warm, making these brownies just as delicious as the day they were made!
How to Store and Freeze Oreo Stuffed Brownies
Room Temperature: Store brownies in an airtight container at room temperature for up to 2 days to keep them moist and flavorful.
Fridge: If you prefer a cooler treat, you can refrigerate them for up to 4 days, but be sure to wrap tightly to avoid drying out.
Freezer: Freeze individual brownie pieces in an airtight container or zip-top bag for up to 3 months. Thaw at room temperature or microwave briefly for a warm treat.
Reheating: For that fresh-out-of-the-oven taste, reheat brownies in the microwave for about 10-15 seconds, just until warmed through; enjoy those layers of chocolatey goodness!
What to Serve with Oreo Stuffed Brownies?
Indulging in these delightful creations opens up a world of delicious possibilities for a well-rounded meal or sweet finale.
-
Vanilla Ice Cream: The classic pairing! A scoop of creamy vanilla ice cream perfectly balances the rich chocolate and Oreo flavors.
-
Chocolate Sauce: Drizzle a generous layer of warm chocolate sauce over each brownie for an extra chocolatey indulgence.
-
Fresh Berries: Light, juicy strawberries or raspberries add a refreshing touch, cutting through the brownie’s richness beautifully. Their tartness complements the sweetness, creating a delightful contrast.
-
Coffee or Espresso: A hot cup of coffee or a shot of espresso pairs wonderfully, enhancing the chocolate notes in the brownies and perfect for a cozy dessert experience.
-
Whipped Cream: Lightly sweetened whipped cream adds a fluffy texture and a cloud of creaminess, making each bite even more decadent.
-
Nuts: Chopped walnuts or pecans sprinkled on top introduce a pleasant crunch while complementing the brownie’s fudgy texture. Consider toasting them for a more intense flavor.
-
Mint Cookies: For a fresh twist, serve with mint-flavored cookies alongside the brownies for a complementary mint-chocolate experience.
These pairings are sure to elevate your dessert experience, making your Oreo stuffed brownies the star of the show!
Oreo Stuffed Brownies Variations
Get ready to customize your delicious brownies with these enticing twists that will elevate your treat even further!
- Dairy-Free: Replace unsalted butter with a dairy-free spread for a delightful alternative that everyone can enjoy.
- Nutty Crunch: Add a handful of chopped walnuts or pecans for a crunchy texture that complements the creamy chocolate layers beautifully.
- Biscoff Bliss: Swap out Oreos for Biscoff cookies to introduce a delightful caramel flavor to your brownie creation.
- Minty Fresh: Mix in a few drops of peppermint extract for a refreshing mint-chocolate combination everyone will love.
- Double Chocolate: For an extra boost of cocoa flavor, swap half of the self-raising flour with an equal amount of cocoa powder.
- Spicy Kick: Sprinkle a pinch of cayenne pepper into the batter for an unexpected and delicious kick of heat.
- Coconut Dream: Stir in shredded coconut for a tropical twist that pairs perfectly with the chocolatey richness.
- Fruit Fusion: Add a handful of chocolate chips or chopped strawberries to the batter before baking for a delightful burst of fruity flavor.
Embrace your inner chef and let your creativity shine while making these Oreo stuffed brownies your own!
Oreo Stuffed Brownies Recipe FAQs
How do I choose the best Oreos for my brownies?
Absolutely! When selecting Oreos for your brownies, look for packs that don’t have any visible damage or stale cookies. The classic double-stuffed varieties work wonders as they deliver that extra creaminess. While you can experiment with different flavors like mint or peanut butter, sticking with the classic version usually yields the best results.
How should I store my Oreo stuffed brownies?
Very good question! To keep your brownies fresh, store them in an airtight container at room temperature for up to 2 days. If you prefer a colder treat or need to keep them longer, they can be stored in the refrigerator for up to 4 days, just ensure they’re well wrapped to prevent drying out.
Can I freeze Oreo stuffed brownies?
Absolutely! Freezing is a great option for these delightful treats. To freeze, cut them into individual portions and place them in an airtight container or zip-top bag. You can freeze them for up to 3 months. When you’re ready to enjoy, simply thaw at room temperature or microwave them briefly—about 10-15 seconds works wonders!
What if my brownies are too dry?
Don’t worry, it’s a common hiccup! If your brownies come out too dry, it may be due to overbaking. For future batches, check them a few minutes earlier; you want a toothpick to come out with a few moist crumbs, not completely clean. Another tip is to add a splash of milk or cream to your batter next time for added moisture. And remember, they’re best when left to cool completely in the tin.
Are there any dietary considerations for making these brownies?
Yes! For those with dairy sensitivities, you can easily make these brownies dairy-free by substituting the unsalted butter with a dairy-free spread. However, remember that Oreos do contain some dairy, so consider checking labels if strict dietary restrictions apply. Always be mindful of nut allergies as well if you’re adding toppings like nuts.
How long can I keep these brownies in the fridge or freezer?
Great question! In the fridge, your Oreo stuffed brownies will stay fresh for about 4 days if stored properly in an airtight container. If you freeze them, they can last up to 3 months. Just make sure to wrap them securely and label your containers so you can enjoy the sweetness at your convenience!

Oreo Stuffed Brownies: The Ultimate Chocolate Indulgence
Ingredients
Equipment
Method
- Preheat oven: Preheat your oven to 170°C (340°F). Line an 8-inch square baking tin with parchment paper.
- Melt butter: In a large mixing bowl, melt unsalted butter and whisk in both sugars until smooth.
- Incorporate eggs: Crack in the large eggs one at a time, mixing thoroughly after each addition.
- Combine dry ingredients: Sift the self-raising flour and cocoa powder into the wet mixture and stir until just combined.
- Layer with batter: Pour half of the brownie batter into the prepared tin, lay 16 Oreo biscuits on top, pressing them in slightly.
- Finish layering: Pour the remaining brownie batter over the Oreos, covering them completely.
- Bake and cool: Bake in the preheated oven for 25-35 minutes. Cool completely in the tin before slicing.


