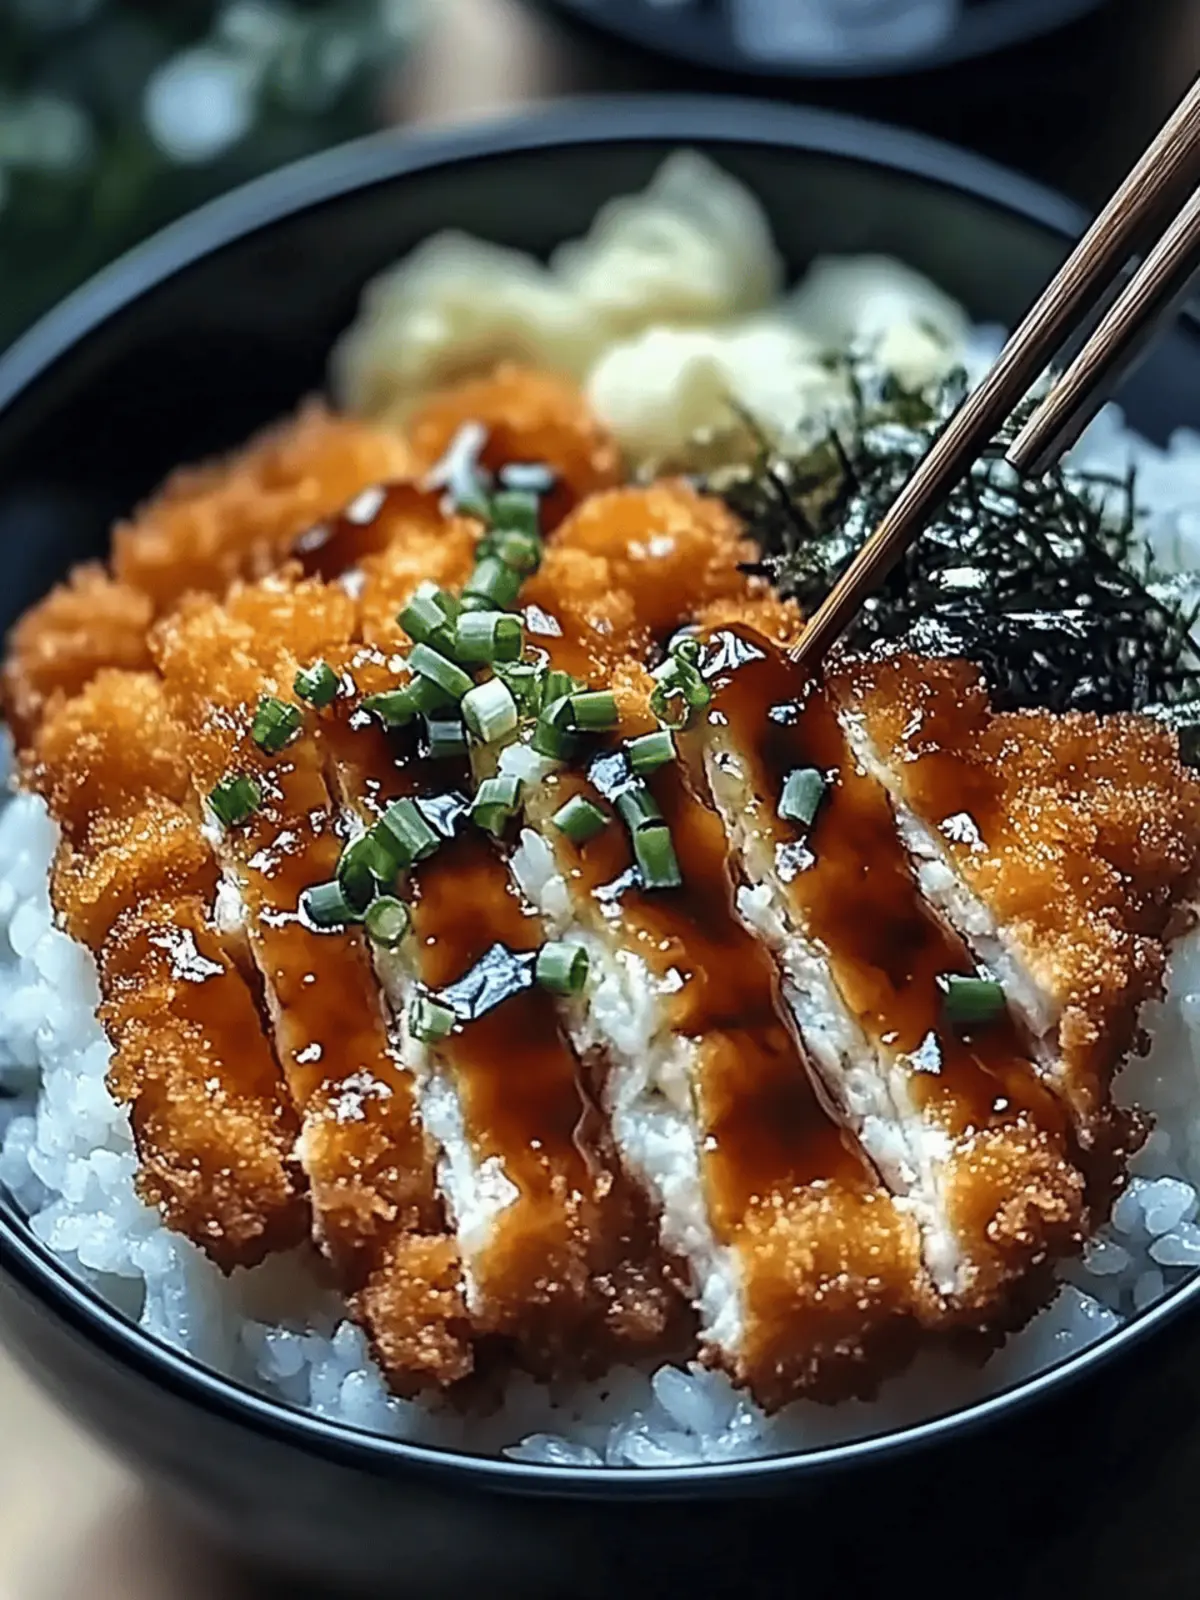
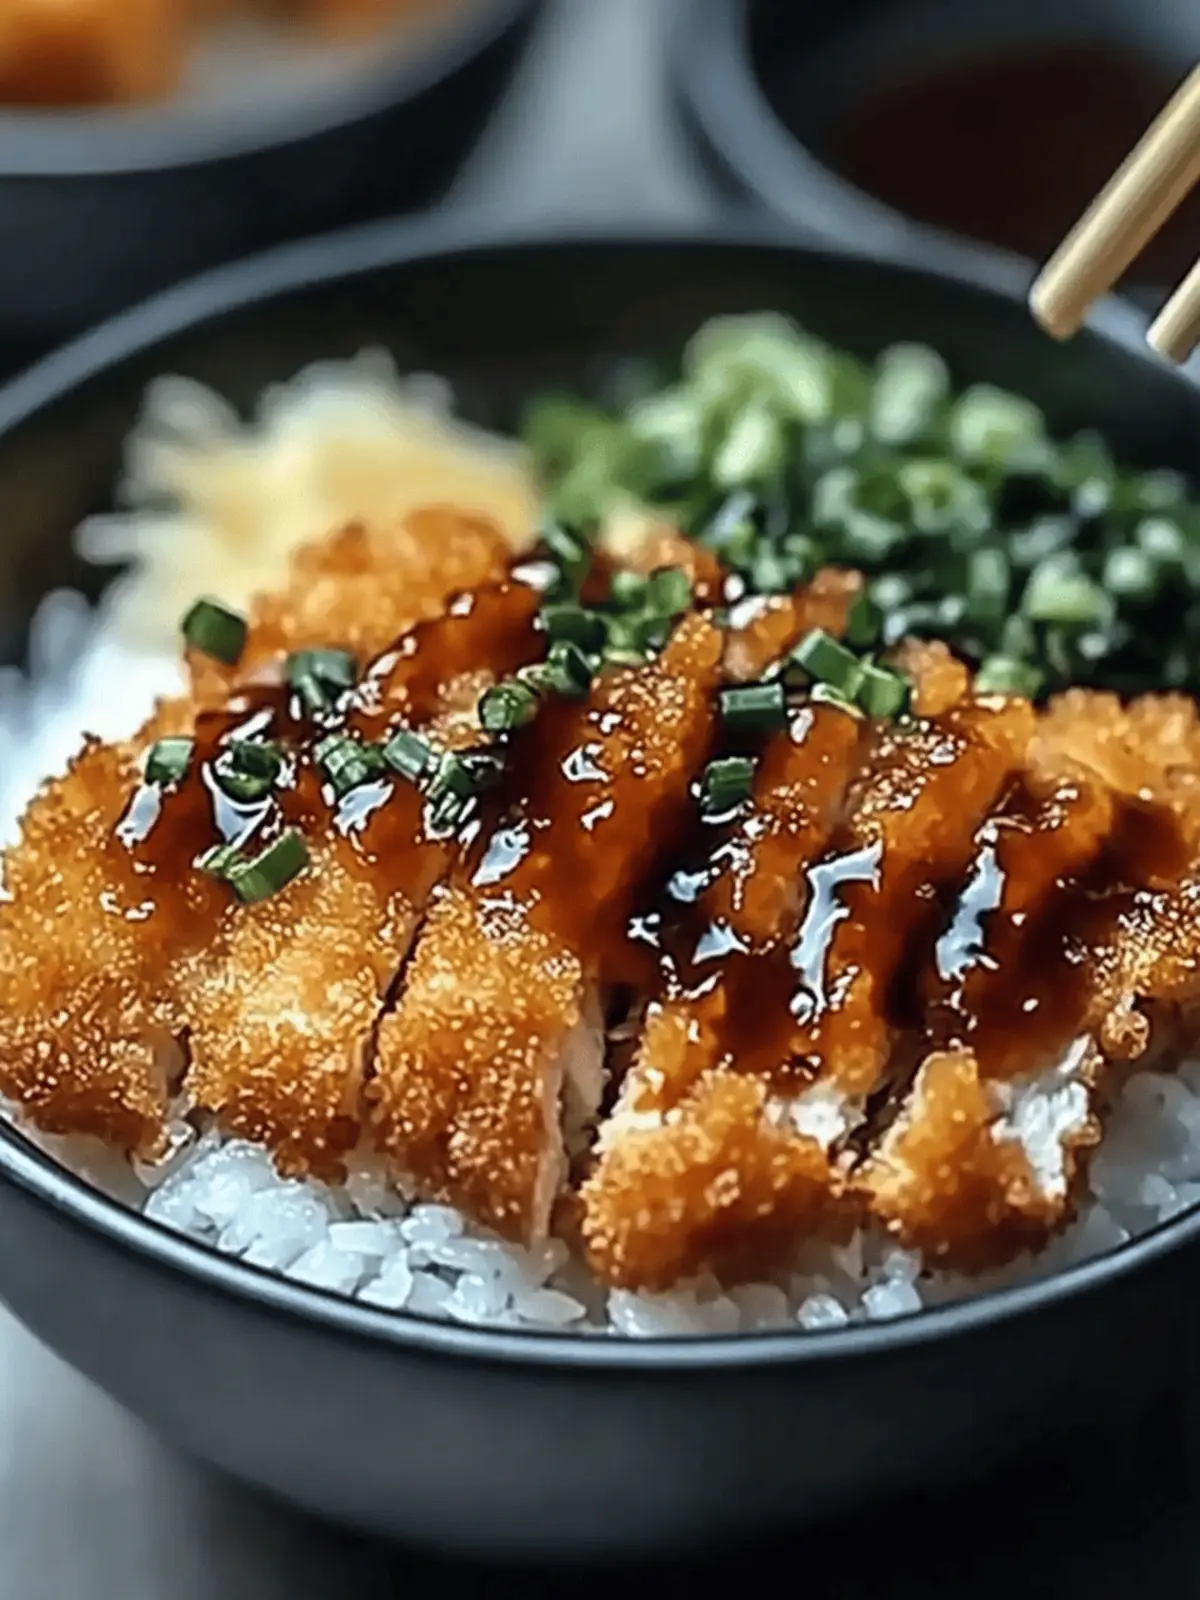
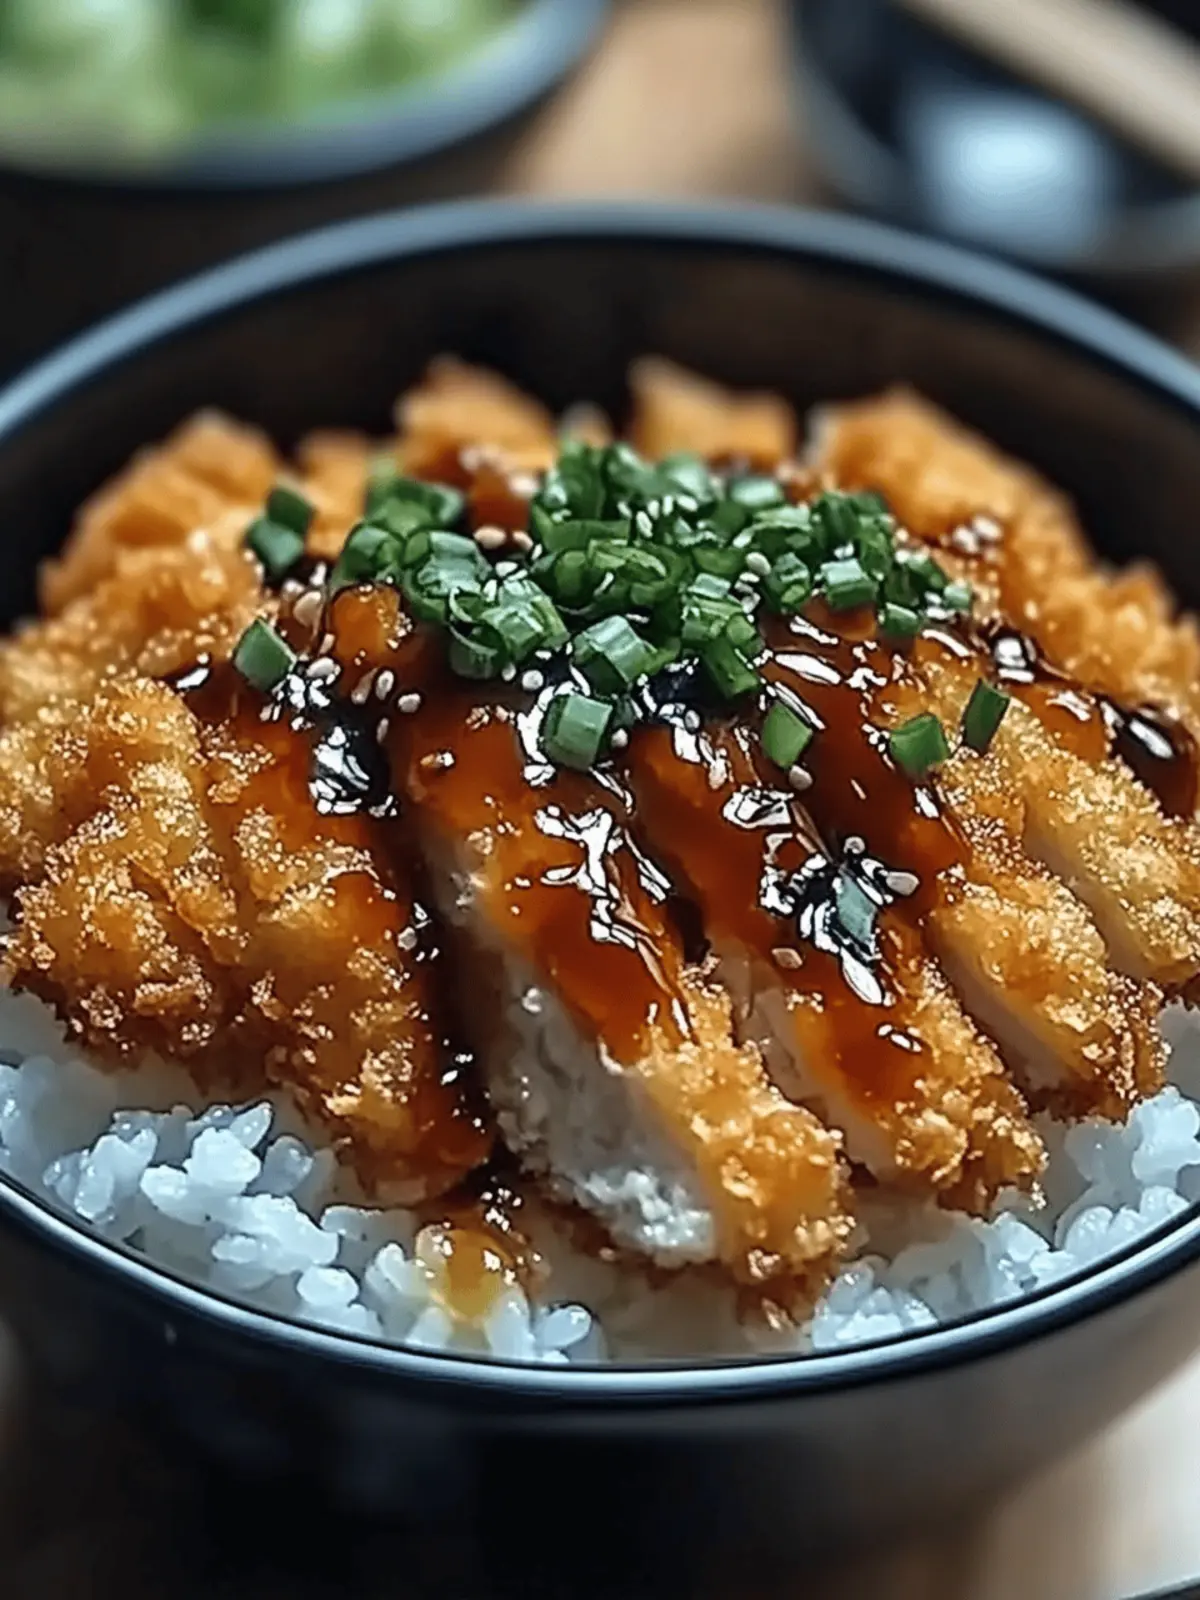
There’s a certain joy in cooking that transforms even the simplest of ingredients into something memorable. When I first created my Japanese Katsu Bowl, the sound of crisp chicken sizzling away in the pan filled my kitchen with warmth and anticipation. This dish, with its golden-brown cutlets and fluffy rice, is more than just comfort food; it’s an experience that invites you to savor every bite.
Imagine sinking your fork into perfectly crispy chicken, slathered in rich tonkatsu sauce, and pairing it with a hint of tangy pickled ginger. It’s not only a meal; it’s a celebration of flavor and texture that you can customize to your liking. Whether you’re looking to spice up a weeknight dinner or impress friends with a delightful homemade dish, this recipe has got you covered. And the best part? You can easily adapt it to incorporate your favorite proteins or vegetarian options. Let’s dive into this culinary adventure together!
Why are Japanese Katsu Bowls so special?
Crispiness at its finest: The golden-brown chicken cutlets are perfectly fried to create that satisfying crunch.
Easy customization: Whether you prefer chicken, pork, or a vegetarian option like tofu, this recipe is incredibly adaptable.
Quick to prepare: You can whip this up in under an hour, making it a perfect solution for busy weeknights.
Comforting flavors: The savory tonkatsu sauce paired with fluffy rice offers a delightful taste sensation that feels like a warm hug.
Crowd-pleaser: Serve it at gatherings or cozy family dinners; everyone will rave about this delicious dish! Make sure to check out some serving suggestions to elevate your meal.
Japanese Katsu Bowls Ingredients
Get ready to create a delicious masterpiece!
For the Katsu
- Boneless Chicken Breasts – The star protein of the dish; feel free to substitute with pork loin for a different twist.
- Salt and Pepper – Essential seasonings to enhance the flavors of the chicken; adjust to your personal taste.
- All-Purpose Flour – Provides a crisp coating; use gluten-free flour if needed for a gluten-free version.
- Large Eggs – Acts as a binder for the breadcrumbs, ensuring a crunchy exterior.
- Panko Breadcrumbs – Delivers that signature crispy texture; regular breadcrumbs can be swapped for a variation in crunch.
- Vegetable Oil – Necessary for frying; choose any neutral oil to keep the focus on those flavors.
For the Rice
- Japanese Short-Grain Rice – The perfect foundation for your Katsu Bowl, providing a sticky and satisfying texture.
- Water – Critical for cooking the rice to fluffy perfection.
- Rice Vinegar – Adds a subtle tanginess to the rice; apple cider vinegar can stand in if needed.
- Sugar and Salt – Simple seasonings that elevate the rice’s flavor; feel free to fine-tune to your liking.
For the Sauce
- Tonkatsu Sauce – This is the star of the show, offering a sweet and savory glaze; store-bought options work well in a pinch.
- Soy Sauce, Worcestershire Sauce, Ketchup – These components enhance the flavor profile of the sauce, creating a delightful contrast to the chicken.
For the Toppings
- Shredded Cabbage – Adds crunch and freshness, making it a great garnish.
- Green Onions – A sprinkle of these brings a fresh bite to your bowl.
- Sesame Seeds – Toasted sesame seeds for added texture and nutty flavor.
- Pickled Ginger – A zesty accompaniment that cuts through the richness beautifully.
By bringing together these vibrant ingredients, your Japanese Katsu Bowls will not only be delightful to look at, but also a joy to savor with every bite! Enjoy the process as you make this lovely dish.
How to Make Japanese Katsu Bowls
-
Prepare the Rice:
Rinse 2 cups of Japanese short-grain rice until the water runs clear, then soak it in water for 30 minutes. Cook the soaked rice in a pot of boiling water for 15 minutes with a lid on. After cooking, let it rest for 10 minutes, and gently fold in the vinegar mixture you’ve prepared. -
Pound the Chicken:
Take boneless chicken breasts and pound them to an even thickness. This ensures they cook evenly and become crispy. Season both sides with salt and pepper for enhanced flavor. -
Set Up the Breading Station:
Prepare your breading area with three shallow dishes: fill one with all-purpose flour, another with beaten eggs, and the last with panko breadcrumbs. This will make breading the chicken easy and fun! -
Bread the Chicken:
For the Katsu: Dredge each seasoned chicken breast in flour, making sure it’s fully coated. Dip it into the beaten eggs, then coat generously with panko breadcrumbs for that delightful crunch. -
Fry the Katsu:
Heat vegetable oil in a skillet over medium heat. Fry the chicken for 4-5 minutes on each side until golden brown and cooked through (internal temperature should reach 165°F/75°C). Transfer the fried katsu to a paper towel-lined plate to drain excess oil. -
Make the Sauce:
In a small bowl, mix together tonkatsu sauce, soy sauce, Worcestershire sauce, and ketchup. This savory blend will elevate your bowls with rich flavor. -
Assemble the Bowls:
Layer fluffy rice at the bottom of each serving bowl, then place crispy chicken katsu on top. Drizzle with the prepared sauce and garnish with shredded cabbage, green onions, sesame seeds, and pickled ginger.
Optional: Add a soft-boiled egg on top for extra richness!
Exact quantities are listed in the recipe card below.
Expert Tips for Japanese Katsu Bowls
- Oil Temperature: Ensure the oil is hot enough before frying. Test it with a small piece of bread; it should sizzle immediately.
- Avoid Overcrowding: Fry your katsu in batches to prevent cooling the oil. This ensures a perfectly crispy coating for your Japanese Katsu Bowls.
- Rest the Chicken: Let the fried katsu rest for a few minutes before slicing to retain its juicy flavor and prevent it from becoming dry.
- Custom Sauce: Don’t hesitate to play with the sauce ingredients! Adjust soy or ketchup levels to suit your taste.
- Select the Right Rice: Stick to short-grain rice to achieve that sticky texture that pairs beautifully with the crunchy katsu.
- Try Variations: Explore using pork or vegetarian options like tofu or eggplant for equally delightful Japanese Katsu Bowls.
Japanese Katsu Bowls Variations
Feel free to get creative and tailor this recipe to suit your cravings and dietary needs!
-
Pork Twist: Swap the chicken for pork loin, breaded and fried the same way for a classic flavor.
A juicy pork katsu creates a wonderful contrast with the fluffy rice, adding a savory touch that’s just irresistible. -
Vegetarian Delight: Use breaded eggplant or tofu instead of chicken for a delicious vegetarian alternative.
These options absorb flavors beautifully, providing a satisfying texture that pairs perfectly with the tangy tonkatsu sauce. -
Gluten-Free: Substitute all-purpose flour and panko with gluten-free alternatives for everyone to enjoy.
By choosing gluten-free breadcrumbs, you’ll maintain that signature crunch without the gluten, making it a wholesome choice. -
Spicy Kick: Add some heat to your dish by incorporating Sriracha or chili paste into your tonkatsu sauce.
A hint of spice elevates the flavor and excites the palate, making each bite an adventure, perfect for those who love a little kick! -
Soft-Boiled Egg: Top your katsu with a soft-boiled egg for a rich, creamy addition.
As you slice into it, the yolk creates a luscious sauce that melds with the other flavors, enhancing every mouthful. -
Avocado Creaminess: Add slices of ripe avocado on top or as a side for a buttery texture.
Not only do they bring a lovely creaminess, but avocados also complement the crunch of katsu beautifully! -
Crispy Veggies: Include some quick-fried or roasted vegetables, like zucchini or bell peppers, for added crunch and nutrition.
The vibrant colors and textures will not only brighten your plate but also create a wholesome, balanced meal. -
Savory Sauces: Switch up the tonkatsu sauce for alternatives like teriyaki or ponzu for a fresh twist.
Experimenting with different sauces lets you explore flavors and aromas beyond traditional katsu, keeping your meal exciting!
Storage Tips for Japanese Katsu Bowls
Room Temperature: Keep cooked katsu at room temperature for up to 2 hours before refrigerating; avoid leaving it out longer to maintain food safety.
Fridge: Store any leftover Japanese Katsu Bowls in an airtight container in the fridge for up to 3 days; this helps retain the chicken’s flavor and texture.
Freezer: For longer storage, freeze the katsu separately from the rice and toppings. Wrap tightly in plastic wrap and foil; freeze for up to 2 months.
Reheating: To reheat, place the katsu in a preheated oven at 350°F (175°C) for about 10-15 minutes until heated through, ensuring the crust remains crispy.
Make Ahead Options
These Japanese Katsu Bowls are perfect for meal prep enthusiasts looking to save time during busy weeknights! You can prepare the crispy chicken katsu up to 24 hours in advance. Simply bread the chicken cutlets and store them in an airtight container in the refrigerator to maintain freshness. The rice can also be cooked ahead; it will keep well for up to 3 days in the fridge when stored properly. When ready to serve, simply fry the chicken (freshly, for that crispy texture) and reheat the rice gently in the microwave or on the stovetop. With this prep strategy, you’ll enjoy just as delicious Japanese Katsu Bowls with minimal effort when it’s time for dinner!
What to Serve with Japanese Katsu Bowls?
Painting a perfect meal includes delightful sides and refreshing drinks that elevate your Katsu experience to the next level.
-
Crispy Tempura Vegetables: These light and crispy battered veggies add a delightful crunch and balance the flavors, making them a perfect companion.
-
Miso Soup: A warm bowl of miso soup offers a comforting umami flavor, providing a soothing counterpart to the crispy katsu.
-
Steamed Edamame: Lightly salted edamame pods serve as a wholesome and interactive finger food that complements the main dish beautifully.
-
Japanese Pickles: These tangy, vibrant accompaniments add a refreshing contrast to the rich flavors of the katsu, enhancing your overall meal experience.
-
Sake or Japanese Beer: For a drink pairing, consider a light sake or crisp Japanese beer, both of which enhance the savory notes of the dish.
-
Green Salad with Sesame Dressing: A fresh salad, topped with a nutty sesame dressing, will bring a refreshing crunch and balanced acidity to your meal.
If you’re looking for something sweet to conclude your meal, consider serving Mochi Ice Cream as a delightful dessert that ties the dining experience together perfectly.
Japanese Katsu Bowls Recipe FAQs
How do I choose the right chicken for my katsu?
Absolutely! For the best results, opt for boneless, skinless chicken breasts as they offer a tender and juicy texture when cooked. Look for chicken that has a pink tint and smooth skin; avoid any that has dark spots. If you’re feeling adventurous, pork loin can also be a delicious alternative!
How long can I store leftover katsu in the fridge?
Very! You can store leftover Japanese Katsu Bowls in an airtight container in the fridge for up to 3 days. This keeps your chicken flavorful and fresh. Just remember to separate the katsu from the rice and toppings if possible, as this helps maintain the best texture!
Can I freeze my chicken katsu for later use?
Absolutely! To freeze your katsu, first let it cool completely. Wrap each piece tightly in plastic wrap and then in aluminum foil to prevent freezer burn. Store in the freezer for up to 2 months. When you’re ready to enjoy, thaw in the fridge overnight before reheating in a preheated oven at 350°F (175°C) for 10-15 minutes!
What if my katsu isn’t crispy after frying?
No worries! If your katsu isn’t crispy, it could be due to the oil not being hot enough. Always test the oil with a small piece of bread; it should sizzle upon contact. If you’ve overcrowded the pan, the temperature may drop, too. Fry in smaller batches next time to keep that crunch!
Are there any dietary considerations for katsu?
Definitely! If you have dietary restrictions, you can make this dish gluten-free by using rice flour or a gluten-free all-purpose flour for the coating. For vegetarian options, try using breaded eggplant or tofu. Just make sure to check the labels on your sauces to avoid any allergic ingredients!
How should I serve my Japanese Katsu Bowls?
So glad you asked! Serve your bowls with a side of pickled vegetables or a fresh salad for balance. A sprinkle of sesame seeds and chopped green onions on top adds a burst of flavor and lovely presentation. If you want extra richness, consider adding a soft-boiled egg on top for a creamy texture contrast!
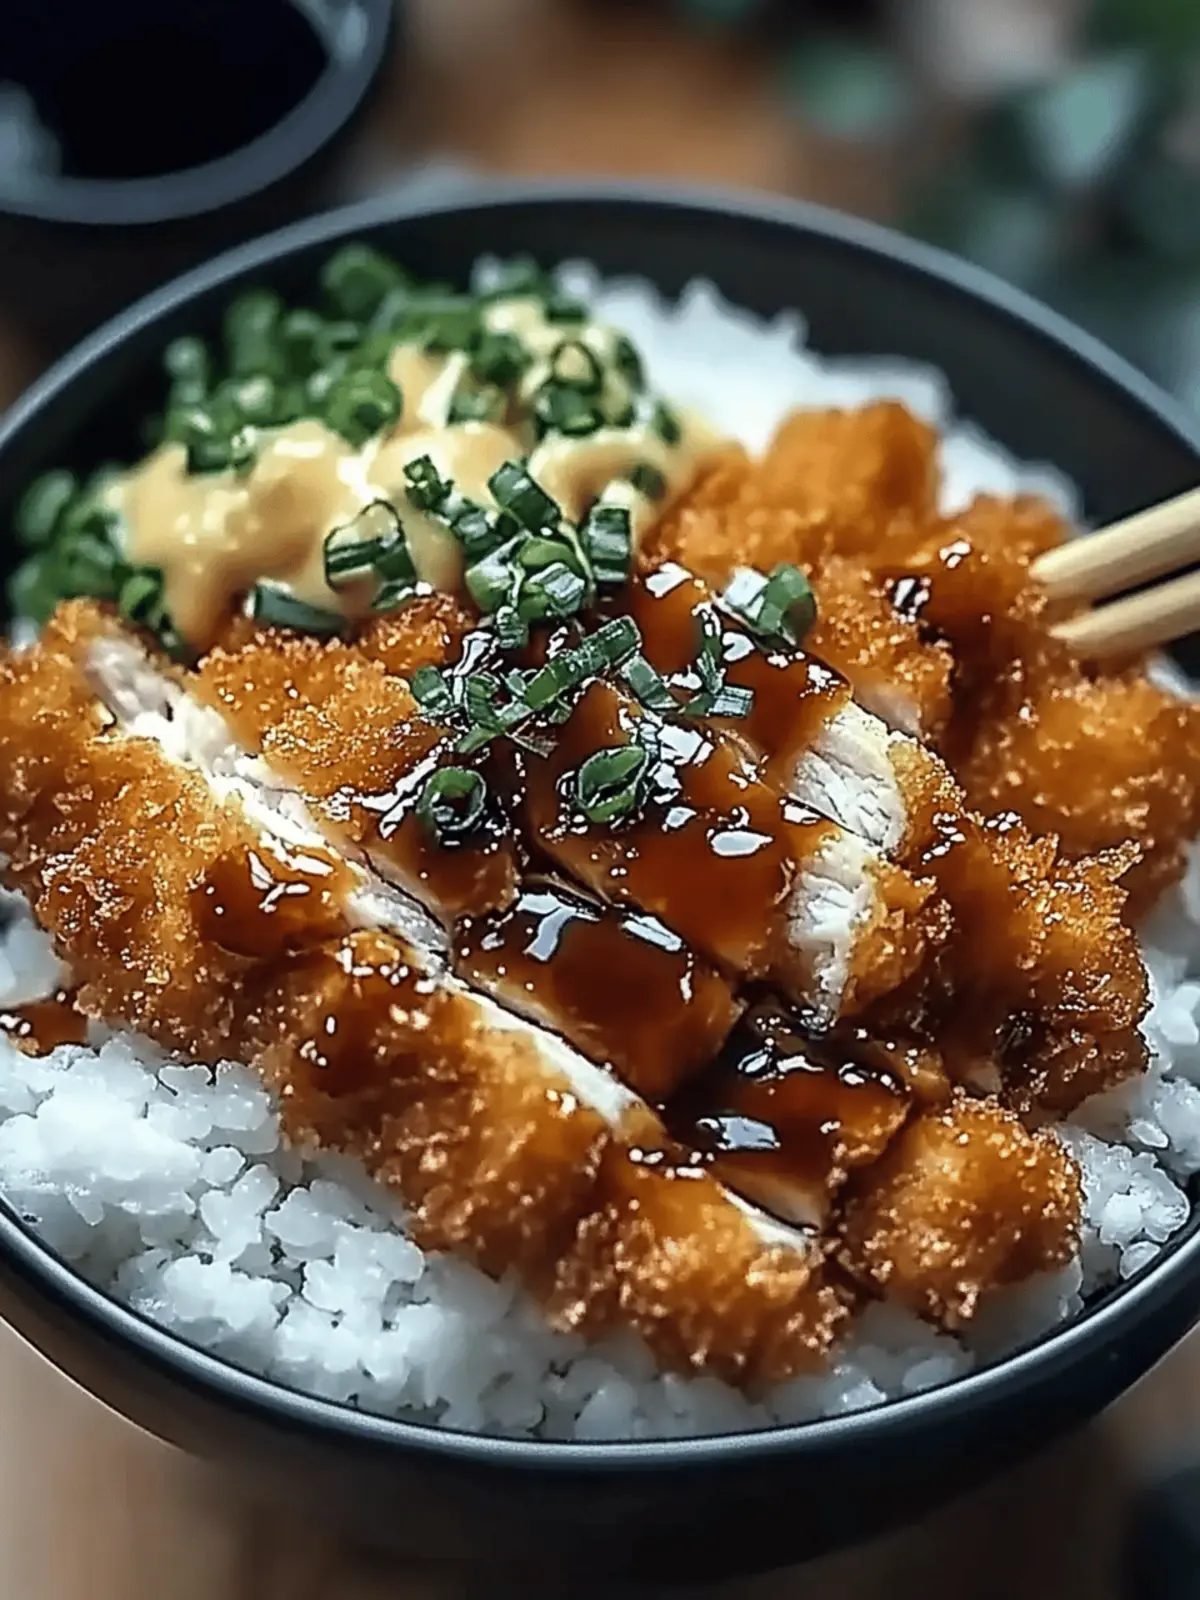
Crispy Japanese Katsu Bowls: Comfort Food Made Easy
Ingredients
Equipment
Method
- Rinse rice until water runs clear and soak for 30 minutes. Cook in boiling water for 15 minutes with lid. Let rest, then fold in vinegar mixture.
- Pound chicken to even thickness; season with salt and pepper.
- Set up a breading station with flour, beaten eggs, and panko breadcrumbs.
- Dredge chicken in flour, dip in eggs, and coat with panko breadcrumbs.
- Heat oil in skillet. Fry chicken for 4-5 minutes per side until golden and cooked through; drain on paper towels.
- Mix tonkatsu sauce, soy sauce, Worcestershire sauce, and ketchup in a bowl.
- Assemble bowls: layer rice, top with chicken, drizzle with sauce, and garnish with cabbage, green onions, sesame seeds, and pickled ginger.

