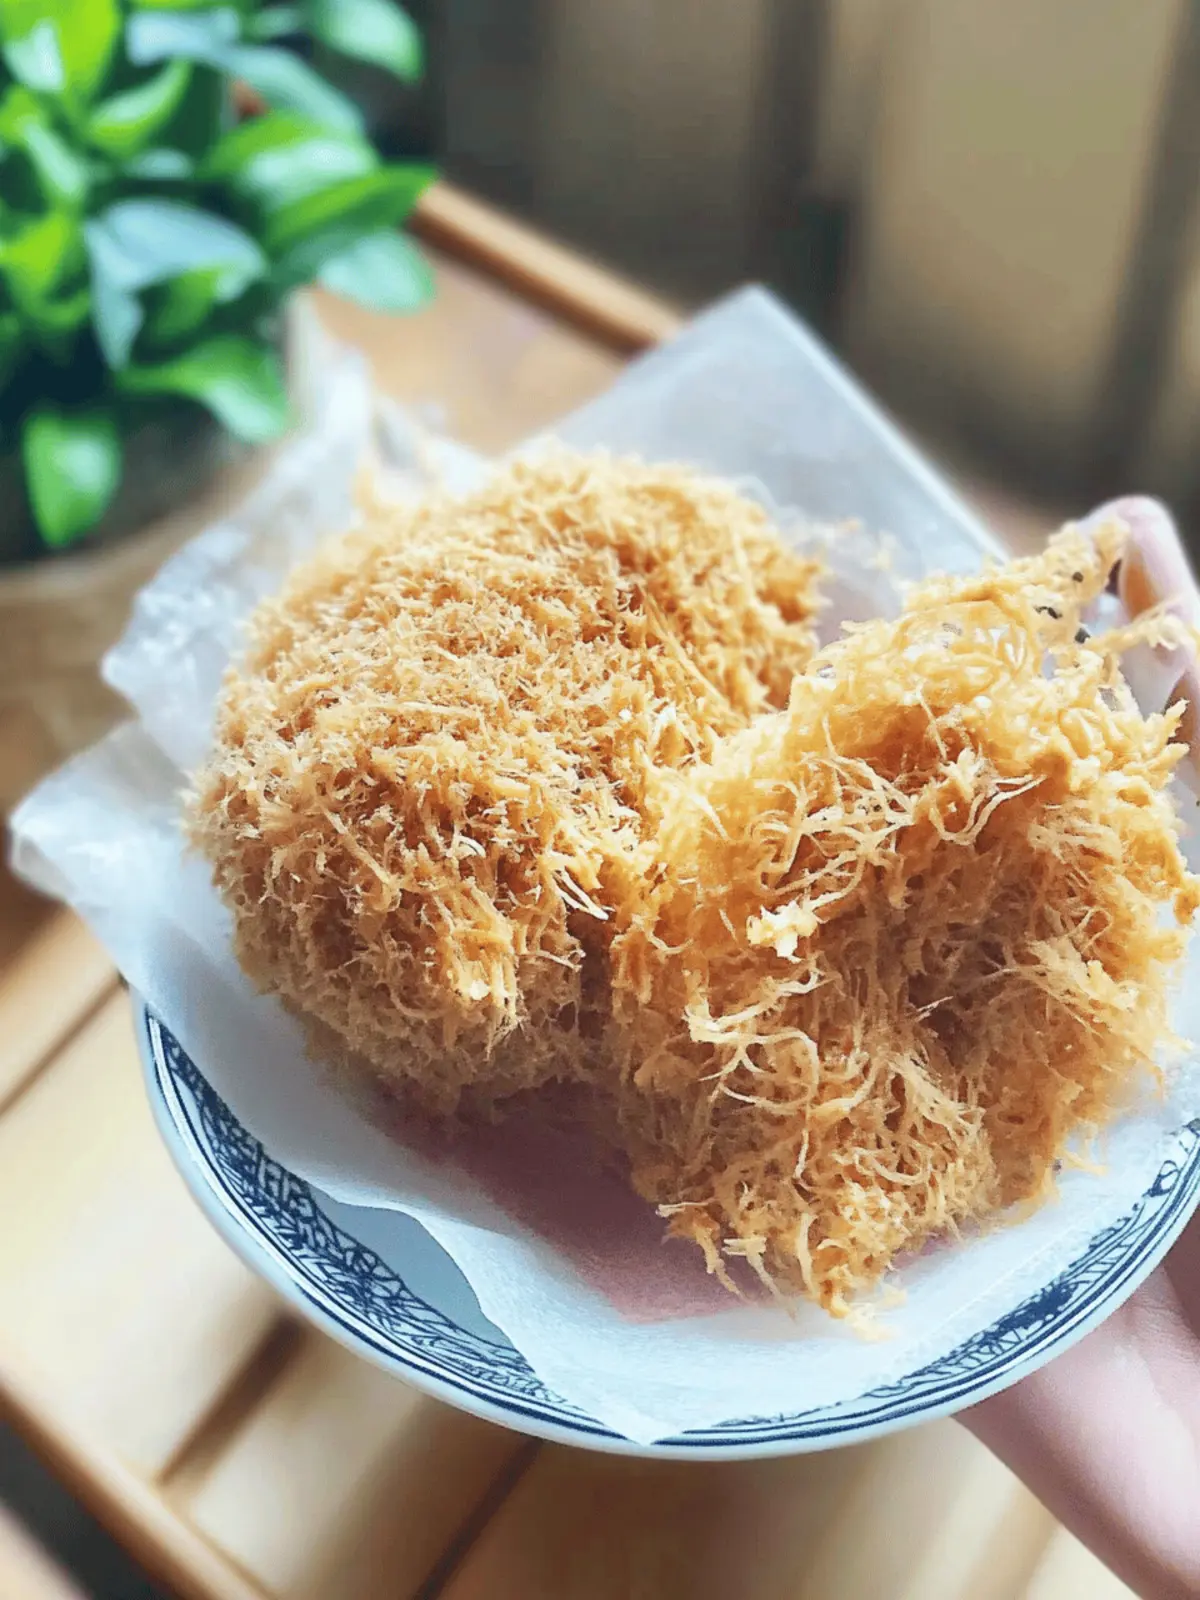
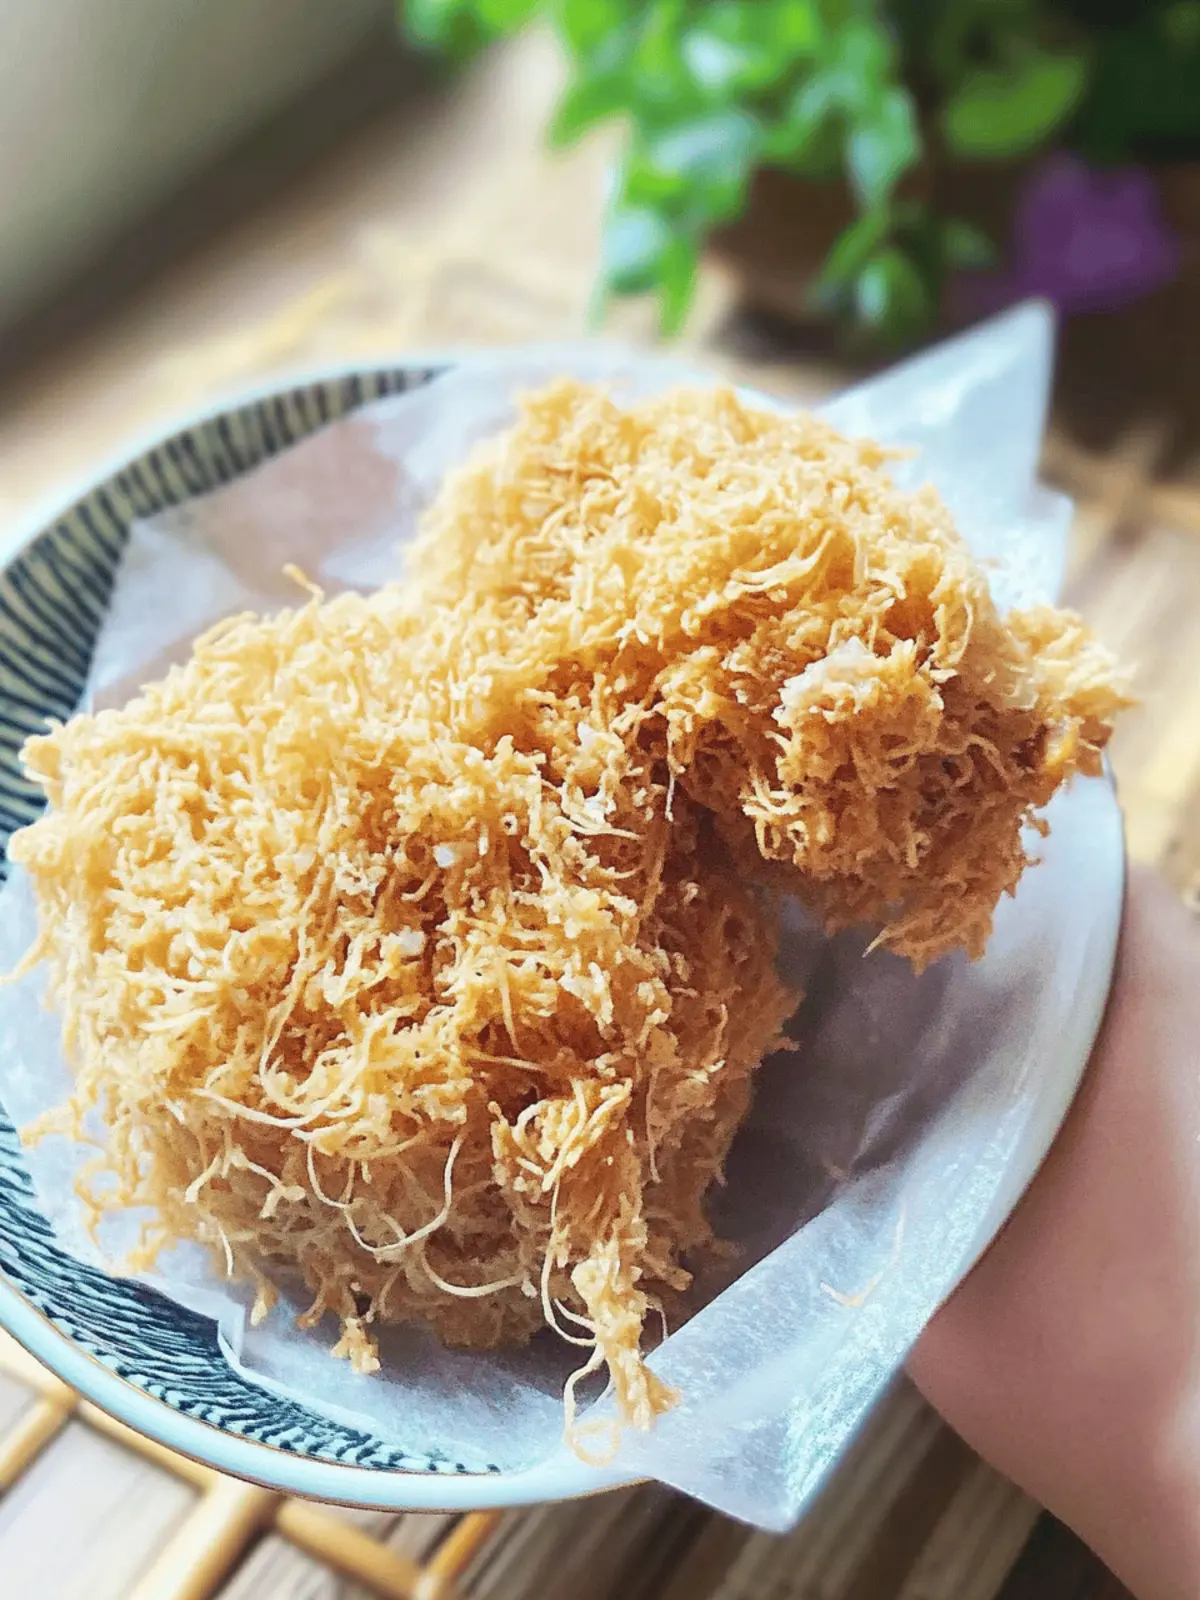
There’s a unique joy in whipping up delicious homemade snacks, and I recently rediscovered the delightful world of pork floss, also known as Rousong. After savoring the fluffy texture of this traditional Chinese delicacy at a friend’s house, I knew I had to give making it a try myself. The process is incredibly rewarding, transforming simple ingredients into a savory, slightly sweet treat that’s perfect for topping congee or adding flair to a bun.
What I love most about this homemade version is the freedom to choose quality ingredients and tailor flavors to my taste. You won’t find any preservatives here—just pure, wholesome goodness. Plus, this recipe is a healthier alternative to mass-produced options, proving that you can indulge without the guilt. Ready to impress your family and elevate your snacking game? Let’s dive into making homemade pork floss that’s not only delicious but also a breeze to prepare!
Why love Homemade Pork Floss?
Homemade Pork Floss is a game-changer for snack enthusiasts! Umami-packed flavor: The combination of pork, ginger, and soy sauce creates a symphony of savory satisfaction. Customizable options: Experiment with spices or try chicken or fish alternatives to suit your palate. Health-conscious choice: Skip the preservatives in store-bought versions and whip up a healthier treat. Easy prep: With simple steps, you can craft a delightful snack in no time! Plus, it’s a fun way to engage with your kitchen and impress your loved ones.
Homemade Pork Floss Ingredients
• Crafting your own homemade pork floss is not only satisfying but allows you to control every ingredient that goes into this delicious snack.
For the Pork
- Lean Pork (1 kg) – The hero ingredient that brings both protein and texture; use pork loin or tenderloin for the best outcome.
- Green Onions (2) – These aromatic treasures enhance the overall flavor; tie them in a knot for easy removal.
- Fresh Ginger (20 g) – This fragrant root elevates the flavor profile; substitute ground ginger if fresh isn’t handy.
- Water (as needed) – Essential for cooking your pork until tender; ensure the meat is fully submerged.
For the Seasoning
- Salt (5 g) – Just about 1 teaspoon is enough to bring out all the flavors.
- Sugar (10 g) – A touch of sweetness that balances the savory notes; roughly 2 teaspoons works wonders.
- Light Soy Sauce (10 g) – Adds that beloved umami punch; about 2 teaspoons is the magic number.
- Corn Oil (10 g) – Infuses richness into the dish; about 2 teaspoons will do the trick.
Make your homemade pork floss a flavorful addition to your culinary repertoire!
How to Make Homemade Pork Floss
-
Prepare the Pork: Rinse and trim any excess fat from the lean pork. Cut it into thick slices, around 1 cm, following the grain to ensure tender shredding later on.
-
Cook the Pork: In a pressure cooker, combine the sliced pork, green onion, ginger, and enough water to fully submerge the meat. Cook on high pressure for 25 minutes, or if using a pot, simmer for 45–60 minutes until it’s beautifully tender.
-
Shred the Pork: Once the pork has cooled slightly, use your hands or a fork to shred it into fine strands. This step is key to achieving that lovely fluffy texture!
-
Season the Shredded Pork: In a mixing bowl, toss the shredded pork with salt, sugar, light soy sauce, and corn oil until every strand is evenly coated. The flavors will mingle beautifully at this stage.
-
Cook the Pork Floss:
- Method 1 – Bread Maker: Place the seasoned shredded pork into your bread maker. Set it to the “jam/meat floss” program for about 60 minutes, stirring occasionally for even cooking.
- Method 2 – Pan: In a non-stick pan over low heat, cook the seasoned pork while stirring constantly for 30–40 minutes, or until all the moisture evaporates. Keep an eye on it to prevent burning!
-
Fluff the Pork Floss: Once cooked, use an electric mixer to gently fluff the mixture. This step helps to create an airy texture, reminiscent of cotton candy!
-
Cool and Store: Allow your homemade pork floss to cool completely. Store it in an airtight container—either at room temperature for up to a week or in the refrigerator for a month to keep it fresh.
Optional: Sprinkle a few sesame seeds on top for added crunch and flavor!
Exact quantities are listed in the recipe card below.
Make Ahead Options
Homemade Pork Floss is perfect for meal prep enthusiasts who want to save time without sacrificing flavor! You can prepare the shredded pork and season it up to 24 hours in advance. Simply follow the cooking instructions, shred, and mix in the seasonings, then store it in an airtight container in the refrigerator to keep it fresh. When you’re ready to finish, cook the seasoned pork in your bread maker or pan as instructed, noting that the cooking time may slightly vary due to refrigeration. This approach ensures your snacks remain just as delicious, ideal for busy weeknights or impromptu gatherings!
What to Serve with Homemade Pork Floss?
Elevate your meal with delightful accompaniments that enhance the savory goodness of this fluffy snack.
-
Fluffy Congee: A warm bowl of congee provides a comforting backdrop for the richness of pork floss.
-
Steamed Buns: Fluffy steamed buns create a delectable vehicle for the sweet and savory notes of the pork, making for a savory treat that’s a favorite!
-
Crispy Wontons: Pair with crispy wontons for a fun textural contrast, perfect for snacking or as a party appetizer.
-
Fresh Cucumber Salad: A refreshing cucumber salad adds a crisp, cool element that beautifully balances the richness of your homemade pork floss.
-
Soy Sauce Eggs: Soft-boiled soy sauce eggs enhance the umami experience, making each bite a flavorful delight.
-
Spicy Pickled Vegetables: The brightness of pickled veggies cuts through the richness, creating an exciting flavor profile.
With these pairing ideas, you can transform a simple meal into an exciting culinary experience!
How to Store and Freeze Homemade Pork Floss
Room Temperature: Store homemade pork floss in an airtight container at room temperature for up to 1 week to retain its flavor and texture.
Fridge: For extended freshness, keep it in the refrigerator where it can last up to 1 month. Ensure it’s tightly sealed to avoid moisture.
Freezer: If you’d like to preserve it longer, homemade pork floss can be frozen for up to 3 months. Use freezer-safe bags or containers, pressing out as much air as possible.
Reheating: To enjoy your pork floss, simply thaw in the fridge overnight if frozen. You can briefly warm it in the microwave or enjoy it cold atop your favorite dishes!
Expert Tips for Homemade Pork Floss
-
Perfect Pork Selection: Choose lean cuts like pork loin or tenderloin for tender shredding and optimal texture. Avoid fatty cuts that can result in greasy floss.
-
Flavorful Shredding: Shred the pork while it’s still warm. This makes it easier to handle and ensures a fluffier texture for your homemade pork floss.
-
Stir Constantly: If using the pan method, keep stirring constantly during cooking. This prevents burning and ensures even moisture evaporation for the ideal fluffiness.
-
Mixing Technique: Use an electric mixer to fluff the cooked pork floss. This adds airiness and refined texture, elevating your snack game to a new level.
-
Customizable Seasoning: Feel free to adjust the sugar and salt levels based on your taste preferences. This way, your homemade pork floss can be tailored just for you!
Homemade Pork Floss Variations
Feel free to get creative and personalize your homemade pork floss with these delicious twists that tickle the taste buds!
-
Chicken Alternative: Use shredded cooked chicken instead of pork for a lighter variation that’s just as satisfying.
-
Fish Floss: Swap in cooked, shredded fish like salmon for a unique seafood twist that offers a rich, umami flavor.
-
Spicy Kick: Add chili flakes or a dash of hot sauce during seasoning for an exciting heat that elevates the dish!
-
Coconut Sugar: Substitute refined sugar with coconut sugar for a healthier, caramel-like sweetness that enhances the savory profile.
-
Vegan Option: Try using jackfruit as a base for a vegetarian floss. Its texture mimics shredded meat beautifully!
-
Sesame Flavor: Incorporate toasted sesame oil into the mix during seasoning for a nutty richness that’s simply irresistible.
-
Herb Infusion: Enhance the flavor by adding fresh herbs like cilantro or basil right before fluffing for a fresh twist.
-
Garlic Punch: Mix in minced garlic while cooking for a savory garlic-infused floss that adds depth to every bite!
Homemade Pork Floss Recipe FAQs
How do I select the right pork for this recipe?
Absolutely! For the best results, choose lean cuts such as pork loin or tenderloin. These cuts provide the ideal texture for shredding and prevent the finished pork floss from being greasy. Avoid fatty cuts, as they can lead to undesirable results.
What’s the best way to store homemade pork floss?
Very! Keep your homemade pork floss in an airtight container at room temperature for up to 1 week. If you’d like to extend its freshness, store it in the refrigerator, where it can last up to 1 month. Just be sure to seal it tightly to prevent moisture from compromising its fluffy texture.
Can I freeze homemade pork floss?
Absolutely! You can freeze homemade pork floss to enjoy later. Place it in freezer-safe bags or containers, pressing out as much air as possible to prevent freezer burn. It can be stored this way for up to 3 months. When you’re ready to use it, simply thaw it in the fridge overnight.
What if my pork floss is too dry or tough?
No worries! If your pork floss turns out too dry, it may be due to cooking too long at low heat or not enough moisture during the simmering phase. To fix this, try incorporating a little water or broth when reheating the leftovers. Alternatively, consider cooking it for shorter periods next time.
Are there any dietary considerations I should be aware of?
Of course! If you’re cooking for specific dietary needs, be mindful of the soy sauce content, which may contain gluten. For gluten-free options, use tamari or coconut aminos. Additionally, always check for any allergies to pork or any of the other ingredients before serving this savory homemade pork floss!
How can I customize the flavors in my pork floss?
Definitely! You can adjust the sugar and salt levels based on your personal taste preferences, giving you control over the sweetness and saltiness. Additionally, feel free to experiment with your favorite spices, such as garlic powder or five-spice powder, to create a unique flavor profile that excites your palate!

Savory Homemade Pork Floss: Elevate Your Snack Game
Ingredients
Equipment
Method
- Rinse and trim any excess fat from the lean pork. Cut it into thick slices, around 1 cm.
- In a pressure cooker, combine the sliced pork, green onion, ginger, and enough water to fully submerge the meat. Cook on high pressure for 25 minutes.
- Once cooled, shred the pork into fine strands.
- Toss the shredded pork with salt, sugar, light soy sauce, and corn oil.
- Method 1: Place the seasoned shredded pork into your bread maker for about 60 minutes.
- Method 2: In a non-stick pan over low heat, cook the seasoned pork for 30–40 minutes.
- Use an electric mixer to gently fluff the mixture.
- Allow your homemade pork floss to cool completely before storing.


