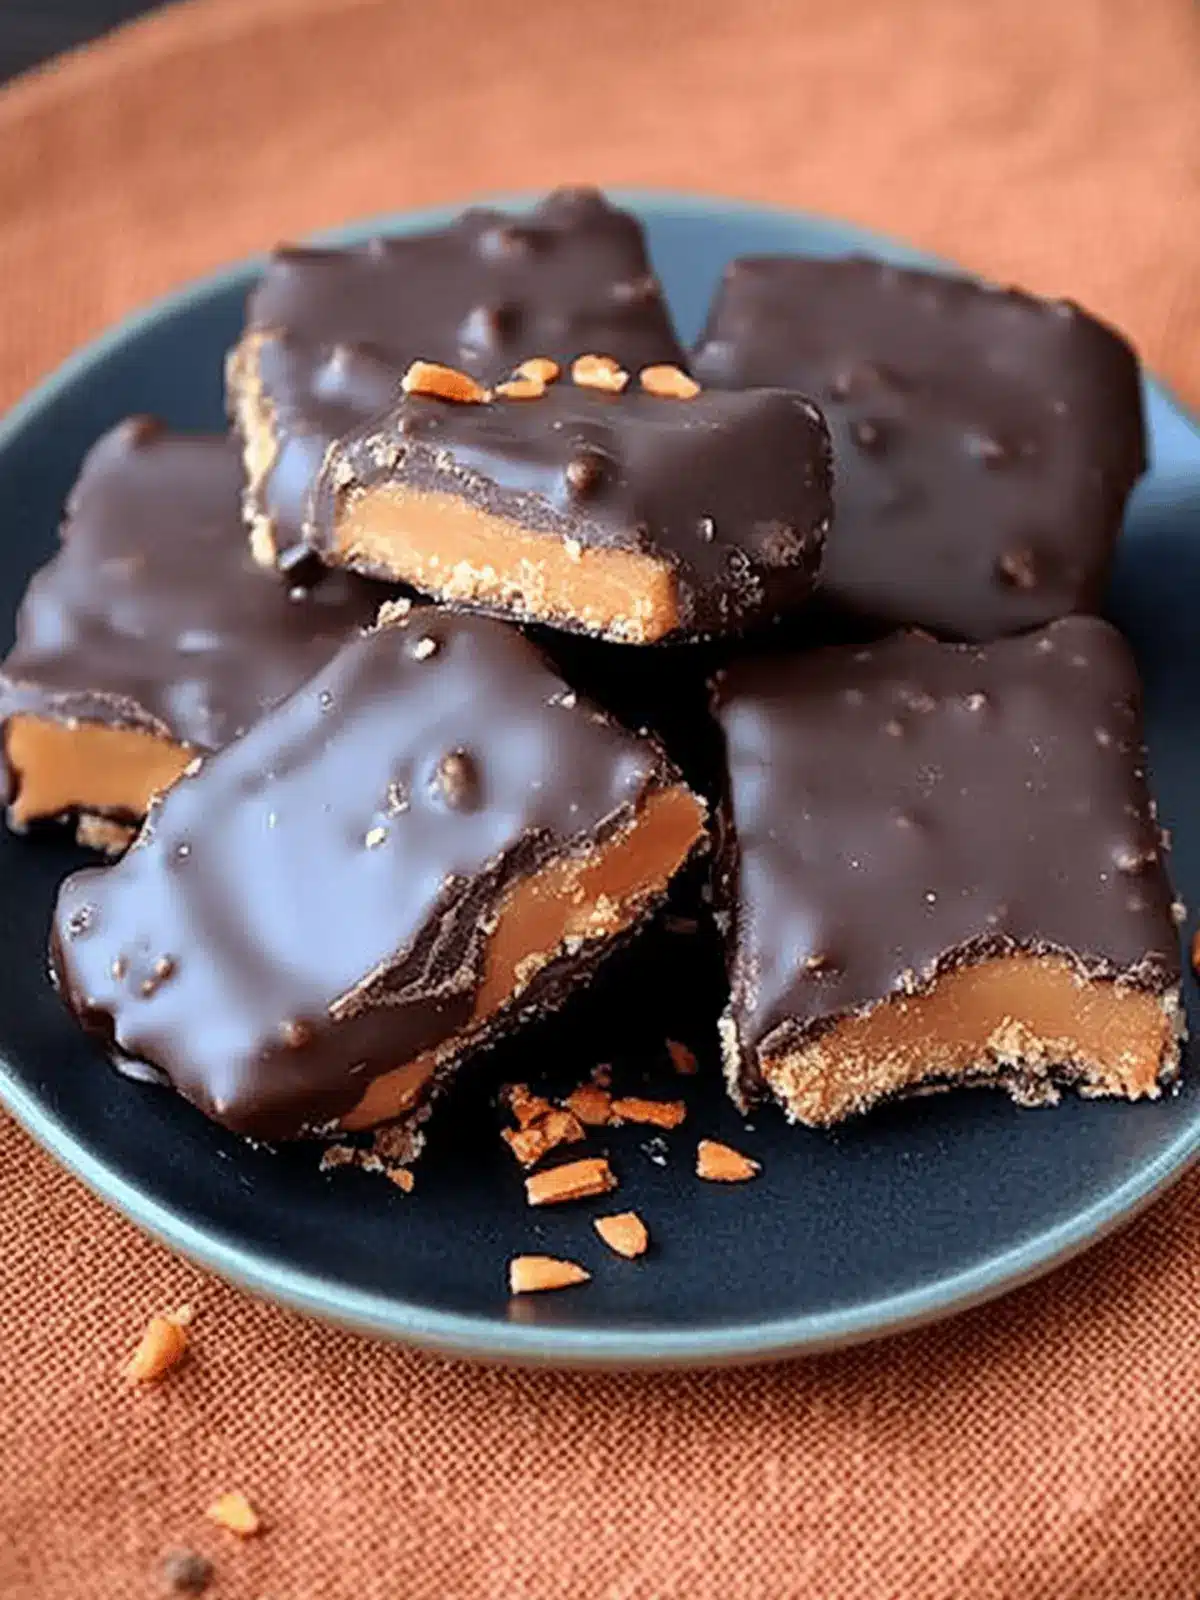
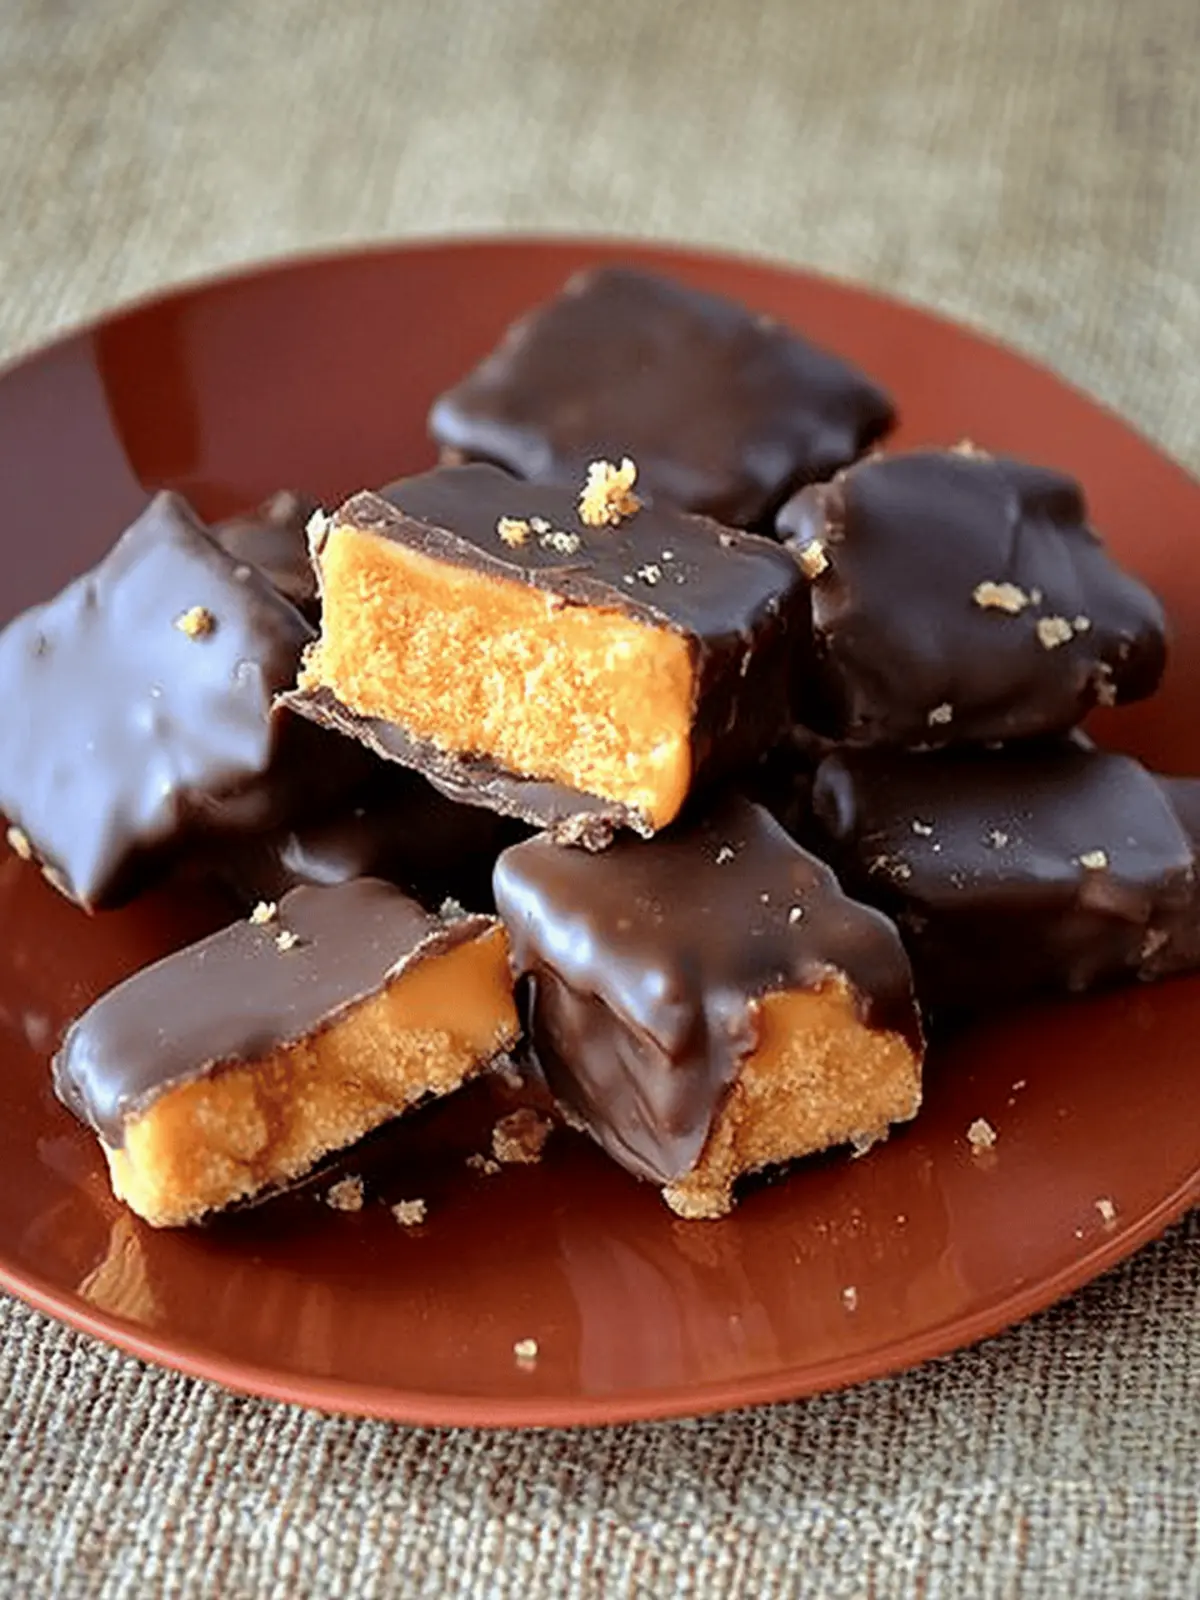
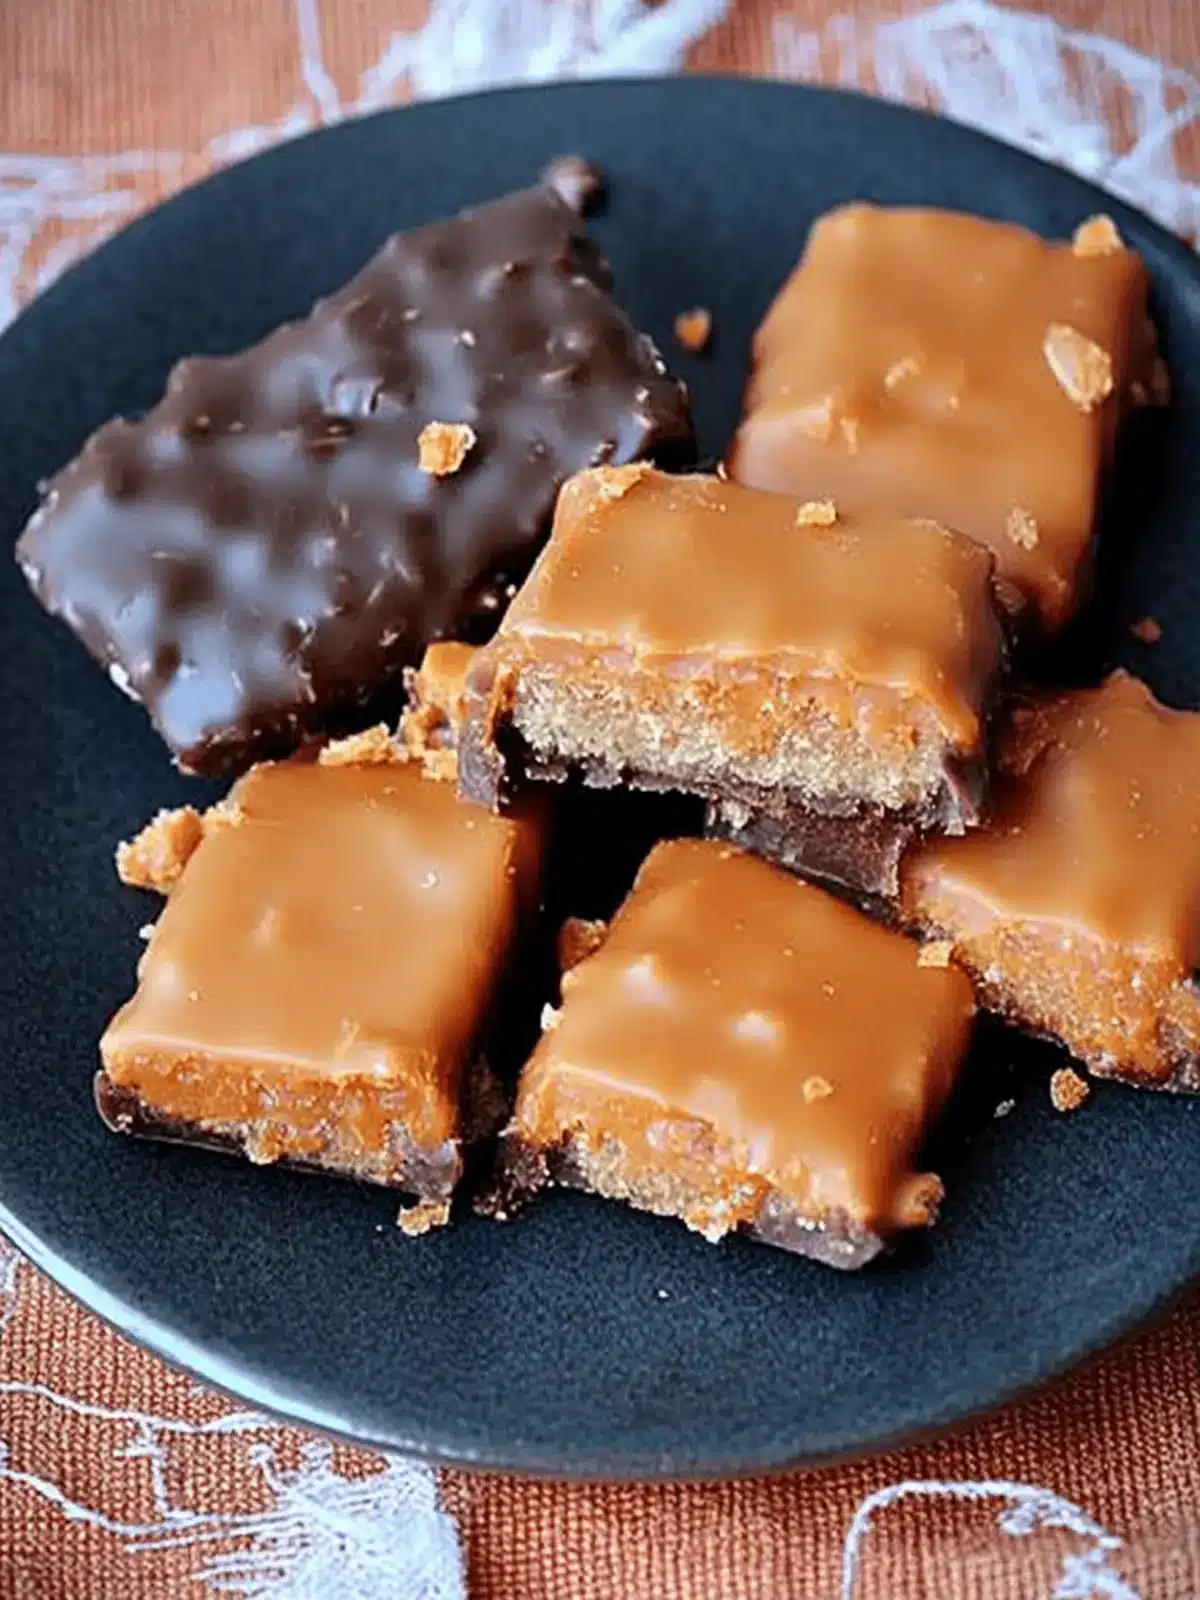
There’s a certain joy that comes from crafting homemade treats, and nothing can quite compare to the nostalgic delight of homemade Butterfingers. Picture this: the warmth of creamy peanut butter melting into sweet candy corn, and all of it enveloped in a luscious chocolate coating. This easy, no-bake recipe requires just three ingredients and minimal effort, making it a fantastic way to bring a touch of Americana into your kitchen without the fuss.
I discovered this sweet little gem during an afternoon of recipe experimentation, and what started as a craving quickly turned into a new family favorite. Whether it’s for a party, a snack, or just to satisfy a sweet tooth, these homemade Butterfingers will impress anyone who takes a bite. With a deliciously crunchy yet melt-in-your-mouth texture, you’ll find it hard to believe they can be made so easily at home. So, roll up your sleeves and let’s create some delicious memories with this fun candy recipe!
Why are Homemade Butterfingers so irresistible?
Simplicity at Its Best: With only three ingredients, this recipe makes creation effortless and enjoyable for everyone.
Nostalgic Flavor: Each bite transports you back to childhood with that classic Butterfinger taste, perfectly balanced with creamy peanut butter and rich chocolate.
No Bake Required: Forget about turning on the oven—just melt and mix for this delightful treat!
Crowd-Pleasing Appeal: Perfect for parties or family gatherings, these candies are sure to impress both kids and adults alike.
Customizable Options: Feel free to experiment with different chocolate coatings or add-ins like crushed corn flakes for a unique twist.
Make Ahead Magic: Prepare them in advance for stress-free entertaining or snacking—because who doesn’t love a great treat ready to go?
Homemade Butterfingers Ingredients
For the Peanut Butter Mixture:
- Creamy Peanut Butter – Provides a rich, nutty flavor that is the soul of the homemade Butterfingers; consider crunchy for extra texture!
- Candy Corn – Acts as the essential binding agent and sweetener, giving those delightful bites their unique taste; if unavailable, melt corn syrup with sugar as a substitute for a different flavor.
For the Chocolate Coating:
- Dipping Chocolate (like Candy Quik) – Envelops the bars in a smooth, luscious layer of chocolate; choose dark, milk, or white chocolate based on your preference!
These simple ingredients come together in a delightful way to create an easy candy recipe that’s hard to resist!
How to Make Homemade Butterfingers
-
Prepare the Pan: Lightly spray a 9×13-inch pan if you prefer thinner bars, or a 7×11-inch pan for thicker ones with nonstick spray. This will ensure easy removal later!
-
Melt Ingredients: In a medium saucepan, combine creamy peanut butter and candy corn over medium heat. Stir constantly for 5 to 8 minutes until the mixture is melted and smooth, resembling a thick caramel.
-
Set Mixture: Pour the melted mixture into your prepared pan, smoothing the top with a spatula. Allow it to cool at room temperature for about 30 minutes until it begins to firm up.
-
Cut Bars: Once the mixture feels slightly firm, cut it into your desired bar sizes and allow them to cool completely in the pan. This step is crucial for achieving the right texture!
-
Chocolate Dip: Dip each bar into the melting chocolate, ensuring it’s fully coated. Place them on waxed paper or a drying rack until the chocolate hardens. Sprinkle with fun toppings if you’d like before it sets!
Optional: Add crushed nuts or sprinkles on top before the chocolate hardens for a festive touch!
Exact quantities are listed in the recipe card below.
Expert Tips for Homemade Butterfingers
- Watch the Heat: Be careful not to overheat the peanut butter and candy corn mixture, as it can become too hard to cut properly.
- Cooling Time: Allow the bars to cool completely before removing from the pan, preventing breakage and ensuring a perfect texture.
- Texture Check: The mixture should feel sticky but hold together once set. If too soft, it may not cut cleanly, so be vigilant!
- Coating Choices: Experiment with different types of dipping chocolate—dark, milk, or even white chocolate—to create your own signature homemade Butterfingers.
- Add Crunch: For an extra layer of texture, fold in some crushed corn flakes into the peanut butter mixture before setting!
How to Store and Freeze Homemade Butterfingers
-
Room Temperature: Store your homemade Butterfingers in an airtight container at room temperature for up to 3 days. They will maintain their delightful texture and flavor.
-
Fridge: Keep them in the refrigerator for a firmer bite. Just be sure to place them in an airtight container, where they can stay fresh for up to 1 week.
-
Freezer: For longer storage, wrap individual bars in plastic wrap, then place them in a freezer bag. They can be frozen for up to 2 months; just thaw in the refrigerator before enjoying.
-
Reheating: If you prefer a softer texture, let them sit at room temperature for about 10–15 minutes before indulging. The deliciousness of homemade Butterfingers is worth the wait!
Make Ahead Options
These Homemade Butterfingers are perfect for busy home cooks looking to save time! You can prepare the peanut butter and candy corn mixture up to 24 hours in advance; simply allow it to cool in the pan and then cover it tightly with plastic wrap to prevent drying out. Additionally, once your bars are cut and fully cooled, you can store them in an airtight container for up to 3 days at room temperature or longer in the refrigerator if you prefer a firmer bite. When you’re ready to enjoy your homemade treats, just dip the bars in chocolate, let them set, and you’ll have a delightful, sweets-inspired snack that’s just as delicious as when freshly made!
What to Serve with Homemade Butterfingers?
Imagine a joyful gathering where sweet treats complement each other perfectly, elevating the delightful experience for everyone involved.
- Milkshake Madness: A creamy peanut butter milkshake enhances the nutty flavor of the candy, creating a nostalgic pairing that’s rich and satisfying.
- Salted Caramel Brownies: These fudgy brownies introduce a contrast of flavors, with the sweetness of chocolate and a hint of salt balancing the sweetness of the Butterfingers.
- Fruit Platter: A colorful assortment of fresh berries and slices adds a refreshing touch to balance the richness of the candy.
- Popcorn Bar: Offer a mix of sweet and savory popcorn, which adds a fun, crunchy element that contrasts with the soft, melt-in-your-mouth Butterfingers.
- Vanilla Ice Cream: Serve a scoop alongside the candy, creating a luscious combination of creamy vanilla and rich chocolatey goodness.
- Coffee or Espresso: A warm cup of coffee pairs beautifully by cutting through the sweetness, enhancing the overall flavor experience.
Each of these suggestions brings something unique to the table, turning your homemade Butterfingers into the star of a delightful dessert spread!
Homemade Butterfingers Variations
Customize your treats for a delightful twist and extra excitement!
- Crunchy Peanut Butter: Swap creamy peanut butter for crunchy for an extra layer of texture and flavor.
- Alternative Sweeteners: Use melted marshmallows or butterscotch chips instead of candy corn for a unique sweetness.
- Dark Chocolate Dip: Ditch the regular dipping chocolate for dark chocolate to make it rich and decadent.
- Flavor Infusion: Add a tiny splash of maple syrup or almond extract for an unexpected flavor boost.
- Nutty Add-ins: Incorporate chopped nuts or seeds into the peanut butter mixture for added crunch and nuttiness.
- Spicy Kick: Mix in a pinch of cayenne pepper or chili powder for a surprising heat that enhances the sweetness.
- Coconut Coating: Roll the chocolate-coated bars in shredded coconut for tropical flair and delightful texture.
- Mini Bars: Cut the bars into smaller bite-sized pieces, perfect for sharing or for parties—everyone loves a little sweet treat!
Homemade Butterfingers Recipe FAQs
How do I choose the best peanut butter for Homemade Butterfingers?
Absolutely! For the richest flavor, creamy peanut butter is ideal as it mimics the original candy’s texture and taste. If you love a little crunch, feel free to swap in crunchy peanut butter. Just avoid using alternatives like almond butter, as they can significantly change the classic flavor profile.
How should I store Homemade Butterfingers for freshness?
You can keep your homemade Butterfingers in an airtight container at room temperature for about 3 days. If you prefer a firmer bite, placing them in the fridge can extend freshness for up to 1 week. Just remember to seal them tightly to maintain that delightful texture!
Can I freeze Homemade Butterfingers?
Absolutely! To freeze your Homemade Butterfingers, wrap each bar in plastic wrap individually, and then place them in a freezer bag. They can be stored in the freezer for up to 2 months. When you’re ready to enjoy them, simply thaw in the refrigerator for a few hours, or at room temperature for about 10-15 minutes for a softer texture.
What should I do if my mixture is too hard?
If you’ve accidentally overheated the mixture and it has become too hard to cut, don’t worry! You can try warming it slightly on low heat while stirring constantly until it softens. This can bring it back to a workable consistency. Just be sure to keep an eye on it to prevent further hardening!
Are there any dietary restrictions I should consider when making Homemade Butterfingers?
Great question! Homemade Butterfingers contain peanut butter, so they aren’t suitable for anyone with nut allergies. Additionally, candy corn is high in sugar and may not be ideal for those watching their sugar intake. For gluten-free options, using gluten-free chocolate for dipping can accommodate various dietary needs—just double-check the labels!
How can I customize Homemade Butterfingers?
The more the merrier! You can easily personalize your Homemade Butterfingers by adding a pinch of sea salt or a splash of vanilla extract to enhance the peanut butter flavor. For a unique texture, incorporate crushed corn flakes into the mixture. Experiment with different types of chocolate coatings, like dark, milk, or even a white chocolate drizzle for a gourmet twist!
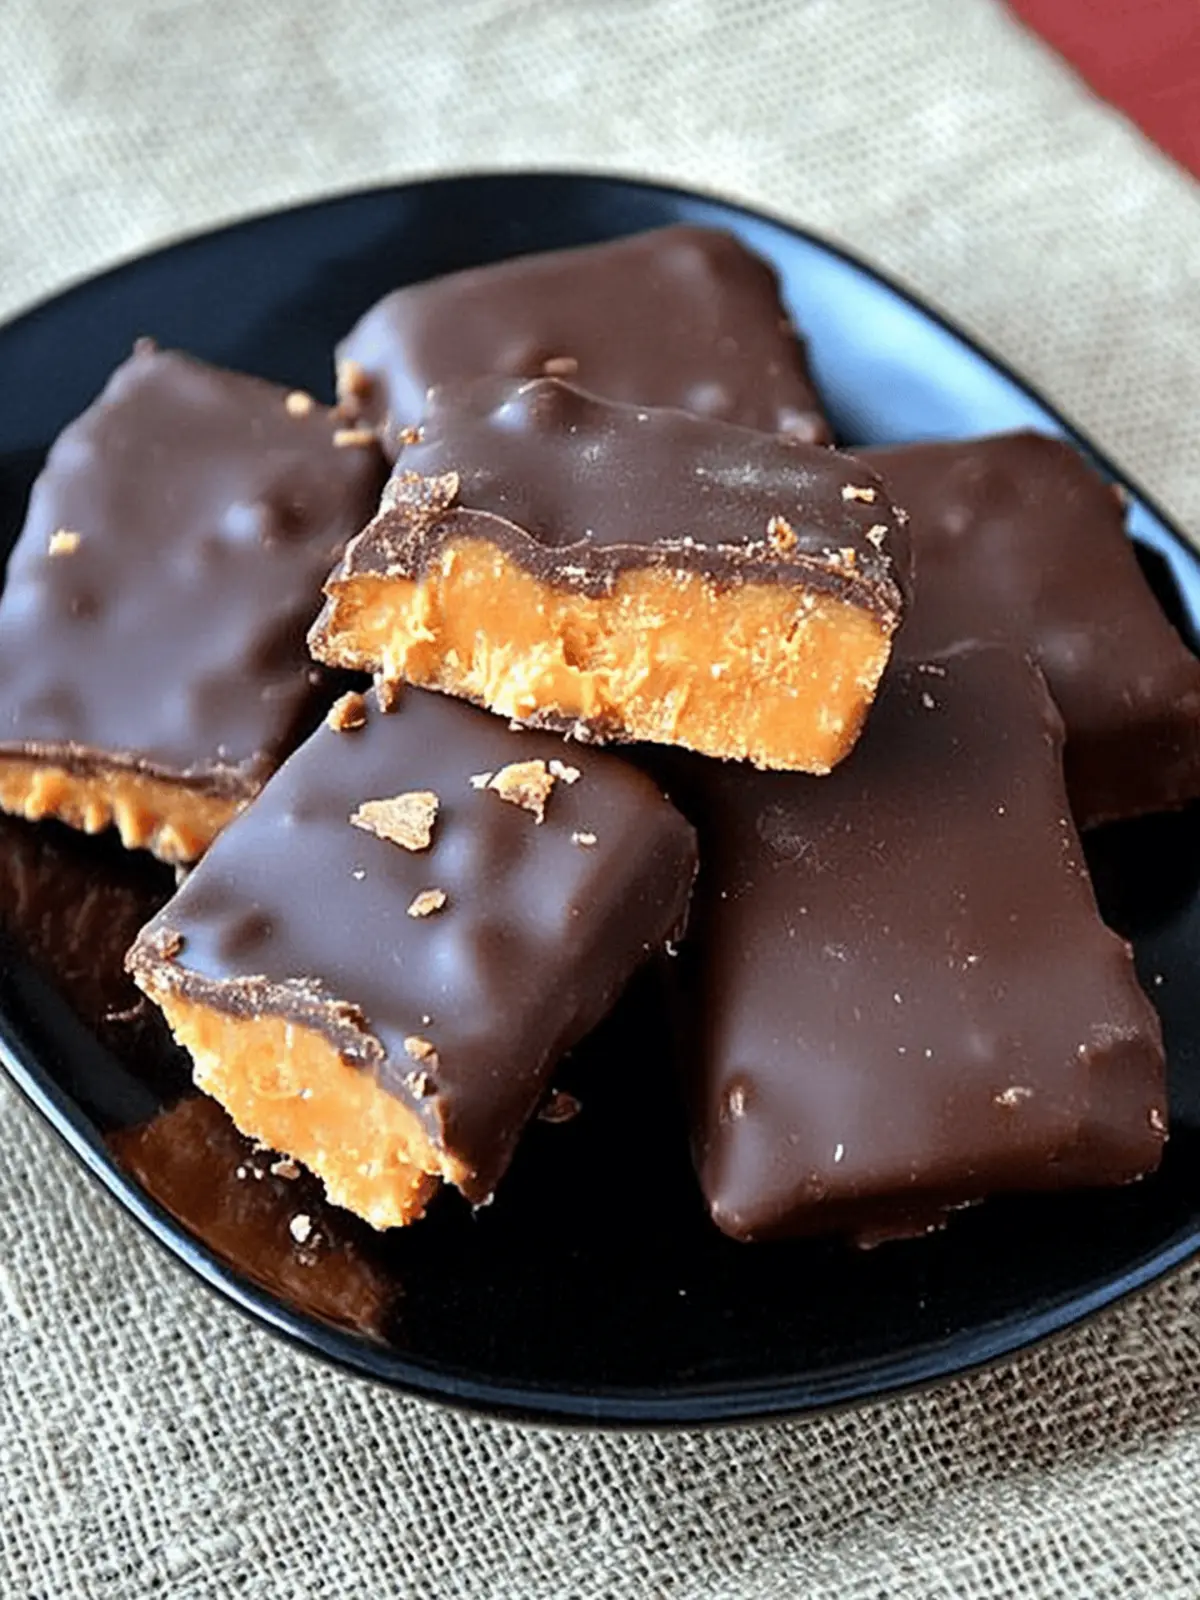
Homemade Butterfingers: Easy 3-Ingredient Bliss Awaits
Ingredients
Equipment
Method
- Lightly spray a 9x13-inch pan if you prefer thinner bars, or a 7x11-inch pan for thicker ones with nonstick spray.
- In a medium saucepan, combine creamy peanut butter and candy corn over medium heat. Stir constantly for 5 to 8 minutes until melted and smooth.
- Pour the melted mixture into your prepared pan, smoothing the top with a spatula. Allow to cool at room temperature for about 30 minutes.
- Once the mixture feels slightly firm, cut it into desired bar sizes and cool completely in the pan.
- Dip each bar into the melting chocolate, ensuring it's fully coated. Place on waxed paper or drying rack until chocolate hardens.

