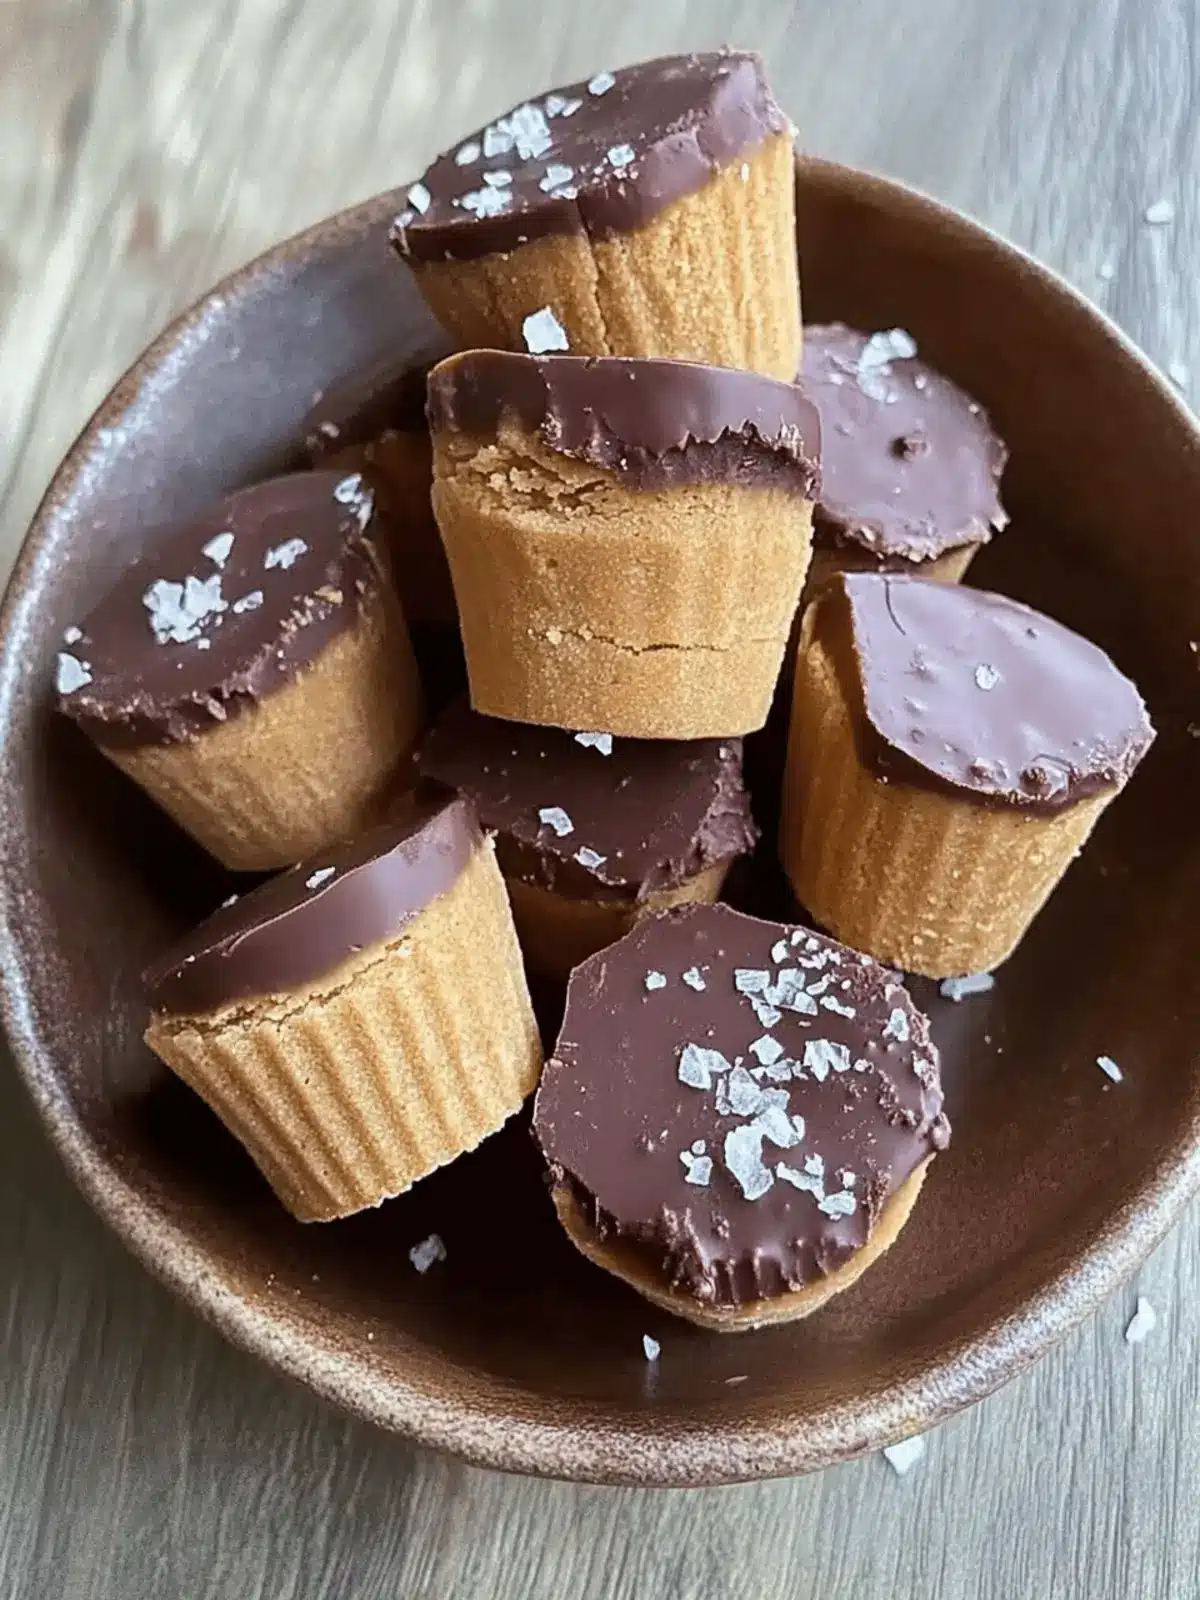
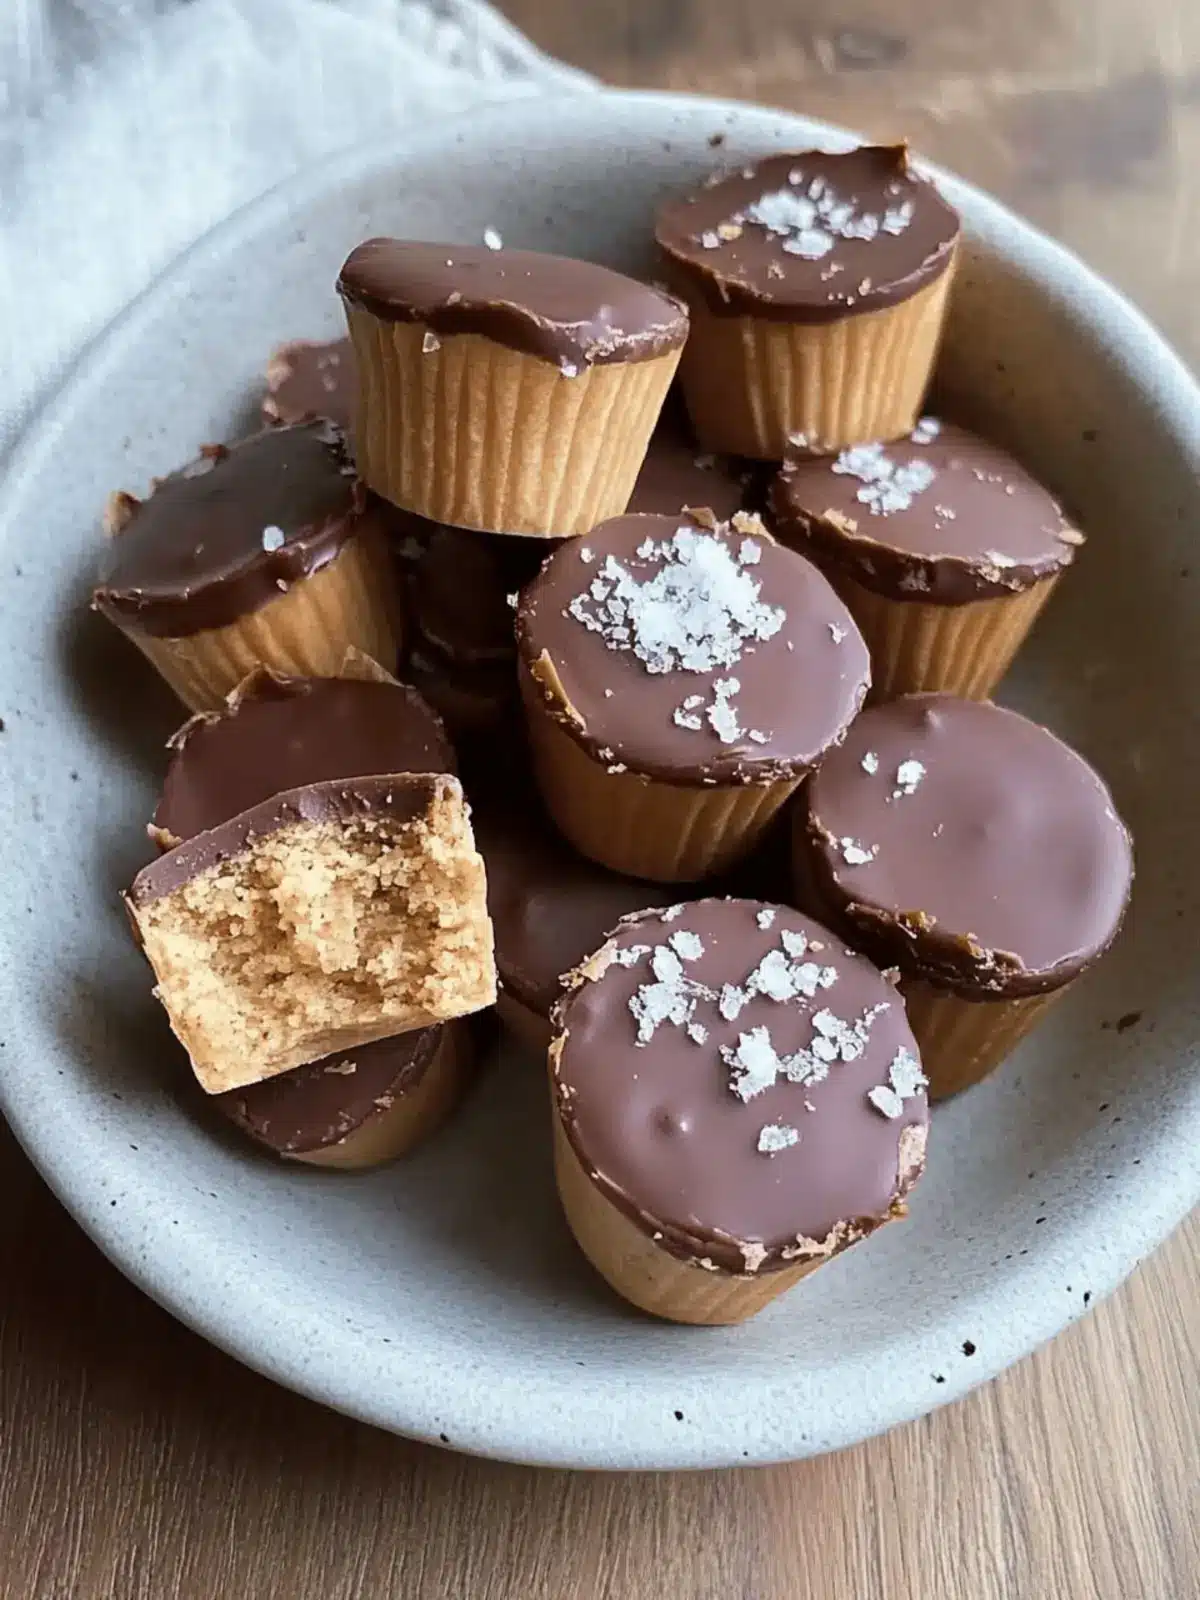
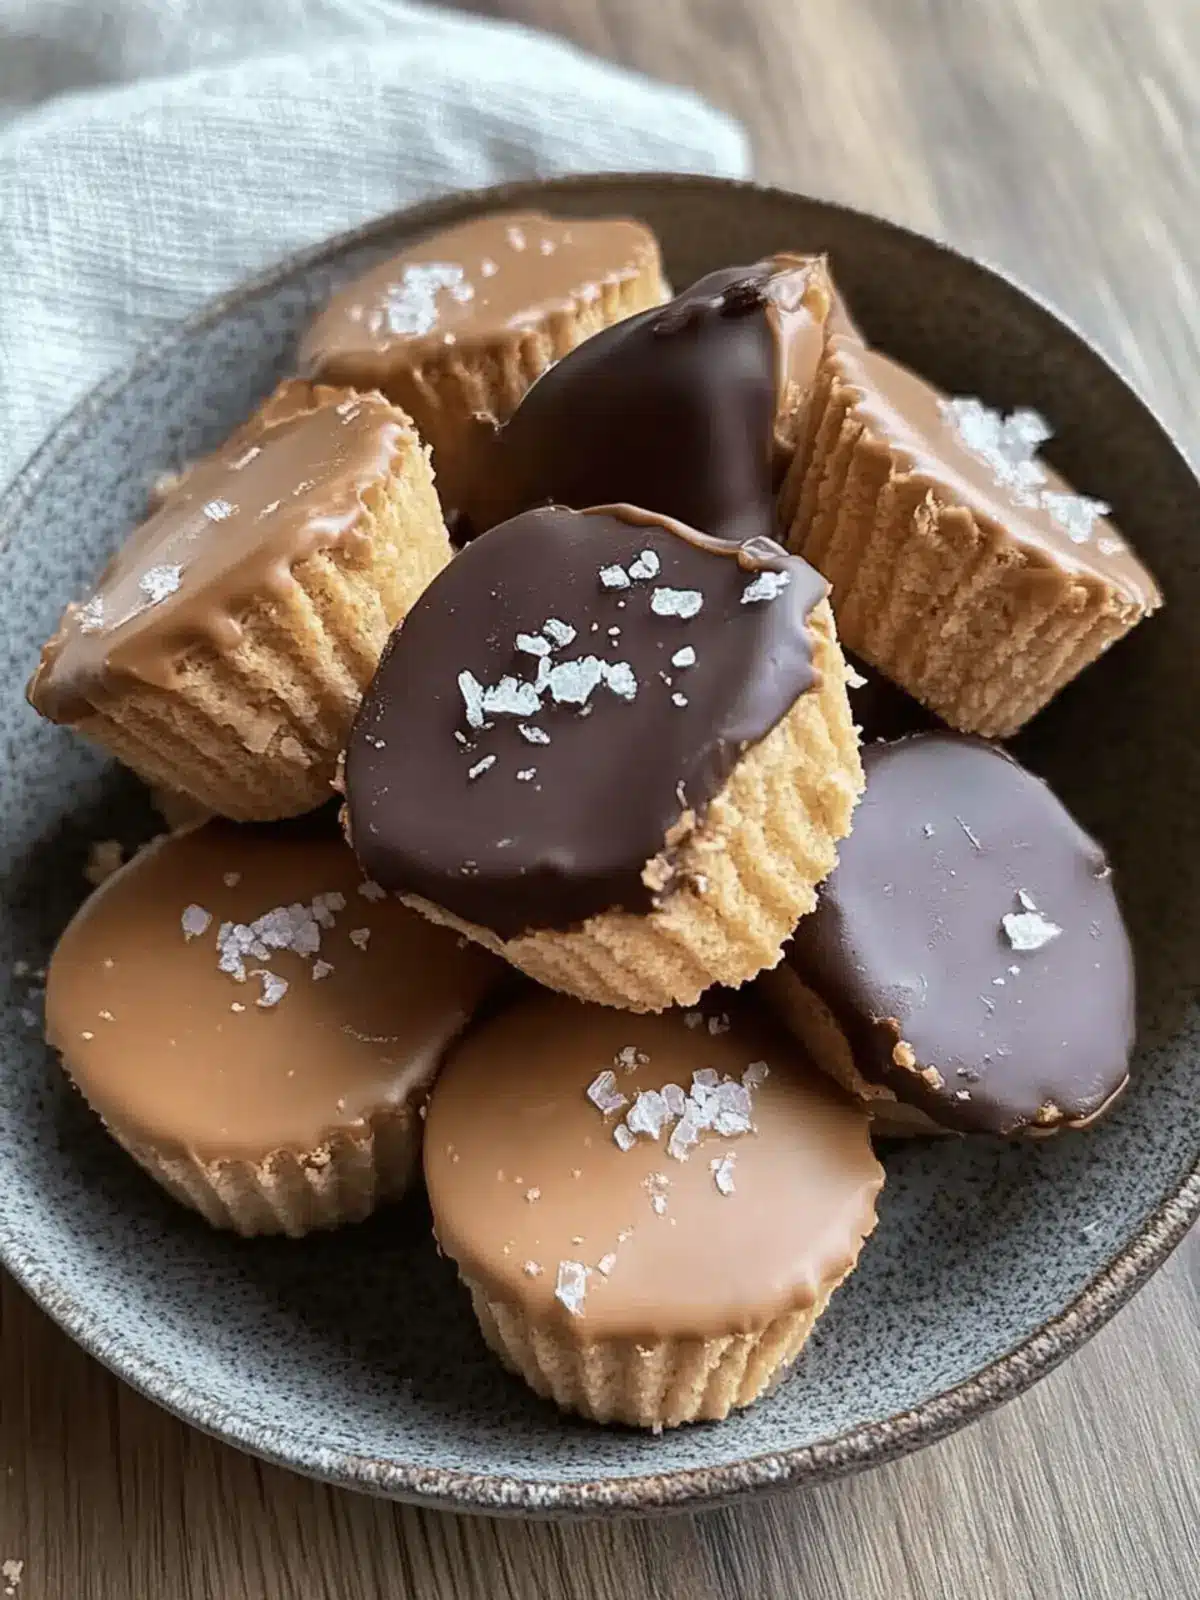
There’s something incredibly satisfying about biting into a treat that feels indulgent yet healthy. I discovered these Healthy Vegan Twix Cups one lazy afternoon when I was craving something sweet but wanted to avoid the guilt of traditional candy bars. The combination of a nutty almond flour base, a creamy caramel layer, and a rich chocolate topping creates a delightful balance of flavors and textures that will leave you reaching for more.
These little cups are not only no-bake and simple to whip up, but they also provide a nutritious solution for those of us tired of fast food and sugary snacks. Perfect for an afternoon pick-me-up or a guilt-free dessert, they are bound to impress friends and family at any gathering. Plus, with customizable variations based on your pantry staples, you can create a personalized version that fits your taste preferences. Join me in this adventure of guilt-free indulgence and satisfy your sweet cravings without the compromise!
Why are these Healthy Twix Cups (Vegan) a must-try?
Irresistibly Easy: These cups come together in just a few minutes, making them perfect for busy schedules.
Nutritious Twist: With wholesome ingredients like almond flour and natural sweeteners, they satisfy sweet cravings without the guilt.
No-Bake Magic: There’s no need for an oven, perfect for warm days or quick snacks!
Customizable Delight: Whether you prefer almond butter or want to experiment with different sweeteners, they adapt to your taste.
Crowd-Pleaser: Ideal for parties or gatherings, everyone will love indulging in these vegan treats.
Whip up a batch today for a delicious and healthy pick-me-up!
Healthy Twix Cups (Vegan) Ingredients
For the Base
- Almond Flour – Provides structure and a nutty flavor; substitute with coconut flour if needed.
- Protein Powder or Coconut Flour – Boosts protein content and aids in texture; omit for a lighter treat.
- Maple Syrup – Acts as a natural sweetener; agave syrup makes a great alternative if desired.
- Olive Oil – Adds moisture; coconut oil can create a different flavor profile.
- Vanilla Extract – Enhances overall flavor; opt for pure extract for the best taste.
- Salt – Balances sweetness; just a pinch goes a long way.
For the Caramel Layer
- Peanut Butter (or Almond Butter) – Creates a creamy, caramel-like texture; use almond butter for a nut-free option.
- Chocolate Chips – Forms the luscious topping; make sure to use dairy-free chips to keep them vegan.
For the Chocolate Topping
- Olive Oil (for melting) – Keeps the chocolate smooth; can be substituted with coconut oil if preferred.
Prepare these Healthy Twix Cups (Vegan) with these wholesome ingredients for a guilt-free indulgence!
How to Make Healthy Twix Cups (Vegan)
-
Preheat the oven to 350°F and prepare a mini muffin tray by greasing it with a little oil or by using silicone molds for easy removal.
-
Mix in a bowl by combining almond flour, protein powder (if using), maple syrup, olive oil, vanilla extract, and a pinch of salt. Stir well until everything is fully integrated.
-
Distribute the mixture evenly into the muffin tray, filling each cup about one-third full. Press down gently to create a flat surface. Bake for 10-12 minutes until golden brown.
-
Prepare the caramel layer by whisking together peanut butter, maple syrup, olive oil, vanilla extract, and a pinch of salt in another bowl until smooth. Once the base is cool, add about 1 tsp of the caramel mixture on top of each cup.
-
Melt the chocolate chips with olive oil in a small pot over low heat, stirring gently to prevent burning. Once melted, pour the chocolate over the caramel layers, ensuring they are completely covered.
-
Freeze the cups for at least 2 hours to allow them to set properly. Ensure the chocolate is fully hardened before removing from the molds.
-
Store any leftover cups in an airtight container in the freezer for a cool treat later on!
Optional: Sprinkle some sea salt on top before serving for an added flavor boost!
Exact quantities are listed in the recipe card below.
Healthy Twix Cups (Vegan) Variations
Feel free to get creative and make these delightful cups your own! With a little imagination, you can enhance flavors and textures to suit your personal taste.
-
Nut-Free: Replace peanut butter with sunflower seed butter for a deliciously rich and nut-free option. Your kids will love them too!
-
Low-Carb: Switch out maple syrup for monk fruit sweetener to keep the sweetness while cutting down on sugar—perfect for a low-carb lifestyle. Enjoy the same indulgent flavors with fewer carbs!
-
Coconut Lover: Add unsweetened shredded coconut into the base for a tropical twist. This not only enhances flavor but also adds an interesting texture to every bite.
-
Chocolate Lovers: Use dark chocolate chips or cocoa powder for the topping to intensify the chocolate flavor. It’s a decadent addition that chocolate fans will appreciate!
-
Spicy Kick: Stir in a pinch of cayenne pepper to the caramel layer for a surprising hint of heat. It’s a bold twist that pairs surprisingly well with chocolate.
-
Crunchy Topping: Garnish with chopped nuts or seeds on the chocolate layer for an extra crunch and added nutrition. This textural variation takes the experience to a whole new level!
-
Berry Boost: Add a layer of fresh raspberries or strawberries atop the caramel for a fresh, fruity flavor that brightens each bite. It’s like summer in a cup!
How to Store and Freeze Healthy Twix Cups (Vegan)
Fridge: Store the Healthy Twix Cups in an airtight container in the refrigerator for up to 5 days. They are best enjoyed chilled for a refreshing treat.
Freezer: Keep the cups in the freezer for up to a month; this preserves their rich flavors and textures. Use parchment paper between layers to prevent sticking.
Reheating: To enjoy them, simply remove from the freezer and let sit at room temperature for 5-10 minutes before indulging. They’ll be perfectly soft yet firm!
Thawing: If you’d prefer a quick bite, you can thaw them in the microwave at low power for just a few seconds, but avoid overheating to keep the chocolate intact.
What to Serve with Healthy Twix Cups (Vegan)?
These delightful treats are a fantastic way to enhance your snacking experience beyond just the cups themselves.
-
Fresh Fruit: A bowl of mixed berries or sliced apples adds a refreshing contrast with their crisp and juicy textures. The natural sweetness complements the rich flavors of the Twix cups beautifully.
-
Dairy-Free Yogurt: A dollop of almond or coconut yogurt works wonders as a creamy dip. It provides a cool, tangy balance that elevates your guilt-free dessert moment.
-
Nutty Granola: Enjoy your Healthy Twix Cups alongside a handful of crunchy granola. The added texture and wholesome flavors create a delightful mix that feels indulgent yet healthy.
-
Herbal Tea: Sip on a soothing cup of chamomile or peppermint tea. The warm herbal notes offer a comforting finish after the sweet richness of the cups.
-
Chocolate Almond Milk: Pour yourself a glass of chilled chocolate almond milk for a luscious pairing. It’s a rich beverage that compliments the chocolate topping of the cups perfectly.
-
Dark Chocolate-Covered Nuts: For an extra treat, serve a side of dark chocolate-covered almonds or cashews. Their crunchy, sweet coating meshes wonderfully with the Twix cups’ textures and flavors.
-
Chewy Dates: For a truly sweet experience, pair the cups with chewy dates. Their caramel-like flavor echoes the interior of the Healthy Twix Cups and creates a delightful synergy with each bite.
-
Coconut Macaroons: These chewy delights add another layer of sweetness without being overwhelming. Their tropical flavor rounds out the vegan indulgence for those who love a hint of coconut.
Let these pairings inspire your next snack time as you enjoy the scrumptious flavors of your Healthy Twix Cups!
Expert Tips for Healthy Twix Cups
- Cool Before Layering: Allow the base layer to completely cool before adding the caramel; this prevents melting and ensures better texture.
- Gentle Heat: Melt chocolate on low heat to avoid burning; overheated chocolate can seize and ruin your topping.
- Freezing Check: Make sure the chocolate is completely set before removing the cups from the molds; this ensures they hold together nicely.
- Substitution Savvy: Don’t hesitate to swap ingredients! Use almond butter instead of peanut butter for a nut-free option in your Healthy Twix Cups (Vegan).
- Experiment with Sweetness: Try different sweeteners like agave or coconut sugar for unique flavor variations that fit your palate.
Make Ahead Options
These Healthy Twix Cups (Vegan) are perfect for those busy weeknights when you want to enjoy a guilt-free treat without any hassle! You can prepare the base layer and the caramel filling up to 24 hours in advance—just store them in the refrigerator in an airtight container to keep them fresh. When you’re ready to enjoy, simply melt your chocolate chips and pour the topping over the chilled layers, then freeze for at least 2 hours to set. By prepping ahead, you’ll shave off valuable time and enjoy these delicious cups just as tasty as if they were made the same day. It’s a great way to satisfy your sweet tooth while staying organized!
Healthy Twix Cups (Vegan) Recipe FAQs
What kind of almond flour should I use?
I recommend using finely ground almond flour for the best texture in your Healthy Twix Cups (Vegan). However, if you only have coconut flour on hand, you can use it, but remember that you will need to adjust the quantity, as coconut flour is more absorbent. Usually, a 1:4 ratio works well, so start with a lesser amount and add as needed.
How long can I store the Healthy Twix Cups (Vegan)?
You can store the cups in the refrigerator for up to 5 days in an airtight container, and they’ll stay fresh and delicious! If you want them to last longer, store them in the freezer, where they can stay tasty for up to 1 month. Just be sure to use parchment paper between layers to prevent them from sticking together.
Can I freeze the Healthy Twix Cups (Vegan)?
Absolutely! To freeze your Healthy Twix Cups (Vegan), simply place them in an airtight container or wrap them tightly in plastic wrap. Ensure to use parchment paper to separate layers if you’re stacking them. They should freeze well for about a month. To enjoy, just let them sit at room temperature for 5-10 minutes before indulging, or thaw them in the microwave on low for a few seconds.
What if my chocolate seizes when melting?
If your chocolate does seize, no worries! You can try adding a tiny bit of coconut oil or olive oil, which can help smooth it out. The key is to melt chocolate slowly over low heat and stir continuously to prevent it from clumping. If it does seize, be patient and add a splash of oil while stirring until it loosens up.
Are there any allergy considerations I should keep in mind?
Yes! Since this recipe uses almond flour and peanut butter, be cautious if serving anyone with nut allergies. You can replace almond flour with a seed flour like pumpkin seed flour and invest in a nut-free butter, such as sunflower seed butter, to make them allergy-friendly. Always check labels for any packaged ingredients to avoid cross-contamination.
Can I use a different sweetener instead of maple syrup?
Certainly! You can substitute maple syrup with agave syrup for a similar consistency and sweetness. Alternatively, coconut sugar or date syrup can also work; just keep in mind that these may change the overall flavor slightly, making it even more delicious in a unique way!
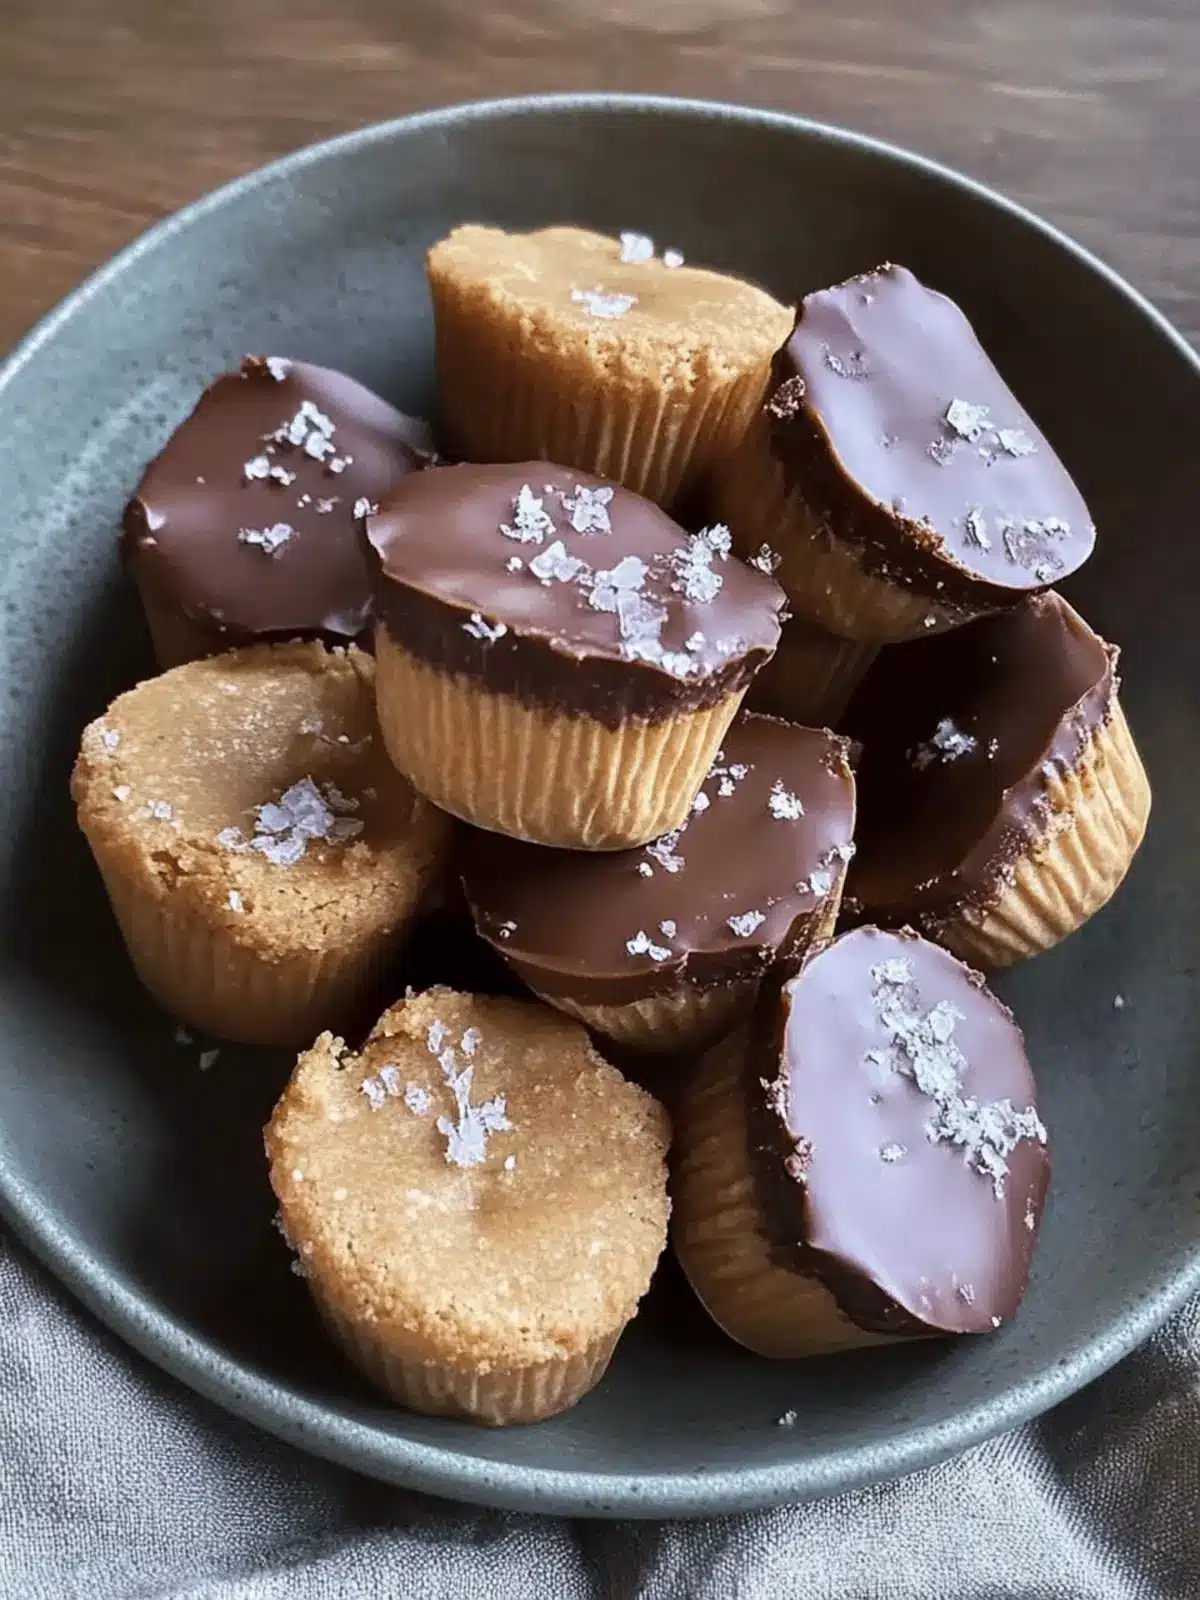
Healthy Twix Cups Vegan Delight You Can Make Today
Ingredients
Equipment
Method
- Preheat the oven to 350°F and prepare a mini muffin tray by greasing it with a little oil or by using silicone molds for easy removal.
- Mix in a bowl by combining almond flour, protein powder (if using), maple syrup, olive oil, vanilla extract, and a pinch of salt. Stir well until everything is fully integrated.
- Distribute the mixture evenly into the muffin tray, filling each cup about one-third full. Press down gently to create a flat surface. Bake for 10-12 minutes until golden brown.
- Prepare the caramel layer by whisking together peanut butter, maple syrup, olive oil, vanilla extract, and a pinch of salt in another bowl until smooth. Once the base is cool, add about 1 tsp of the caramel mixture on top of each cup.
- Melt the chocolate chips with olive oil in a small pot over low heat, stirring gently to prevent burning. Once melted, pour the chocolate over the caramel layers, ensuring they are completely covered.
- Freeze the cups for at least 2 hours to allow them to set properly. Ensure the chocolate is fully hardened before removing from the molds.
- Store any leftover cups in an airtight container in the freezer for a cool treat later on!

