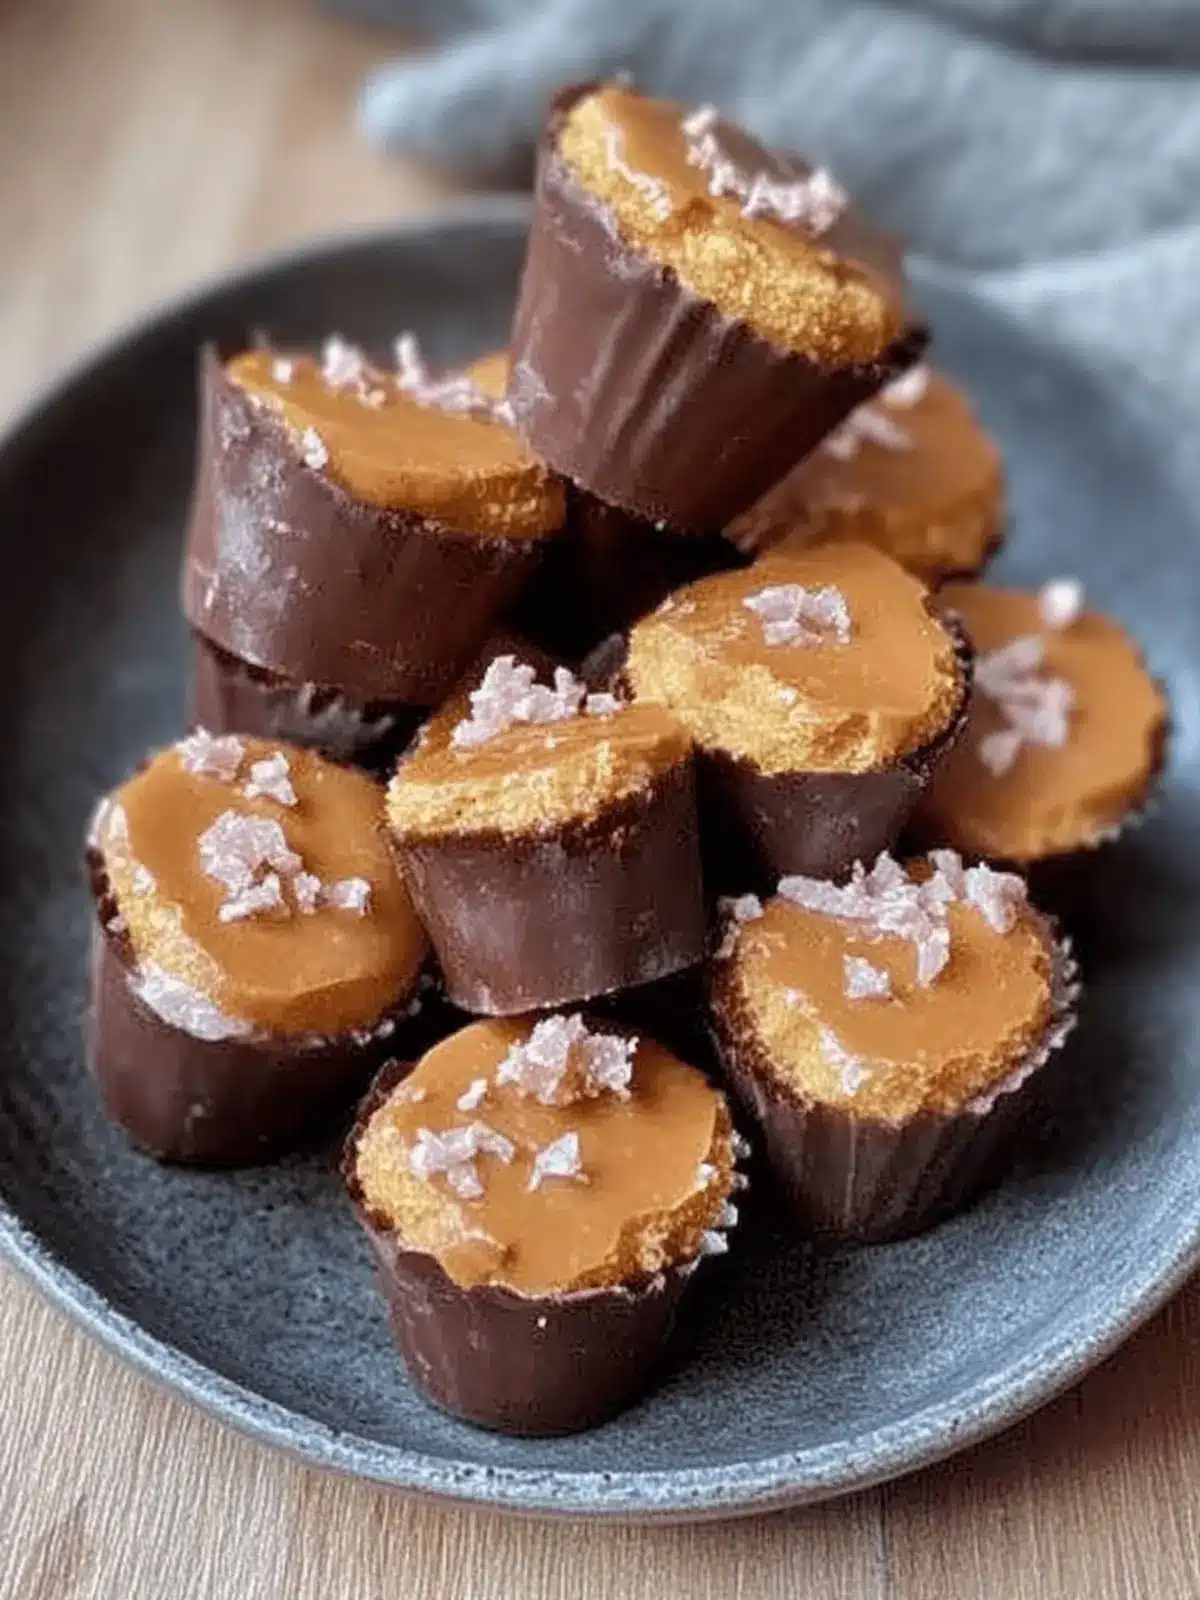
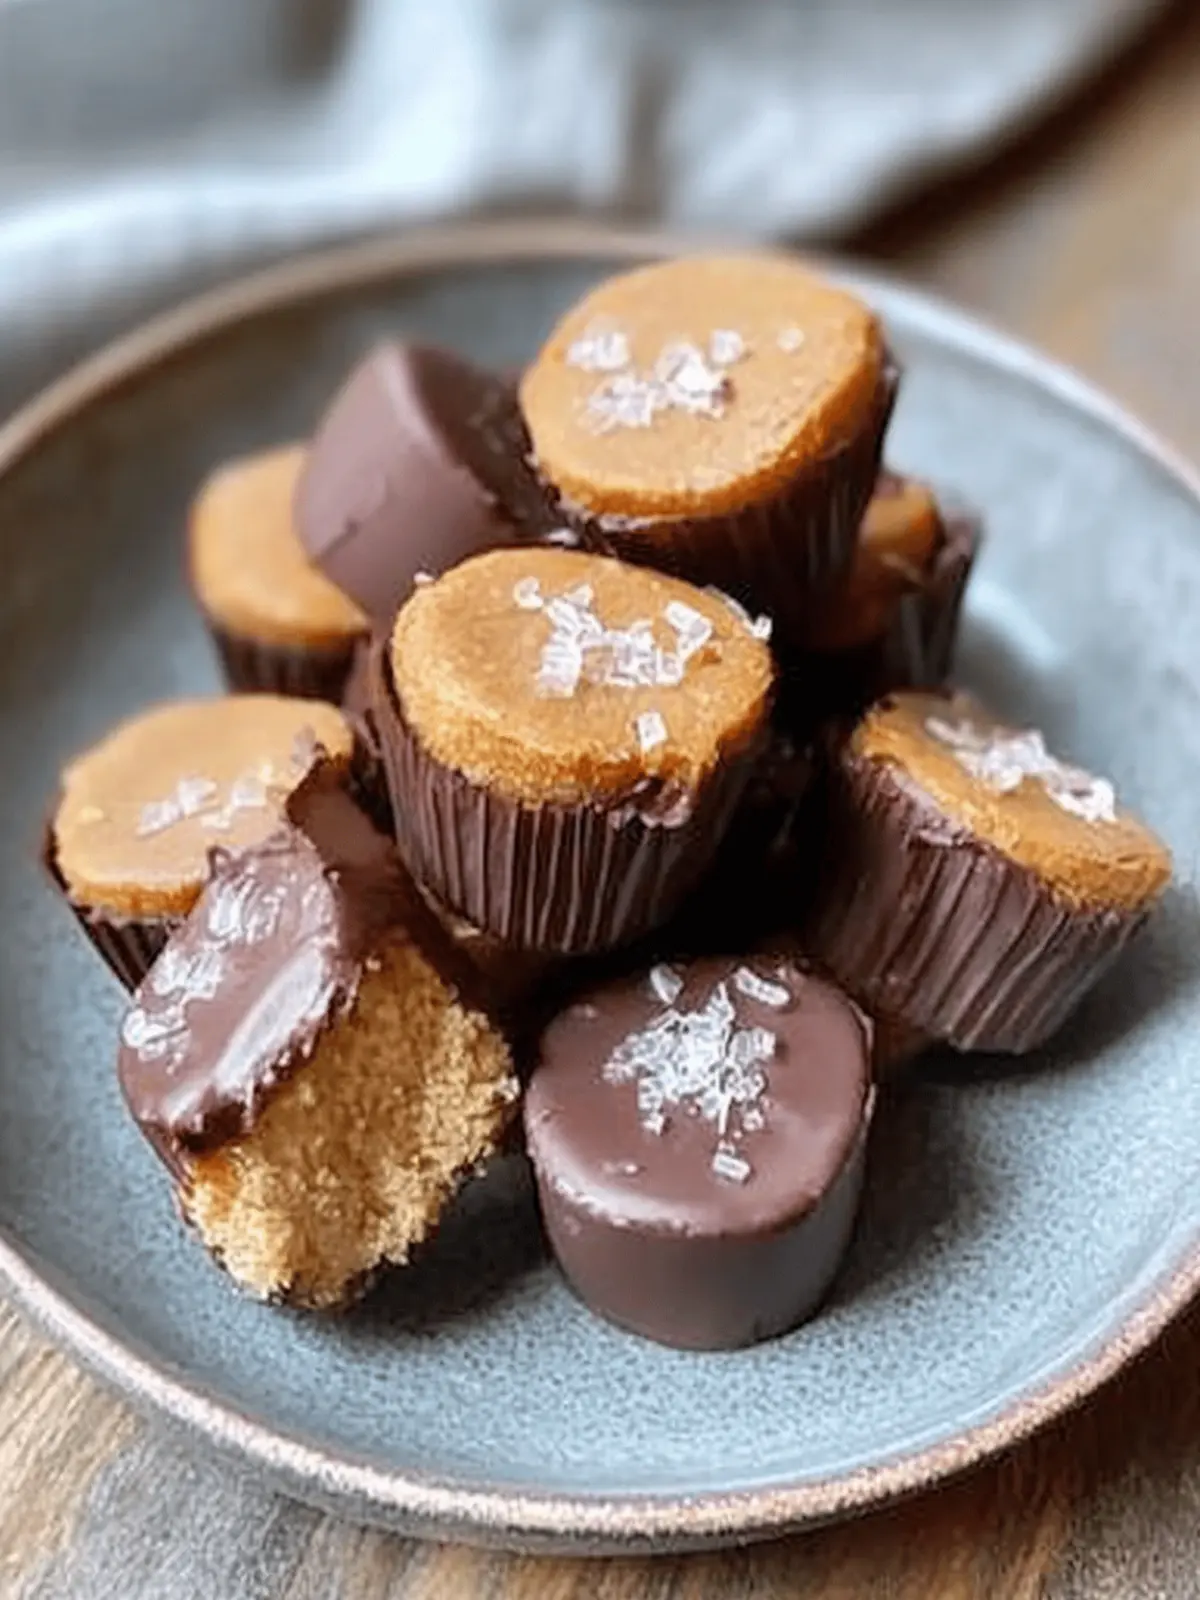
There’s something incredibly satisfying about transforming a beloved candy bar into a guilt-free treat that nourishes your body and spirit. When I first set out to create these Healthy Twix Cups (Vegan), I didn’t expect to stumble upon a dessert that rivals the classic version while boasting wholesome ingredients. Picture this: velvety layers of creamy peanut butter caramel enveloped between a tender almond flour base and a luscious chocolate topping. The best part? This no-bake delight comes together in just a few simple steps and requires only seven ingredients!
As the sweet aroma wafts through your kitchen, you might find it hard to believe these bites are not only vegan and gluten-free but also a healthy alternative to sugary snacks. Whether you’re entertaining guests or simply craving a mid-afternoon pick-me-up, these Healthy Twix Cups are sure to impress. Let’s dive into this deliciously simple recipe that will satisfy your sweet tooth without any of the guilt!
Why will you crave Healthy Twix Cups (Vegan)?
Indulgence without guilt: These Healthy Twix Cups offer all the textures and flavors of your favorite candy, without the unhealthy additives.
Quick and Easy: With just seven simple ingredients and no baking required, you can whip these up in no time.
Nutrient-Rich: Packed with wholesome ingredients like almond flour and natural sweeteners, they nourish your body while satisfying your cravings.
Versatile: Customize with different nut butters or toppings to match your taste preferences, making each batch uniquely yours!
Crowd-Pleaser: Perfect for sharing with friends and family—everyone will love these guilt-free treats!
Healthy Twix Cups (Vegan) Ingredients
For the Base
- Almond Flour – Provides a moist and sturdy foundation; swap with coconut flour for a nut-free option.
- Protein Powder – Boosts the nutritional profile; use based on your dietary needs.
- Maple Syrup – A natural sweetener that binds the ingredients together; honey works too but isn’t vegan.
- Olive Oil – Adds richness to the mixture; can be replaced with coconut oil for a different flavor.
- Vanilla Extract – Enhances the flavor; always choose pure for the best results.
- Salt – Balances out the sweetness perfectly; just a pinch will do.
For the Caramel Layer
- Peanut Butter – Creamy and mimics caramel for indulgent flavor; almond butter is a great alternative for those with nut allergies.
- Maple Syrup – Sweetens the caramel layer; adjust to your taste for perfect sweetness.
For the Chocolate Topping
- Chocolate Chips – The rich coating that solidifies in the fridge; ensure you pick vegan chocolate chips for full compliance.
- Olive Oil – Helps in melting the chocolate smoothly; coconut oil can be used as a swap.
Craft these Healthy Twix Cups (Vegan) and enjoy a delicious twist on a classic confectionery treat, all while keeping your health in check!
How to Make Healthy Twix Cups (Vegan)
-
Preheat your oven to 350°F (175°C). This step is crucial to achieve that lovely golden brown base that holds everything together!
-
Mix the Base: In a mixing bowl, combine almond flour, protein powder, maple syrup, olive oil, vanilla extract, and salt. Stir until well blended—aim for a smooth, coherent mixture.
-
Fill Muffin Trays: Spoon the mixture into a silicone mini muffin tray, filling each cup about 1/3 full. Gently press down to create a compact base for your cups.
-
Bake: Place the muffin tray in the oven and bake for 10-12 minutes. Keep an eye out for a lovely golden brown finish, then allow it to cool completely.
-
Create the Caramel Layer: In another bowl, whisk together the creamy peanut butter, maple syrup, olive oil, vanilla, and salt until smooth and luscious. Once your base is cool, dollop around 1 teaspoon of this mixture onto each cup and flatten it gently with a spoon.
-
Prepare the Chocolate Topping: Melt the chocolate chips with a bit of olive oil over low heat, stirring consistently to prevent burning. This will create a smooth chocolate sauce that’s ready to pour!
-
Top it Off: Drizzle or pour the melted chocolate over the caramel layer of each cup, covering it generously.
-
Chill: Finally, place the muffin tray into the freezer for 2 hours, allowing the cups to set firmly.
-
Store: After they have set, transfer the cups to an airtight container and store them in the freezer. They’ll be ready for whenever your sweet tooth strikes!
Optional: Drizzle with extra melted chocolate for added decadence.
Exact quantities are listed in the recipe card below.
Healthy Twix Cups (Vegan) Variations
Explore exciting twists on this delightful recipe that will make your taste buds dance with joy!
-
Nut Butter Swap: Use almond butter or cashew butter for unique and delicious flavor variations in the caramel layer. Each nut butter gives a different richness that’s worth trying.
-
Coconut Flour Alternative: Replace almond flour with coconut flour for a nut-free version that still holds together beautifully. This swap will lend a slightly different texture, making them equally delightful.
-
Add Protein Powder: Incorporate vegan protein powder into the base for an extra nutritional boost. Choose a flavor that complements the sweetness for an added depth of taste.
-
Maple Syrup Levels: Adjust the amount of maple syrup to your sweetness preference. Less syrup will make for a less sweet treat, while more will enhance the indulgent caramel flavor.
-
Chocolate Variations: Experiment with dark, milk, or white vegan chocolate for the topping. Each type offers a distinct sweet and cocoa experience, altering the overall taste of your Healthy Twix Cups.
-
Mix in Crunch: Add chopped nuts or seeds either in the base or as a topping to deliver a delightful crunch that contrasts beautifully with the creamy layers.
-
Spicy Kick: Add a pinch of cayenne pepper or a sprinkle of sea salt on top of the chocolate for an intriguing heat and flavor balance that surprises the palate.
-
Fruit Infusion: Fold in tiny bits of dried fruit such as cranberries or figs into the caramel layer for added sweetness and fruity goodness, elevating the health factor even more.
How to Store and Freeze Healthy Twix Cups (Vegan)
Fridge: Store these Healthy Twix Cups in an airtight container for up to 3 days if you’re planning to enjoy them soon.
Freezer: For long-term storage, freeze individual cups in a single layer, then transfer them to a freezer-safe bag, where they can last up to 2 months.
Reheating: To enjoy, simply remove a cup from the freezer and let it thaw at room temperature for about 15-20 minutes before digging in.
Wrap Well: If you prefer to keep them in the fridge, ensure they are well-wrapped to prevent absorbing any odors from other foods.
Helpful Tricks for Healthy Twix Cups (Vegan)
-
Silicone Tray Use: Opt for a silicone muffin tray to ensure effortless removal of the Healthy Twix Cups once set. No sticking means less frustration!
-
Cool Before Layering: Allow the base to cool completely before adding the caramel layer. This prevents melting and ensures distinct layers in your cups.
-
Chocolate Melting Method: Melt chocolate chips and olive oil over low heat, stirring constantly to avoid burning, resulting in a smooth topping every time.
-
Customization Options: Feel free to experiment with different nut butters or sweeteners to suit your taste preferences while keeping the integrity of your Healthy Twix Cups intact.
-
Storing for Freshness: Store any leftovers in an airtight container in the freezer to maintain their delightful taste and texture for longer!
Make Ahead Options
These Healthy Twix Cups (Vegan) are an excellent choice for meal prep, ensuring you have a guilt-free treat ready whenever you crave something sweet! You can prepare the base and caramel layer up to 24 hours in advance—just refrigerate them in separate airtight containers to maintain their freshness. When you’re ready to enjoy, simply melt the chocolate topping and drizzle it over the finished layers. For optimal results, store the assembled cups in the freezer, which allows you to enjoy them anytime without compromising their delicious quality. This method not only saves time during busy weeknights but also guarantees a delightful homemade snack awaits you!
What to Serve with Healthy Twix Cups (Vegan)?
Imagine indulging in a sweet treat while enjoying delightful pairings that elevate your experience. Let’s explore some delicious options that perfectly complement these guilt-free delights.
-
Fresh Berries: Their tartness contrasts beautifully with the sweetness of the cups, adding a burst of freshness to each bite.
-
Herbal Tea: A warm cup of chamomile or peppermint brings a soothing balance, perfect for winding down after a long day.
-
Coconut Whipped Cream: This creamy topping adds a luxurious touch and enhances the tropical notes in the almond flour base.
-
Nut Butter Drizzle: A touch of extra peanut or almond butter can amplify the nutty flavors, creating a decadent finish.
-
Dark Chocolate Dip: For true chocolate lovers, a quick dip in melted dark chocolate intensifies the rich flavor and adds a satisfying crunch.
-
Fruit Slices: Pair with apple or banana slices for a satisfying snack that adds a crunchy texture and more nutrients.
-
Dairy-Free Milkshake: Blend almond milk with your favorite flavorings for a creamy drink that mirrors ice cream without the guilt.
These pairings not only enhance the delightful experience of devouring Healthy Twix Cups but also create a full, satisfying meal or snack that feels indulgent yet nourishing.
Healthy Twix Cups (Vegan) Recipe FAQs
How do I know if my almond flour is fresh?
Absolutely! Fresh almond flour should have a slightly nutty aroma and a light beige color. If you notice any dark spots or a rancid smell, it’s best to toss it out and buy a new bag.
How should I store these Healthy Twix Cups to keep them fresh?
You can store these Healthy Twix Cups in an airtight container in the fridge for up to 3 days. For longer storage, pop them in the freezer. They’ll stay fresh for up to 2 months when frozen. Just ensure they’re tightly wrapped to prevent freezer burn!
Can I freeze Healthy Twix Cups?
Very! For best results, freeze the cups in a single layer on a baking tray until solid. After that, transfer them to a freezer-safe bag or container. This method helps maintain their shape and flavor, and they’ll be ready to enjoy whenever you have a sweet craving!
What should I do if my peanut butter caramel layer is too runny?
If your caramel layer is too runny, try adding a little more peanut butter until you reach your desired consistency. You can also refrigerate it for a short while to help it thicken before dolloping it onto your cups. Make sure the base is completely cool before adding, so the layers stay distinct!
Are these Healthy Twix Cups suitable for people with nut allergies?
If you or someone you’re serving has nut allergies, feel free to substitute the almond flour with coconut flour and the peanut butter with seed butter like sunflower seed butter. These modifications make it a nut-free treat without compromising on flavor!
What can I use instead of maple syrup?
If you’re looking for an alternative to maple syrup, agave nectar or date syrup could work wonderfully too! Keep in mind that honey is not vegan, but it can be used as a substitute for non-vegan diets. Adjust sweetness to taste, as different syrups may vary in sweetness level.
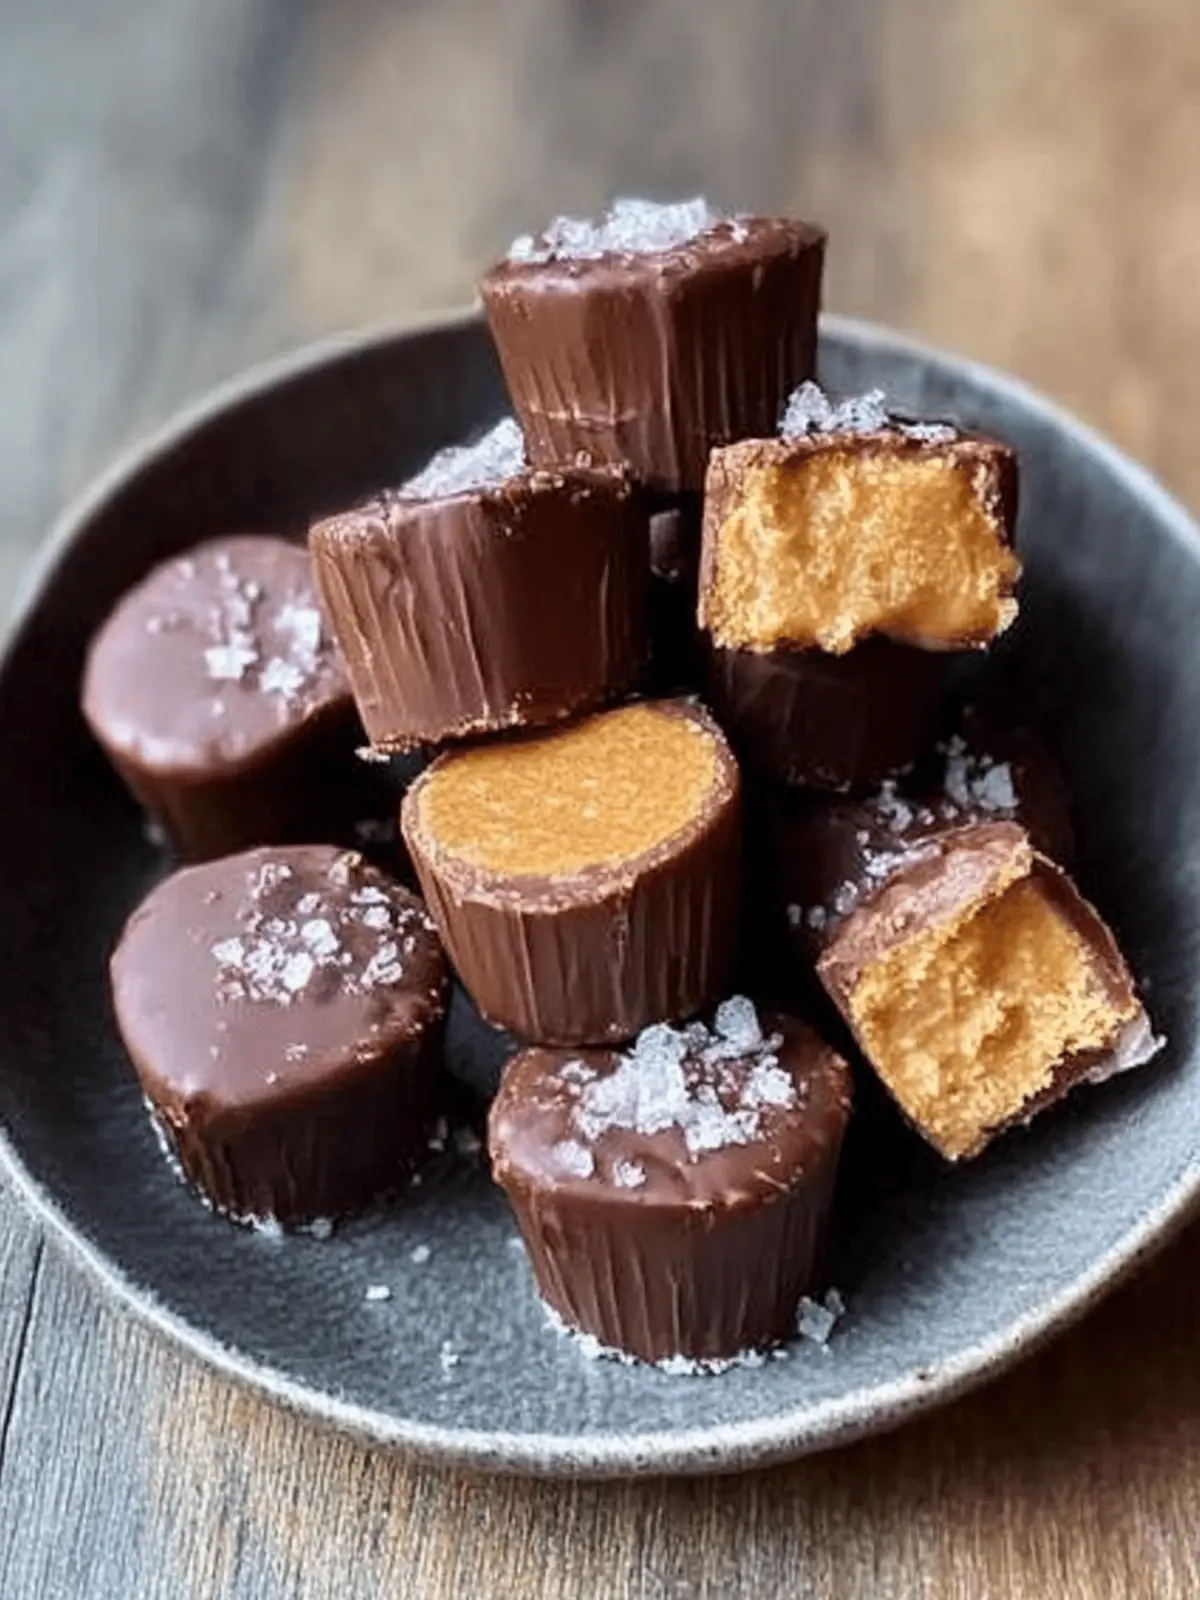
Deliciously Healthy Twix Cups (Vegan) You Can Make Today
Ingredients
Equipment
Method
- Preheat your oven to 350°F (175°C).
- In a mixing bowl, combine almond flour, protein powder, maple syrup, olive oil, vanilla extract, and salt. Stir until well blended.
- Spoon the mixture into a silicone mini muffin tray, filling each cup about 1/3 full and gently pressing down.
- Place the muffin tray in the oven and bake for 10-12 minutes. Allow to cool completely.
- In another bowl, whisk together peanut butter, maple syrup, olive oil, vanilla, and salt until smooth.
- After the base cools, dollop around 1 teaspoon of this mixture onto each cup and flatten gently.
- Melt the chocolate chips with olive oil over low heat, stirring constantly.
- Drizzle or pour the melted chocolate over the caramel layer, covering generously.
- Place the muffin tray into the freezer for 2 hours to let them set.
- Transfer the cups to an airtight container and store in the freezer.

