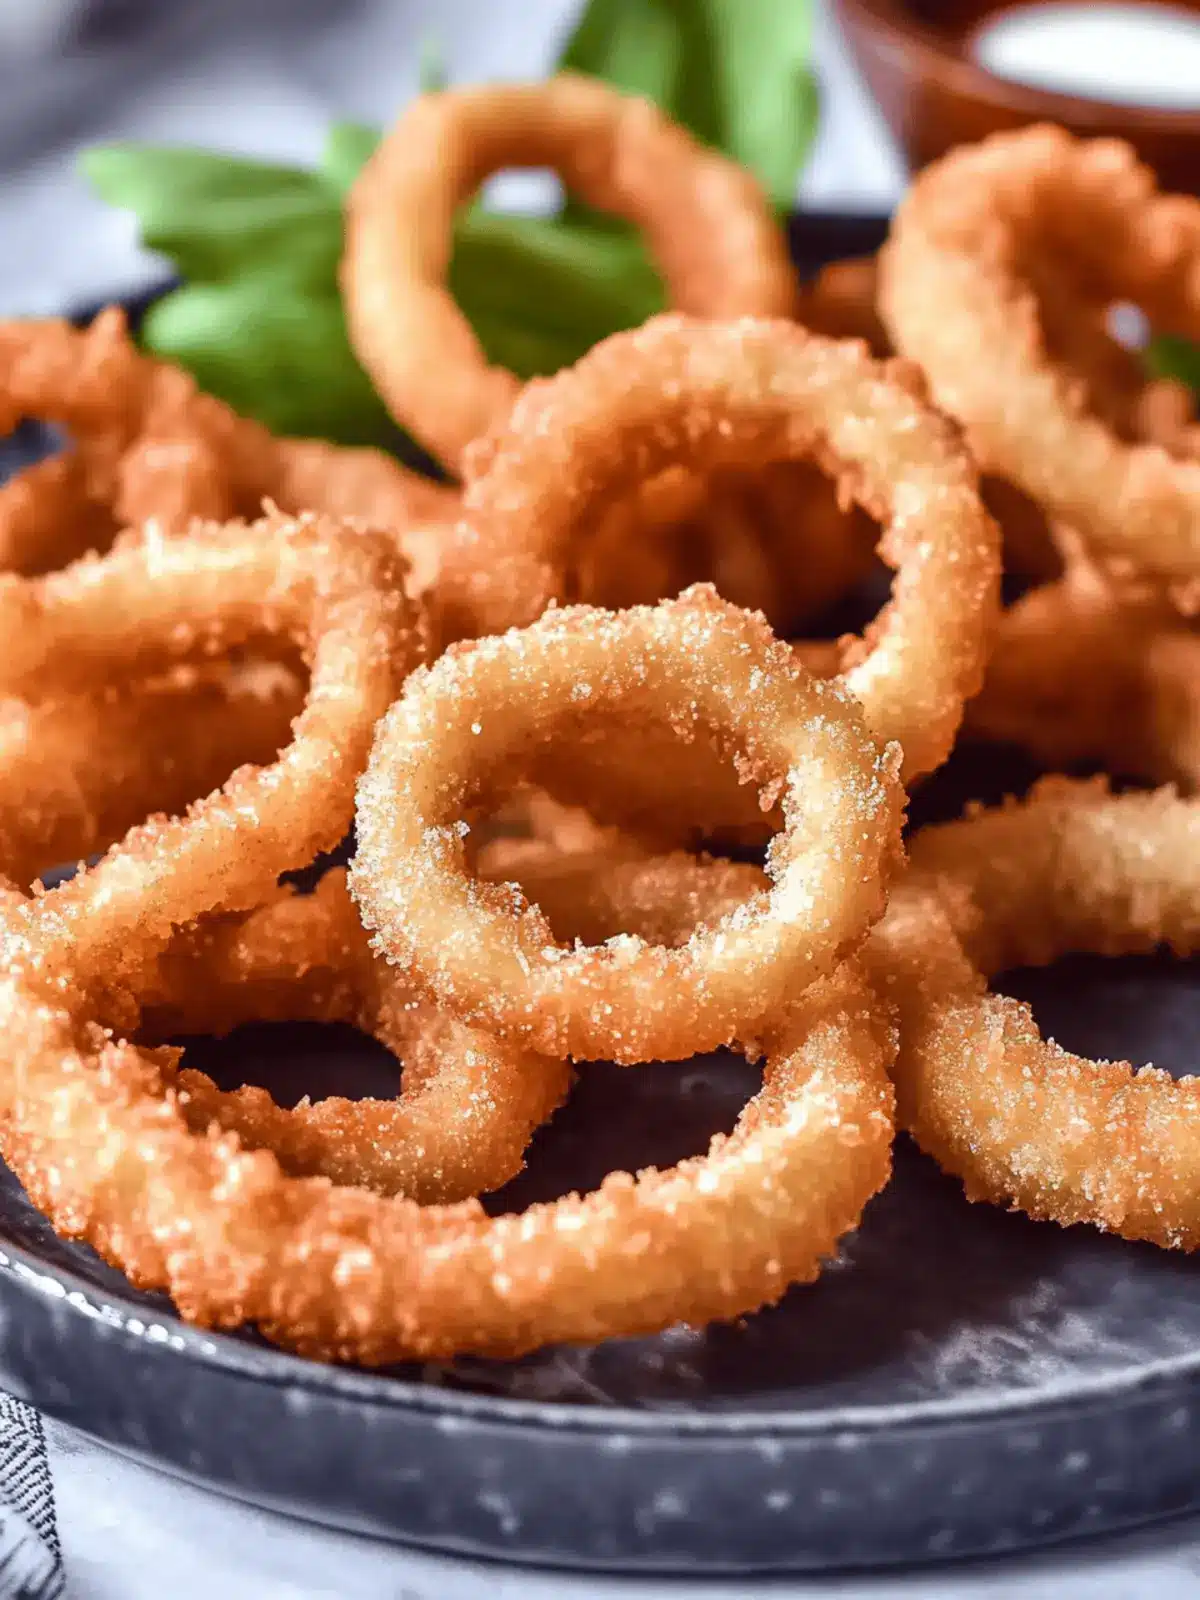
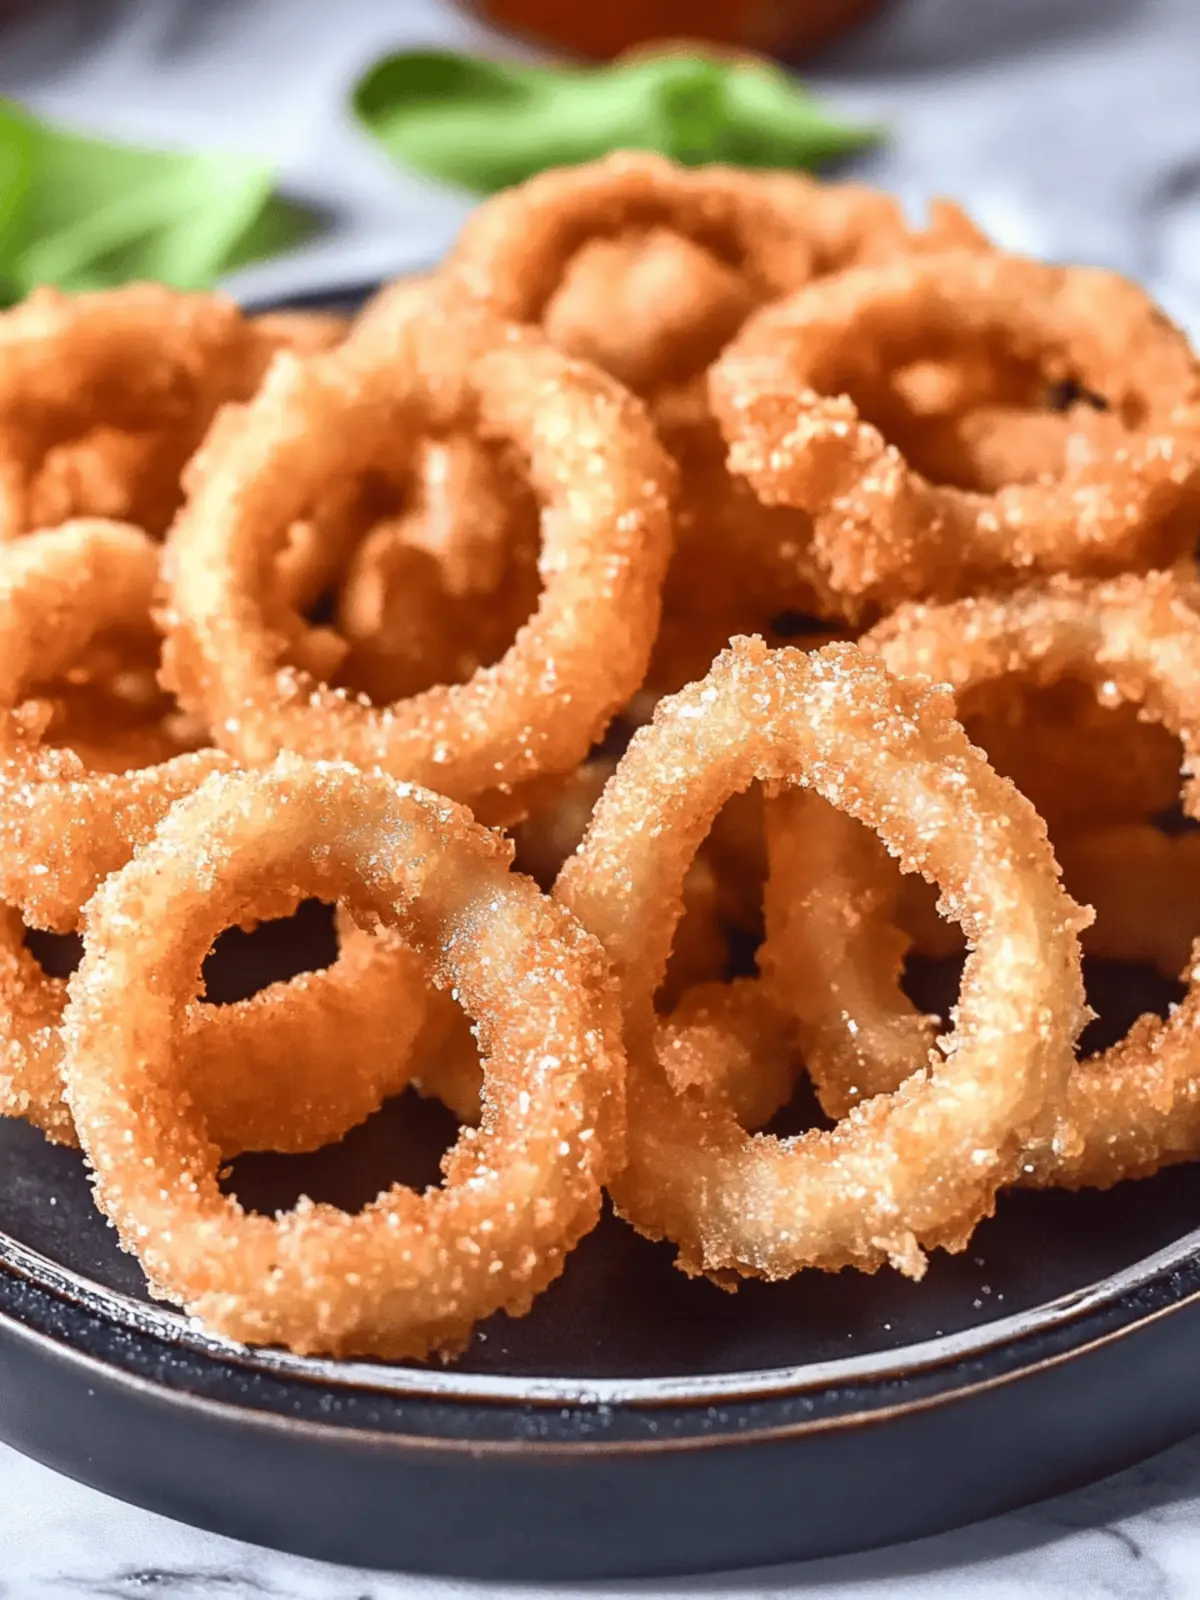
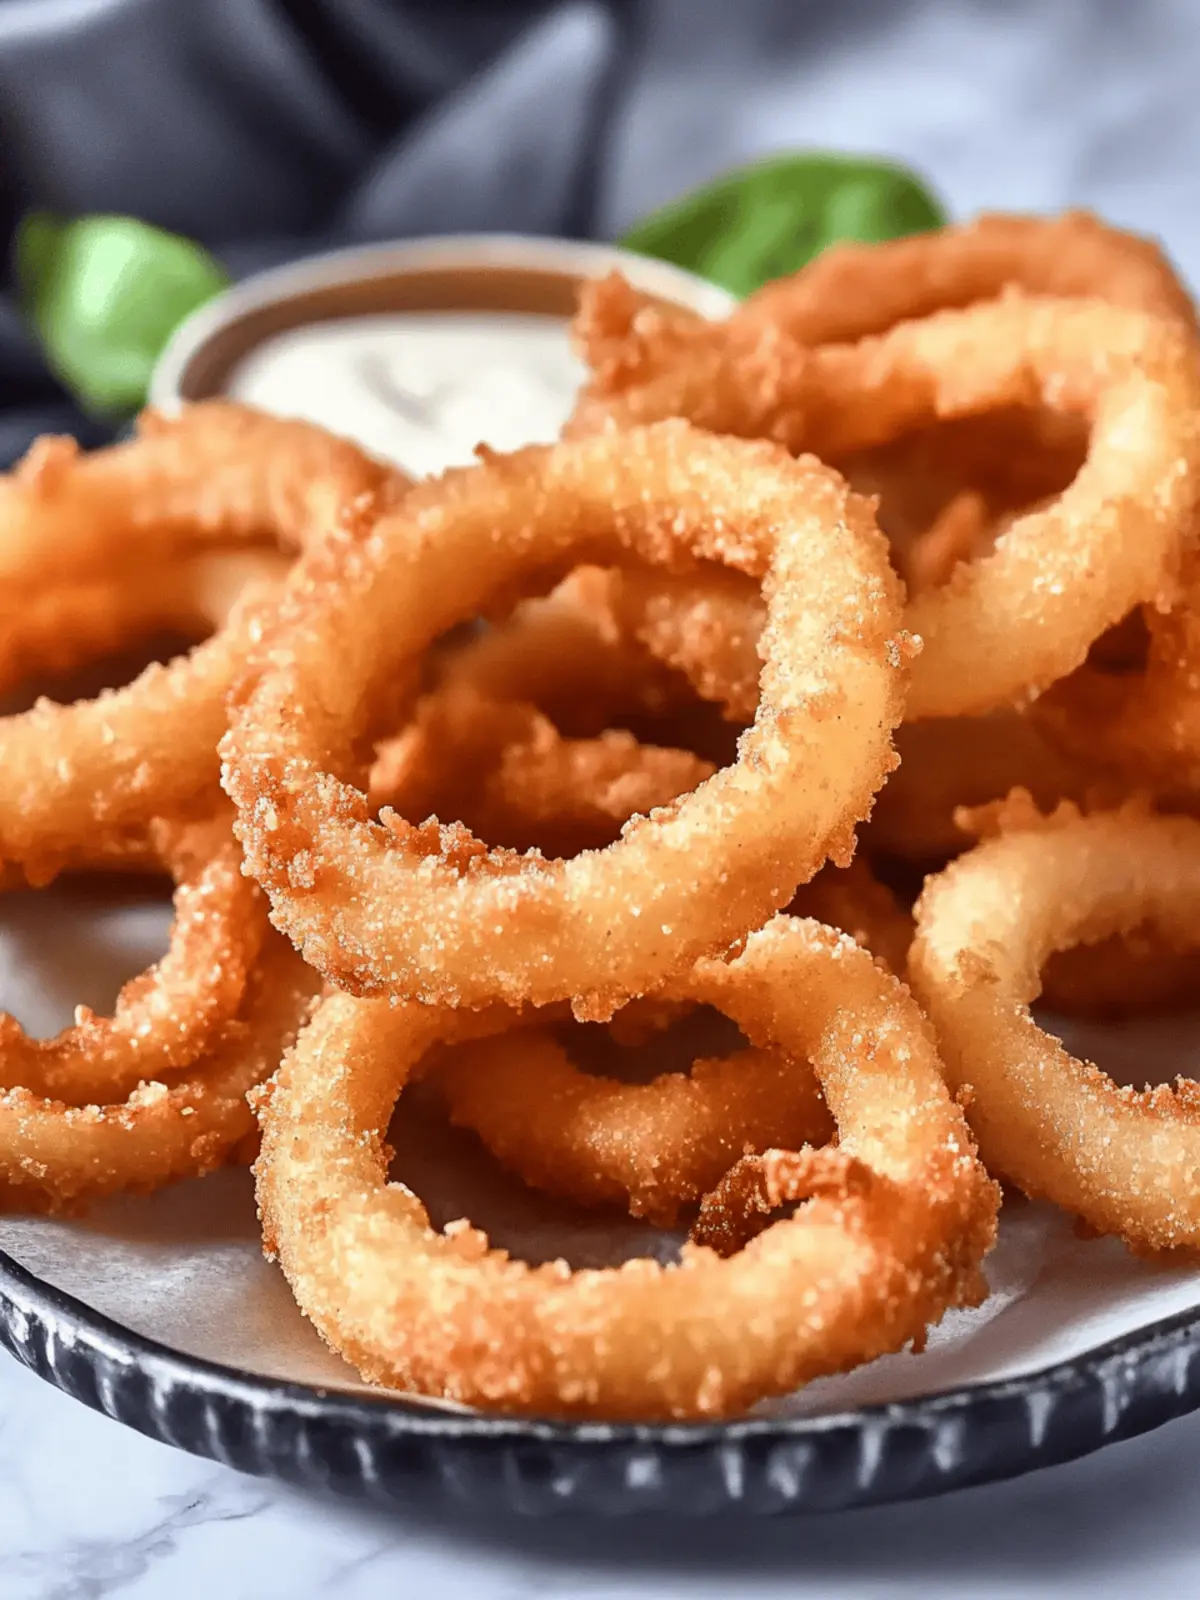
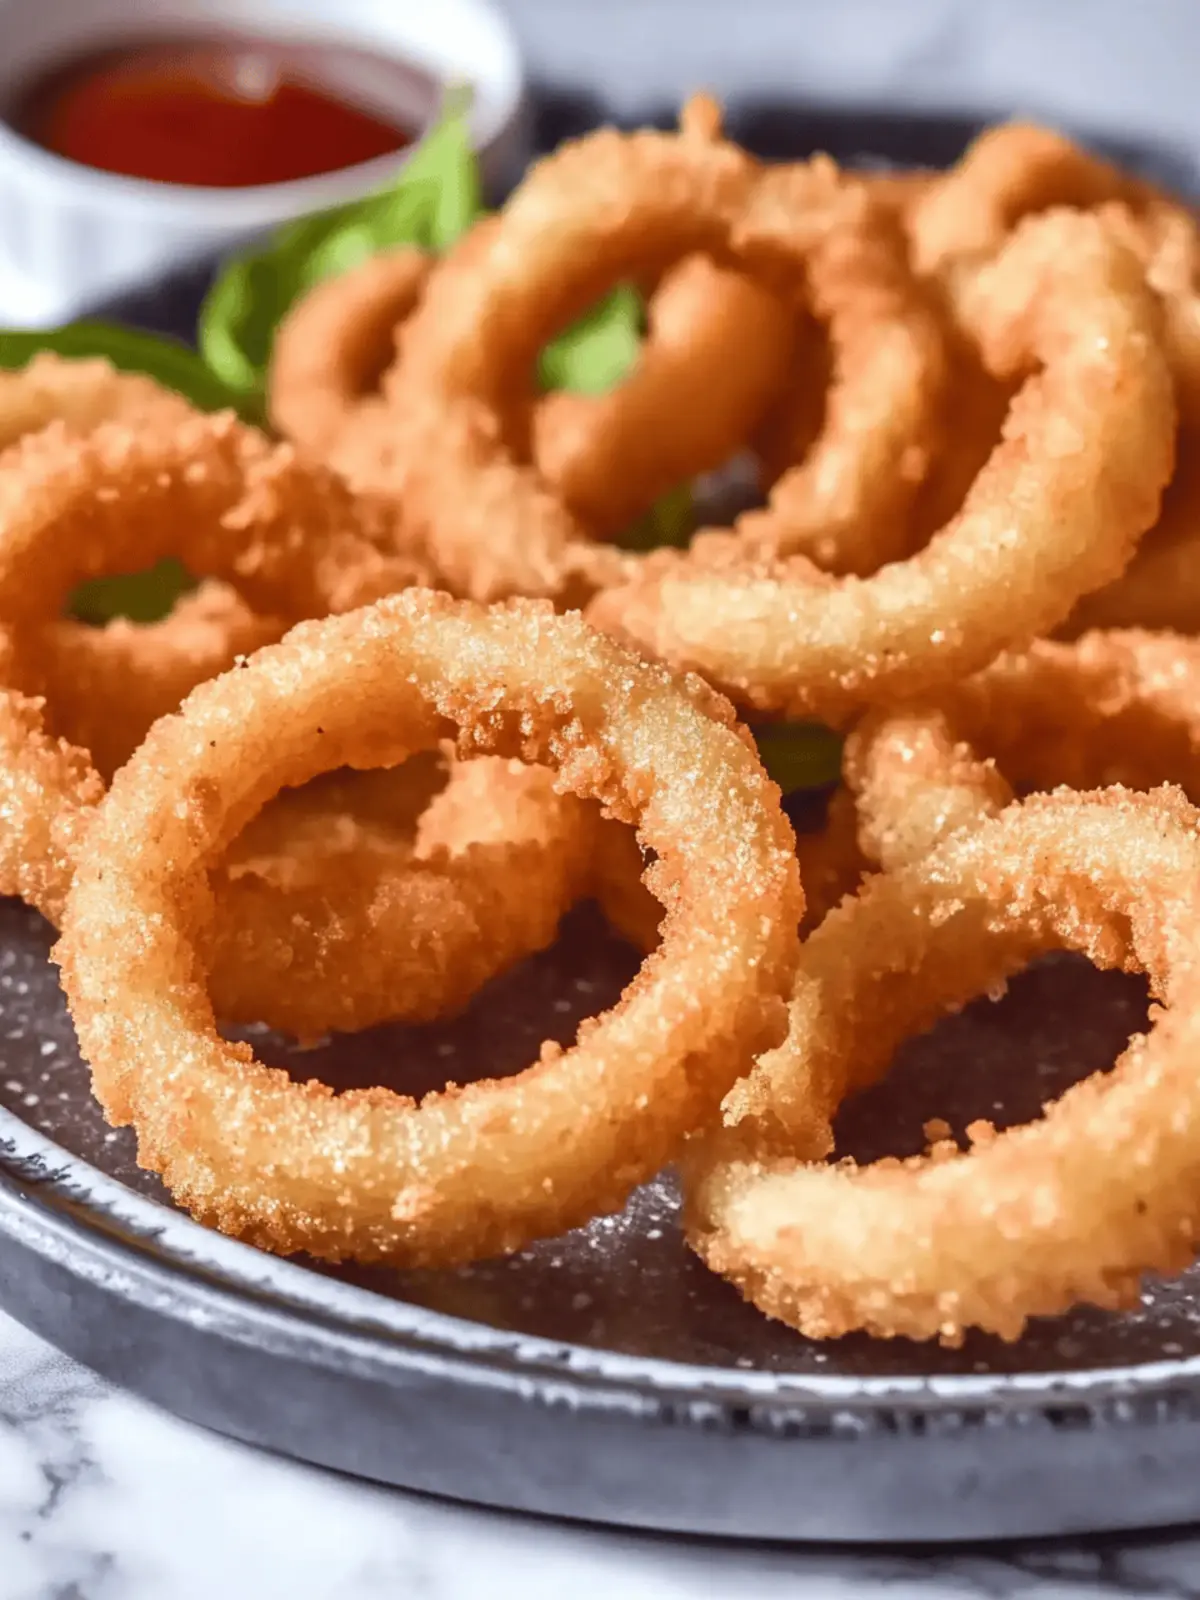
There’s something undeniably satisfying about the crunch of a perfectly fried onion ring, don’t you think? As I paired down my list of go-to snacks, I found myself craving a version that wouldn’t just hit that crispy spot but also cater to my gluten-free and dairy-free friends. After a little tinkering in the kitchen, I discovered the ultimate recipe for Crispy Gluten-Free Onion Rings (Dairy-Free) that not only delivers on flavor but also leaves you feeling good about what you’re snacking on.
Imagine biting into a ring that’s golden brown and bursting with flavor, while that classic crunch brings back memories of summer barbecues and family gatherings. Whether you’re serving them as an appetizer for a cozy family dinner or indulging as a movie-night treat, these onion rings will impress everyone at the table. Plus, they’re incredibly easy to whip up, making them a perfect solution for those busy weeknights when you’re tired of the same fast-food options. Let’s dive in and make these irresistible beauties together!
Crispy Gluten-Free Onion Rings that Wow?
Irresistible Crunch: These onion rings deliver an amazing crunch that beats any restaurant version.
Gluten-Free Friendly: Made with gluten-free flour and panko, everyone can enjoy these without worry.
Dairy-Free Delight: The dairy-free buttermilk offers a creamy texture, making them suitable for all diets.
Quick and Easy: In just 1-2 minutes of frying, you can serve up a snack that’s both delicious and satisfying.
Versatile Treat: Perfect as a savory side or a standalone snack, these rings pair wonderfully with your favorite dips.
With their delightful taste and easy prep, you can feel great about swapping out fast food for homemade joy!
Crispy Gluten-Free Onion Rings Ingredients
For the Onion Rings
• Yellow onions – 2 medium-sized, perfect for a sweet and savory flavor.
• Oil – 3–4 cups, for frying; choose a neutral oil like canola or vegetable for best results.
For the Batter
• Gluten-free all-purpose flour – 7 tablespoons; this provides a base that adheres well to the onions.
• Dairy-free buttermilk – 1/2 cup; this adds moisture and helps the batter stick.
• Egg – 1 large; helps to bind the batter together for a crispy coating.
• Baking powder – 1 teaspoon; ensures your batter gets a delightful lift.
For the Seasoning
• Salt – 1/4 teaspoon; enhances the overall flavor profile.
• Black pepper – 1/5 teaspoon; adds a subtle kick to your crispy gluten-free onion rings.
• Granulated garlic – 1/3 teaspoon; infuses a rich, garlicky flavor into each bite.
For the Coating
• Gluten-free panko breadcrumbs – 3 cups; provides that extra crunch and texture we all crave.
Now that you have all the ingredients, let’s set the stage for some crispy gluten-free onion rings that will make you leave fast food behind!
How to Make Crispy Gluten-Free Onion Rings
-
Heat Oil: Pour 3-4 cups of frying oil into a large frying pan or skillet. Heat it on low and aim for a temperature of 350°F to 375°F (175°C to 190°C) while you prepare the onions and batter.
-
Slice Onions: Cut the yellow onions horizontally into 1/2-1/3 inch thick rings. Gently separate the rings, setting them aside for the next steps.
-
Prepare Dry Mix: In a large bowl, combine half of the gluten-free all-purpose flour, ground black pepper, salt, and granulated garlic. This mixture will be the initial coating for your onion rings.
-
Make Batter: In another bowl, whisk together the dairy-free buttermilk, egg, baking powder, and the remaining gluten-free all-purpose flour until it forms a thick, cohesive batter.
-
Coat with Dry Mix: Roll each onion ring in the dry mixture, ensuring that every side is well coated for optimal flavor and crunch.
-
Dip in Batter: Next, dip the dry-coated onion rings into the batter, making sure each ring is completely covered in the creamy goodness.
-
Roll in Panko: Pour the gluten-free panko breadcrumbs onto a separate plate. Roll the battered onion rings in the panko, ensuring a generous coating to achieve that irresistible crunch.
-
Fry Rings: Once the oil is hot, gently place the panko-coated onion rings in the pan. Fry them for 1-2 minutes, or until they turn golden brown and crispy.
-
Drain and Serve: Carefully transfer the fried onion rings to a plate lined with paper towels to absorb excess oil. Serve hot with your favorite dipping sauce!
Optional: Try pairing with a tangy dipping sauce for an extra layer of flavor!
Exact quantities are listed in the recipe card below.
What to Serve with Crispy Gluten-Free Onion Rings (Dairy-Free)?
Elevate your snacking experience by pairing these golden delights with mouthwatering sides and refreshing beverages.
-
Spicy Dipping Sauce: A tangy sriracha mayo or zesty ranch brings a flavorful kick that balances the savory onion rings beautifully.
-
Classic Hamburger: The contrast of a juicy burger complements the crunch of onion rings, making for a nostalgic combo that never disappoints.
-
Crispy Sweet Potato Fries: The natural sweetness of sweet potato fries pairs perfectly with the savory crunch of your onion rings for a winning side dish.
-
Coleslaw: A crunchy, refreshing coleslaw adds a textural contrast and a bright flavor that cleanses the palate between bites.
-
Garden Salad: A fresh green salad tossed with a light vinaigrette creates a lovely balance of richness, providing a healthy complement to the crispy goodness.
-
Craft Beer: Pair with a light, hoppy craft beer; the carbonation and bitterness cut through the fried richness, enhancing both flavors.
With these delightful pairings, your crispy gluten-free onion rings will shine even brighter on the dining table!
Make Ahead Options
These Crispy Gluten-Free Onion Rings (Dairy-Free) are perfect for meal prep, allowing you to savor homemade flavor on busy nights! You can slice the onions and prepare the dry coating up to 24 hours in advance, refrigerating them in airtight containers to maintain freshness. Additionally, mix the batter a day ahead and store it in the fridge—just be sure to give it a good whisk before dipping the onion rings. When you’re ready to serve, simply coat the onion rings as directed and fry them for 1-2 minutes until golden brown. This way, you’ll enjoy restaurant-quality results without the last-minute rush!
Expert Tips for Crispy Gluten-Free Onion Rings
Oil Temperature Matters: Ensure the oil is heated between 350°F to 375°F for perfect frying; too cool and the rings will absorb excess oil, becoming soggy.
Thicker Batter: Keep your batter on the thicker side to ensure it clings well to the onion rings, enhancing that desired crunch with each bite.
Don’t Overcrowd: Fry the onion rings in small batches. Overcrowding the pan can cause the temperature to drop, leading to uneven cooking.
Use Fresh Onions: Opt for fresh yellow onions for the sweetest flavor; stale onions can lead to a diminished taste in your crispy gluten-free onion rings.
Drain Well: After frying, place the onion rings on paper towels to absorb excess oil. This helps maintain their crispiness right up until serving.
Crispy Gluten-Free Onion Rings Variations
Feel free to get creative with these delightful onion rings to suit your taste or dietary needs!
-
Spicy Twist: Add cayenne pepper to the dry mix for a zesty kick that’ll elevate your onion rings to a new level of excitement. Everyone loves a spicy surprise!
-
Herb Infusion: Mix in dried herbs like oregano or thyme into your batter for an aromatic flavor boost. It brings those savory notes front and center, making every bite more intriguing.
-
Cheesy Flavor: Incorporate nutritional yeast into the dry mix for a cheesy flavor without dairy. It not only adds taste but also a nutritional punch, making them even more satisfying.
-
Sweet Heat: Drizzle a little honey or maple syrup on the finished onion rings for a sweet glaze that balances perfectly with the savory crunch. It’s an unexpected treat that diners will adore!
-
Crispier Texture: Replace some of the gluten-free panko with crushed cornflakes for an even crunchier coating. This fun twist adds an extra texture that’s hard to resist!
-
Veggie Boost: Add finely chopped spinach or grated zucchini to the batter for a sneaky health kick that doesn’t compromise on flavor. Your family will never guess they’re enjoying extra veggies!
-
Smoky Sensation: Smoked paprika in the batter brings a BBQ flavor that’ll make your rings taste like summer, even in the dead of winter. It’s a warm hug of flavor with every bite!
-
Onion Alternatives: Try using sweet Vidalia onions or even shallots for a different taste experience altogether. Each variation offers a unique flavor profile that’s sure to please.
Embrace the joy of cooking by experimenting with these variations! Each charming twist can transform your homemade onion rings into something extraordinary.
How to Store and Freeze Crispy Gluten-Free Onion Rings
Room Temperature: Enjoy your crispy gluten-free onion rings immediately for the best flavor and texture. If you need to store them, place them in an airtight container for up to 2 hours.
Fridge: Store leftover onion rings in the fridge in an airtight container for up to 3 days. To help retain some crispiness, reheat them in an oven rather than a microwave.
Freezer: Freeze uncooked battered onion rings on a baking sheet for a few hours, then transfer to a freezer bag. They can be stored for up to 3 months. Fry directly from frozen when you’re ready to enjoy!
Reheating: Reheat onion rings in a preheated oven at 350°F (175°C) for about 10 minutes. This will help restore their crispy texture beautifully!
Crispy Gluten-Free Onion Rings Recipe FAQs
How do I choose the best onions for my onion rings?
Opt for firm, medium-sized yellow onions for your crispy gluten-free onion rings. Look for onions that are heavy for their size with a smooth, dry outer skin. Avoid ones with dark spots or signs of sprouting, as these can compromise their flavor.
How should I store leftover onion rings?
After enjoying your delicious onion rings, store any leftovers in an airtight container in the fridge for up to 3 days. To help keep them crispy, I recommend reheating them in an oven preheated to 350°F (175°C) for about 10 minutes instead of using the microwave.
Can I freeze uncooked onion rings?
Absolutely! To freeze, lay the uncooked battered onion rings on a baking sheet in a single layer. Freeze them for about 2 hours until solid, then transfer them into a freezer-safe bag. They will keep well for up to 3 months! When ready to enjoy, just fry them straight from the freezer without thawing.
Why are my onion rings not crispy?
The key to crispy onion rings is to ensure the oil temperature is right. If the oil is too cool, the rings may absorb excess oil and become soggy. Aim for a temperature between 350°F to 375°F (175°C to 190°C). Also, make sure your batter is thick enough to cling to the onion rings.
Are these onion rings suitable for gluten and dairy allergies?
Yes! This recipe for crispy gluten-free onion rings is specifically designed to be gluten-free and dairy-free. The use of gluten-free all-purpose flour and dairy-free buttermilk makes them a safe choice for those with such dietary restrictions. Always double-check ingredient labels to be sure!
How long can I keep cooked onion rings?
Cooked onion rings are best enjoyed immediately for the ultimate crunch. If you need to store them, place them in an airtight container at room temperature and consume them within 2 hours for the best experience.

Crispy Gluten-Free Onion Rings (Dairy-Free) You’ll Crave Daily
Ingredients
Equipment
Method
- Pour 3-4 cups of frying oil into a large frying pan or skillet. Heat it on low to 350°F to 375°F (175°C to 190°C) while preparing the onions and batter.
- Cut the yellow onions horizontally into 1/2-1/3 inch thick rings. Gently separate the rings.
- In a large bowl, combine half of the gluten-free all-purpose flour, ground black pepper, salt, and granulated garlic.
- In another bowl, whisk together the dairy-free buttermilk, egg, baking powder, and remaining gluten-free all-purpose flour until thick.
- Roll each onion ring in the dry mixture, ensuring each side is coated.
- Dip the dry-coated onion rings into the batter, ensuring coverage.
- Roll the battered onion rings in the gluten-free panko breadcrumbs.
- Once the oil is hot, gently place the panko-coated onion rings in the pan. Fry for 1-2 minutes until golden brown.
- Transfer the fried onion rings to a plate lined with paper towels to absorb excess oil.


