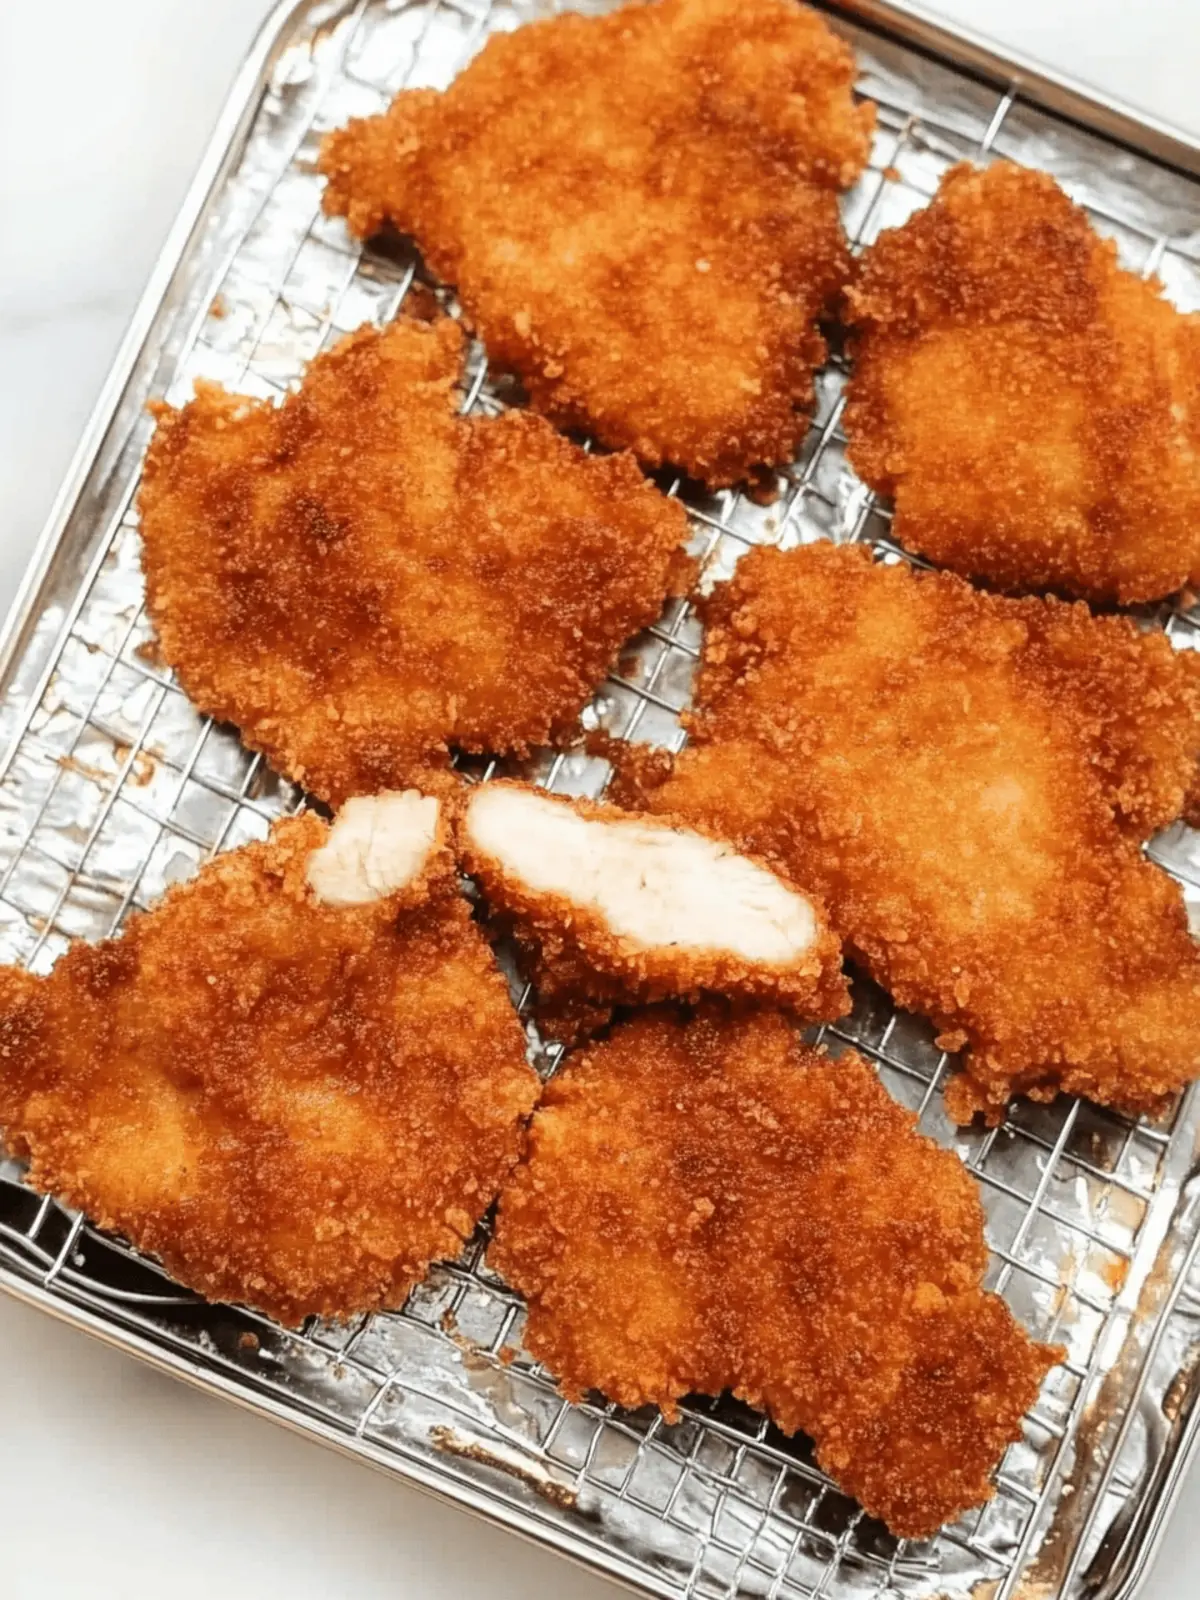
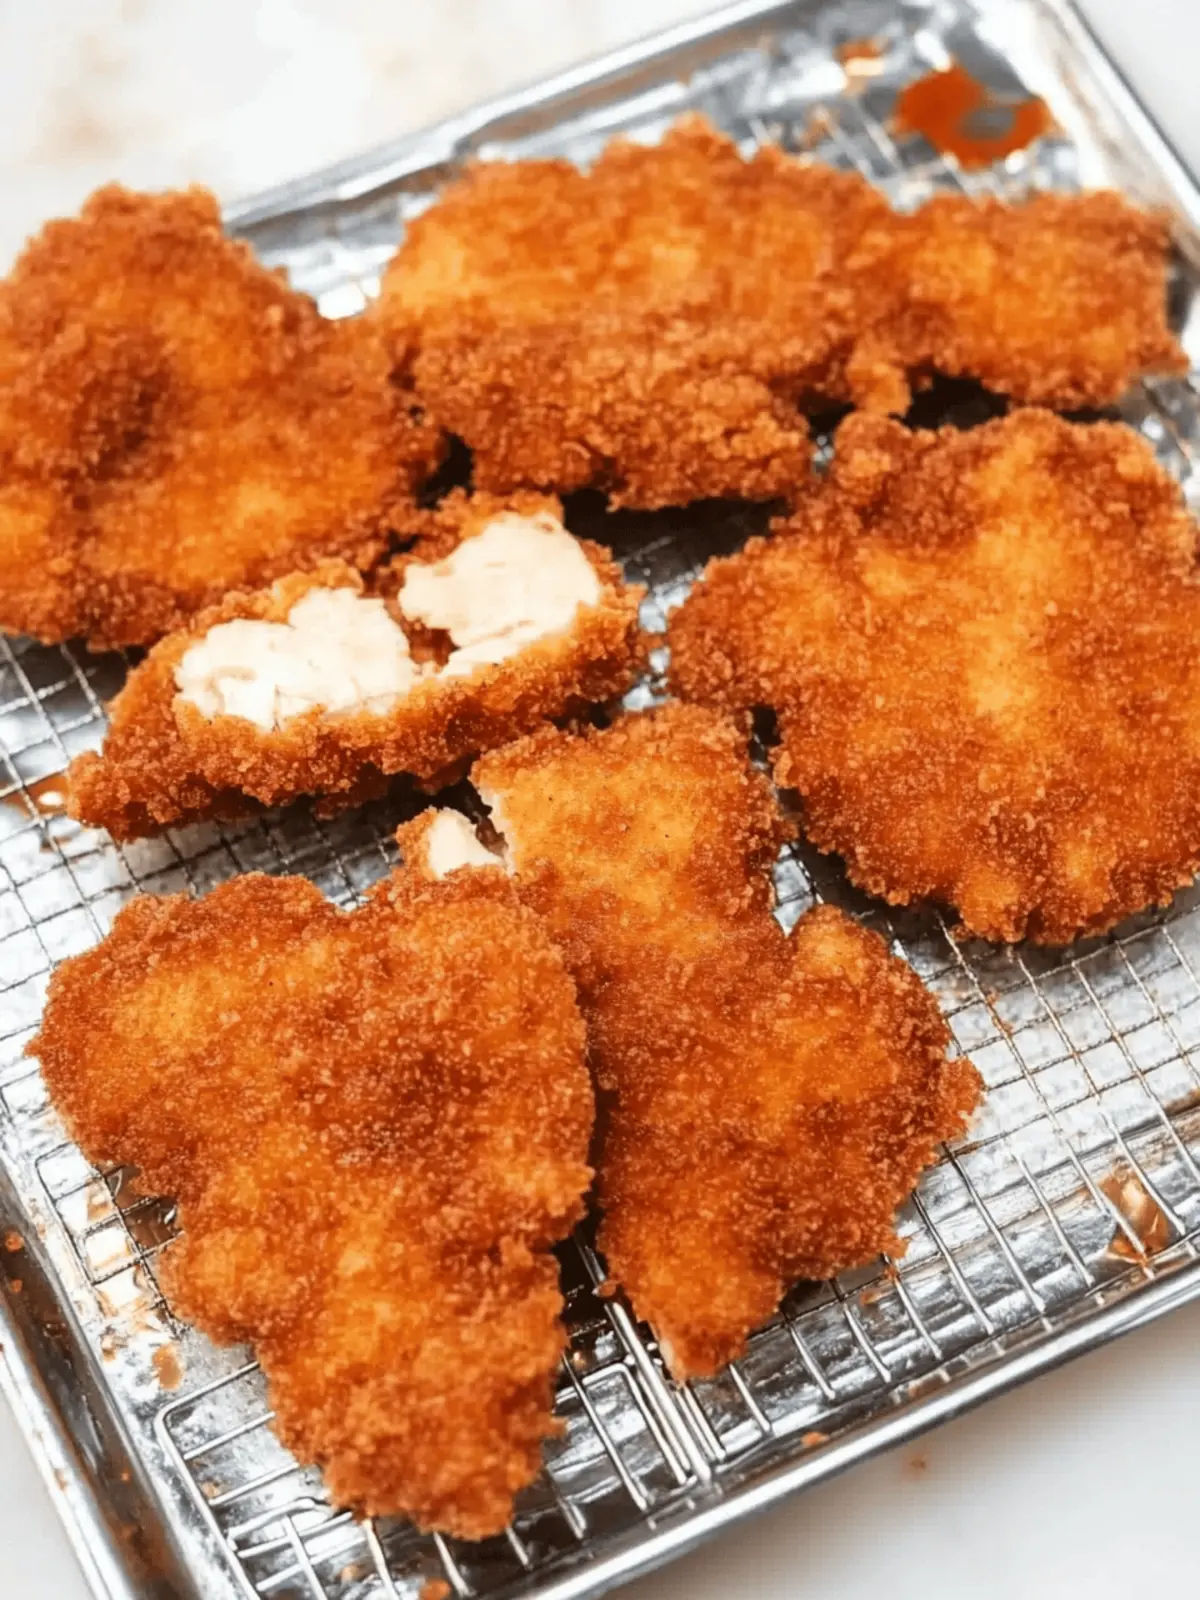
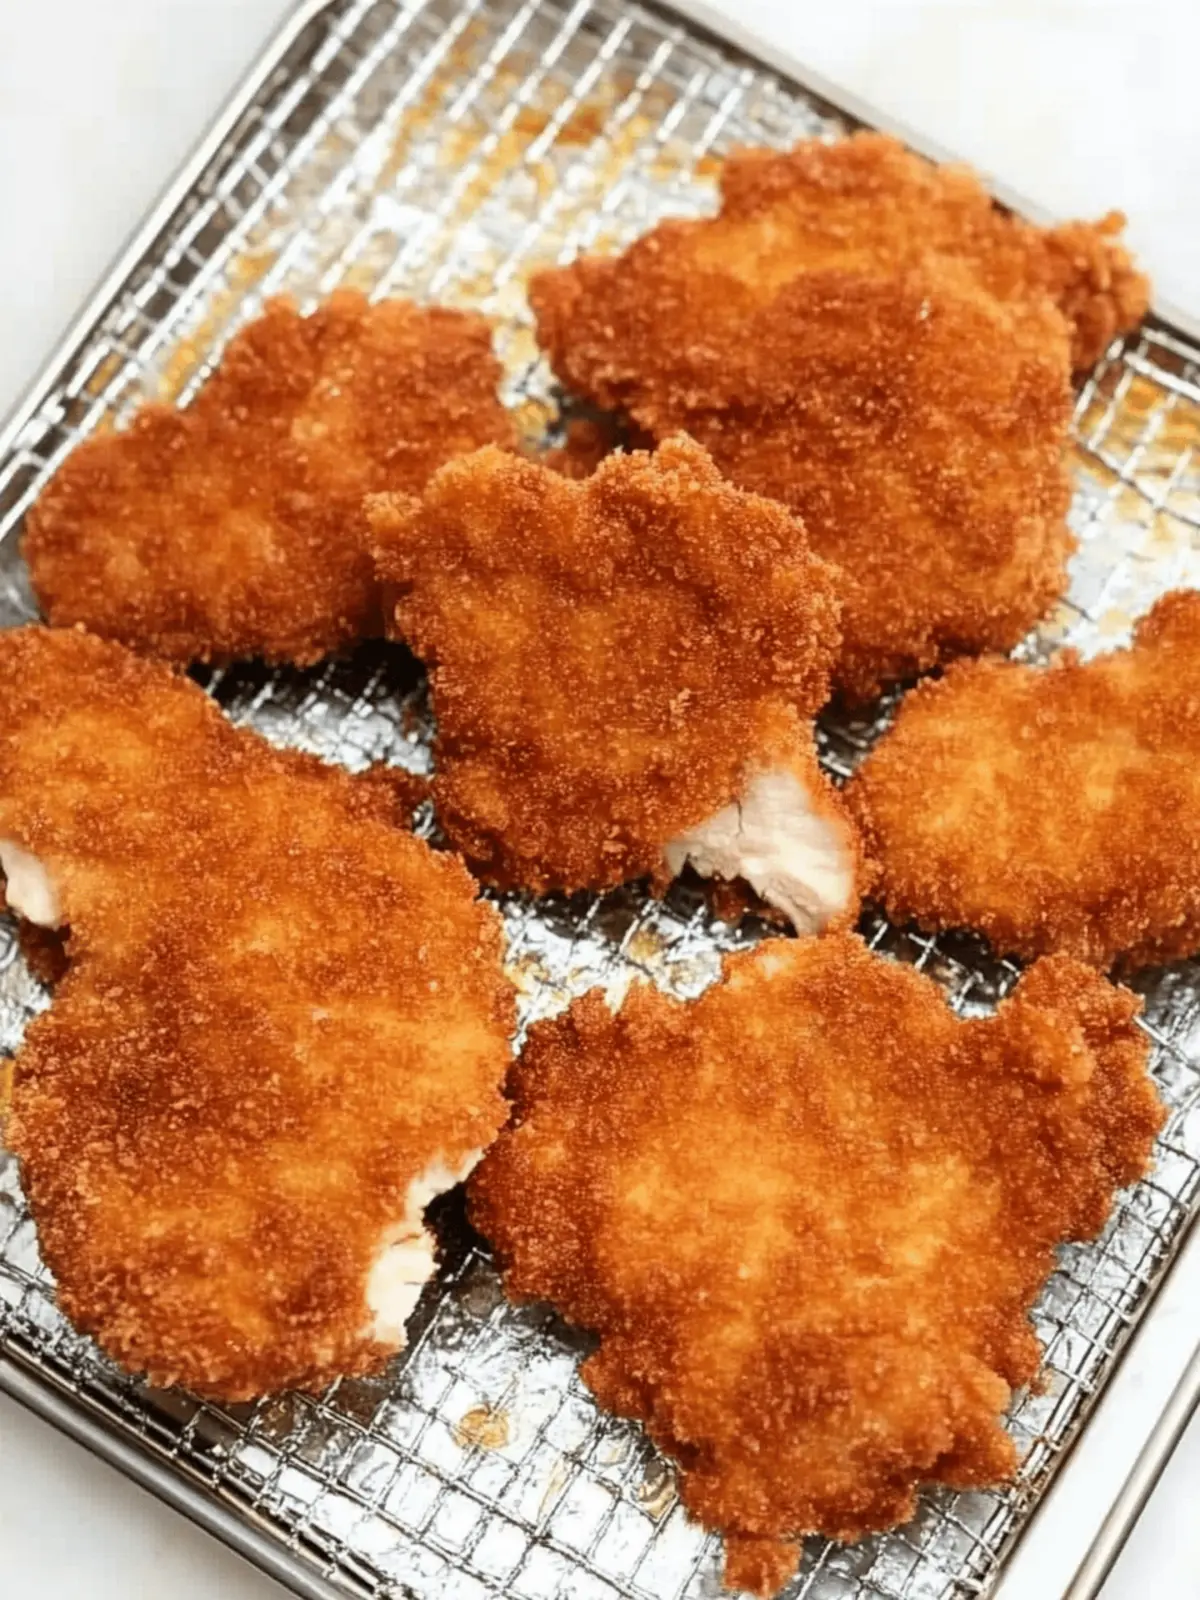
There’s nothing quite like the harmony of crispy and juicy coming together on a plate, and that’s exactly what you get with my Chicken Katsu (Super Crispy!). Just imagining the satisfying crunch of that golden-brown panko coating paired with tender chicken takes me back to the sun-soaked shores of Hawaii and the warming kitchens of Japan.
After a busy day, this beloved comfort dish is not only a delightful escape but also a quick 30-minute meal I can whip up any night of the week. With its simple ingredients and easy steps, you don’t have to be a culinary expert to impress your family or friends. Picture it served alongside fluffy rice and creamy macaroni salad—it’s sure to be a hit! If you’re bored with the same old fast food, let’s reignite your passion for home-cooked meals with this irresistible Chicken Katsu recipe that celebrates flavor and the joy of cooking!
Why Is Chicken Katsu a Must-Try?
Crispy Perfection: The signature panko coating creates a light, crunch that contrasts beautifully with the juicy chicken inside.
Quick & Easy: In just 30 minutes, you can serve up a restaurant-quality meal without any fuss.
Comforting Flavors: This dish delivers a warm, nostalgic taste that feels like a hug on a plate.
Versatile Side Options: Pair it effortlessly with rice and Hawaiian mac salad, or even as a fun sandwich.
Crowd-Pleaser: Perfect for any gathering, ensuring that everyone leaves satisfied and happy!
Rediscover the joy of home-cooked meals with this phenomenal Chicken Katsu recipe!
Chicken Katsu Ingredients
For the Chicken
- Chicken Thigh – Boneless and skinless for tenderness and even cooking; can substitute with chicken breast, pork tenderloin, or tenderized steak, but adjust cooking times to avoid dryness.
For the Breading
- Eggs – Binds the panko breadcrumbs, ensuring a crispy coating; use any large eggs, or opt for vegan alternatives like flax or aquafaba.
- All-Purpose Flour – Helps adhere the batter to the chicken for that perfect crunch; can substitute with gluten-free flour for a gluten-compatible version.
- Panko Breadcrumbs – Essential for that crispy coating that defines Chicken Katsu; avoid regular breadcrumbs for optimal texture.
For Seasoning
- Salt – Enhances flavor and retains moisture during frying.
- Black Pepper – Adds a touch of spice; adjust according to personal taste.
- Garlic Powder – Brings savory depth to the dish; fresh garlic can also be used—just be mindful of the quantity for a balanced flavor.
For Frying
- Neutral Oil (for frying) – Essential for achieving that golden-brown finish; options include vegetable oil, canola oil, or peanut oil.
How to Make Chicken Katsu
-
Pound the Chicken: Start by placing your boneless, skinless chicken thighs between two sheets of plastic wrap. Gently pound them to about 1/2-inch thickness for even cooking—this ensures a juicy, tender bite.
-
Season the Chicken: Sprinkle both sides of the pounded chicken with salt and black pepper. This step is vital for enhancing the chicken’s natural flavor and aiding in moisture retention during frying.
-
Prepare the Batter: In a mixing bowl, whisk together the eggs, all-purpose flour, garlic powder, salt, and pepper until smooth. Aim for a wet batter that’s slightly looser than pancake batter—this will help the breadcrumbs stick perfectly.
-
Coat the Chicken: Dredge each piece of chicken in the wet batter, allowing any excess to drip off. Then, transfer the coated chicken to a plate of panko breadcrumbs, pressing down gently to ensure they’re evenly coated for that signature crispy texture.
-
Heat the Oil: In a large skillet, heat your neutral oil to 350°F (180°C). It’s crucial to maintain this temperature for optimal frying; frying at lower temperatures can result in greasy chicken.
-
Fry the Chicken: Carefully place the breaded chicken pieces into the hot oil, ensuring not to overcrowd the pan. Fry for about 4-6 minutes until golden brown and cooked through, reaching an internal temperature of 165°F (75°C).
-
Drain and Serve: Once done, transfer the fried chicken to a wire rack or a plate lined with paper towels to drain off excess oil. This step keeps the katsu crispy. Serve warm alongside rice and creamy macaroni salad for a delightful meal.
Optional: Garnish with a squeeze of lemon for an extra burst of flavor!
Exact quantities are listed in the recipe card below.
Make Ahead Options
These Chicken Katsu are perfect for busy weeknights when you want to save time without sacrificing flavor! You can prepare the chicken up to 24 hours in advance by coating it in the wet batter and breadcrumbs, then laying the pieces on a baking sheet in the refrigerator (this helps retain crispiness). When you’re ready to serve, simply heat your oil to 350°F (180°C) and fry the chicken until golden brown, which takes about 4-6 minutes. For optimal freshness, it’s best to fry directly after prepping. Enjoy your irresistible Chicken Katsu with minimal effort and just as delicious results!
How to Store and Freeze Chicken Katsu
- Fridge: Store leftover Chicken Katsu in an airtight container for up to 3 days. Make sure it’s completely cooled before sealing to maintain freshness.
- Freezer: Freeze Chicken Katsu in a single layer on a baking sheet until firm, then transfer to an airtight container or freezer bag for up to 2 months.
- Reheating: For the best results, reheat in an air fryer at 350°F (175°C) for about 5-7 minutes until crispy, or use a conventional oven to keep the crunch intact.
- Avoid sogginess: If reheating in a microwave, place a paper towel under the chicken to absorb moisture and prevent it from becoming soggy.
What to Serve with Chicken Katsu?
Indulge in a harmonious meal that delights the senses and brings warmth to your table.
- Fluffy White Rice: A classic pairing, it balances the crispy texture of Katsu and soaks up the flavorful juices.
- Creamy Hawaiian Macaroni Salad: This sweet and tangy salad adds a refreshing element, perfectly complementing the savory chicken.
- Steamed Broccoli: Bright green and crisp, it introduces a burst of color and nutrients, making the meal more wholesome.
- Shredded Cabbage Slaw: Crunchy and slightly tart, this adds a refreshing crunch that contrasts beautifully with the warm Katsu.
- Teriyaki Sauce: Drizzling this sweet sauce over your Katsu elevates the flavor profile, enhancing the dish’s deliciousness.
- Pickled Ginger: This tangy condiment offers a burst of flavor that cleanses the palate between bites, ideal for a complete experience.
- Iced Green Tea: Refreshing and lightly sweet, this beverage keeps the flavors elevated while adding a Japanese touch to your dinner.
- Chocolate Mochi: For dessert, enjoy these chewy rice cakes filled with chocolate, providing a delightful end to your meal.
Chicken Katsu Variations & Substitutions
Get creative and customize your Chicken Katsu with these exciting twists and swaps!
- Pork Variation: Swap chicken for pork tenderloin or pork chops for a deliciously tender alternative that still packs a punch.
- Air Fryer Option: Use an air fryer for a healthier version that still delivers a crispy texture without the need for deep-frying.
- Gluten-Free: Replace all-purpose flour and panko breadcrumbs with gluten-free alternatives, ensuring everyone can enjoy this crispy delight.
- Curry Katsu: Top your Chicken Katsu with a rich Japanese curry for a comforting, flavorful spin that takes it to a whole new level.
- Herbed Crunch: Mix dried herbs like oregano or thyme into your panko breadcrumbs for a fragrant twist that enhances flavor with every bite.
- Sriracha Kick: Add a hint of heat by mixing Sriracha or your favorite hot sauce into the batter for those who love a spicy kick.
- Cheesy Delight: Incorporate grated parmesan or mozzarella into your panko for a cheesy, savory crust that melts beautifully with each bite.
- Veggie Option: For a vegetarian twist, use eggplant slices or tofu, following the same breading method for a delightful crunch.
Let your creativity flow and enjoy a personalized dinner experience with these variations!
Expert Tips for Super Crispy Chicken Katsu
- Perfect Temperature: Use a thermometer to ensure your oil stays around 350°F. Cooler oil can lead to soggy chicken, defeating the crispy nature of Chicken Katsu.
- Fried in Batches: Avoid overcrowding the pan, which can drop the oil temperature. Fry in batches for an even, crispy finish every time.
- Resting Time: Allow the fried chicken to drain on a wire rack rather than paper towels. This helps maintain the crisp texture of your Chicken Katsu.
- Customize the Breading: Feel free to add some grated Parmesan or spices to your panko for an exciting twist in flavor and crunch!
- Seal in Freshness: Store any leftovers in an airtight container to keep them fresh for up to 3 days, and reheat in an air fryer for that crispy bite.
Chicken Katsu Recipe FAQs
What kind of chicken should I use for Chicken Katsu?
I recommend using boneless, skinless chicken thighs for their tenderness and flavor. You can also opt for chicken breast or pork tenderloin; just be mindful of adjusting cooking times to keep the meat juicy.
How do I store leftover Chicken Katsu?
Store leftover Chicken Katsu in an airtight container in the refrigerator for up to 3 days. Make sure the chicken is fully cooled before sealing to retain its deliciousness!
Can I freeze Chicken Katsu?
Absolutely! To freeze, lay cooked Chicken Katsu in a single layer on a baking sheet and freeze until firm. Then, transfer it to an airtight container or freezer bag, where it can stay fresh for up to 2 months.
What’s the best way to reheat Chicken Katsu?
For the crispiest result, reheat in an air fryer at 350°F (175°C) for about 5-7 minutes. If using an oven, preheat to 375°F and bake for around 10-15 minutes. Avoid microwaving as it can lead to sogginess.
Can I make Chicken Katsu gluten-free?
Yes, definitely! Replace the all-purpose flour with a gluten-free flour blend, and using gluten-free panko breadcrumbs can keep your Chicken Katsu gluten-free while still ensuring a crispy finish.
Are there any dietary considerations for pets regarding Chicken Katsu?
While the ingredients in Chicken Katsu are generally safe for pets, avoid giving them any seasoned or fried food. It’s best to serve them plain, cooked chicken without any salt or breadcrumbs.
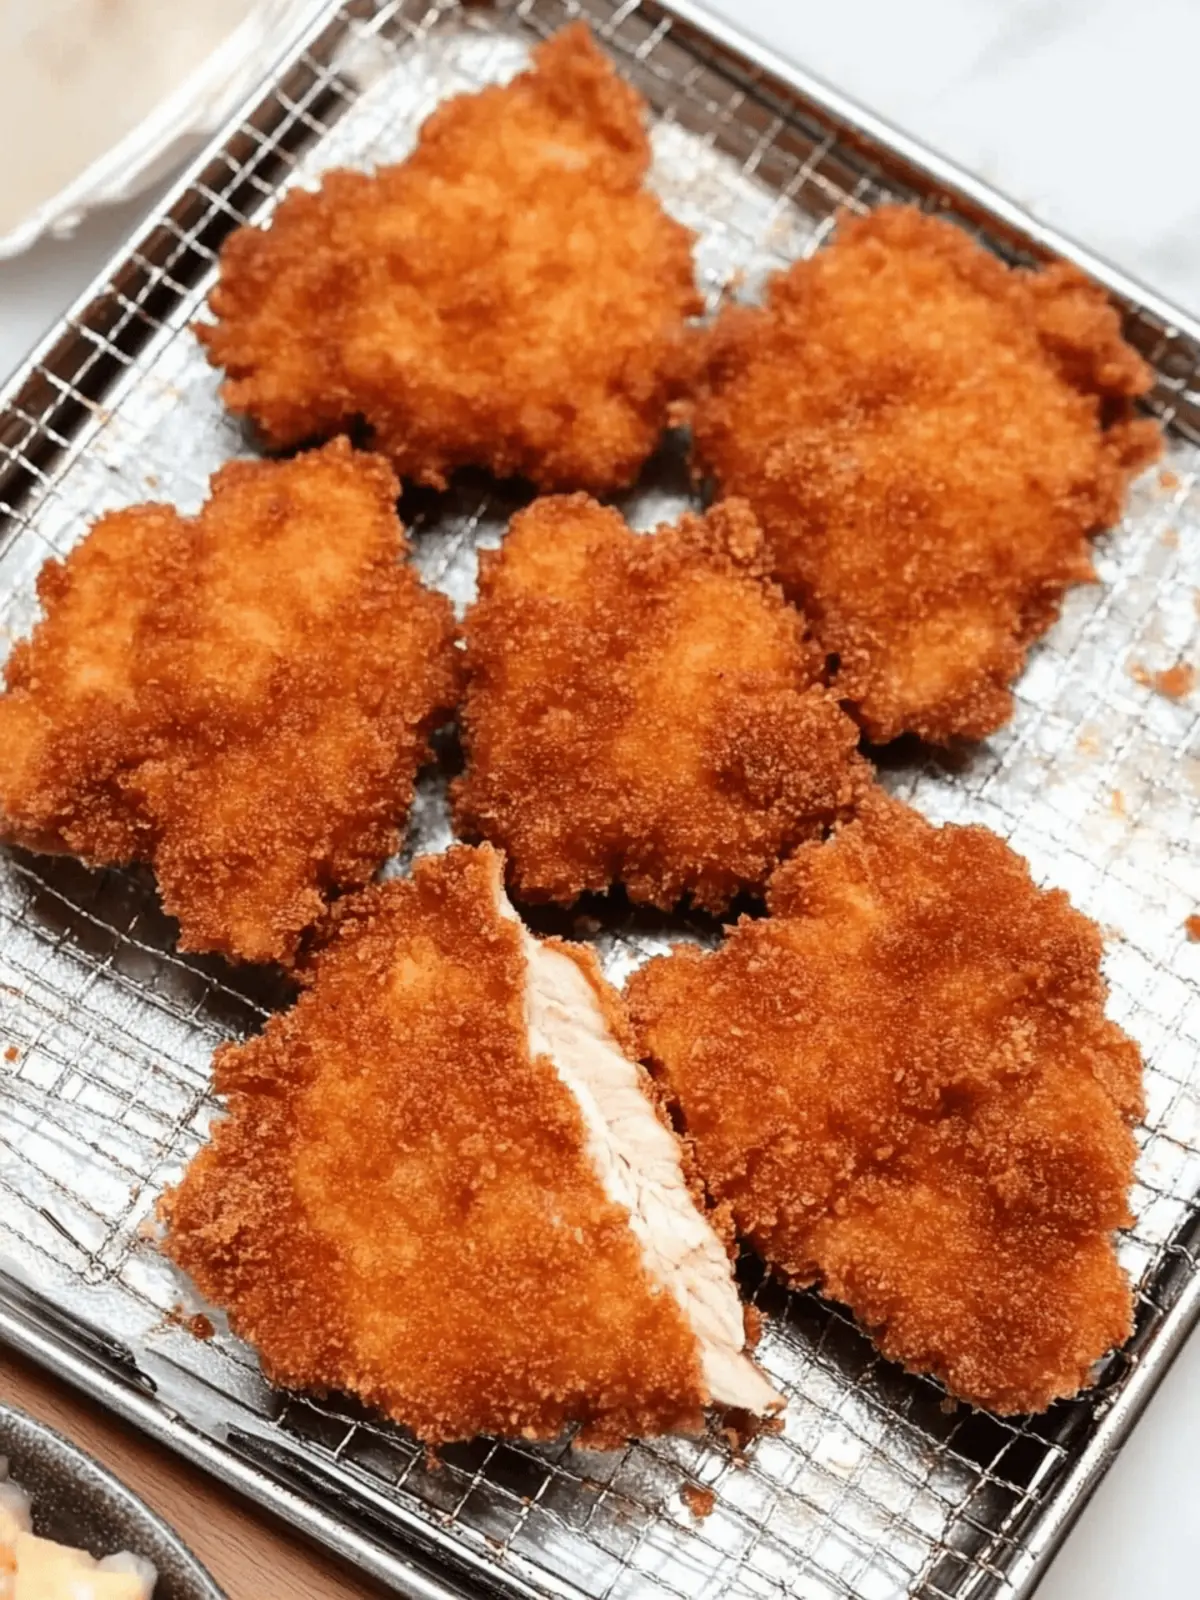
Super Crispy Chicken Katsu That Will Change Your Dinner Game
Ingredients
Equipment
Method
- Pound the Chicken: Place chicken thighs between sheets of plastic wrap and pound to 1/2-inch thickness.
- Season the Chicken: Sprinkle both sides with salt and black pepper.
- Prepare the Batter: Whisk together eggs, all-purpose flour, garlic powder, salt, and pepper.
- Coat the Chicken: Dredge chicken in the batter, then coat with panko breadcrumbs.
- Heat the Oil: Heat oil to 350°F (180°C) in a skillet.
- Fry the Chicken: Fry chicken for 4-6 minutes until golden brown and cooked through.
- Drain and Serve: Transfer to a wire rack to drain excess oil and serve warm.

