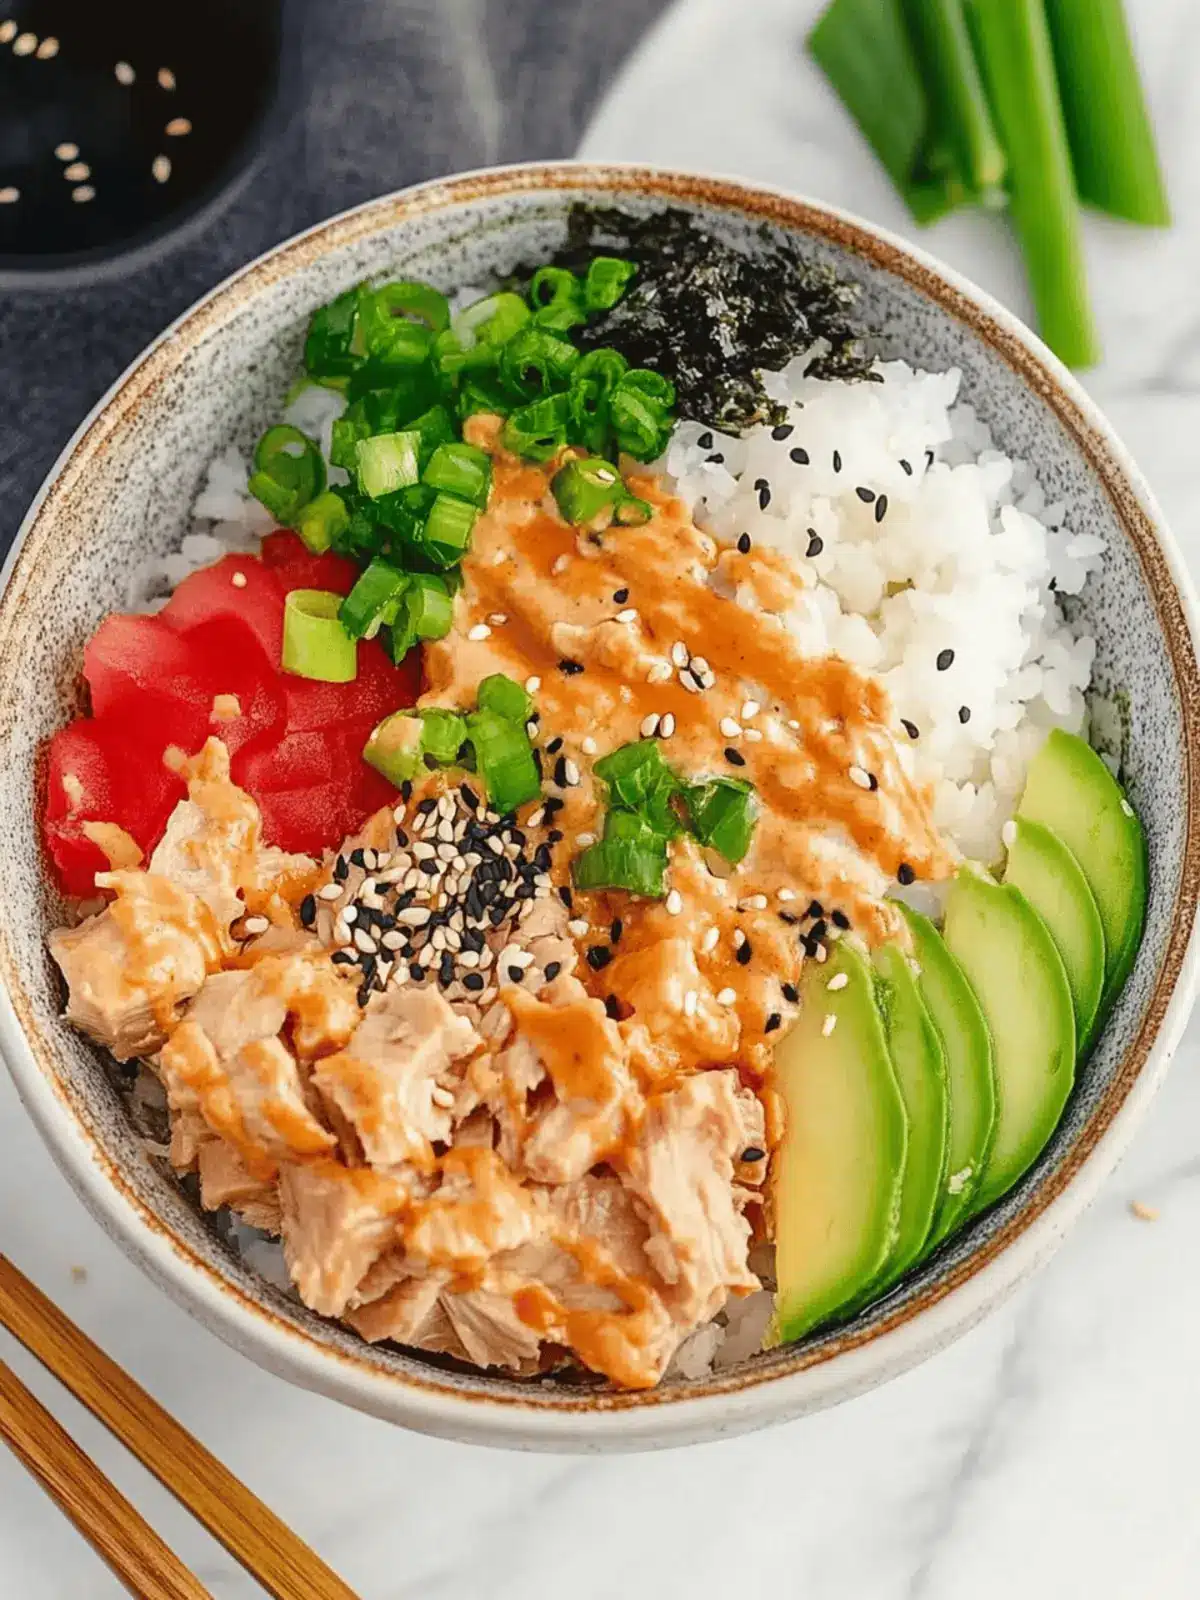
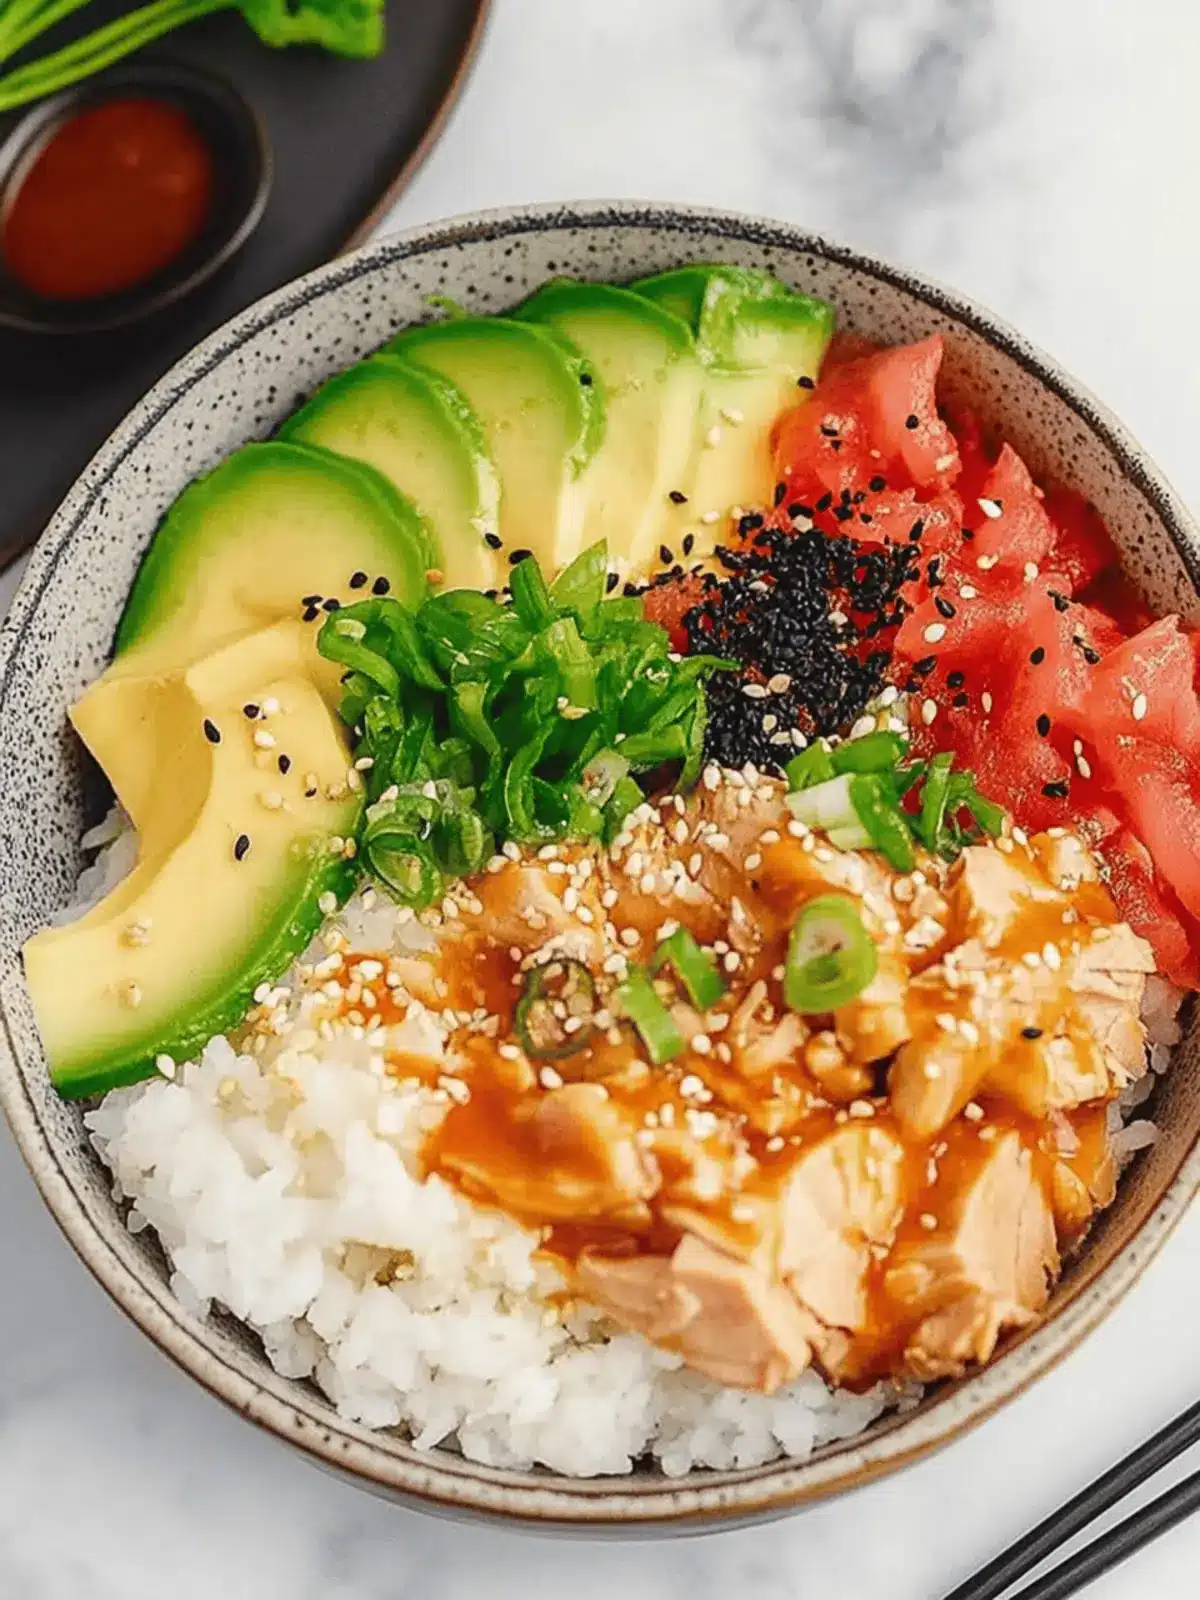
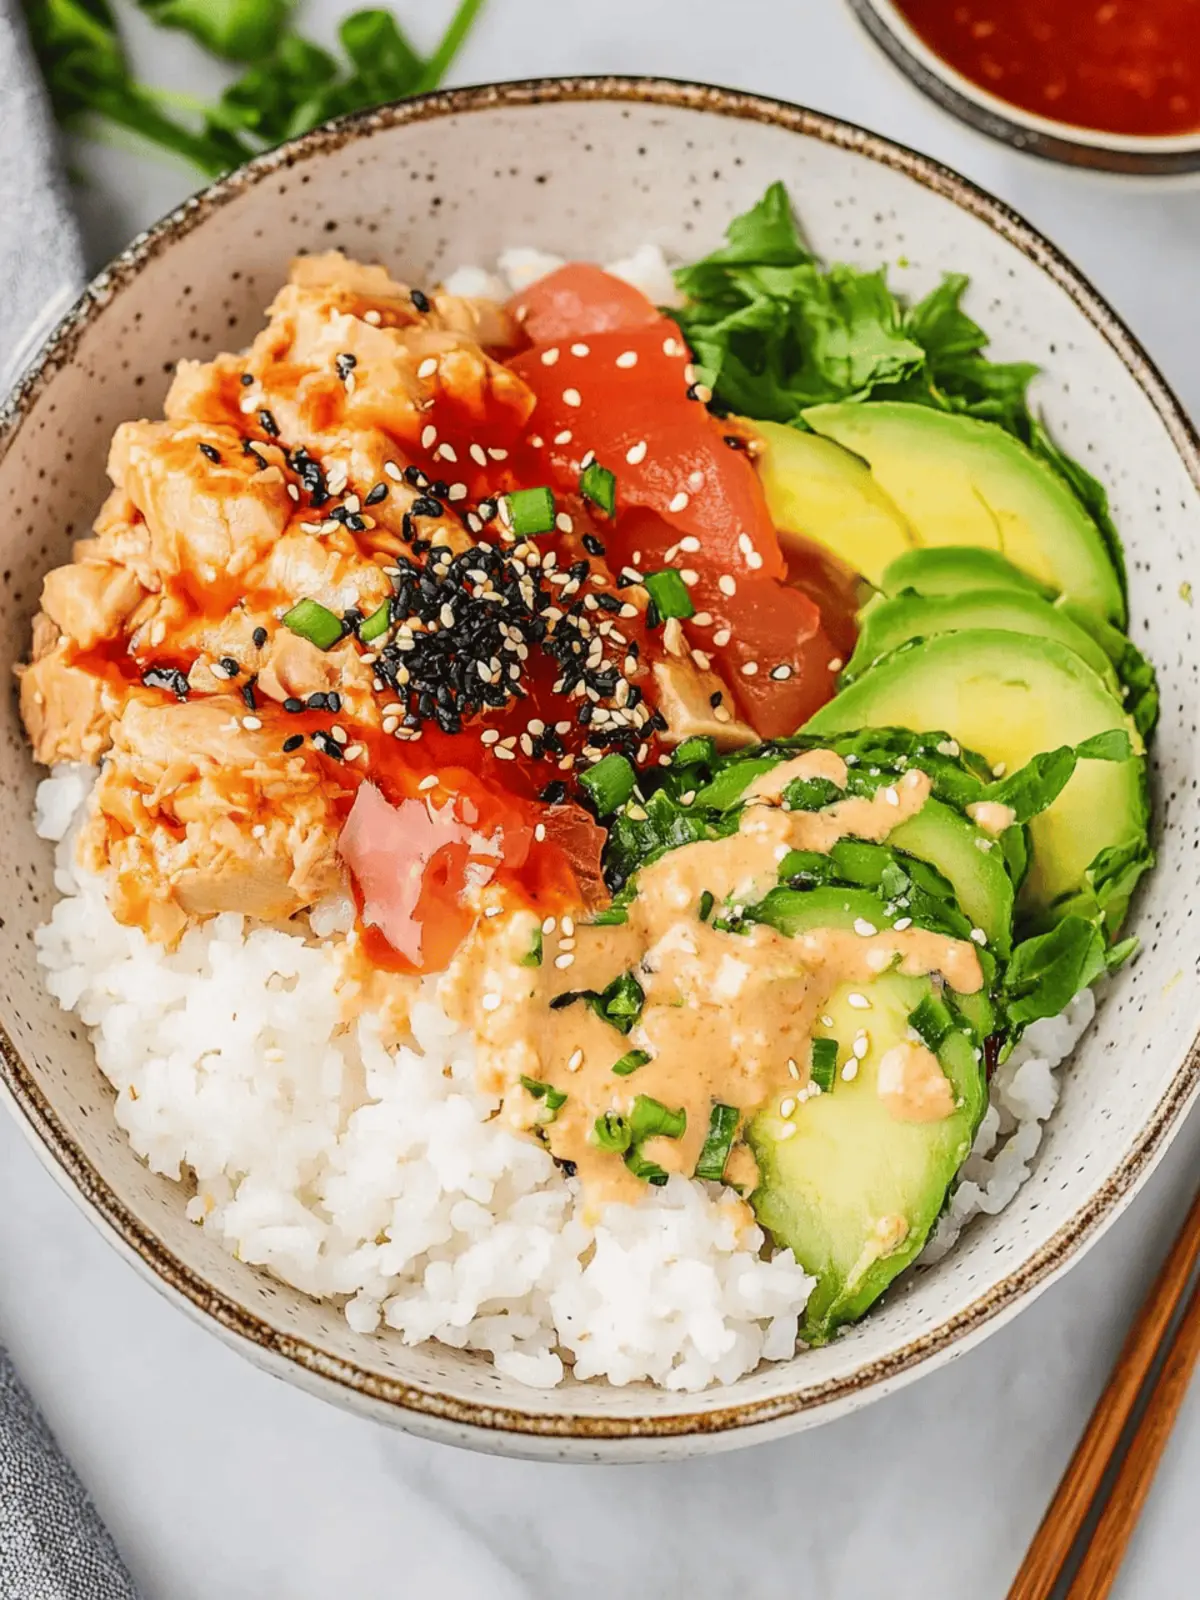
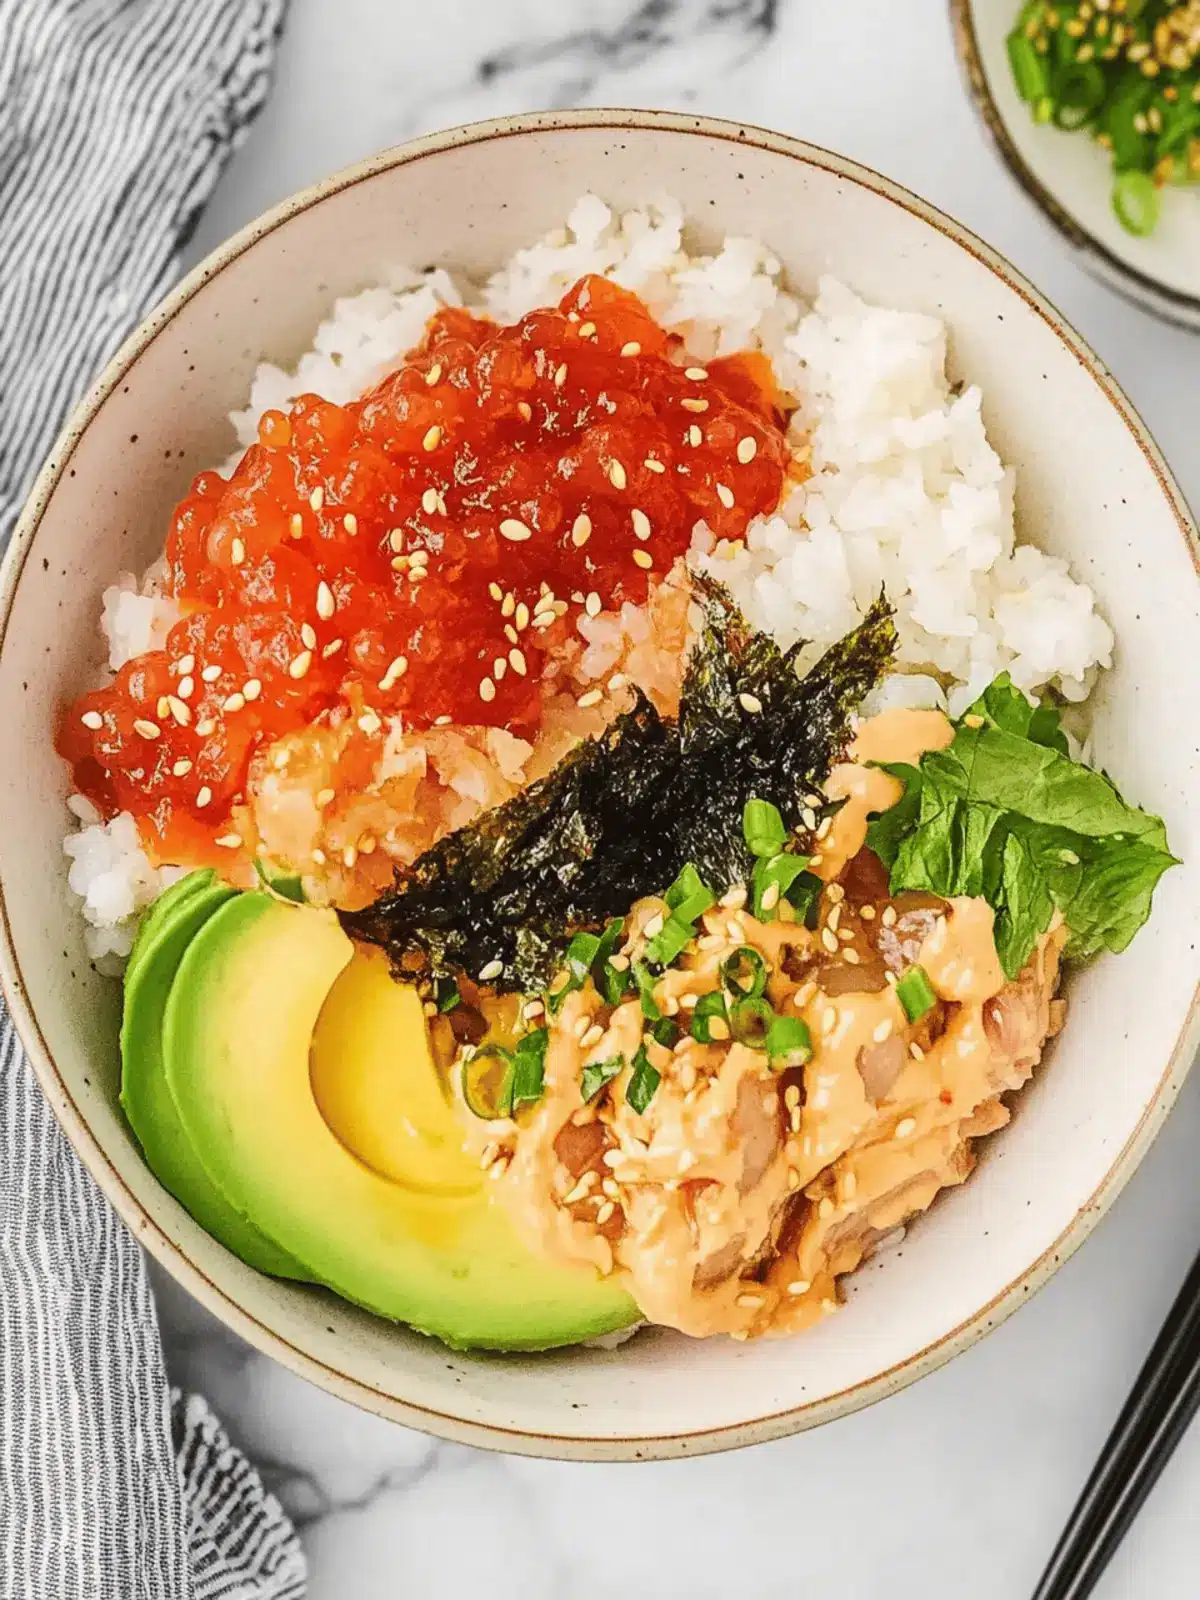
With the sun setting and the promise of a cozy evening ahead, I found myself craving something both quick and satisfying. Enter the Canned Tuna Sushi Bowl—a delightful blend of colors and flavors that whisk you away to an Asian-inspired culinary haven, all in a mere 18 minutes! Picture crispy, pan-fried sushi rice forming the perfect foundation for tangy, creamy bang bang tuna, topped with fresh avocado and crunchy scallions. This dish not only spices up your weeknight meals but is also a canvas for your creativity, allowing you to customize toppings based on what you have on hand. Whether you’re a seasoned chef or someone simply looking to escape the monotony of fast food, this bowl is sure to impress and satisfy. Let’s dive in and transform pantry staples into an unforgettable meal!
Why is the Canned Tuna Sushi Bowl a must-try?
Quick to Prepare: This dish comes together in just 18 minutes, making it ideal for busy weeknights.
Protein-Packed: With tuna as the star ingredient, it’s a nutritious option that keeps you full.
Customizable Fun: You can easily swap toppings, making it a versatile meal that suits everyone’s taste.
Delicious Textures: Enjoy crispy rice combined with creamy tuna and fresh veggies for a satisfying bite every time.
Don’t forget to check out our tips on how to customize your toppings for a personalized touch!
Canned Tuna Sushi Bowl Ingredients
• Dive into the components of this delightful meal!
For the Rice Base
- Cooked Sushi Rice – Serves as the flavorful base; using leftover sushi rice saves time.
- Olive Oil – Essential for pan-frying the sushi rice, creating a crispy texture.
For the Tuna Mixture
- Canned Tuna – The main protein source; opt for tuna in oil for richer flavor.
- Bang Bang Sauce – Adds spiciness and creaminess; feel free to swap with spicy mayo for a different flavor profile.
For the Toppings
- Avocado – Provides healthy fats; can be sliced or diced according to your preference.
- Scallions – Offers freshness and crunch; a necessary garnish that elevates the dish.
- Furikake – Japanese rice seasoning that enhances umami; if unavailable, nori works just as well.
- Sriracha Sauce – For a kick of heat; substitute with any hot sauce you have on hand.
For Seasoning
- Salt & Black Pepper – Essential for enhancing overall flavor; adjust to your taste.
How to Make Canned Tuna Sushi Bowl
-
Cook Sushi Rice: If you don’t have leftovers, prepare fresh sushi rice and season it warm with rice wine vinegar, sesame oil, and a touch of sugar for added flavor.
-
Prepare Toppings: In a bowl, combine the drained canned tuna with the bang bang sauce. Slice the avocado and chop the scallions, ready to personalize your sushi bowl.
-
Pan-fry Rice: Heat olive oil in a skillet over medium-high heat. Add the sushi rice, pressing it down slightly. Cook for 3-5 minutes until golden brown, then flip and cook for another minute without stirring too much to keep the texture.
-
Assemble Bowl: Transfer the pan-fried rice to a bowl. Top it with the bang bang tuna, sliced avocado, and scallions. Finish with a sprinkle of furikake and a drizzle of Sriracha or spicy mayo.
Optional: Garnish with sesame seeds or cilantro for an extra pop of flavor.
Exact quantities are listed in the recipe card below.
Canned Tuna Sushi Bowl Variations
Feel free to explore your culinary creativity with these exciting twists on the classic Canned Tuna Sushi Bowl!
-
Salmon Swap: Replace canned tuna with canned salmon for a richer flavor and different nutrient profile. This variation adds a lovely pink hue to your bowl.
-
Quinoa Base: Swap sushi rice with cooked quinoa for a protein boost and nutty flavor. This is a great gluten-free alternative that retains all the lovely textures you love.
-
Spicy Kick: Add diced jalapeños or a sprinkle of red pepper flakes for an extra heat boost. A little zing will take your bowl to another level of excitement.
-
Crunchy Toppings: Toss in some crispy tempura vegetables or fried onions for added crunch. The contrast in textures will elevate your dish to delightful new heights!
-
Pickled Elements: Incorporate pickled ginger or radishes to bring a refreshing tang. They offer a nice balance to the creaminess of the tuna and richness of the avocado.
-
Veggie Boost: Load up your bowl with extra veggies like shredded carrots, cucumber slices, or edamame for added nutrition and a burst of color. This makes for a vibrant and healthful meal.
-
Soy Sauce Marinade: Marinate your tuna in soy sauce for 15 minutes before mixing with the bang bang sauce. This brings a deeper umami flavor to your delicious fusion creation.
-
Herbes de Provence: Sprinkle some Herbes de Provence or Japanese shiso leaves for an aromatic herbal touch. These fresh flavors will beautifully complement the existing components.
Embrace these variations, and let your Canned Tuna Sushi Bowl reflect your tastes and imagination!
What to Serve with Canned Tuna Sushi Bowl?
Elevate your dining experience with perfect pairings that complement this delightful dish’s flavors and textures.
-
Cucumber Salad: A refreshing side of crunchy cucumbers adds a crisp contrast, enhancing the sushi bowl’s creaminess and spice.
-
Miso Soup: Warm, comforting miso soup introduces umami and pairs beautifully with the savory elements of the bowl.
-
Edamame: Steamed and lightly salted edamame provides a protein-rich boost, making the meal even more satisfying.
-
Seaweed Salad: The briny, tangy notes of seaweed salad enhance the oceanic flavor of the tuna while adding a delightful chewiness.
-
Pickled Vegetables: Tangy pickles bring a brightness that cuts through the richness of the bang bang tuna, making each bite more exciting.
-
Sake or Green Tea: Pair your bowl with a crisp, chilled sake or refreshing green tea, which perfectly balances the dish’s flavors without overpowering them.
-
Chocolate Mousse: For a sweet ending, a light chocolate mousse makes for an indulgent contrast after the umami-rich main course.
Expert Tips for Canned Tuna Sushi Bowl
- Perfect Rice Texture: Ensure rice is cooked just right; undercooked rice will be too firm. Follow instructions for sushi rice to achieve that ideal sticky texture.
- Flavor Balance: Adjust bang bang sauce to your liking! If it’s too spicy, mix in a bit of mayonnaise to mellow the heat in your Canned Tuna Sushi Bowl.
- Crispy Rice: For crispy rice, use high heat and press down on the rice as it cooks, but avoid stirring too much to maintain a nice crust.
- Ingredient Freshness: Always use fresh ingredients for toppings, as they enhance the overall flavor and texture of your bowl. Dull toppings can make the dish feel lackluster.
- Make-Ahead Components: Prep your tuna mix and chop toppings ahead of time; just assemble everything before serving to keep your Canned Tuna Sushi Bowl fresh and delightful.
Make Ahead Options
These Canned Tuna Sushi Bowls are perfect for meal prep, allowing you to save time on busy weeknights! You can prepare the sushi rice and store it in the refrigerator for up to 3 days, ensuring you have a flavorful base ready to go. Additionally, mix the canned tuna with the bang bang sauce and refrigerate it for up to 24 hours to enhance the flavors before serving. When you’re ready to enjoy, simply pan-fry the rice until crispy, then assemble your bowl with the cold toppings, such as sliced avocado and scallions, just before serving. This method ensures everything remains fresh, while giving you delicious, restaurant-quality results with minimal effort!
Storage Tips for Canned Tuna Sushi Bowl
Fridge: Keep leftovers in an airtight container for up to 2 days to maintain freshness. It’s best to store rice and toppings separately.
Freezer: The Canned Tuna Sushi Bowl is best enjoyed fresh. If needed, freeze the rice in a freezer-safe bag for up to 1 month.
Reheating: To reheat rice, add a splash of water and microwave in 30-second intervals until warmed through. Remember not to refreeze after thawing.
Prepping Ahead: For quick meal prep, you can prepare the components a day in advance and assemble just before serving, ensuring maximum flavor and enjoyment!
Canned Tuna Sushi Bowl Recipe FAQs
What type of canned tuna should I use for the Canned Tuna Sushi Bowl?
Absolutely! For the best flavor, I recommend using tuna packed in olive oil as it adds richness to the dish. However, you can also use tuna in water if that’s what you have on hand. Just be sure to drain it well before mixing it with your bang bang sauce.
How should I store leftover Canned Tuna Sushi Bowl?
To maintain freshness, store leftovers in airtight containers in the fridge for up to 2 days. It’s best to keep the sushi rice and toppings separate until you’re ready to enjoy them again. This prevents the rice from becoming soggy.
Can I freeze the components of the Canned Tuna Sushi Bowl?
Yes! You can freeze the cooked sushi rice in a freezer-safe bag for up to 1 month. When you’re ready to use it, simply thaw it overnight in the fridge, then reheat it with a splash of water in the microwave, heating in 30-second intervals until warmed. Just remember not to refreeze after thawing!
What can I do if my rice isn’t crispy enough when pan-frying?
Very! If your rice isn’t crispy, make sure you’re using high heat when frying, and press the rice down slightly as it cooks. Avoid stirring too much, as this can break down the texture. If it’s still not crispy, let it cook for an additional minute on each side.
Are there any dietary considerations with this recipe for pets or allergies?
Certainly! While the Canned Tuna Sushi Bowl is generally safe for most people, it’s essential to consider allergies to fish or gluten (if using certain sauces). For pets, the ingredients are not recommended, especially for cats and dogs, as they may have difficulties digesting certain toppings like avocado or spices.
How can I customize the toppings for my Canned Tuna Sushi Bowl?
The more, the merrier! You can swap out toppings based on your preferences. For additional crunch, consider adding cucumber slices or pickled ginger. If you’re craving a different flavor profile, try adding diced radishes, snap peas, or even a sprinkle of sesame seeds on top for extra flavor and texture. Get creative and make it your own!

Canned Tuna Sushi Bowl: Quick, Flavorful Meal in 18 Minutes
Ingredients
Equipment
Method
- Cook Sushi Rice: Prepare fresh sushi rice and season it with rice wine vinegar, sesame oil, and a touch of sugar.
- Prepare Toppings: Combine drained canned tuna with the bang bang sauce. Slice the avocado and chop the scallions.
- Pan-fry Rice: Heat olive oil in a skillet, add sushi rice, press down, and cook for 3-5 minutes until golden brown.
- Assemble Bowl: Transfer pan-fried rice to a bowl, top with bang bang tuna, avocado, scallions, furikake, and Sriracha.


