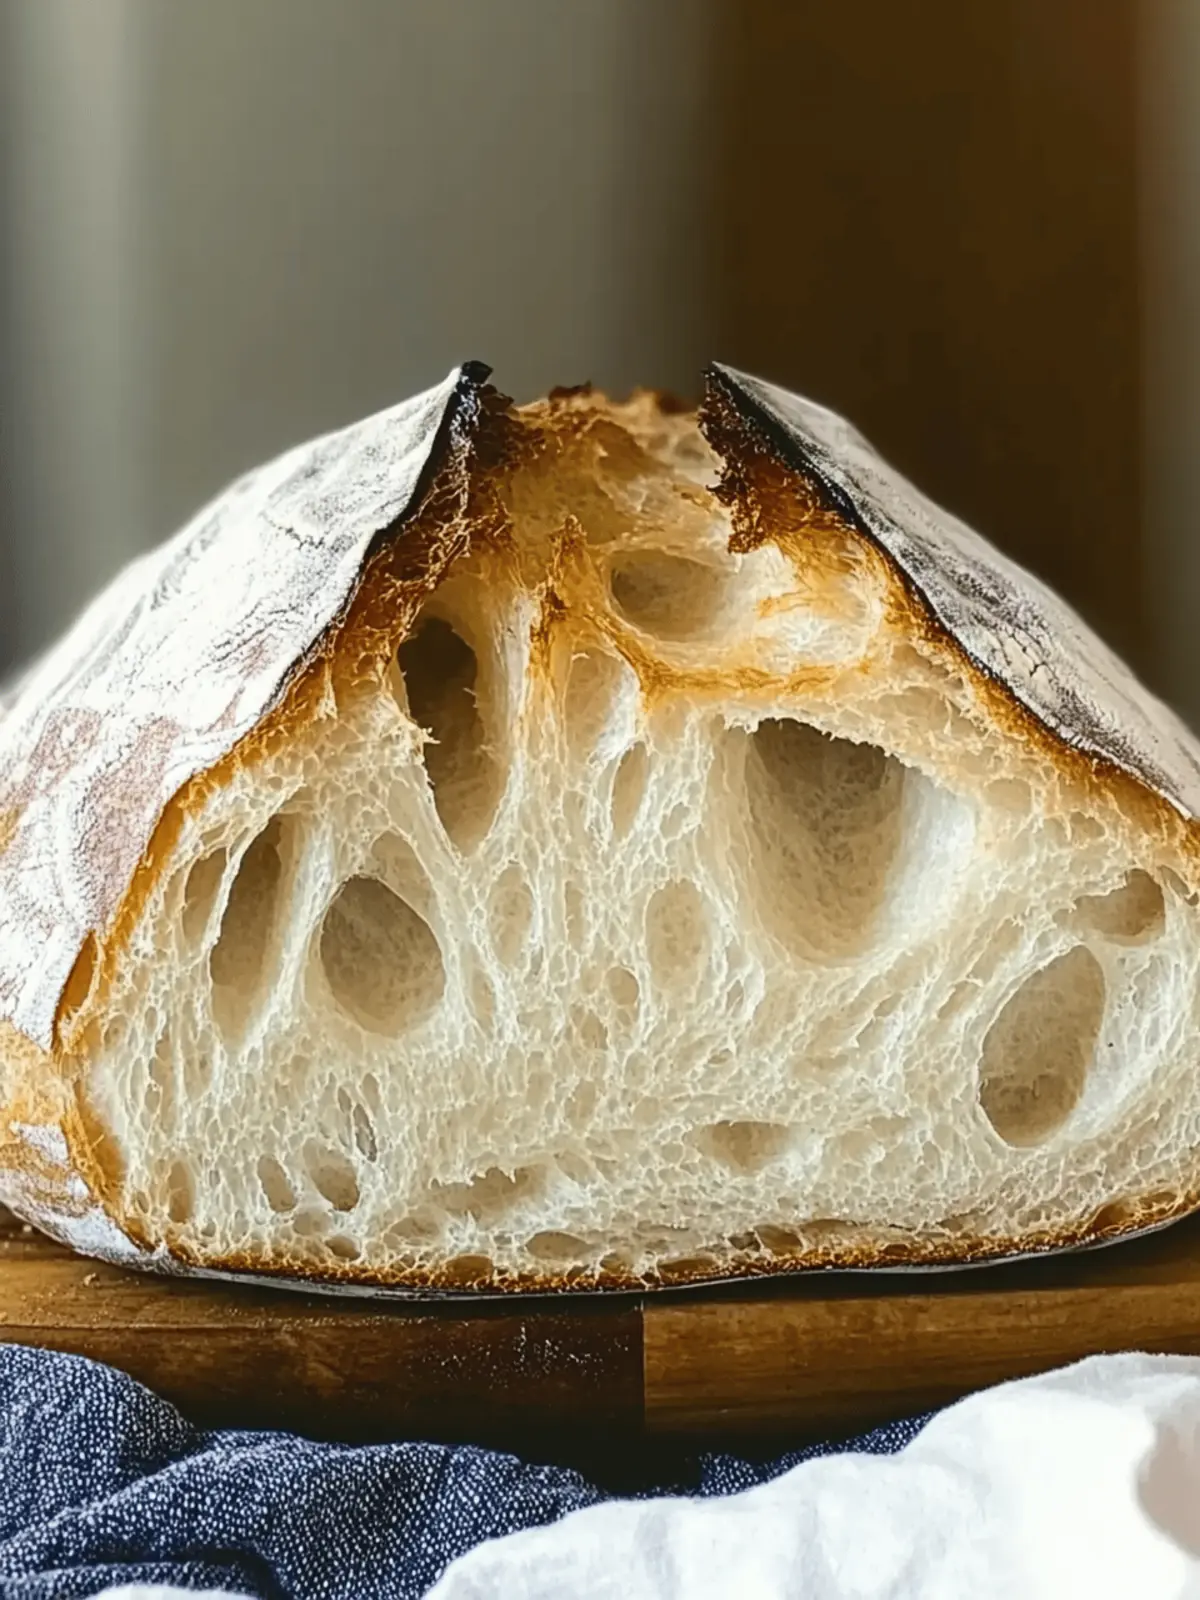
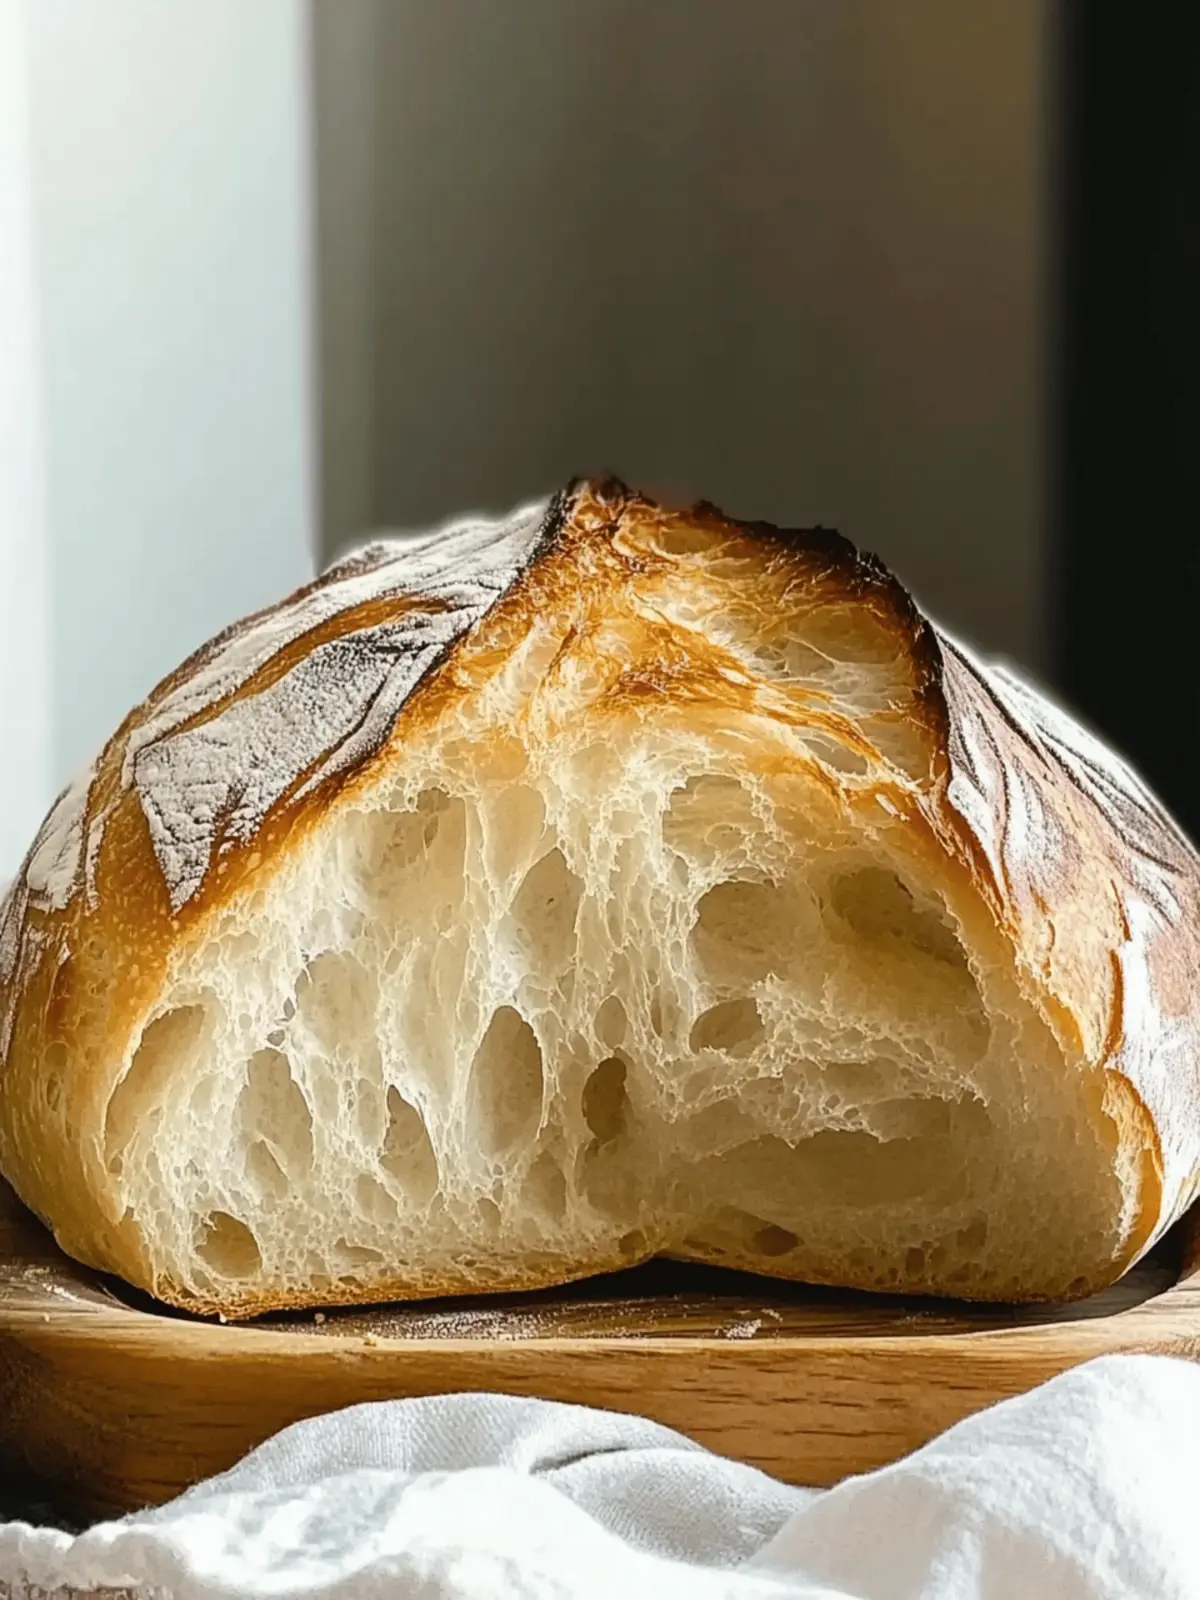
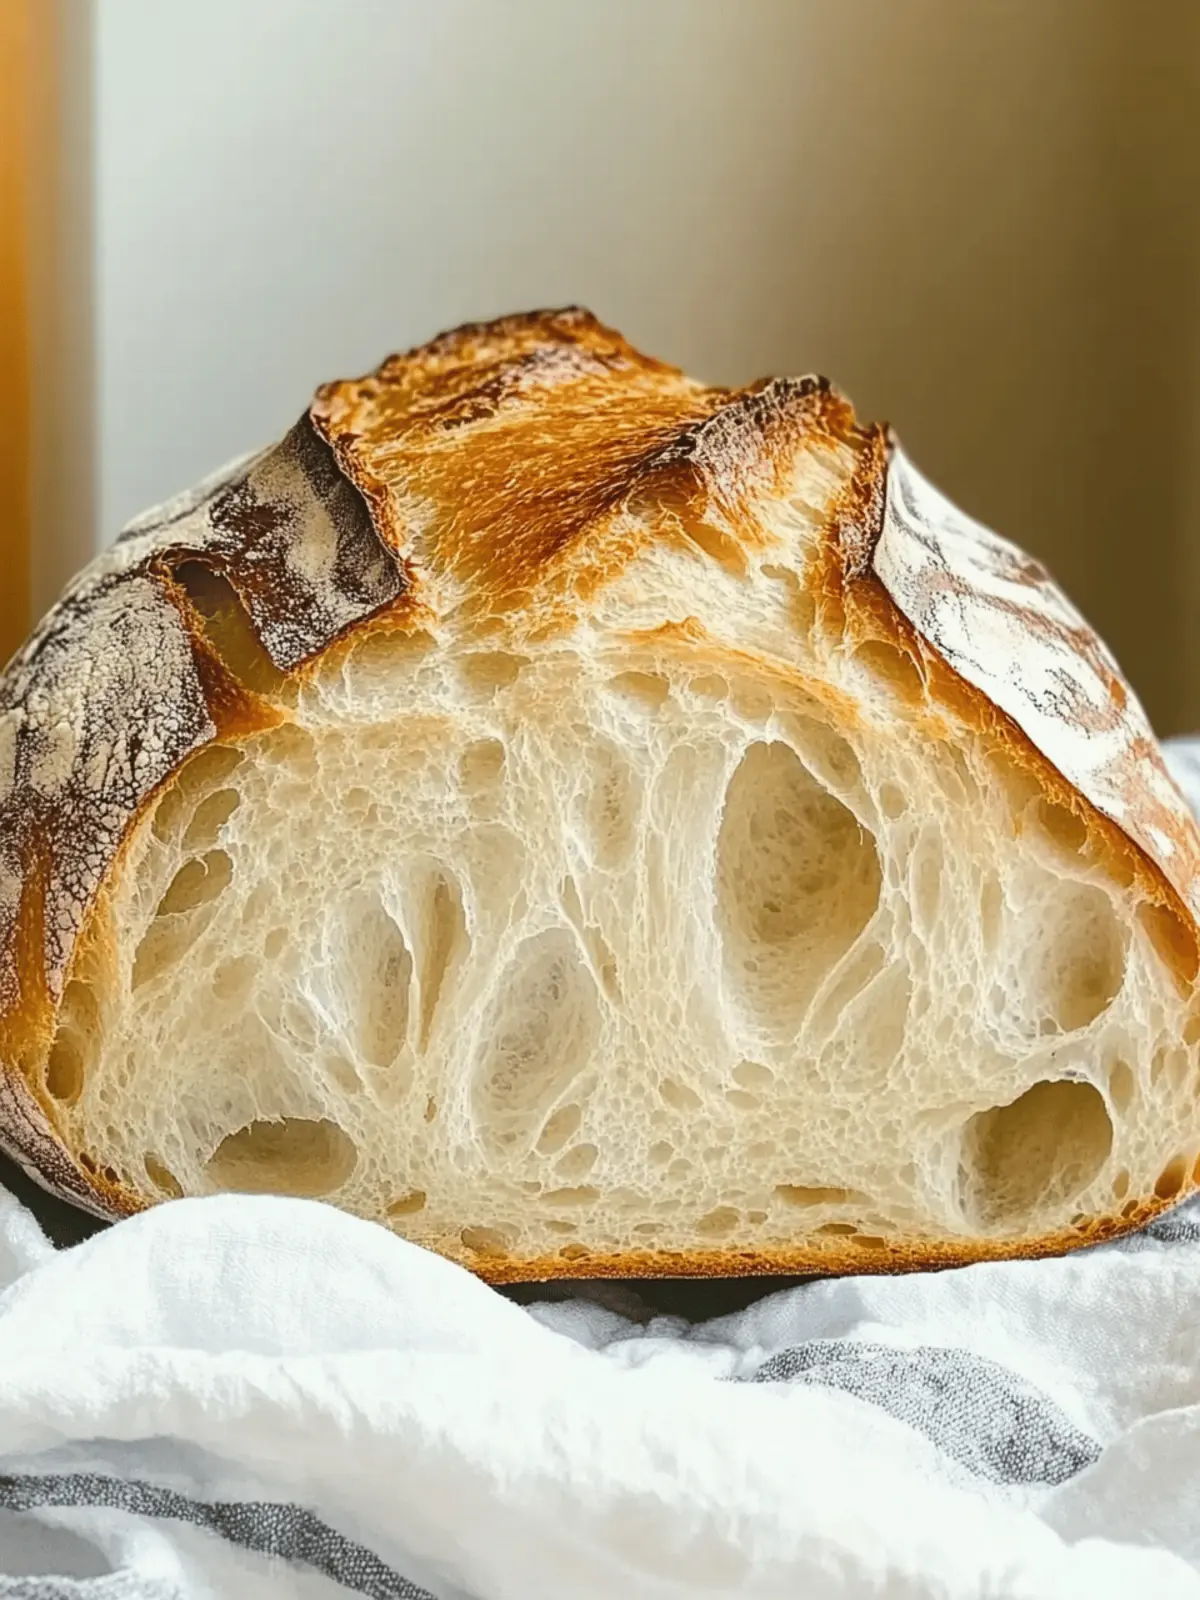
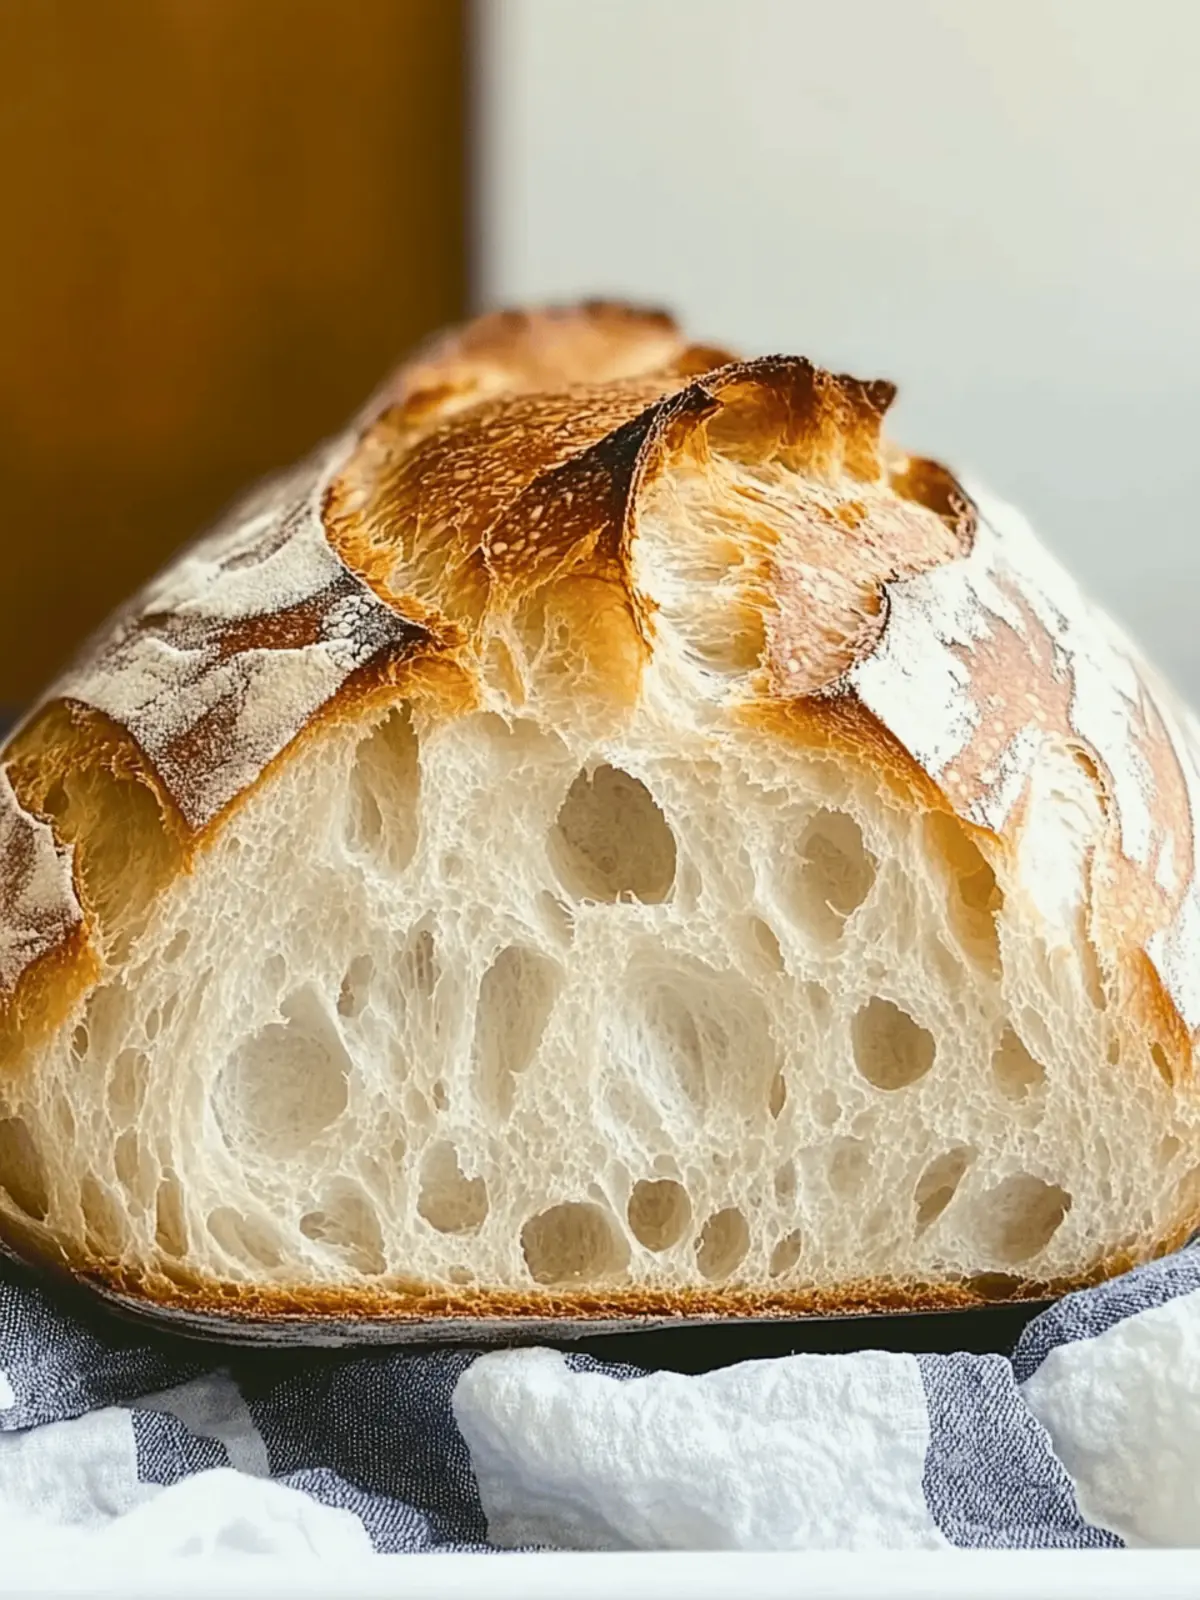
Every time I catch a whiff of freshly baked bread, I’m transported to a cozy corner of my kitchen where time slows down. It’s amazing how something so simple can transform your home into a warm, inviting haven. My journey into artisan bread baking began as a way to escape the monotony of fast food, and it quickly evolved into a love affair with the art of dough.
Imagine pulling a golden loaf from the oven, its crust crackling as it cools. The satisfaction of making bread from scratch is unmatched, and you don’t need to be a professional chef to achieve it. With just a few humble ingredients—flour, salt, yeast, and water—you can create an irresistible, artisan-quality loaf that will impress anyone at your dinner table. This recipe is not only easy to prepare, but it also allows for flexibility in the timing, making it perfect for busy home cooks. So grab your apron, and let’s dive into the delicious world of homemade artisan bread!
Why is Artisan Bread so irresistible?
Freshly baked artisan bread envelops your home with delicious, comforting aromas, making it a true sensory delight. Minimalist ingredients allow for immense creativity, cooking from scratch has never felt this rewarding. Time-saving with flexible rise options, this recipe adapts perfectly to your schedule. Plus, the golden crust and airy interior guarantee rave reviews from family and friends. Discover your passion for bread-making with this fail-proof guide and transform your home cooking experience!
Artisan Bread Ingredients
• Simple ingredients for a perfect loaf.
For the Dough
• All-purpose or bread flour – This gives your artisan bread the ideal structure and chewiness.
• Kosher salt – Enhances flavor; avoid table salt for a cleaner taste.
• Instant or active dry yeast – Provides excellent rise; instant yeast speeds up the process.
• Warm water (105°F) – Activating the yeast is crucial; ensure it’s not too hot to kill the yeast.
Embark on this artisan bread adventure with just these essentials, and you’ll be creating beautiful loaves that rival those from your local bakery!
How to Make Artisan Bread
-
Combine the ingredients in a large mixing bowl by adding the flour, salt, and yeast. Mix them gently until evenly distributed, creating a solid foundation for your bread.
-
Pour in the warm water, gently stirring the mixture until it forms a sticky dough. This should take a few minutes; it’s okay if it’s a bit shaggy!
-
Cover the bowl with a towel or plastic wrap, allowing the dough to rise at room temperature. Let it sit for anywhere from 2 to 10 hours; the longer, the better the flavor!
-
Shape the dough by turning it onto a lightly floured surface. Gently knead it a few times to bring it together and form a loaf shape.
-
Rest the shaped dough on a piece of parchment paper. Cover it loosely and let it rest for 20-30 minutes, which helps it relax before baking.
-
Preheat your oven to 450°F, ensuring a baking stone or Dutch oven is inside. This creates an amazing environment for your bread to rise and bake beautifully.
-
Create steam in the oven just before baking by carefully adding hot water or ice cubes to a baking tray at the bottom. This will help achieve that glorious golden crust! Bake for 25-30 minutes until deep golden brown.
-
Cool the bread on a rack for at least 30 minutes before slicing. Patience is key here; letting it cool enhances the texture and flavor!
Optional: Serve with a smear of butter for a delightful flavor boost!
Exact quantities are listed in the recipe card below.
Expert Tips for Artisan Bread
-
Perfect Temperature: Ensure your water is around 105°F to activate the yeast properly. Too hot, and it may kill the yeast; too cold, and it won’t rise.
-
Slow Rise Benefits: Allow the dough to rise for the full duration of 10 hours if possible. This develops complex flavors that make your artisan bread truly exceptional.
-
Gentle Handling: When shaping your dough, be gentle to retain air bubbles. Over-kneading can lead to dense bread instead of the light, airy texture you desire.
-
Steam Creation: Don’t skip creating steam in the oven by adding water or ice cubes. This step is essential for achieving that beautiful crusty exterior characteristic of artisan bread.
-
Cooling Period: Give your bread adequate cooling time on a rack. Slicing too soon can result in gummy interiors, diminishing your hard work. Enjoy the wait!
How to Store and Freeze Artisan Bread
Room Temperature: Store your artisan bread in a paper bag or wrapped in a clean kitchen towel to keep the crust crispy. It will last up to 3 days on the counter.
Fridge: If you need to keep it longer, place the bread in an airtight container and refrigerate for up to a week. Remember, refrigeration can change the texture, making it less crusty.
Freezer: Slice the bread and wrap it tightly in plastic wrap or aluminum foil, then place it in a freezer-safe bag. It can be frozen for up to 3 months; just toast or thaw before enjoying!
Reheating: To revive the crust, reheat your artisan bread in a 350°F oven for about 10-15 minutes. This will restore its wonderful texture and flavor before serving!
Artisan Bread Variations
Embrace your culinary creativity and customize your artisan bread to reflect your unique taste and dietary needs.
- Whole Wheat: Substitute half of the all-purpose flour with whole wheat flour for a nuttier flavor and added nutrition.
- Herb-Infused: Add chopped fresh herbs like rosemary or thyme to the dough for an aromatic twist that’ll elevate your bread to a new level.
- Garlic-Infused: Mix in sautéed crushed garlic cloves for a savory flavor that will leave your kitchen smelling heavenly.
- Cheese Lover’s: Fold in grated cheese like cheddar or parmesan before shaping for an extra cheesy delight that melts beautifully.
- Sweet Twist: Stir in honey or sugar along with some cinnamon for a subtly sweet loaf that pairs gorgeously with breakfast.
- Spicy Kick: Incorporate crushed red pepper flakes into the dough for a flavorful kick that adds depth and an exciting heat level.
Embrace the spice of life with this fiery version; it’s the perfect companion for your favorite soup! - Nutty & Seed Mix: Add a combination of chopped nuts and seeds like sunflower or flaxseed for a delightful crunch and unexpected texture.
- Vegan Alternative: Replace the warm water with a plant-based milk and swap dairy-based fats with nut or avocado oil for a vibrant, vegan-friendly loaf.
Feel free to experiment and make this artisan bread your own; each variation brings its own magic to the table!
Make Ahead Options
These artisan bread loaves are perfect for meal prep enthusiasts! You can prepare the dough up to 24 hours in advance by mixing the ingredients and allowing it to rise in the refrigerator instead of at room temperature, which will help develop flavor. Once risen, shape the dough and let it rest for about 20-30 minutes before baking. If you’re planning to bake the bread later, simply cover the shaped dough with plastic wrap and refrigerate it overnight. When you’re ready to enjoy your homemade bread, preheat your oven and bake as directed for delicious, fresh results that will impress your family! This prep-ahead method means you can have warm, crusty artisan bread on your table with minimal last-minute effort.
What to Serve with Artisan Bread?
Nothing brings a family together like a freshly baked loaf shared with love; let your culinary creativity flourish alongside it!
- Rich Tomato Soup: This classic pairing adds warmth and comfort, creating a delightful dip for your crusty bread.
- Herbed Olive Oil: Dipping artisan bread into infused olive oil transforms your meal into a luxurious experience, enhancing its heartiness.
Enjoy the satisfying contrast of textures as you soak the bread into silky soup or flavorful oil. It’s a perfect way to enjoy the essence of homemade bread.
- Creamy Butter: A dollop of unsalted butter elevates your artisan loaf to a comforting side, melting perfectly with each warm slice.
- Spring Salad: Fresh, crisp greens tossed with a light vinaigrette offers a refreshing counterpoint to the hearty bread, balancing flavors beautifully.
Imagine savoring a chunk of bread with a crisp salad; it’s a simple yet delightful experience that brightens any meal.
- Cheese Platter: Pairing your bread with a selection of cheeses creates a sophisticated appetizer, adding savory notes that tantalize your palate.
- Fruit Preserves: Sweet and fruity spreads create a lovely contrast with the bread’s crust, making for a delightful breakfast or snack option.
Indulge in the joy of mixing and matching these pairings, allowing your belly to savor the culinary adventure that artisan bread inspires!
Artisan Bread Recipe FAQs
What type of flour is best for artisan bread?
Absolutely! You can use either all-purpose or bread flour for artisan bread. Bread flour has a higher protein content, which helps create a chewier texture, while all-purpose flour still yields great results. Choose based on your preference or what you have on hand.
How long can I store artisan bread at room temperature?
Your artisan bread can last up to 3 days when stored at room temperature. I recommend wrapping it in a clean kitchen towel or placing it in a paper bag to maintain its crusty exterior. Avoid plastic wrap, as it can create moisture and soften the crust.
Can I freeze artisan bread?
Very! To freeze your artisan bread, slice it first and then wrap individual slices tightly in plastic wrap or aluminum foil. Place them in a freezer-safe bag, and you can enjoy your bread for up to 3 months. When you’re ready to eat, simply toast or thaw it at room temperature for best results.
What should I do if my dough doesn’t rise?
Oh no! If your dough doesn’t rise as expected, it could be due to inactive yeast. Make sure your water temperature is around 105°F to properly activate it. If it’s been too long after mixing, the yeast may be sluggish. Learn to check your yeast by dissolving it in warm water with a pinch of sugar—if it froths after 5-10 minutes, it’s good to go!
What can I do with leftover artisan bread?
If you have leftover artisan bread, you can make so many delightful dishes! Transform it into croutons by cubing and toasting with olive oil and herbs, or whip up a delicious bread pudding for a sweet treat. You can also use it for a hearty panade—a comforting soup made with stale bread, broth, and veggies!
Is artisan bread safe for dogs?
Absolutely! As long as your artisan bread doesn’t contain any harmful ingredients like raisins, garlic, or excessive salt, it can be a safe treat for your dog. However, always feed bread in moderation as a small snack, and consult with your vet if you have concerns.

Perfect Artisan Bread in Just 10 Hours of Effort
Ingredients
Equipment
Method
- Combine the flour, salt, and yeast in a large mixing bowl.
- Pour in the warm water and stir until it forms a sticky dough.
- Cover the bowl and let it rise for 2 to 10 hours.
- Turn the dough onto a floured surface and shape into a loaf.
- Rest the shaped dough on parchment paper for 20-30 minutes.
- Preheat your oven to 450°F with a baking stone or Dutch oven inside.
- Create steam in the oven before baking.
- Bake for 25-30 minutes until deep golden brown.
- Cool on a rack for at least 30 minutes before slicing.


