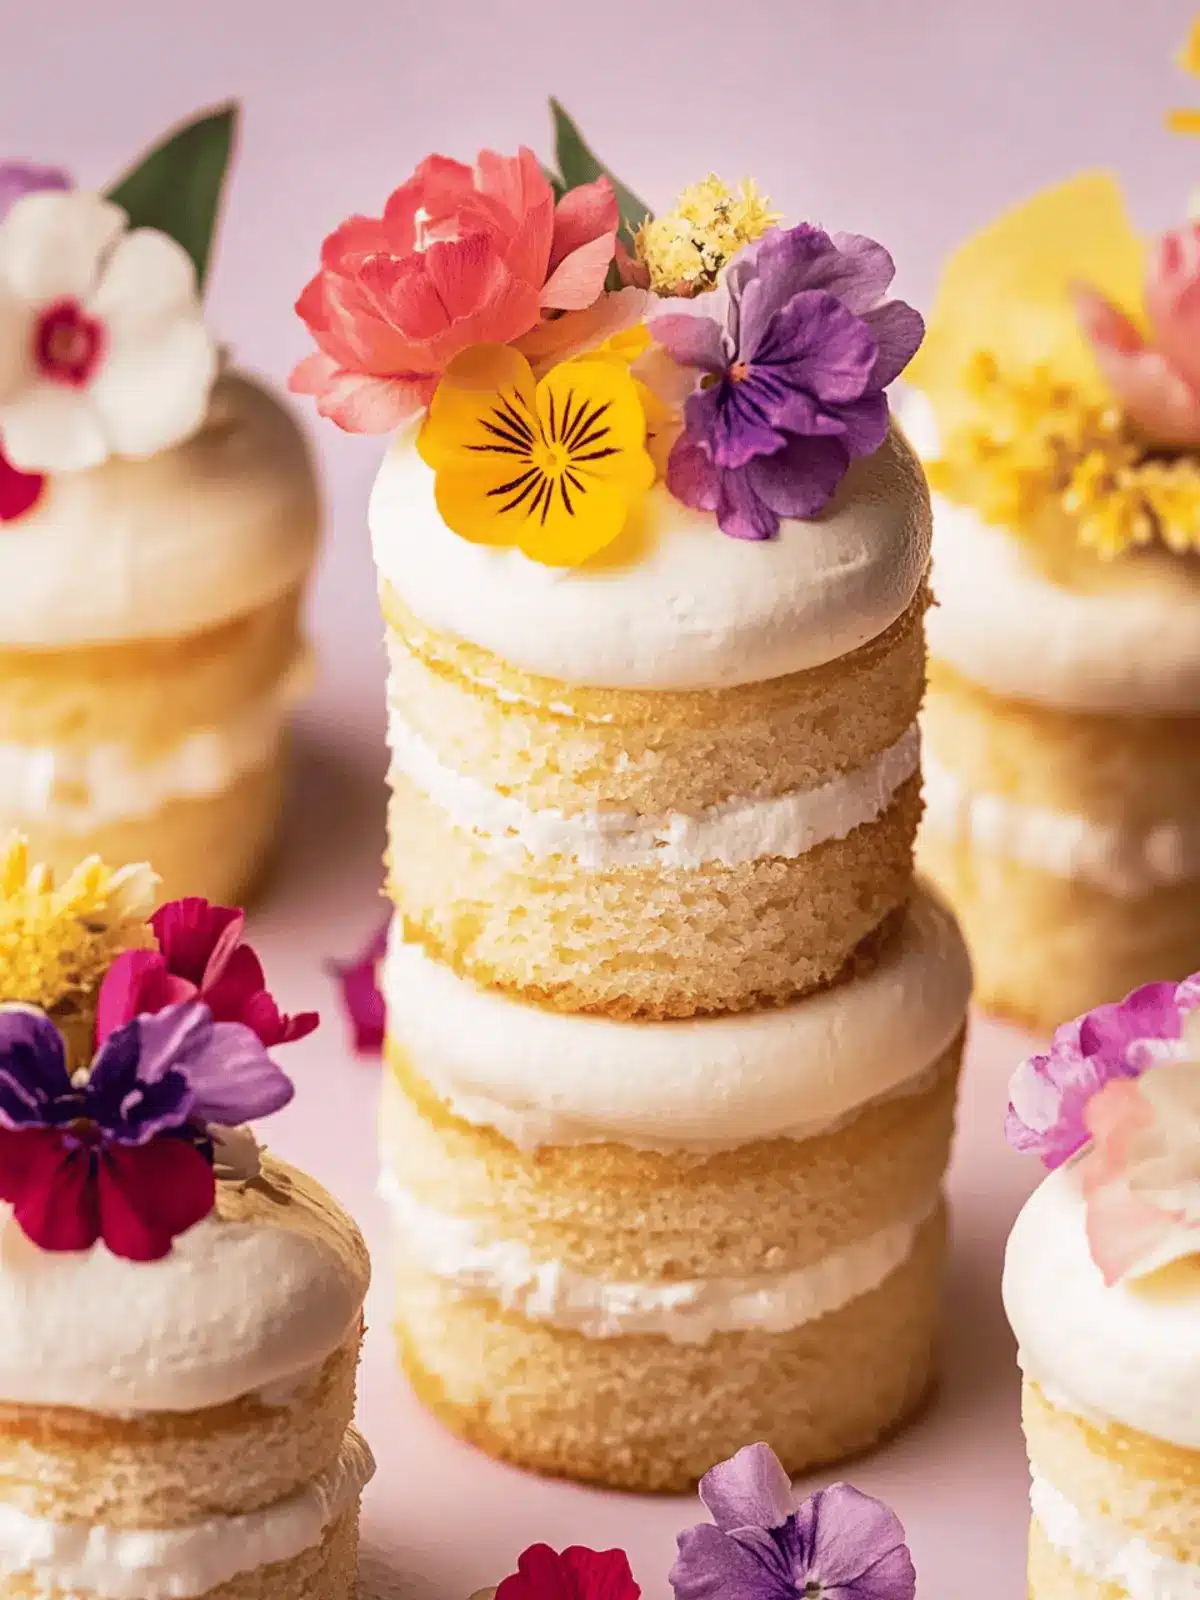
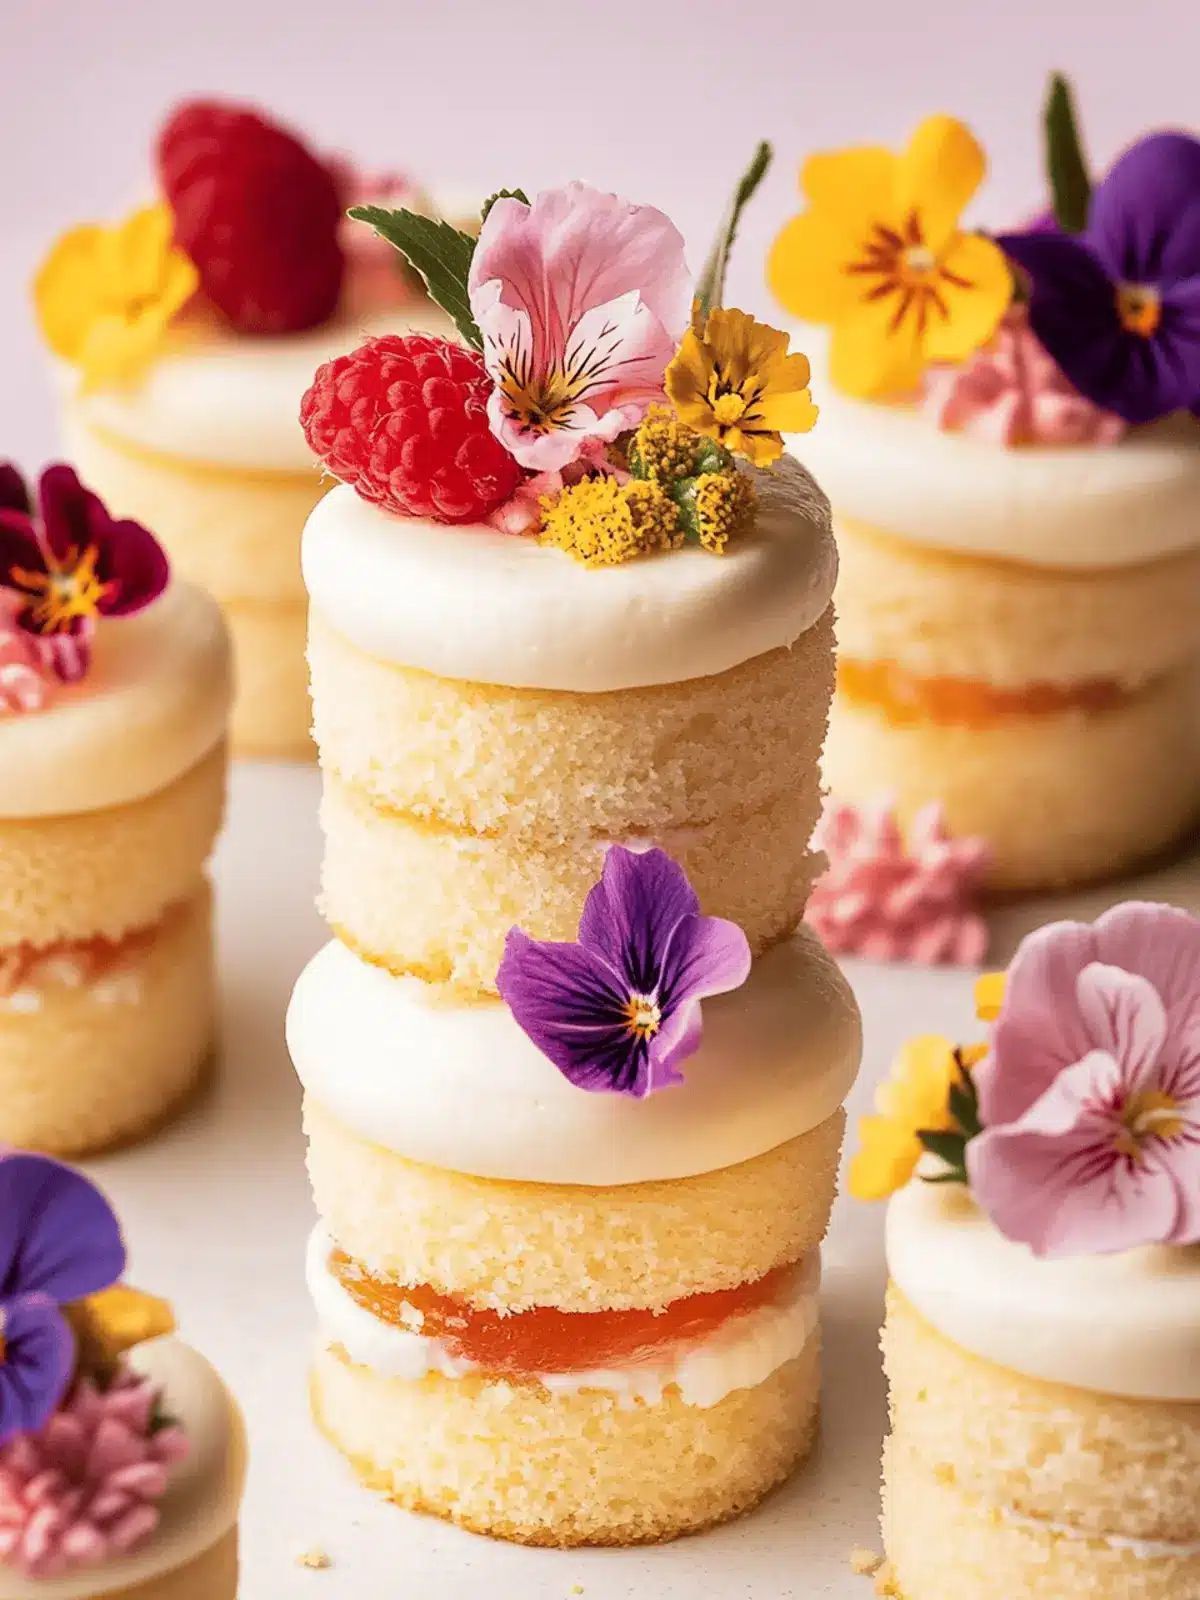
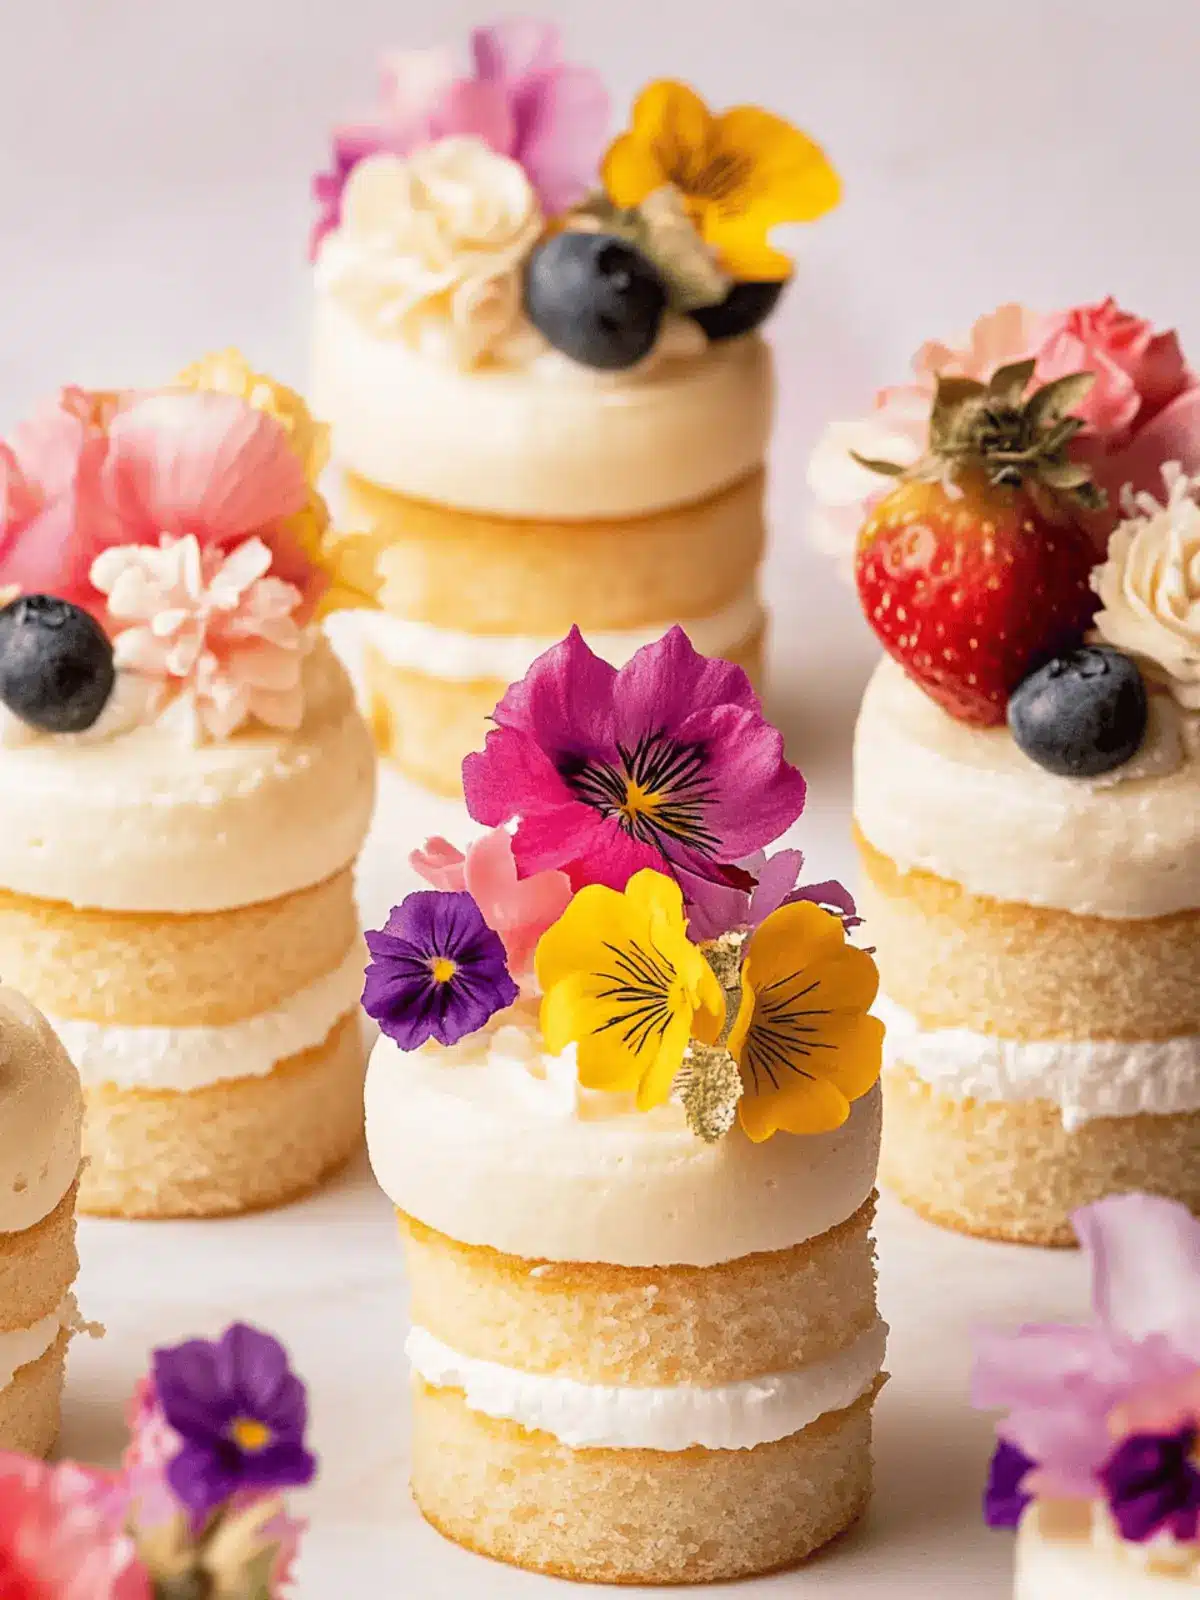
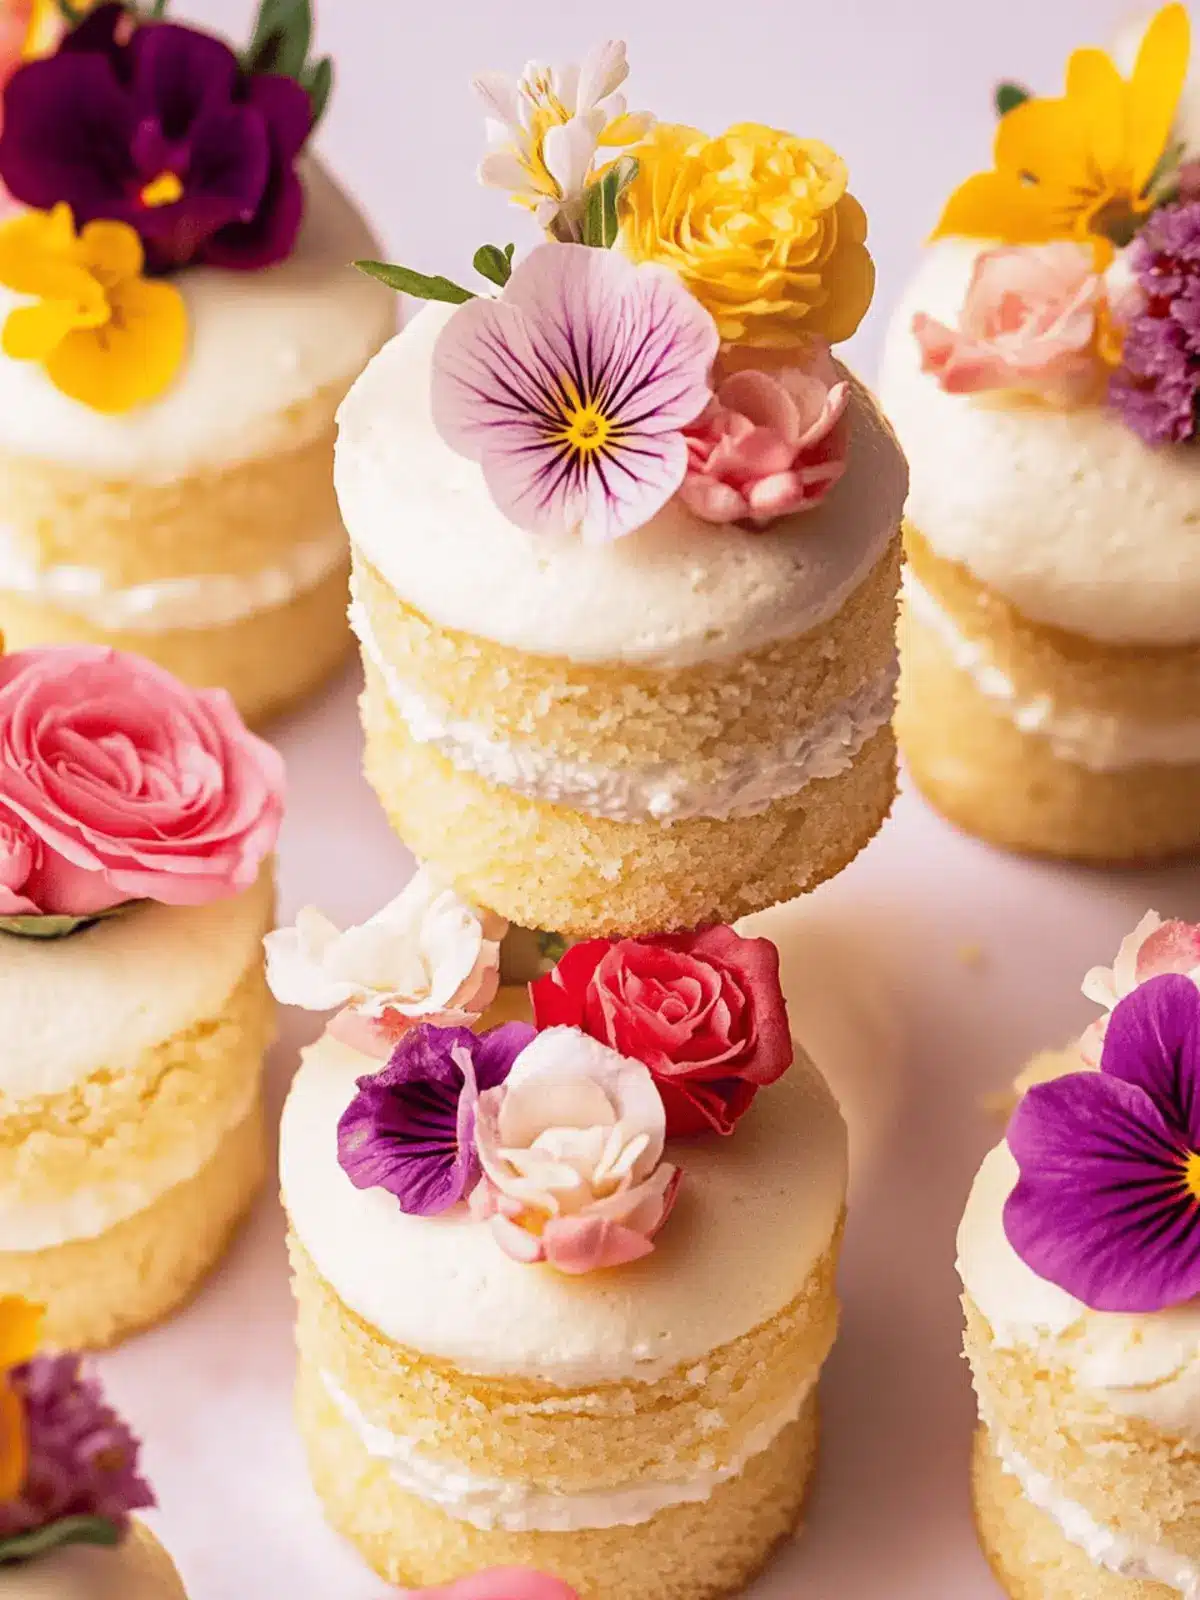
There’s something undeniably delightful about hosting a gathering where sweet treats steal the spotlight, and these Mini Layer Cakes are the perfect showstoppers. Imagine walking into a room filled with the warm aroma of freshly baked cake, only to discover a stunning array of colorful little confections just waiting to be devoured. I created these charming, bite-sized delights as a way to combine my love for baking with the joy of sharing—a little something for everyone’s sweet tooth.
Whether you’re celebrating a special occasion or simply yearning to indulge in some homemade goodness, these mini cakes offer a world of customization. Choose from classic vanilla, rich chocolate, zesty lemon, or vibrant strawberry, and pair them with a variety of scrumptious buttercreams. They promise not only to satisfy your cravings but also to impress your friends and family, making every gathering memorable. Plus, the ease of assembly means you’ll be enjoying these beauties in no time at all. Let’s dive into this delightful baking adventure!
Why are Mini Cakes the Ultimate Treat?
Versatile Flavors: From classic vanilla to tangy lemon, these mini cakes can adapt to any taste preference, ensuring everyone finds a favorite.
Crowd-Pleasing Presentation: Their adorable size and vibrant colors make them the perfect eye-catching addition to any gathering.
Quick & Easy: With simple steps and quick assembly, you can whip up a batch in no time—perfect for last-minute celebrations!
Customizable Enjoyment: Get creative with flavored buttercreams or fillings, letting your imagination run wild.
Satisfy Your Sweet Tooth: These little treats combine delightful flavor and manageable portion sizes, allowing you to indulge guilt-free!
Mini Cakes Ingredients
• Here’s everything you need to make irresistible mini cakes!
For the Cake
- All-Purpose Flour – Provides structure to the cake; can substitute with cake flour for a finer crumb.
- Baking Powder – Acts as a leavening agent to help the cake rise; no substitutes necessary.
- Kosher Salt – Enhances flavor; can replace with table salt, but use less.
- Unsalted Butter – Adds richness and moisture; for a dairy-free option, use margarine or a dairy-free butter.
- Granulated Sugar – Sweetens the cake and contributes to its texture; brown sugar adds moisture and a unique flavor.
- Canola or Vegetable Oil – Keeps the cake moist; melted coconut oil or applesauce makes a great substitute.
- Large Eggs – Provide moisture and aid in leavening; substitute flax eggs for a vegan option.
- Pure Vanilla Extract – Adds depth of flavor; almond extract offers a different flavor profile if desired.
- Milk – Hydrates the batter and adds tenderness; almond milk or other dairy alternatives work well.
For the Buttercream
- Unsalted Butter – The base for a rich, creamy frosting; dairy-free butter is a great alternative.
- Powdered Sugar – Sweetens the frosting; ensure it’s sifted to avoid lumps.
- Vanilla Extract – Enhances the buttercream’s flavor; feel free to experiment with flavorings like lemon or almond.
- Heavy Cream – Adjusts the frosting’s consistency for easy spreading; substitute with milk or a non-dairy alternative.
Now that you have the essential mini cakes ingredients, let’s get baking! Enjoy the process and the delicious results!
How to Make Mini Cakes
-
Preheat your oven to 350°F and prepare a 9X12-inch baking pan by lining it with parchment paper. This ensures easy removal of your delightful cakes later!
-
Mix Dry Ingredients: In a large bowl, whisk together all-purpose flour, baking powder, and kosher salt until well combined. This step builds the structure of your mini cakes.
-
Cream Butter and Sugar: Using an electric mixer, beat the unsalted butter and granulated sugar together until fluffy and light in color—about 3-4 minutes. Add the canola or vegetable oil, mixing until integrated.
-
Incorporate Eggs: One by one, add the large eggs, mixing until well combined after each addition. Don’t forget to add your pure vanilla extract for that deep, rich flavor!
-
Combine Mixtures: Gradually add half of the flour mixture to your wet ingredients, alternating with the milk. Stir until smooth, then add the remaining flour and mix until just combined—no overmixing here!
-
Bake: Pour the batter into your prepared pan and spread it evenly. Bake for 25-28 minutes, or until a toothpick inserted into the center comes out clean. The top should be slightly golden.
-
Cool: Remove the pan from the oven and allow the cake to cool in the pan for about 10 minutes. Then, transfer to a wire rack to cool completely before cutting into circles for your mini cakes.
Optional: Dust with powdered sugar for a beautiful finish before serving.
Exact quantities are listed in the recipe card below.
Mini Cakes Variations & Substitutions
Feel free to let your creativity shine as you explore these exciting variations to make your mini cakes truly unique!
-
Chocolate Delight: Substitute the vanilla sheet cake with chocolate cake batter, and top with rich chocolate buttercream for a decadent twist.
-
Zesty Lemon: Add fresh lemon zest to the batter for a bright flavor, and fill with lemon curd before topping with lemon-flavored frosting. A sunny delight!
-
Sweet Strawberry: Incorporate pureed strawberries into your cake batter and use strawberry jam as a filling. Finish with strawberry buttercream for a burst of fruity goodness.
-
Nutty Variation: Mix crushed nuts, like walnuts or pecans, into the batter for added texture. This adds a delightful crunch, making each bite even more satisfying.
-
Spicy Cinnamon: Add ground cinnamon and nutmeg to the batter for a warm, spiced cake; pair it with cream cheese frosting for a delightful fall-inspired treat.
-
Vegan Option: Substitute eggs with flax eggs and dairy with almond milk or coconut cream to create a delectable vegan mini cake that everyone can enjoy.
-
Coffee Infusion: Add a shot of espresso or instant coffee granules to the batter for a caffeinated boost, and use mocha buttercream for an extra coffee kick.
-
Tropical Twist: Replace some milk with coconut milk and fold in shredded coconut for a tropical flair, perfect for summer gatherings! Add pineapple filling for a lush surprise.
What to Serve with Mini Layer Cakes?
Create a delightful spread that complements these charming little confections and elevates your dessert experience.
-
Fresh Berries: The tartness of strawberries, blueberries, or raspberries adds a refreshing contrast to the sweetness of mini cakes. Serve them on the side or top your cakes for a vibrant touch.
-
Whipped Cream: Fluffy and light, whipped cream enhances the cake’s flavor while providing a creamy texture. Consider infusing it with vanilla or a hint of citrus for a fun twist!
-
Ice Cream: Creamy vanilla or fruity sorbet pairs perfectly with the moist mini cakes. The contrast of temperature and texture is simply irresistible, making every bite a joy.
-
Coffee or Tea: A warm cup of your favorite brew offers a lovely balance to the sweetness, allowing for a comforting and delightful experience. Choose a rich espresso or a fragrant herbal tea to suit all palates.
-
Chocolate Sauce: Drizzle some rich chocolate sauce over the mini cakes for an indulgent treat. It adds a decadent touch, especially for chocolate cake variations.
-
Fruit Compote: A warm fruit compote brings a delightful burst of flavor and natural sweetness. Mixed berries or stone fruits simmered down create a perfect topping for your mini cakes.
Pairing these elements with your mini layer cakes will create an unforgettable dessert experience that brings smiles to your gathering!
How to Store and Freeze Mini Cakes
Room Temperature: Keep assembled mini cakes at room temperature for up to 2 days. Ensure they are covered with a cake dome or cling wrap to prevent drying out.
Fridge: Store leftover mini cakes in the fridge for up to 5 days. Use an airtight container to maintain freshness and protect from absorbing other odors.
Freezer: For longer storage, wrap unassembled mini cakes tightly in plastic wrap and freeze for up to 3 months. Thaw in the refrigerator before frosting on the day of serving for the best flavor and texture.
Reheating: If you want a warm treat, gently heat thawed mini cakes in the microwave for about 10-15 seconds; this enhances their softness without compromising the flavor.
Make Ahead Options
These Mini Cakes are a fantastic choice for meal prep, saving time for busy weeknights or special occasions! You can bake the vanilla sheet cake and freeze it for up to 3 months; just ensure it’s completely cooled before wrapping it tightly in plastic wrap. If you’re short on time, you can also prepare the cake batter and refrigerate it for up to 24 hours before baking, allowing for a quick pop in the oven when you’re ready. When it’s time to enjoy, simply cut the frozen cake into rounds, assemble with your chosen buttercream, and let them sit at room temperature for about 30 minutes before serving—just as delicious as fresh!
Expert Tips for Mini Cakes
-
Cool Completely: Allow the cake to cool completely before cutting; otherwise, you risk uneven layers that won’t stack well.
-
Trim for Perfection: If there are any domed tops, level them off with a knife. This ensures each layer of your mini cakes stacks smoothly.
-
Use a Sharp Cutter: A sharp, round cutter (2-3 inches) makes your mini cakes beautiful and uniform. This creates an eye-catching presentation.
-
Frosting Technique: Use a piping bag for frosting; it gives a professional look and prevents excess buttercream from spilling over.
-
Flavorful Fillings: Don’t hesitate to experiment! Adding fruit preserves or flavored buttercreams between layers can elevate your mini cakes to a whole new level.
-
Freezing Tips: If not serving immediately, freeze unassembled mini cakes for up to 3 months. Thaw in the refrigerator before frosting for best results.
Mini Layer Cakes Recipe FAQs
What kind of flour should I use for mini cakes?
For mini cakes, all-purpose flour is ideal as it provides structure. You could opt for cake flour if you prefer a finer crumb, resulting in a lighter texture.
How should I store leftover mini cakes?
Leftover mini cakes can be stored in the refrigerator for up to 5 days in an airtight container to maintain freshness. If you wish to keep them longer, wrap unassembled mini cakes tightly in plastic wrap and freeze for up to 3 months.
Can I freeze mini cakes after they’ve been assembled?
It’s best to freeze unassembled mini cakes to maintain texture and flavor. Wrap them tightly in plastic wrap and freeze them for up to 3 months. Thaw them in the refrigerator before frosting to ensure the best results.
What if my mini cakes aren’t rising properly during baking?
Undoubtedly, various factors can affect the rise of your mini cakes. Ensure that your baking powder is fresh—if it’s expired, it may not work correctly. Additionally, double-check that you’re measuring ingredients accurately and mixing until just combined to avoid overworking the batter.
Are there any common allergens I should be aware of?
Yes! The main allergens in this recipe include eggs, dairy, and gluten. For egg-free options, consider using flax eggs as a substitute. To make this recipe gluten-free, you can use a gluten-free all-purpose flour blend. Always check ingredient labels if you’re concerned about specific allergies.
How can I make these mini cakes vegan-friendly?
Absolutely! To make these mini cakes vegan, substitute the eggs with flax eggs (1 tablespoon of flaxseed meal + 2.5 tablespoons of water = 1 egg), use dairy-free butter and milk alternatives, like almond or oat milk, and opt for a plant-based frosting.

Irresistibly Delicious Mini Cakes for Any Celebration
Ingredients
Equipment
Method
- Preheat your oven to 350°F and prepare a 9X12-inch baking pan by lining it with parchment paper.
- In a large bowl, whisk together all-purpose flour, baking powder, and kosher salt until well combined.
- Using an electric mixer, beat the unsalted butter and granulated sugar together until fluffy and light in color—about 3-4 minutes. Add the canola or vegetable oil, mixing until integrated.
- One by one, add the large eggs, mixing until well combined after each addition. Don’t forget to add your pure vanilla extract!
- Gradually add half of the flour mixture to your wet ingredients, alternating with the milk. Stir until smooth, then add the remaining flour and mix until just combined.
- Pour the batter into your prepared pan and spread it evenly. Bake for 25-28 minutes, or until a toothpick inserted into the center comes out clean.
- Remove the pan from the oven and allow the cake to cool in the pan for about 10 minutes. Then, transfer to a wire rack to cool completely before cutting into circles for your mini cakes.
- Optional: Dust with powdered sugar for a beautiful finish before serving.


