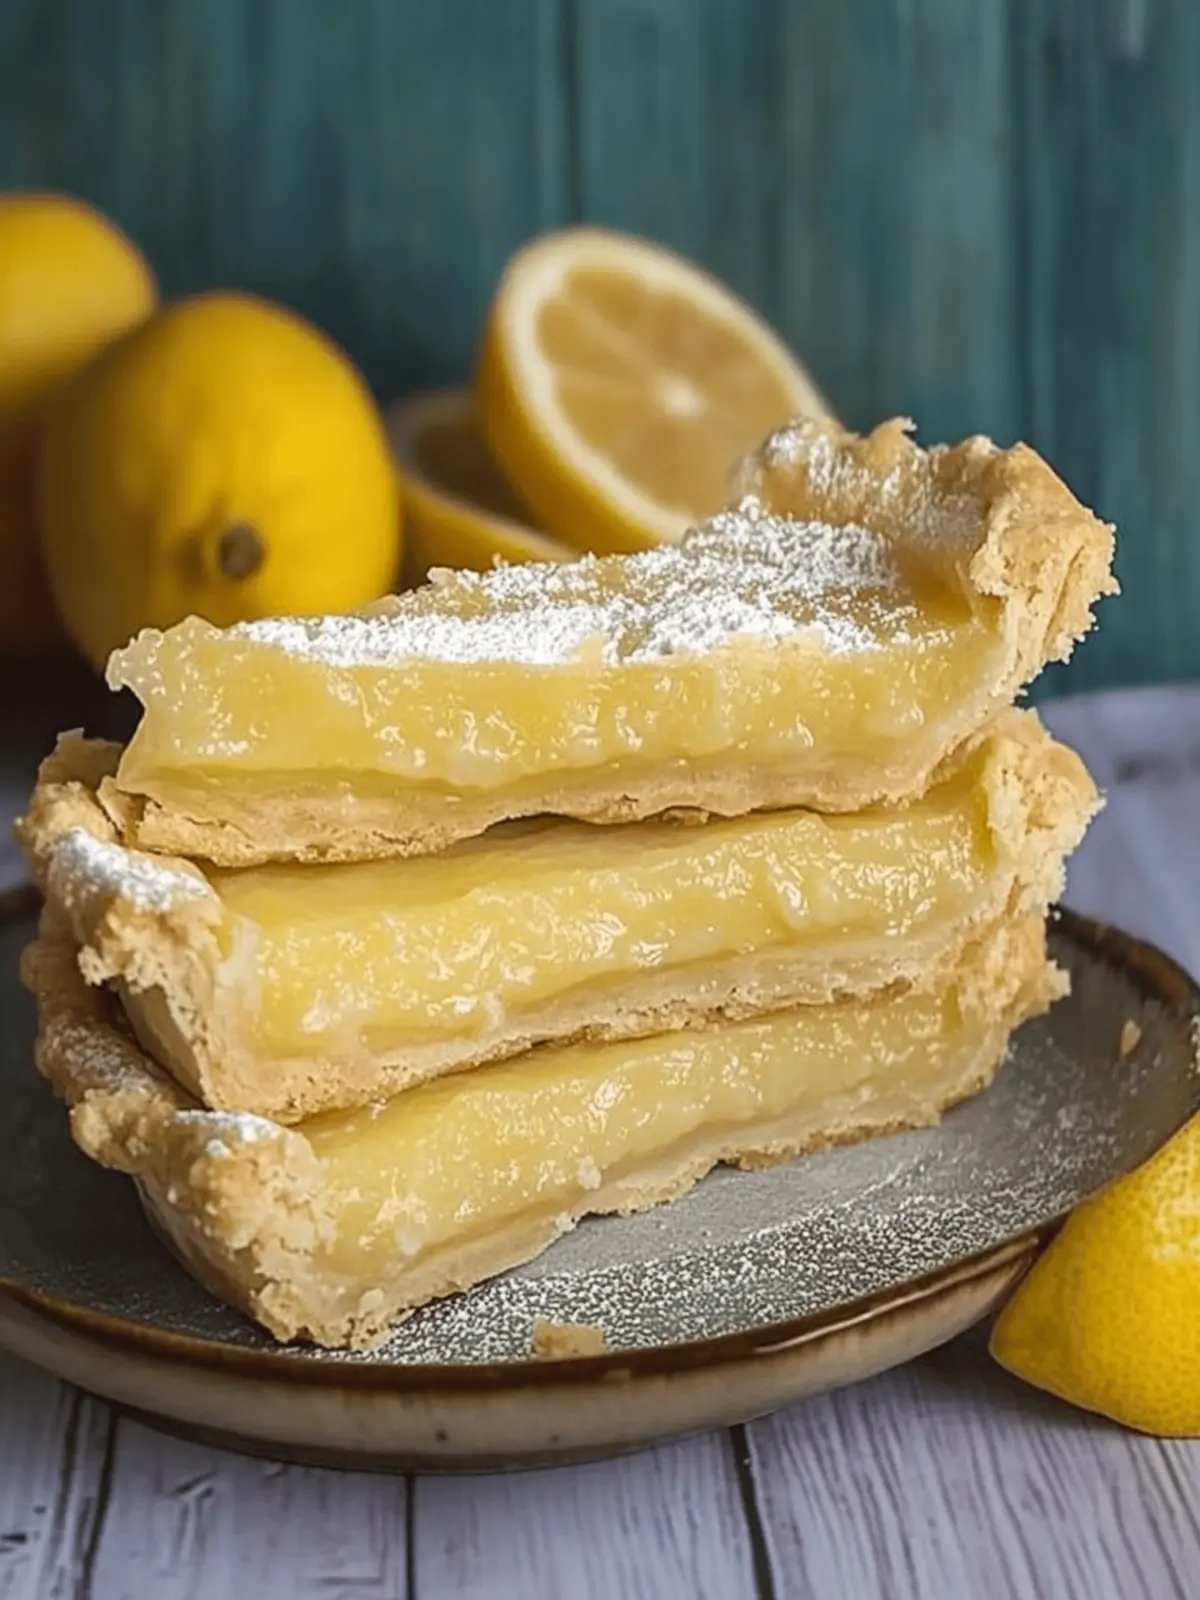
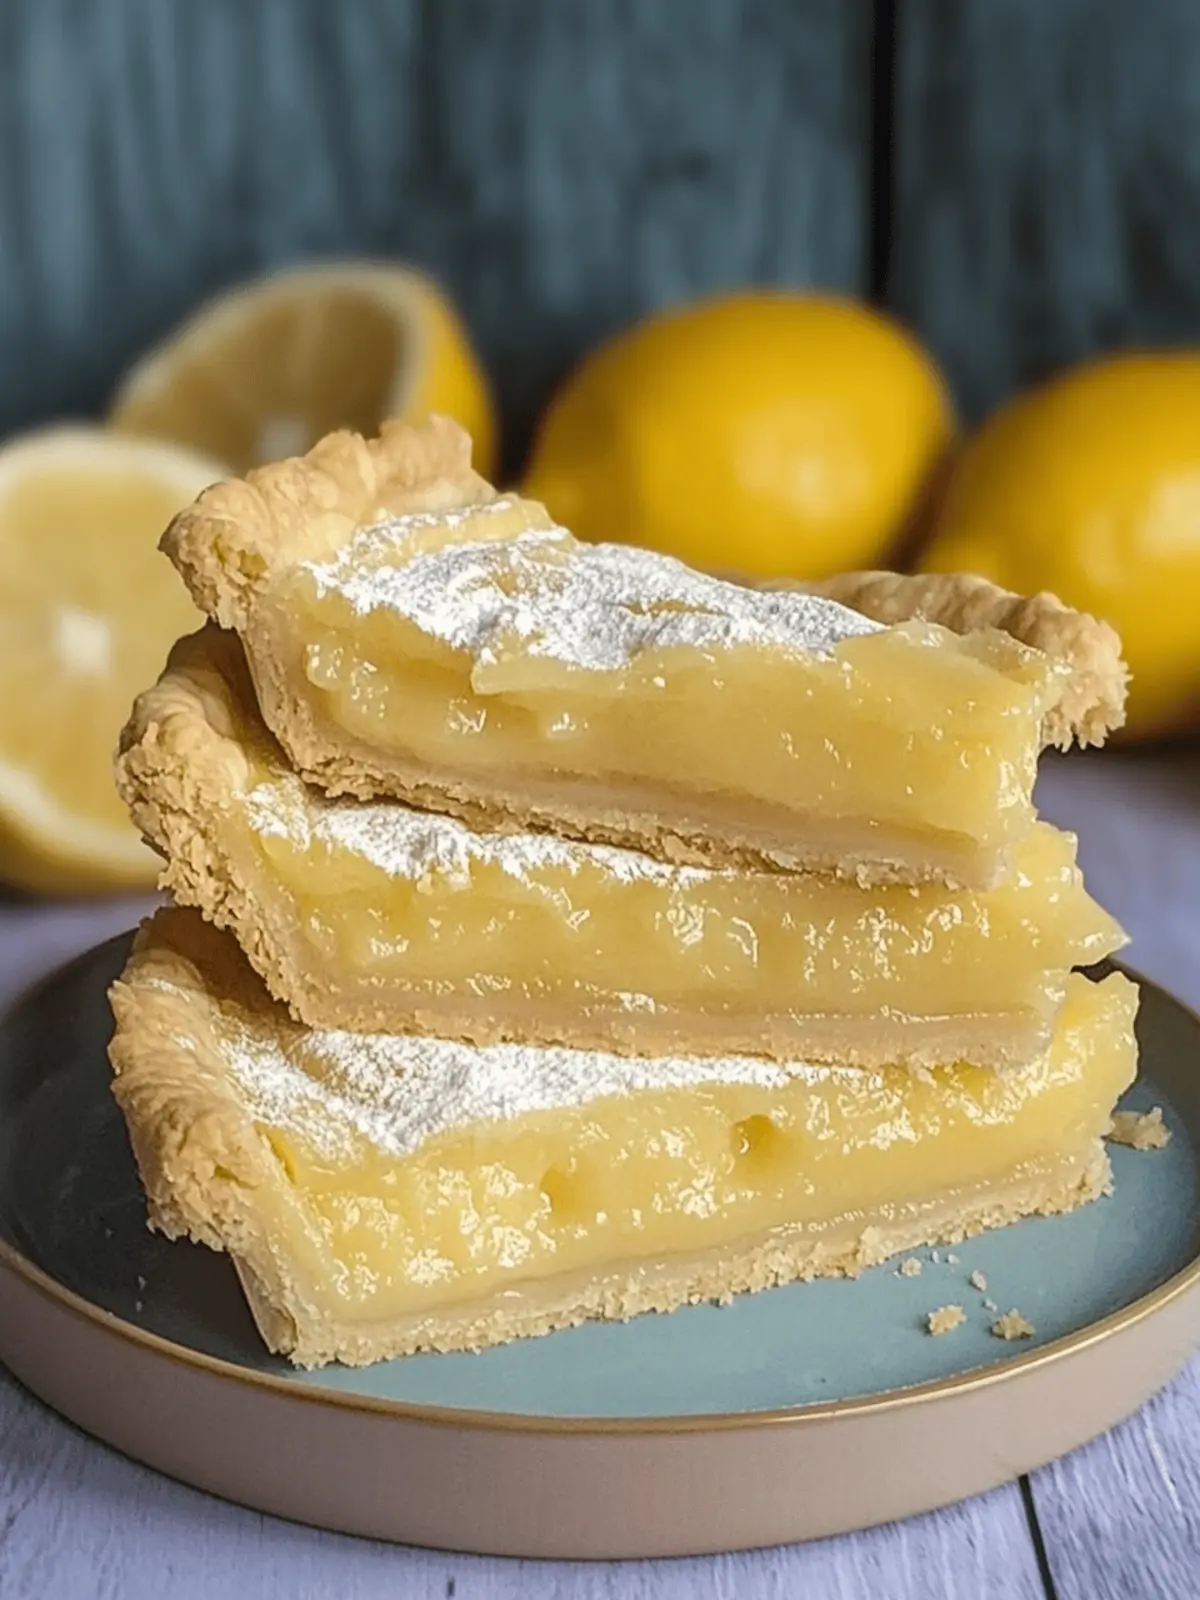
When the sun starts to warm the air and summer blossoms unfold, my kitchen transforms into a haven of vibrant flavors. One of my absolute favorite desserts to whip up during this joyous season is Limonnik, a traditional Russian lemon pie that captivates the senses with its crumbly crust and a delightful balance of sweet and tangy lemon filling. The first time I baked this exquisite treat, I was amazed at how simple it was to create something so elegant and yet incredibly satisfying. Limonnik not only offers a refreshing pop of citrus but also requires just a handful of everyday ingredients, making it the perfect antidote to my monotony of quick takeout meals. With each slice, you’ll experience a burst of sunshine that will leave your tastebuds dancing and your guests asking for seconds. So, if you’re ready to elevate your dessert game, let’s dive into this delightful recipe that’s as easy to make as it is to enjoy!
Why is Russian lemon pie a must-try?
Simplicity: This delightful dessert requires just a handful of ingredients and straightforward steps, making it perfect for bakers of any skill level.
Refreshing Twist: With a perfect balance of sweet and tangy flavors, every bite of Limonnik brings a burst of sunshine and happiness.
Crowd-Pleasing: Friends and family will rave about this unique treat—it’s guaranteed to be the star at any summer gathering!
Versatile Options: Experiment with different fruits or gluten-free variations to suit your taste and dietary needs.
Quick to Prepare: In under an hour, you’ll have a stunning pie that tastes as if it took all day to create!
Russian Lemon Pie Ingredients
• Discover the essentials for a delightful Russian lemon pie!
For the Crust
- Sour Cream – Adds moisture and creates a tender texture in the dough; Greek yogurt can be used as a non-dairy substitute.
- Cold Butter – Provides richness and helps form a flaky crust; opt for vegan butter for a dairy-free version.
- Flour – The main structure of the shortcrust pastry; use all-purpose flour or gluten-free flour as needed.
- Baking Soda – A leavening agent that lightens the crust and ensures a lovely texture; make sure it’s fresh.
- Salt – Enhances flavor and balances the sweetness of the filling.
For the Filling
- Organic Lemon – Provides intense flavor; choose lemons with thin skin to keep bitterness at bay.
- Sugar – Sweetens the lemon filling; adjust to your desired level of sweetness, keeping in mind the sweet-and-sour balance.
- Cornstarch – Thickens the lemon filling, preventing excess moisture from making the pie soggy.
How to Make Russian Lemon Pie
-
Prepare the Dough:
In a mixing bowl, combine flour and salt. Then, add cold, diced butter. Mix in dissolved baking soda with sour cream, and knead until a smooth dough forms. Split the dough into two pieces, cover, and chill for 30 minutes. -
Prepare the Filling:
Cut the organic lemon into pieces, making sure to remove any seeds. Blend the lemon (peel included) until smooth, and set the sugar aside for later. -
Assemble the Pie:
Line a 26 cm springform tin with baking paper. Roll out the larger piece of dough and fit it into the tin, dusting it with cornstarch. Mix the sugar into the lemon puree, then spread the filling over the dough. Roll out the smaller piece of dough to cover the filling, sealing the edges well. Prick the top with a fork to allow steam to escape. -
Bake:
Bake the pie in a preheated oven at 356°F (180°C) for about 30 minutes, or until golden brown. Allow it to cool completely before slicing and serving for the best flavor.
Optional: Dust with powdered sugar before serving for an extra touch of sweetness.
Exact quantities are listed in the recipe card below.
Russian Lemon Pie Variations
Turn this classic treat into something uniquely yours!
-
Gluten-Free: Substitute all-purpose flour with gluten-free flour blend for a delightful, gluten-free version. Enjoy each crumbly bite without any gluten worries!
-
Dairy-Free: Use vegan butter and Greek yogurt alternatives to keep the flavor intact while catering to lactose intolerance. The richness remains without a hint of dairy.
-
Fruit Fusion: Experiment with other purees such as orange or lime, transforming the flavor profile while still maintaining the delightful citrus essence. Each variation brings a new twist!
-
Nutty Crust: Fold in some ground almonds or walnuts into the dough for an added crunch and depth of flavor. The nutty aroma pairs beautifully with the lemon filling.
-
Herb Infusion: Add a teaspoon of finely chopped fresh herbs, like mint or basil, to the filling for an unexpected refreshing layer. The herb accents will elevate the pie to new heights!
-
Heat It Up: Incorporate a pinch of cayenne pepper or a few drops of hot sauce into the lemon mixture for a spicy kick. The contrast between sweet and heat will leave you pleasantly surprised!
-
Zesty Boost: Grate some lemon zest into the filling for an extra punch of citrus flavor. This will enhance the fresh aroma and taste, making each bite even more vibrant.
-
Swirled Top: Create a visually appealing top by swirling some fruit jam (like raspberry or blueberry) into the lemon filling before covering it with the top crust. It adds flavor and a pop of color that catches the eye!
Expert Tips for Russian Lemon Pie
-
Dough Handling: Avoid over-kneading: This keeps your pie crust crumbly. Gently mix until just combined for best results.
-
Lemon Selection: Choose wisely: Opt for organic lemons with thin skins for vibrant flavor and reduced bitterness.
-
Time Your Sugar: Add just before mixing: Combine sugar with lemon puree at the last moment to manage moisture effectively, ensuring a perfect filling.
-
Prick the Crust: Don’t forget this step: Piercing the top crust allows steam to escape, preventing a soggy pie.
-
Cooling Time: Be patient: Allow the limonnik to cool completely before slicing to achieve clean, beautiful pieces.
What to Serve with Russian Lemon Pie?
When you’re ready to indulge in this zesty delight, elevate the experience with perfect pairings that complement its bright flavors.
- Fresh Berries: The tartness of strawberries, blueberries, or raspberries provides a juicy contrast that enhances the lemony notes.
- Whipped Cream: Light and airy, a dollop of whipped cream will balance the pie’s tanginess and add a creamy texture.
- Herbal Tea: A warm cup of chamomile or mint tea can soothe the palate, making each bite of lemon pie even more enjoyable.
- Vanilla Ice Cream: The creamy sweetness of vanilla ice cream contrasts beautifully with the limonnik, making for a delightful contrast.
- Pistachio Nuts: Their crunchy texture and subtle flavor harmonize well with the pie, adding a layer of sophistication to your dessert.
- Sparkling Water: For a refreshing twist, serve with lemon-infused sparkling water, heightening the citrus experience while cleansing the palate.
- Chocolate Sauce: A drizzle of chocolate sauce adds a rich, decadent twist that brings a delicious depth to the bright flavors of the pie.
- Almond Biscotti: These crispy, nutty cookies work well alongside, offering a perfect crunch to complement your lovely slice of limonnik.
- Fruit Salad: A medley of fresh, seasonal fruits can add a refreshing element that brightens up the entire dessert spread.
Storage Tips for Russian Lemon Pie
Fridge: Store leftovers in an airtight container for up to 3 days to maintain the freshness of your limonnik.
Freezer: If you want to keep it longer, freeze it for up to 2 months. Wrap tightly in plastic wrap and then in aluminum foil to prevent freezer burn.
Thawing: When ready to enjoy, thaw the pie overnight in the refrigerator. Reheat in the oven at a low temperature for a few minutes for a fresh taste.
Serving: This pie is best served chilled or at room temperature, so allow it to sit out for a bit before serving.
Make Ahead Options
Limonnik, or Russian lemon pie, is a fantastic choice for meal prep, saving you time on busy days! You can prepare the dough and store it in the refrigerator for up to 24 hours; just wrap it tightly in plastic wrap to prevent it from drying out. Additionally, the lemon filling can be made in advance and kept refrigerated for up to 3 days—simply mix the sugar in right before assembling to maintain its freshness. When you’re ready to bake, roll out the chilled dough, fill it, seal the edges, and prick the top before placing it in the oven. By preparing these components ahead, you’ll enjoy a delightful homemade dessert with minimal effort on the day you serve it!
Russian Lemon Pie Recipe FAQs
What kind of lemons should I use for the filling?
Absolutely opt for organic lemons! They have a vibrant flavor and thin skin, which minimizes bitterness. Look for lemons that feel heavy for their size, as they tend to be juicier. Avoid those with dark spots, as it may indicate overripeness.
How should I store leftover Limonnik?
Store your limonnik in an airtight container in the refrigerator for up to 3 days. Make sure it’s cool before sealing to prevent moisture buildup. This keeps the crust tender and the filling fresh!
Can I freeze Limonnik, and if so, how?
Yes! To freeze your limonnik, wrap it tightly in plastic wrap, followed by a layer of aluminum foil to protect against freezer burn. It can be kept in the freezer for up to 2 months. When you’re ready to enjoy, thaw it overnight in the refrigerator, and reheat gently in the oven for a fresh taste.
Why is my pie crust not crumbly?
Ah, the dough can be tricky! If it’s not crumbly, be mindful of over-kneading; just mix until combined. Ensure your butter is cold and cubed, as this helps create that flaky texture. Lastly, make sure you’re using fresh baking soda to help your crust rise properly!
Is this recipe suitable for gluten-free diets?
Absolutely! You can make the limonnik gluten-free by substituting regular flour with gluten-free flour. Just check the packaging for the right measurements, as gluten-free flours might require different ratios. I often make this version and have had great success!
Can I use a different fruit for the filling?
Yes! While Limonnik is traditionally made with lemons, feel free to get creative. I love experimenting with different purees—try oranges or limes for a delicious twist. Just keep in mind to balance the sweetness to maintain that refreshing zing!

Delicious Russian Lemon Pie: A Refreshing Homemade Delight
Ingredients
Equipment
Method
- In a mixing bowl, combine flour and salt. Then, add cold, diced butter. Mix in dissolved baking soda with sour cream, and knead until a smooth dough forms. Split the dough into two pieces, cover, and chill for 30 minutes.
- Cut the organic lemon into pieces, making sure to remove any seeds. Blend the lemon (peel included) until smooth, and set the sugar aside for later.
- Line a 26 cm springform tin with baking paper. Roll out the larger piece of dough and fit it into the tin, dusting it with cornstarch. Mix the sugar into the lemon puree, then spread the filling over the dough. Roll out the smaller piece of dough to cover the filling, sealing the edges well. Prick the top with a fork to allow steam to escape.
- Bake the pie in a preheated oven at 356°F (180°C) for about 30 minutes, or until golden brown. Allow it to cool completely before slicing and serving for the best flavor.


