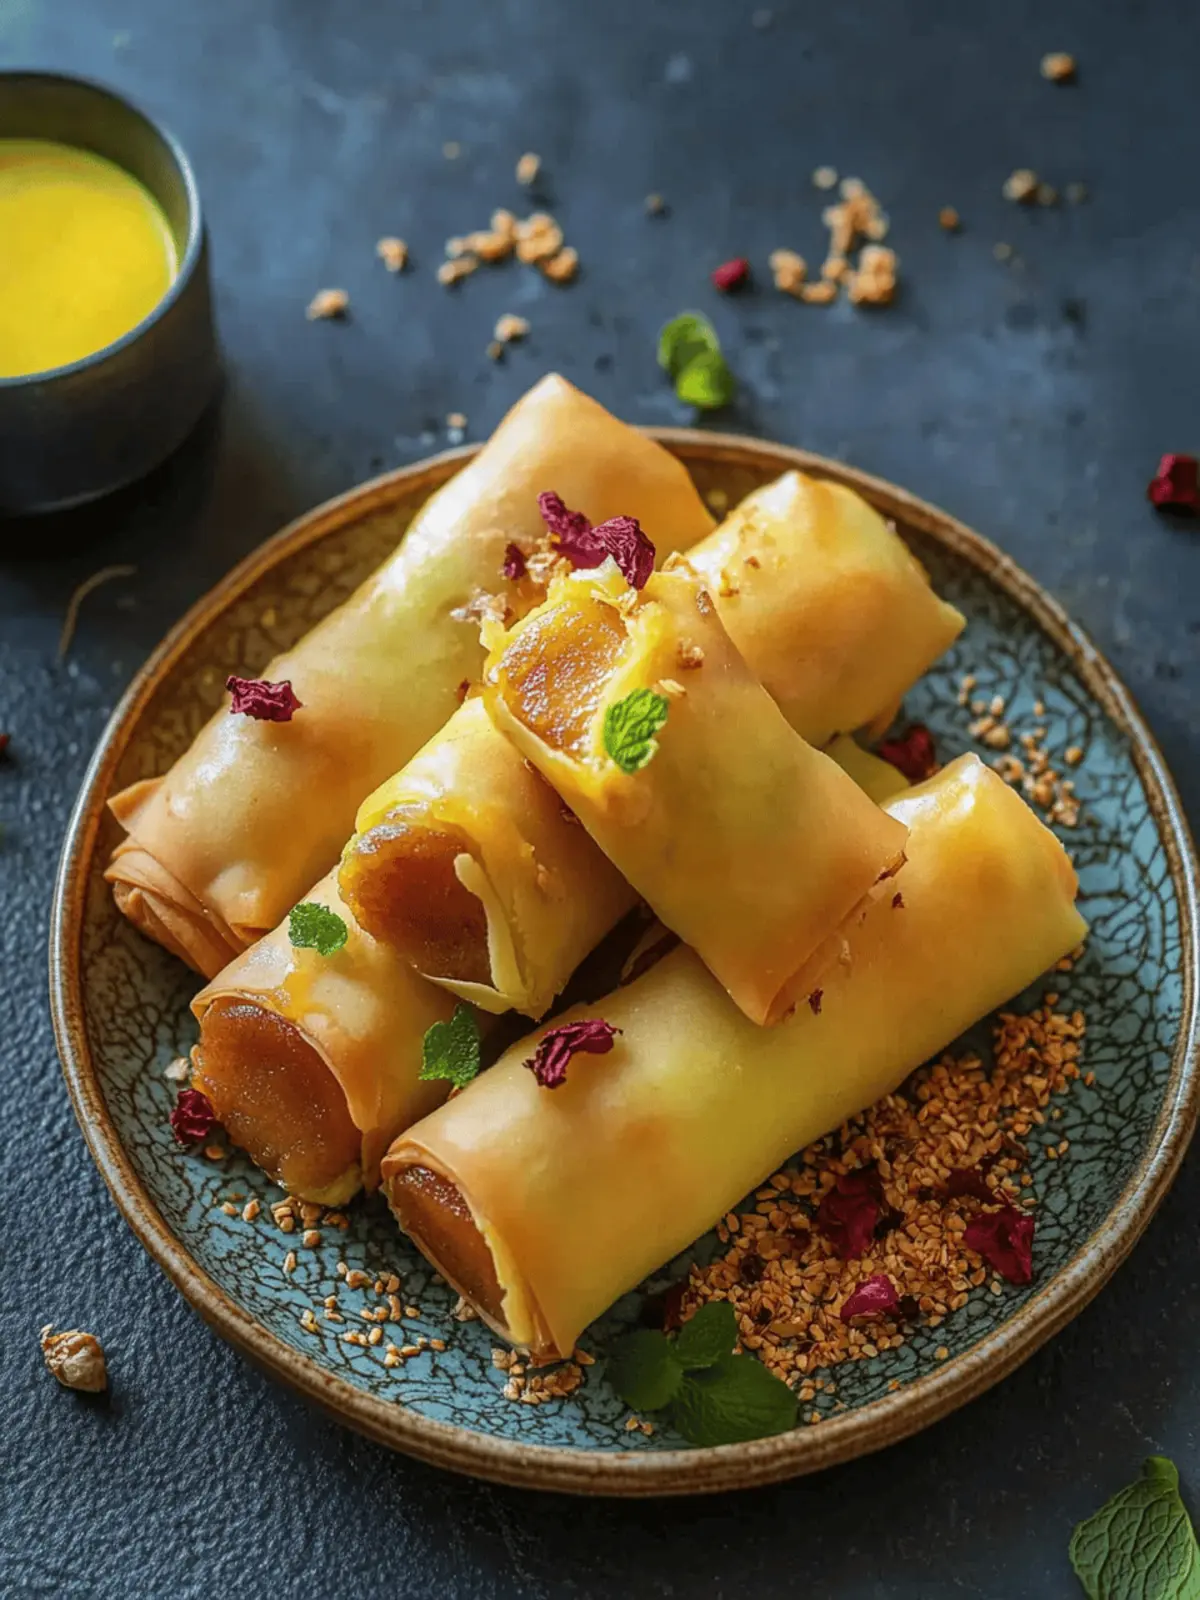
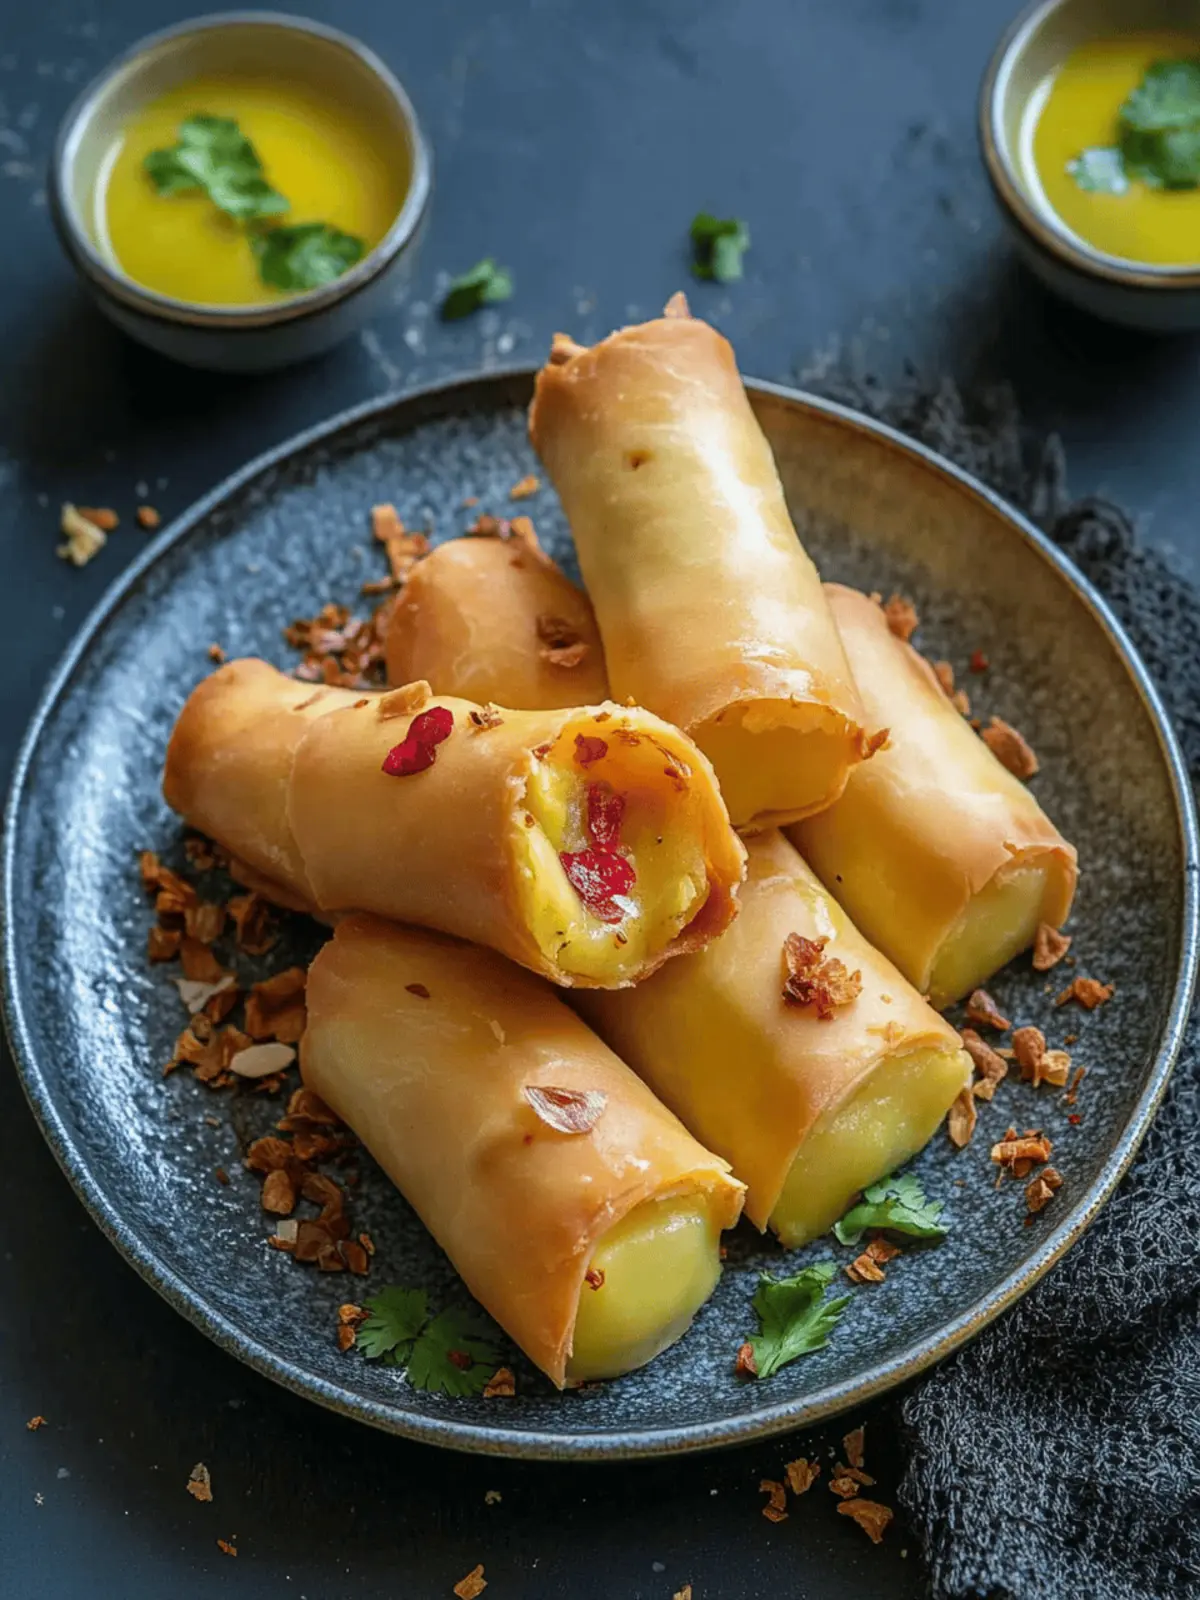
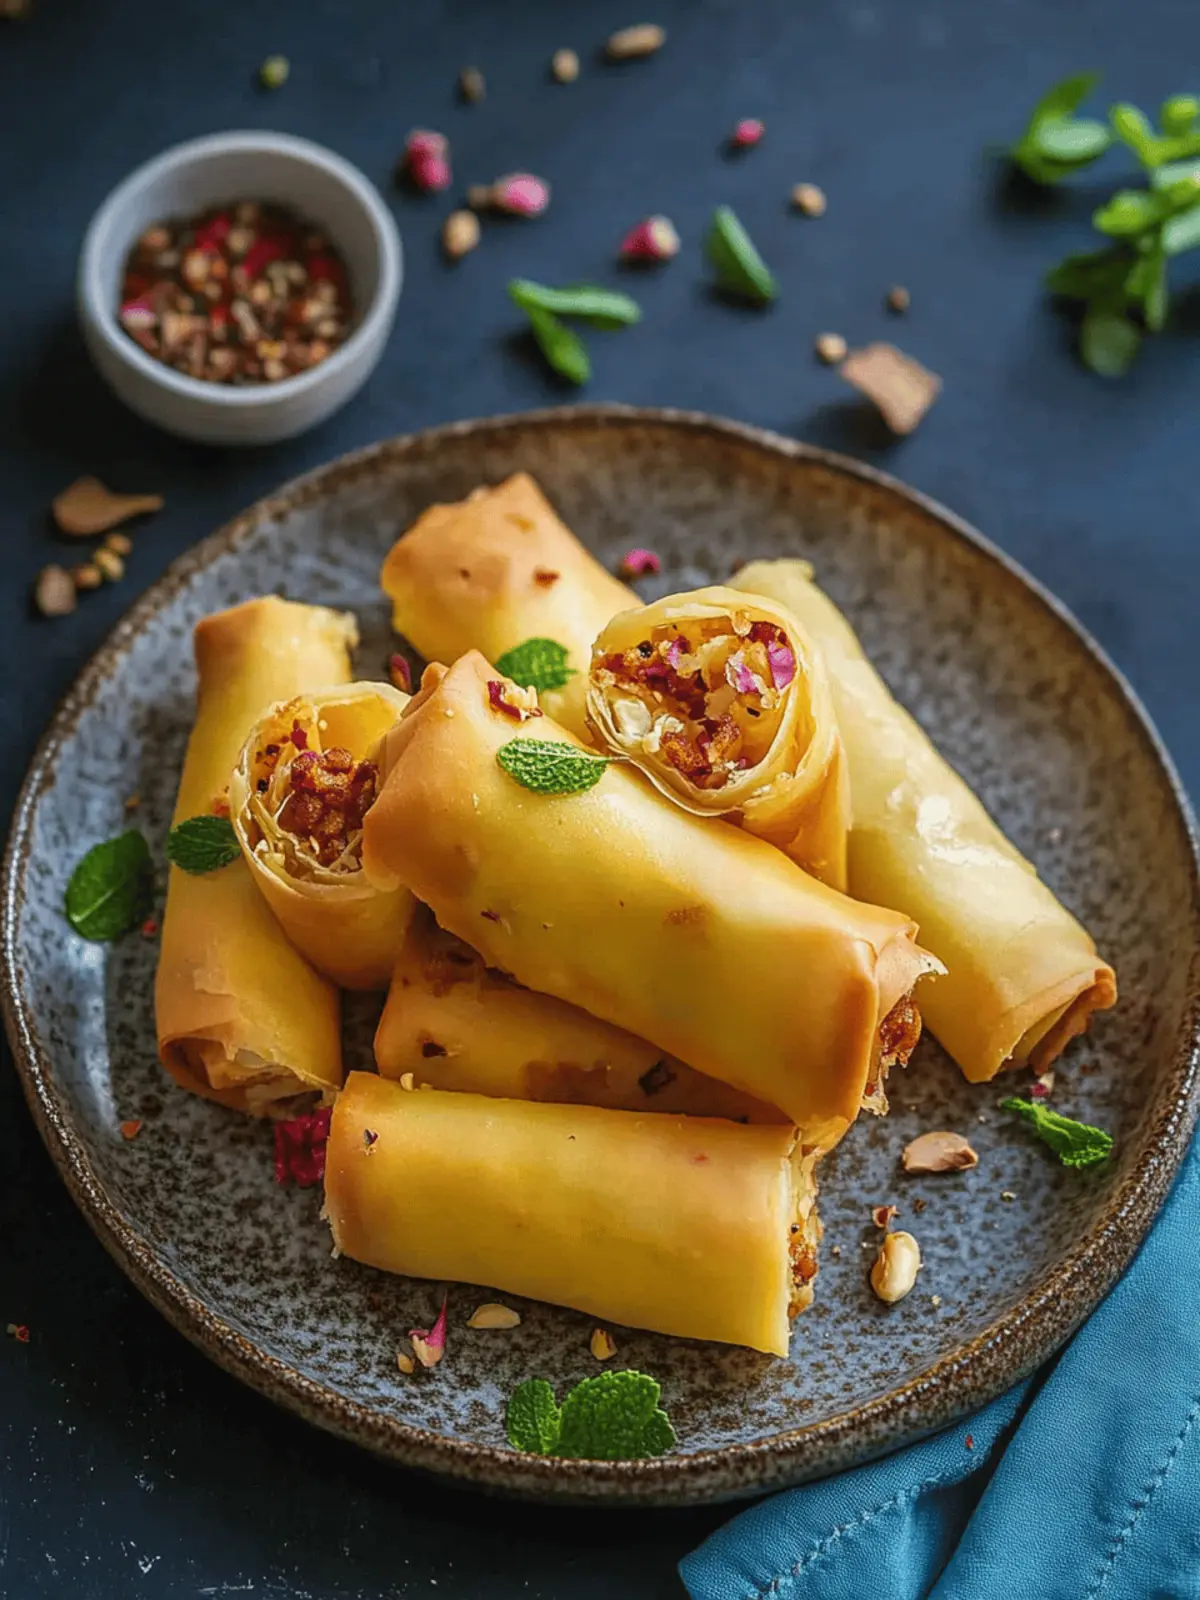
The moment I took my first bite of Motichoor Rolls, I was transported to an enchanting world where traditional Indian sweetness meets modern culinary creativity. Picture this: a golden, crispy exterior giving way to a soft and aromatic filling of crumbled motichoor ladoos. What truly caught me off guard was how effortlessly this festive fusion dessert fit into my busy life—ready in just 20 minutes with only three simple ingredients! Whether you’re looking to impress at a family gathering or just craving something unique, these rolls are a delightful twist on a classic. They embody the warmth of home cooking and the joy of celebration in every bite. Join me as we explore this easy recipe that promises to elevate your dessert game!
Why are Motichoor Rolls a must-try?
Irresistible Crunchiness: Each bite begins with a satisfying crunch, followed by the sweet explosion of motichoor filling.
Super Easy: With just three ingredients and a 20-minute prep time, you’ll have a gourmet dessert ready to impress!
Festival Favorite: These rolls are perfect for celebrations, bringing a modern twist to traditional Indian sweets.
Versatile Options: Feel free to experiment with different fillings, catering to both classic and adventurous tastes.
Crowd-Pleasing: Whether it’s a family function or casual get-together, these rolls are sure to be the star of the dessert table!
Motichoor Rolls Ingredients
• Discover the essential components for mouthwatering Motichoor Rolls!
For the Batter
- All-Purpose Flour (Maida) – Acts as a glue to seal the spring rolls; substitute with rice flour for a gluten-free option.
- Ghee – Essential for frying, offering a rich flavor; opt for vegetable oil if a lighter option is desired.
For the Filling
- Motichoor Ladoo (or Loose Boondi) – The main sweet filling that provides texture; dry ladoos work best to prevent sogginess.
For the Wrapping
- Spring Roll Sheets – Provide structure and crispiness when fried; ensure they are thawed before use for best results.
How to Make Motichoor Rolls
-
Thaw spring roll sheets completely. It’s crucial to ensure they are pliable, making them easier to work with when wrapping the filling.
-
Mix the flour with ¼ cup of water in a bowl to create a glue-like consistency. This will help seal the edges of your rolls properly.
-
Crumble the motichoor ladoo into a bowl, breaking it down into fine pieces. This sweet filling should have a soft and textured consistency to provide the perfect contrast in each bite.
-
Position a thawed spring roll sheet on your work surface. Spread the flour mixture along the edges for a secure seal, ensuring no filling escapes while frying.
-
Spoon 2 tablespoons of the crumbled ladoo onto the sheet. Roll it tightly, making sure to seal the ends with more glue to keep everything in place.
-
Repeat this process for all spring roll sheets, creating a delightful assembly line of delectable rolls ready for frying!
-
Heat the ghee in a frying pan over medium heat. The oil is ready when it shimmers gently, indicating a perfect temperature for frying.
-
Fry the rolls until they are golden brown on all sides, flipping them regularly to achieve an even color and texture. This should take about 3-4 minutes per batch.
-
Drain the excess oil by placing the rolls on a paper towel. Serve them warm immediately, and enjoy them with a drizzle of rabdi or a scoop of vanilla ice cream!
Optional: Serve drizzled with honey for an extra touch of sweetness.
Exact quantities are listed in the recipe card below.
Expert Tips for Motichoor Rolls
-
Proper Thawing: Ensure spring roll sheets are completely thawed before use; this makes them easier to handle and prevents tearing during rolling.
-
Frying Temperature: Maintain medium heat while frying; too high can result in burnt rolls on the outside and raw filling inside, so use a thermometer if necessary.
-
Sealing Technique: Use enough flour glue to seal the edges well, which prevents the motichoor rolls from opening up during the frying process.
-
Batch Frying: Don’t overcrowd the pan while frying; this can lower the oil temperature and lead to uneven cooking. Fry in small batches for perfect results.
-
Chilling Option: If you want to prepare ahead, you can assemble the rolls and refrigerate them for an hour before frying, which helps maintain their shape during cooking.
Make Ahead Options
These Motichoor Rolls are a fantastic candidate for meal prep that saves you time on busy weeknights! You can prepare the rolls up to 24 hours in advance. Simply assemble the rolls, seal them well, and place them in an airtight container between sheets of parchment paper to prevent sticking. When ready to fry, heat your ghee and directly cook the rolls from the refrigerator for that crispy exterior. Just remember to keep the uncooked rolls refrigerated, and they maintain their delightful crunch just as deliciously as freshly made. This way, you’ll have a festive dessert ready to go without the last-minute rush!
What to Serve with Motichoor Rolls?
Indulging in these delightful rolls invites a world of culinary pairings that elevate your dining experience.
-
Rabdi: This rich, creamy dessert complements the crispy rolls perfectly, providing a luscious contrast to their texture. A drizzle of rabdi enhances the sweetness and gives an inviting, festive feel.
-
Vanilla Ice Cream: A refreshing scoop balances the richness of motichoor rolls, making every bite a unique blend of warm and cold. It adds a delightful creaminess that delights the senses.
-
Chai or Masala Tea: The spicy undertones of chai contrast beautifully with the sweetness of the rolls, creating a harmonious balance. It’s the quintessential pairing for an evening gathering or festive celebration.
-
Rose Syrup: Drizzling rose syrup over the rolls adds a fragrant sweetness that enhances their flavor. This floral note creates an aromatic twist that evokes the essence of special occasions.
-
Saffron Milk: Serve the rolls with warm saffron-infused milk for a royal touch. The aromatic saffron elevates the dessert, making it feel like a truly festive treat.
-
Fresh Fruit Salad: A light fruit salad adds freshness to the sweet richness of the rolls, ensuring a well-rounded meal. The juicy bursts from the fruits contrast wonderfully with the crispy exterior.
How to Store and Freeze Motichoor Rolls
Room Temperature: Store fried Motichoor Rolls in an airtight container for up to 2 days at room temperature. Place a paper towel inside to absorb moisture and maintain crispiness.
Fridge: If you need to store them longer, keep the rolls in the fridge for up to a week. Reheat in an oven for optimal texture—microwaving may result in sogginess.
Freezer: For longer storage, freeze assembled but un-fried Motichoor Rolls in a single layer on a baking sheet. Once frozen, transfer to a zip-top bag for up to 2 months. Fry them directly from frozen!
Reheating: To reheat fried rolls, place them in a preheated oven at 350°F (175°C) for about 10-15 minutes until crispy again.
Motichoor Rolls Variations
Feel free to get creative and personalize your Motichoor Rolls with these delicious twists!
- Gluten-Free: Substitute all-purpose flour with rice flour to make these delightful rolls suitable for gluten-sensitive friends.
- Coconut Filling: Swap out motichoor ladoo for coconut ladoos for a tropical flair that adds a delightful chewiness.
- Chocolate Delight: Use crushed chocolate truffles or chocolate spread for a rich, indulgent filling that chocolate lovers will adore.
- Baking Option: For a lighter version, try baking the rolls at 375°F (190°C) for about 15-20 minutes until crispy instead of frying.
- Add Nuts: Mix in finely chopped nuts like pistachios or almonds with the motichoor filling for added crunch and flavor.
- Spicy Kick: For those who love a little heat, add a sprinkle of chili powder to the filling for a surprising but delightful contrast.
- Fruit Fusion: Incorporate crushed dried fruits like apricots or figs into the motichoor filling for a touch of natural sweetness.
- Layered Flavors: Mix motichoor with a dollop of thick yogurt before rolling for a creamy, tangy surprise that enhances the traditional sweetness.
Motichoor Rolls Recipe FAQs
What type of motichoor ladoos should I use?
For the best results, use dry motichoor ladoos or loose boondi. Fresh ladoos can make your rolls soggy, compromising the crispy texture you want.
How should I store leftover Motichoor Rolls?
Store your fried Motichoor Rolls in an airtight container at room temperature for up to 2 days. To keep them crispy, place a paper towel inside the container to absorb moisture. If you need to store them longer, refrigerate for up to a week, ensuring to reheat them in an oven instead of a microwave for the best texture.
Can I freeze Motichoor Rolls?
Absolutely! You can freeze the assembled but un-fried Motichoor Rolls. First, arrange them in a single layer on a baking sheet and freeze until solid. Then transfer them to a zip-top bag for up to 2 months. When you’re ready, fry them directly from the freezer without thawing for a quick treat!
What’s the best frying technique for Motichoor Rolls?
To achieve golden and crispy Motichoor Rolls, keep the frying oil at a medium temperature, about 350°F (175°C). Fry in small batches, turning the rolls often to ensure even cooking. Using a slotted spoon is great for flipping them without splashing hot oil.
Are Motichoor Rolls safe for kids or those with allergies?
If you are serving Motichoor Rolls to kids or anyone with allergies, consider the ingredients in the motichoor ladoos and the oil you are using for frying. Always check for known allergens, and I recommend using rice flour as a gluten-free alternative to all-purpose flour for a wider audience.
What if my rolls are falling apart during frying?
If your rolls are falling apart, it could be due to insufficient sealing with the flour mixture or using overly moist ladoos. Ensure the edges are well-coated with the flour glue, and try to use drier ladoos for a firmer consistency. If they still seem too delicate, try chilling the assembled rolls in the fridge for about 30 minutes before frying to help hold their shape.

Crispy Motichoor Rolls: Delight in This Festive Treat
Ingredients
Equipment
Method
- Thaw spring roll sheets completely to ensure they are pliable.
- Mix the flour with ¼ cup of water to create a glue-like consistency.
- Crumble the motichoor ladoo into fine pieces for the filling.
- Position a thawed spring roll sheet on your work surface and spread the flour mixture along the edges.
- Spoon 2 tablespoons of crumbled ladoo onto the sheet and roll it tightly, sealing the ends with more flour glue.
- Repeat the process for all spring roll sheets to create an assembly line of rolls.
- Heat ghee in a frying pan over medium heat until shimmering.
- Fry the rolls until golden brown on all sides, about 3-4 minutes per batch.
- Drain excess oil by placing the rolls on a paper towel and serve warm.


