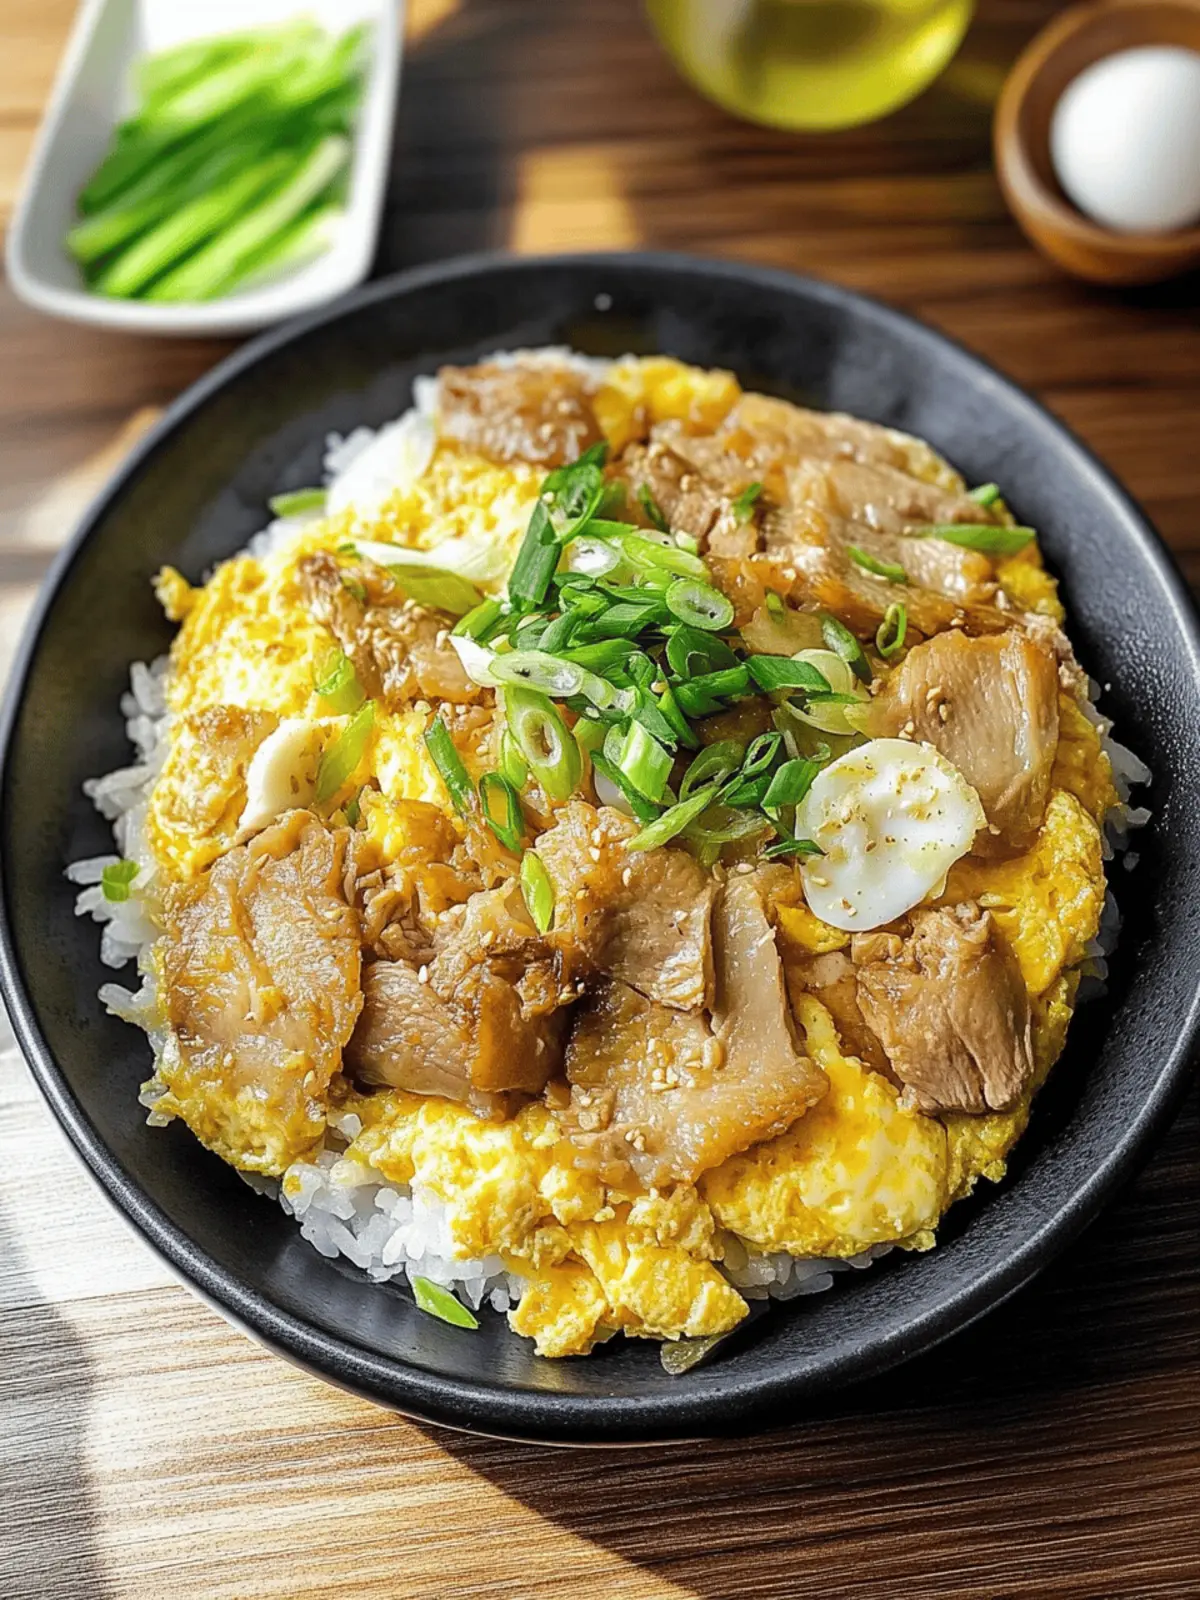
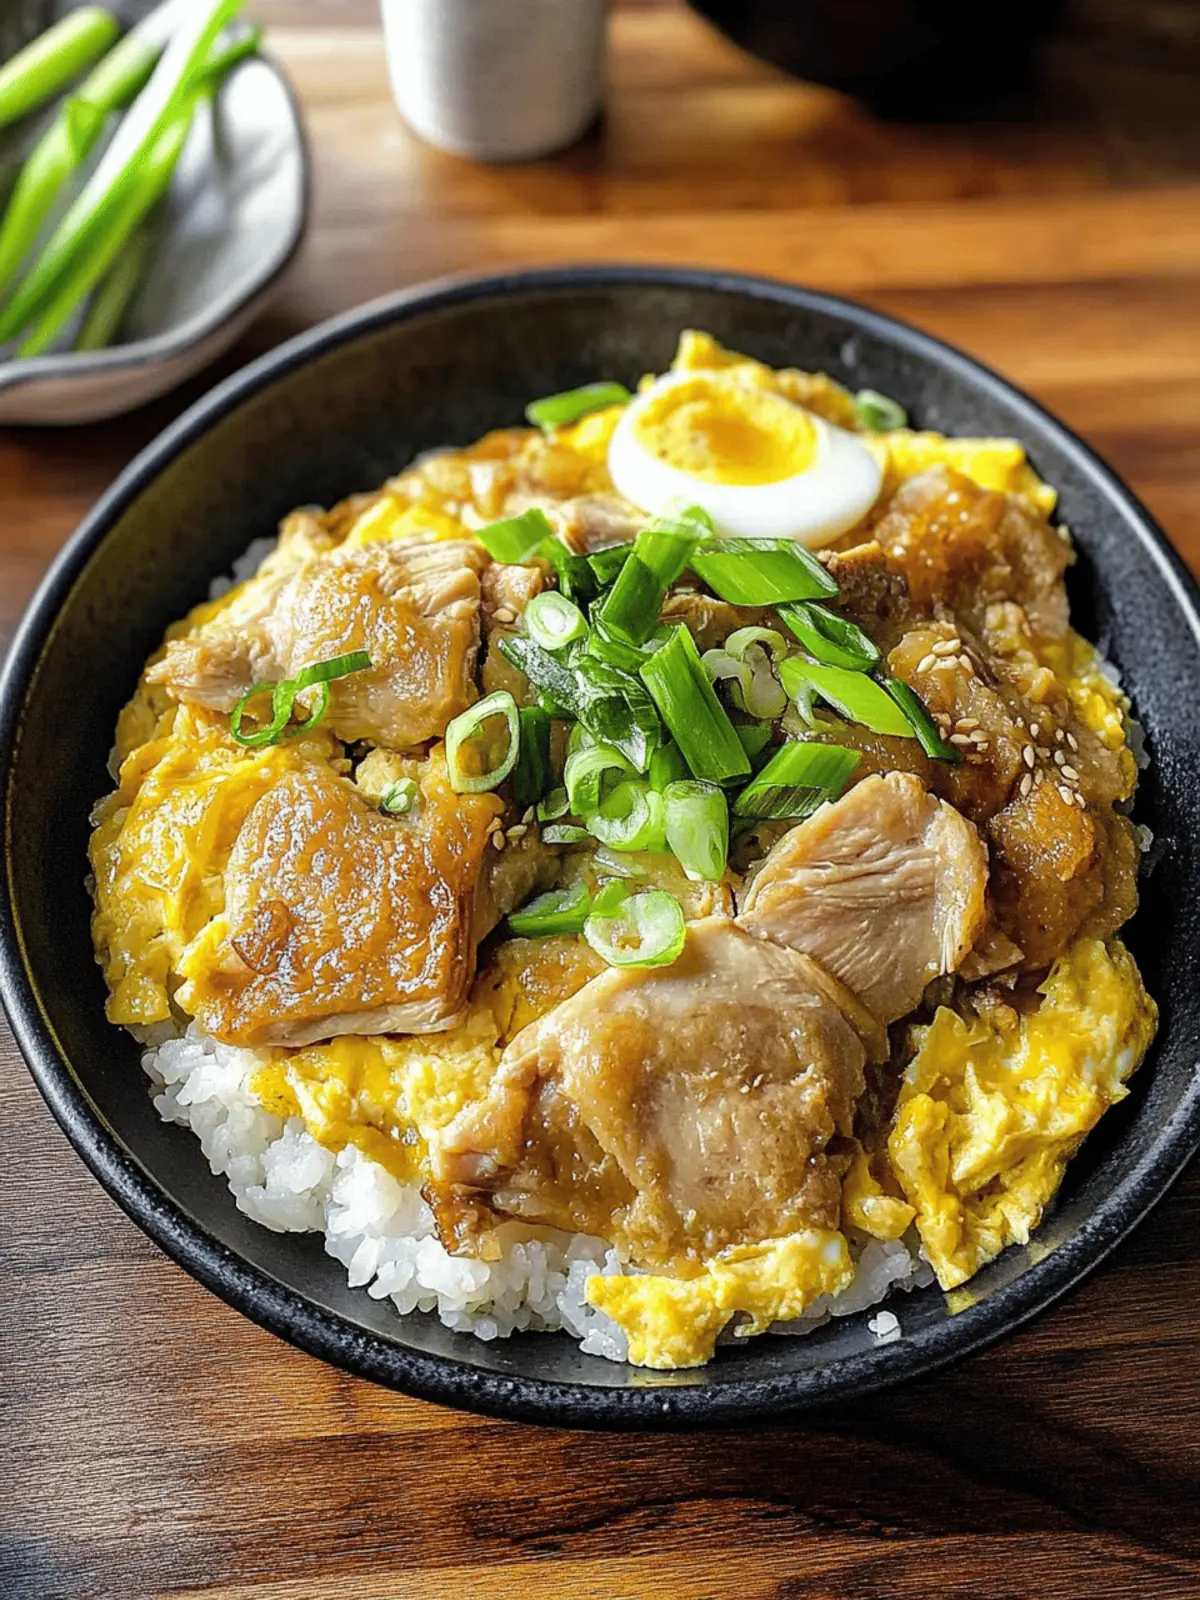
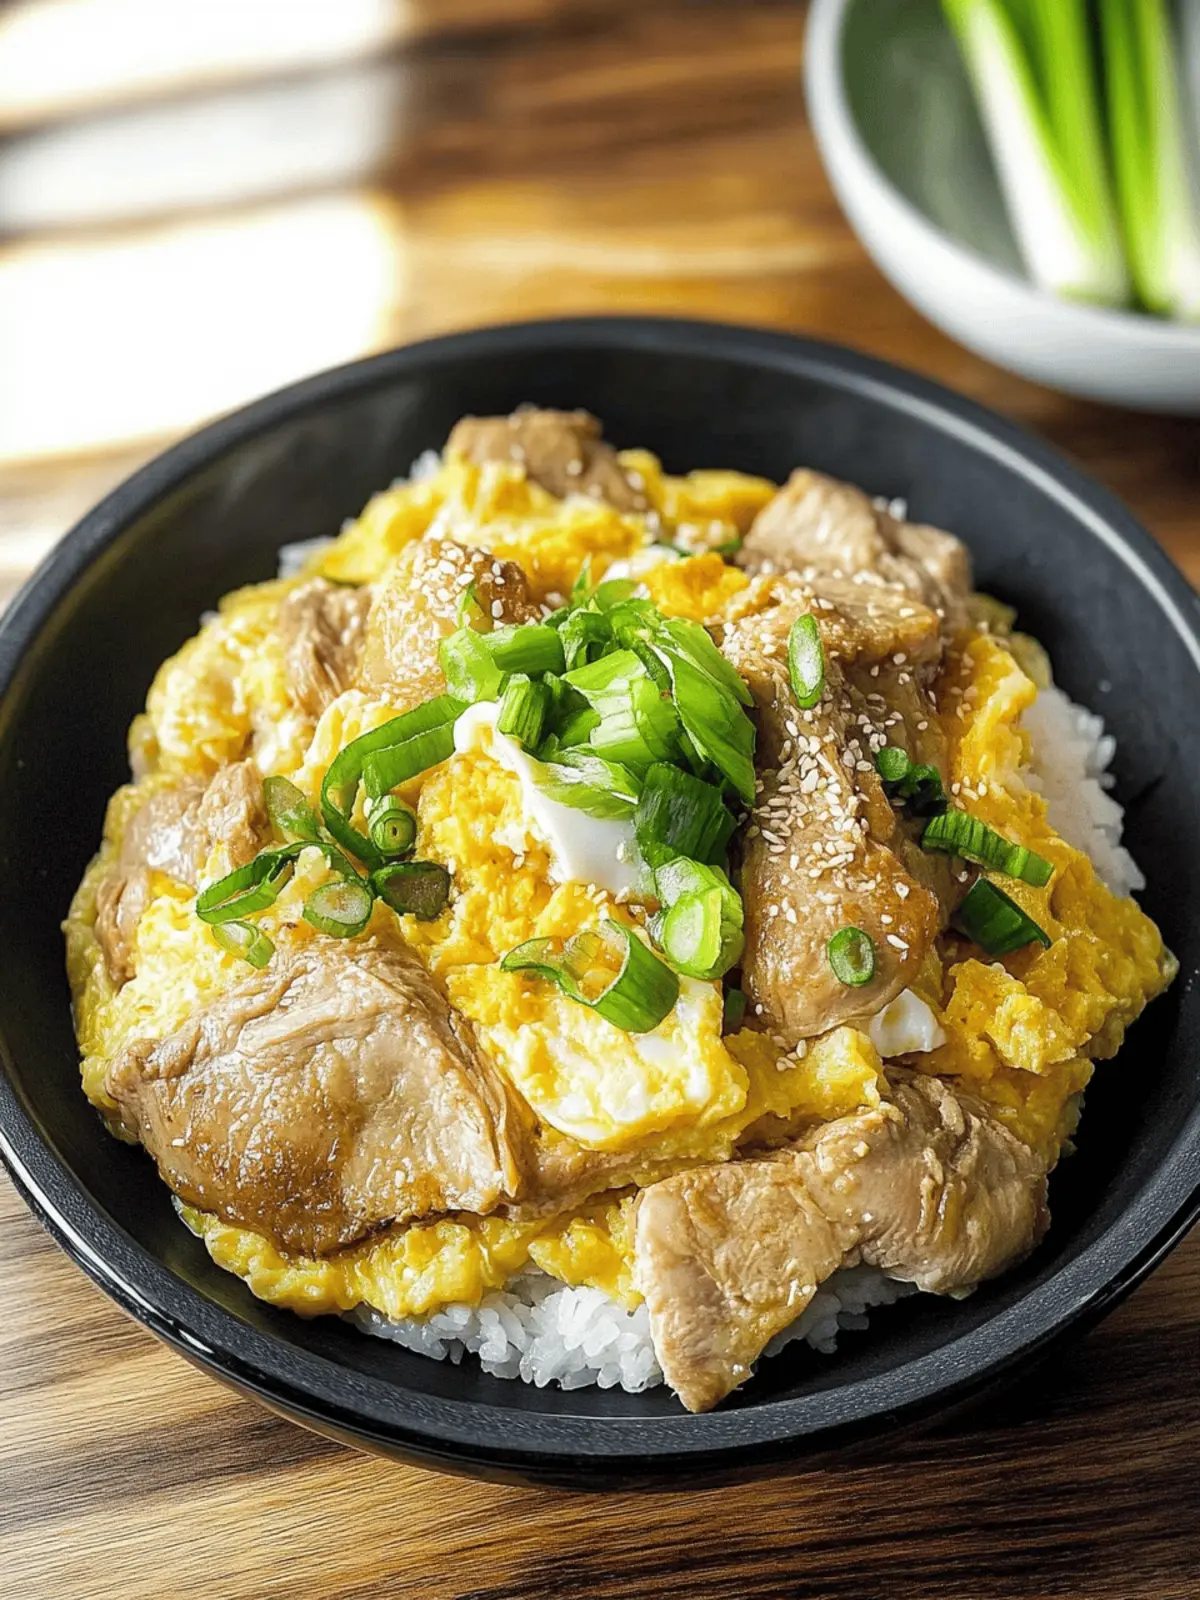
When life gets hectic and time slips through your fingers, it’s comforting to have a quick meal that still delivers on flavor and warmth. Enter Oyakodon—this delightful Japanese rice bowl combines tender chicken and softly simmered eggs in a savory-sweet sauce that feels like a warm hug in a bowl.
I first discovered Oyakodon on a rainy evening when I craved something satisfying yet easy to whip up. In just 20 minutes, I was transported to the bustling streets of Tokyo, savoring each fluffy bite. This dish, which literally translates to “parent and child bowl,” beautifully balances textures, thanks to the creamy eggs topping tender chicken on a bed of fluffy rice. It’s a family favorite and perfect for those weeknight dinners when you want something wholesome in a hurry.
Let’s dive into how to make this comforting one-bowl meal that’s sure to win over your taste buds and put a smile on your face!
Why Oyakodon is Your New Favorite Meal?
Quick satisfaction: With just 20 minutes of prep and cooking, it’s a lifesaver for busy days.
Comforting flavors: The blend of tender chicken, rich eggs, and savory sauce will wrap you in warmth with every bite.
One-bowl wonder: Ideal for minimal cleanup, Oyakodon serves everything you crave in a single bowl!
Customizable options: Whether you prefer chicken, tofu, or extra veggies, this recipe is flexible for your taste.
Cultural experience: Dive into a classic dish that brings the taste of Japan to your kitchen, enhancing your culinary skills!
Oyakodon Ingredients
• Everything you need for a perfect bowl!
For the Chicken and Egg Mixture
- Chicken Thigh – Main protein source providing richness and flavor; swap for chicken breast for a leaner meal.
- Eggs – Essential for the creamy texture; using extra-large eggs will yield a fluffier finish.
- Onion – Adds aromatic sweetness; substitute with shallots for a gentler flavor.
For the Sauce
- Soy Sauce – Delivers umami and salty depth; opt for tamari to make this dish gluten-free.
- Mirin – Adds sweetness and depth; mix sugar and rice vinegar if mirin isn’t available.
- Sugar – Balances flavors; feel free to replace it with honey for a natural sweetness.
- Hondashi – A dashi powder for broth flavor; homemade dashi or vegetable broth works as a substitute.
For Serving
- Steamed Rice – The perfect fluffy base; jasmine or short-grain rice works beautifully.
- Green Onion – Adds freshness and crunch for garnish; chives can be used as an alternative if desired.
How to Make Oyakodon
-
Prep ingredients: Start by thinly slicing ½ onion and cutting the chicken thighs into bite-sized pieces. Chop green onions and set them aside for garnishing later.
-
Whisk eggs: In a small bowl, whisk 3 eggs together until they are well combined. This will create the creamy base for your dish, so set it aside for now.
-
Combine sauce ingredients: In a skillet or pan, mix together the soy sauce, mirin, water, sugar, and hondashi. Heat the mixture over medium heat until the sugar fully dissolves, creating a savory-sweet sauce.
-
Cook onions: Add the sliced onion to the pan and sauté until they become translucent, which usually takes about 2-3 minutes. The aroma will fill your kitchen and signal that you’re on the right track!
-
Add chicken: Introduce the chicken pieces to the pan and sauté for about 5-7 minutes, or until the chicken is fully cooked and no longer pink. You’ll see the chicken turn golden and tender.
-
Pour eggs: Gradually pour the whisked eggs over the chicken and onions in the pan. Cover it and let it simmer for roughly 2 minutes until the eggs are softly set but still slightly runny.
-
Serve: Divide fluffy steamed rice into two bowls and top each with the chicken, onion, and egg mixture. Don’t forget to garnish with the chopped green onion for that extra touch!
Optional: Serve with pickled vegetables on the side for a burst of flavor.
Exact quantities are listed in the recipe card below.
What to Serve with Oyakodon?
When you’re ready to elevate your dining experience, consider these delicious accompaniments that beautifully complement the cozy goodness of your Oyakodon.
-
Miso Soup: A warm, savory bowl of miso soup adds a heartwarming touch, bringing a traditional Japanese flavor that complements the Oyakodon perfectly.
-
Pickled Vegetables: The tangy crunch of pickled vegetables offers a refreshing zing that balances the rich, comforting flavors of the chicken and eggs.
-
Steamed Broccoli: Tender, bright-green broccoli provides a nutritious crunch, enhancing the meal while adding a delightful contrast to the soft textures.
-
Japanese Salad: A light salad featuring crisp greens, sesame dressing, and shredded carrots introduces freshness, providing a bright contrast to the warm rice bowl.
-
Eda Mame: These boiled soybeans are not only delicious but add a playful snack element to the meal. Their slightly nutty flavor is a delightful pairing.
-
Green Tea: A cup of freshly brewed green tea enhances the entire experience with its soothing warmth and subtle flavors, cleansing the palate after each bite.
-
Sesame Seed Rice Balls (Onigiri): These delightful rice balls filled with savory ingredients provide a fun, handheld option that pairs well with the soft textures in your bowl.
-
Fruit Sorbet: For dessert, a light fruit sorbet offers a refreshing finish, cleansing the palate and leaving you with a sweet memory of the meal.
Oyakodon Variations & Substitutions
Feel free to personalize your Oyakodon with these exciting twists to elevate your dining experience!
-
Vegetarian: Replace chicken with firm tofu, cubed and pan-fried until golden, for a delicious meatless version.
-
Seafood Delight: Swap chicken for shrimp and sauté until pink, adding a delightful oceanic twist to the dish.
-
Veggie Boost: Toss in colorful bell peppers or spinach while cooking for a burst of nutrition and vibrant color.
-
Spicy Kick: Add a dash of sriracha or chili flakes to the sauce for those who crave a spicy flavor infusion. It’s a great way to make the dish your own.
-
Sweeten Up: Adjust the sweetness by adding a tablespoon of maple syrup instead of sugar for a natural flavor profile.
-
Creamy Finish: Stir in a splash of heavy cream just before serving for an indulgently creamy texture that takes it up a notch.
-
Broth Variation: Use chicken or vegetable broth instead of water for a deeper flavor that will enrich the overall taste of your Oyakodon.
-
Crispy Toppings: Add toasted sesame seeds or crispy fried shallots on top for an added crunch that contrasts beautifully with the creamy eggs.
Make Ahead Options
Oyakodon is a fantastic choice for meal prep, perfect for busy cooks! You can prepare the chicken, onions, and sauce up to 24 hours in advance. Simply slice the onion and cut the chicken thighs into bite-sized pieces, then combine them with the sauce in an airtight container and refrigerate. When you’re ready to enjoy your meal, just heat the mixture in a skillet before adding the whisked eggs. This ensures the eggs are cooked to perfection while maintaining the dish’s comforting flavors. With these quick prep tips, you’ll have a delightful Oyakodon ready in minutes, making it just as delicious as if it were made fresh!
How to Store and Freeze Oyakodon
Fridge: Store leftover Oyakodon in an airtight container in the refrigerator for up to 2 days. Reheat gently on the stovetop to maintain moisture.
Freezer: For longer storage, freeze Oyakodon in a freezer-safe container for up to 3 months. To reheat, thaw overnight in the fridge before warming it on the stovetop.
Wrapping: If planning to store in the freezer, wrap individual portions tightly to prevent freezer burn while preserving the flavors of the Oyakodon.
Reheating: When reheating, add a splash of water to the pan to keep the eggs creamy and prevent them from overcooking.
Expert Tips for Making Oyakodon
-
Eggs Matter: When whisking the eggs, aim for a gentle mix to keep them light and fluffy. Over-mixing can lead to a rubbery texture, which you want to avoid in your Oyakodon.
-
Chicken Choice: Opt for chicken thighs for a richer flavor, but if you prefer lean meat, chicken breast works well too. Just ensure it is fully cooked for safety.
-
Sauce Balance: Taste the sauce before pouring it into the pan. If it feels too salty, add a pinch of sugar to balance the flavors. Adjust to your palate for the best Oyakodon experience.
-
Simmer with Care: Pour the eggs slowly over the chicken to allow them to set nicely. It helps keep the creamy texture intact. Remember, the goal is softly cooked eggs, not scrambled!
-
Fresh Garnish: Use fresh green onions as a garnish for a pop of color and flavor. They contrast beautifully with the savory notes of the dish.
-
Storage Tips: If you have leftovers, store them in an airtight container for up to 2 days. Reheat gently on the stovetop with a splash of water to keep it moist.
Oyakodon (Japanese Chicken and Egg Rice) Recipe FAQs
What kind of chicken is best for Oyakodon?
Absolutely! Chicken thighs are highly recommended for Oyakodon because they provide richness and flavor. However, if you prefer a leaner option, chicken breast works well too. Just be sure to cook the breast thoroughly until no longer pink.
How should I store leftovers of Oyakodon?
Very simply! Leftover Oyakodon can be stored in an airtight container in the refrigerator for up to 2 days. When you’re ready to enjoy it again, reheat gently on the stovetop, adding a splash of water to maintain moisture and ensure the eggs don’t overcook.
Can I freeze Oyakodon? If so, how?
Sure thing! You can freeze Oyakodon in a freezer-safe container for up to 3 months. To do this, allow it to cool completely, then portion it out and wrap tightly to prevent freezer burn. When you’re ready to enjoy, thaw overnight in the fridge and reheat on the stovetop, adding water as needed to keep the eggs creamy.
What if my eggs are overcooked?
Oh no! If your eggs turn out overcooked, they may become rubbery. Next time, try pouring the whisked eggs slowly over the chicken and add them to the pan last. Cover and simmer gently for just 2 minutes to achieve that soft, custardy texture.
Can I adapt the recipe for dietary restrictions?
Absolutely! For a gluten-free version, substitute soy sauce with tamari and use a gluten-free hondashi. If you’re looking for vegetarian options, replace the chicken with tofu or even shrimp for a delightful twist. You can also add some extra veggies, like bell peppers or spinach, for enhanced nutrition.
What’s the best way to determine the ripeness of the eggs?
Very good question! When selecting eggs, look for those with clean, uncracked shells. Fresh eggs typically have a firmer yolk and white. If you can, choose extra-large eggs for the fluffiest texture in your Oyakodon.
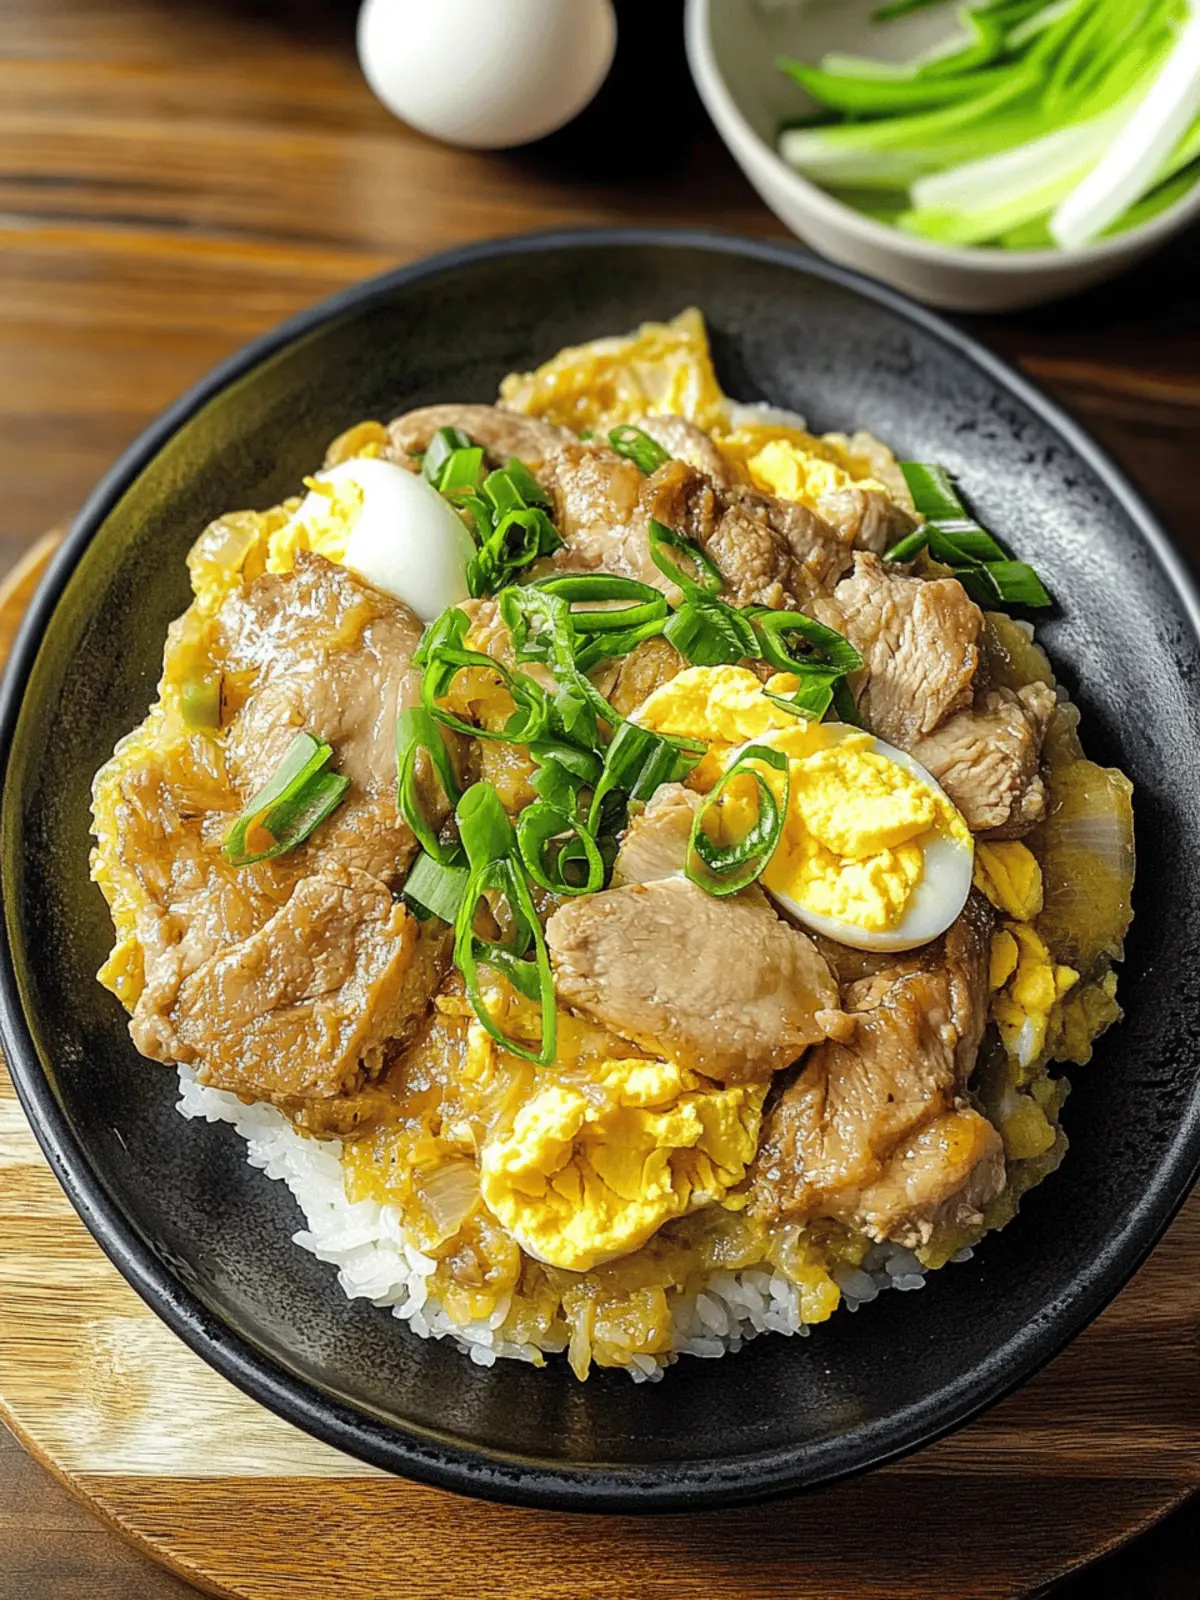
Irresistible Oyakodon: Quick Japanese Chicken and Egg Rice Bowl
Ingredients
Equipment
Method
- Start by thinly slicing ½ onion and cutting the chicken thighs into bite-sized pieces. Chop green onions and set them aside for garnishing later.
- In a small bowl, whisk 3 eggs together until they are well combined. This will create the creamy base for your dish, so set it aside for now.
- In a skillet or pan, mix together the soy sauce, mirin, water, sugar, and hondashi. Heat the mixture over medium heat until the sugar fully dissolves, creating a savory-sweet sauce.
- Add the sliced onion to the pan and sauté until they become translucent, which usually takes about 2-3 minutes.
- Introduce the chicken pieces to the pan and sauté for about 5-7 minutes, or until the chicken is fully cooked and no longer pink.
- Gradually pour the whisked eggs over the chicken and onions in the pan. Cover it and let it simmer for roughly 2 minutes until the eggs are softly set but still slightly runny.
- Divide fluffy steamed rice into two bowls and top each with the chicken, onion, and egg mixture. Garnish with the chopped green onion.

