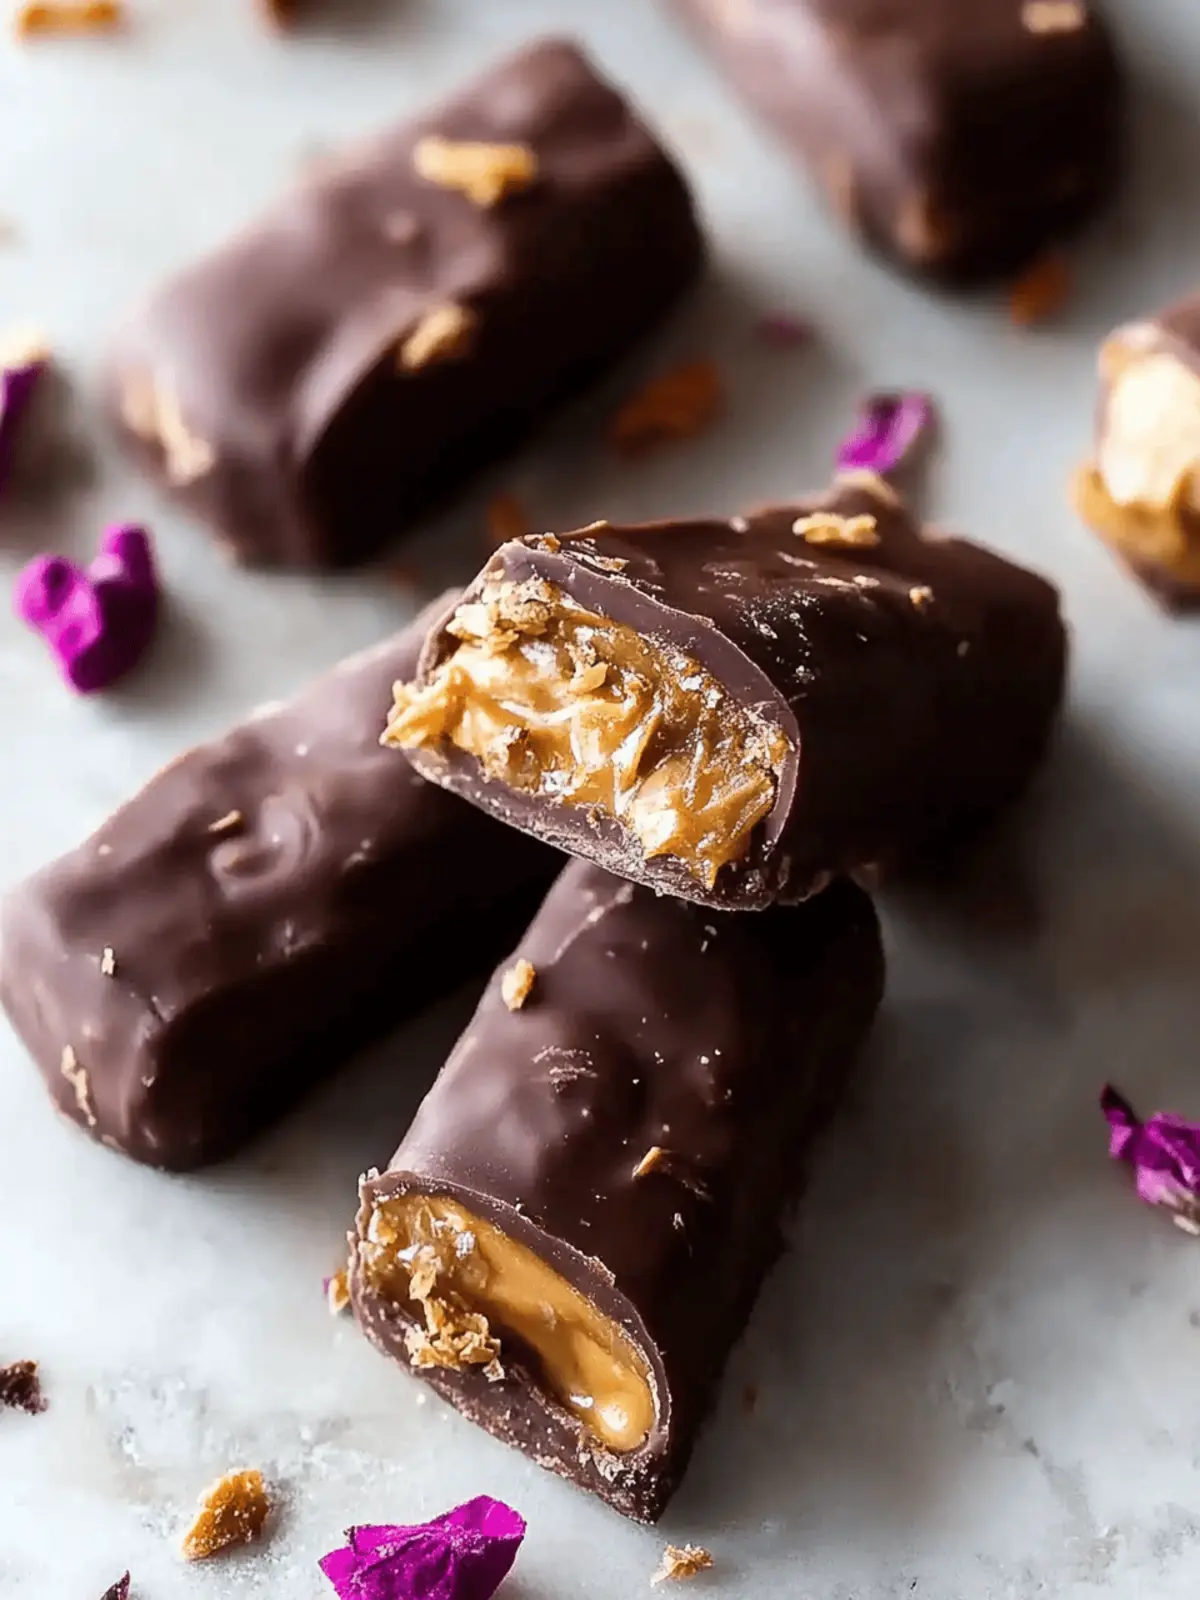
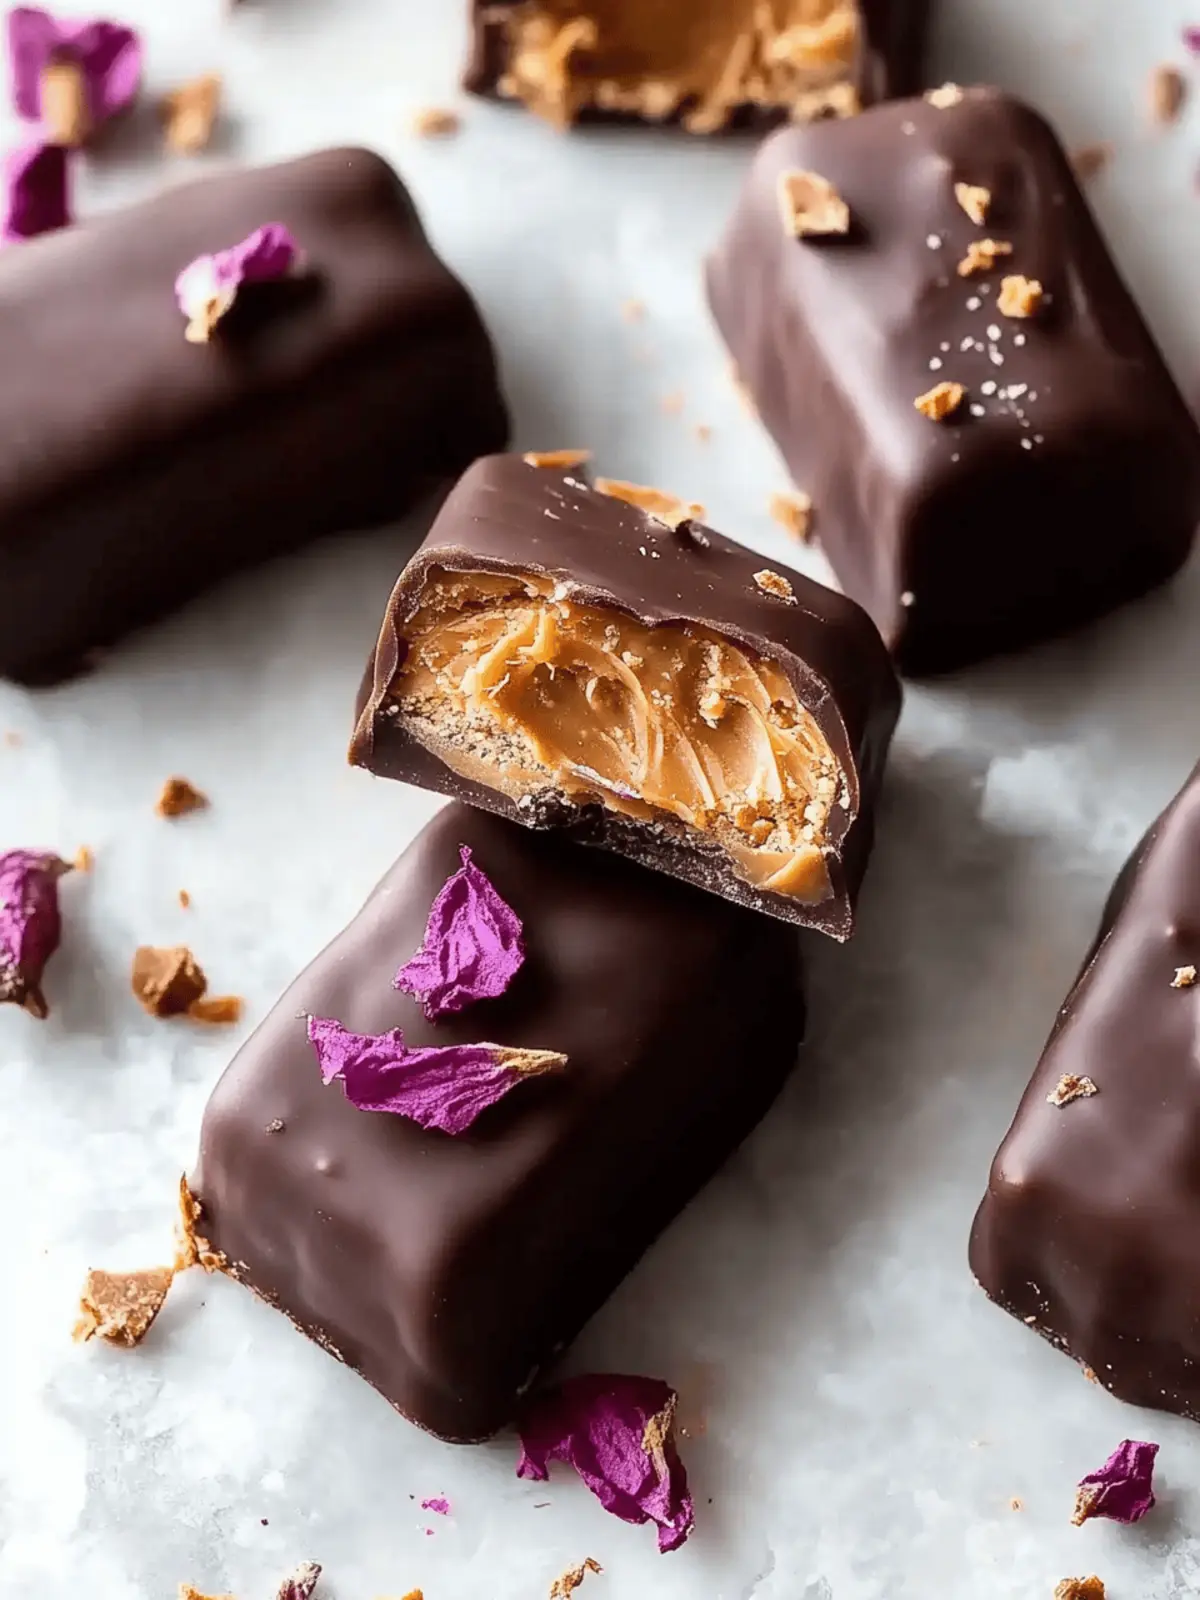
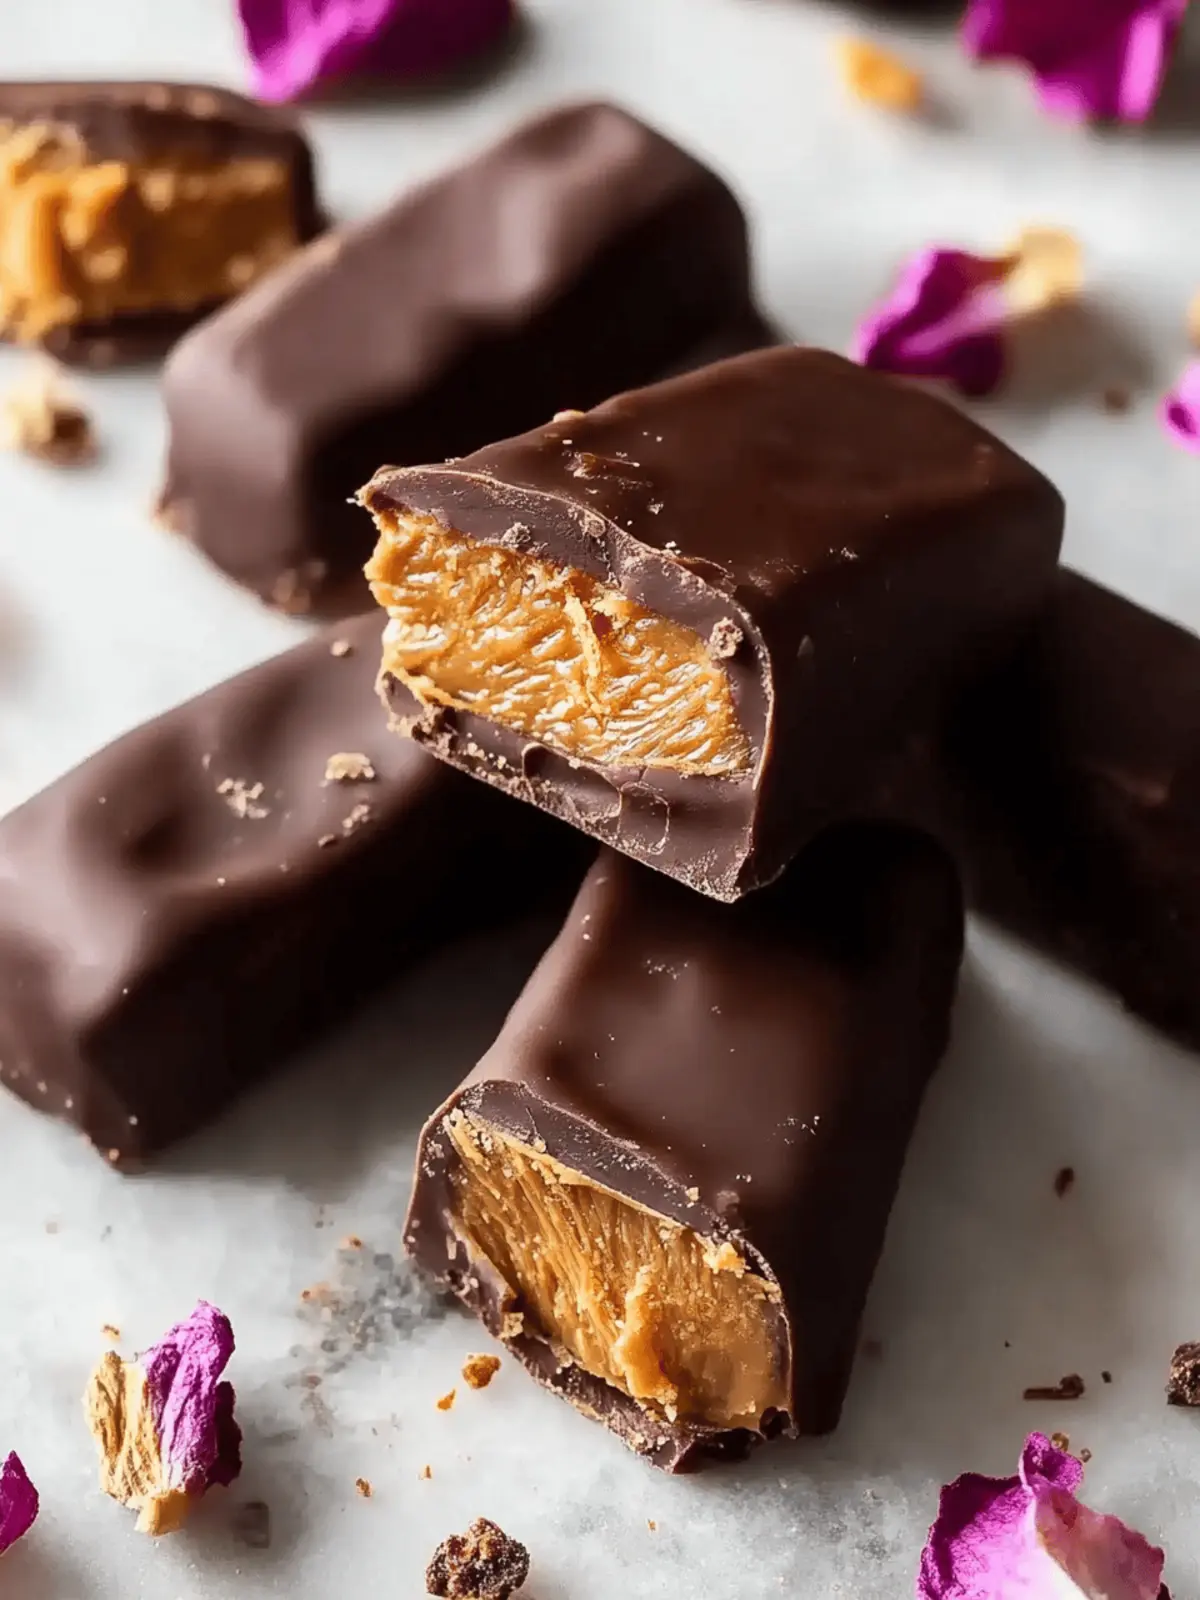
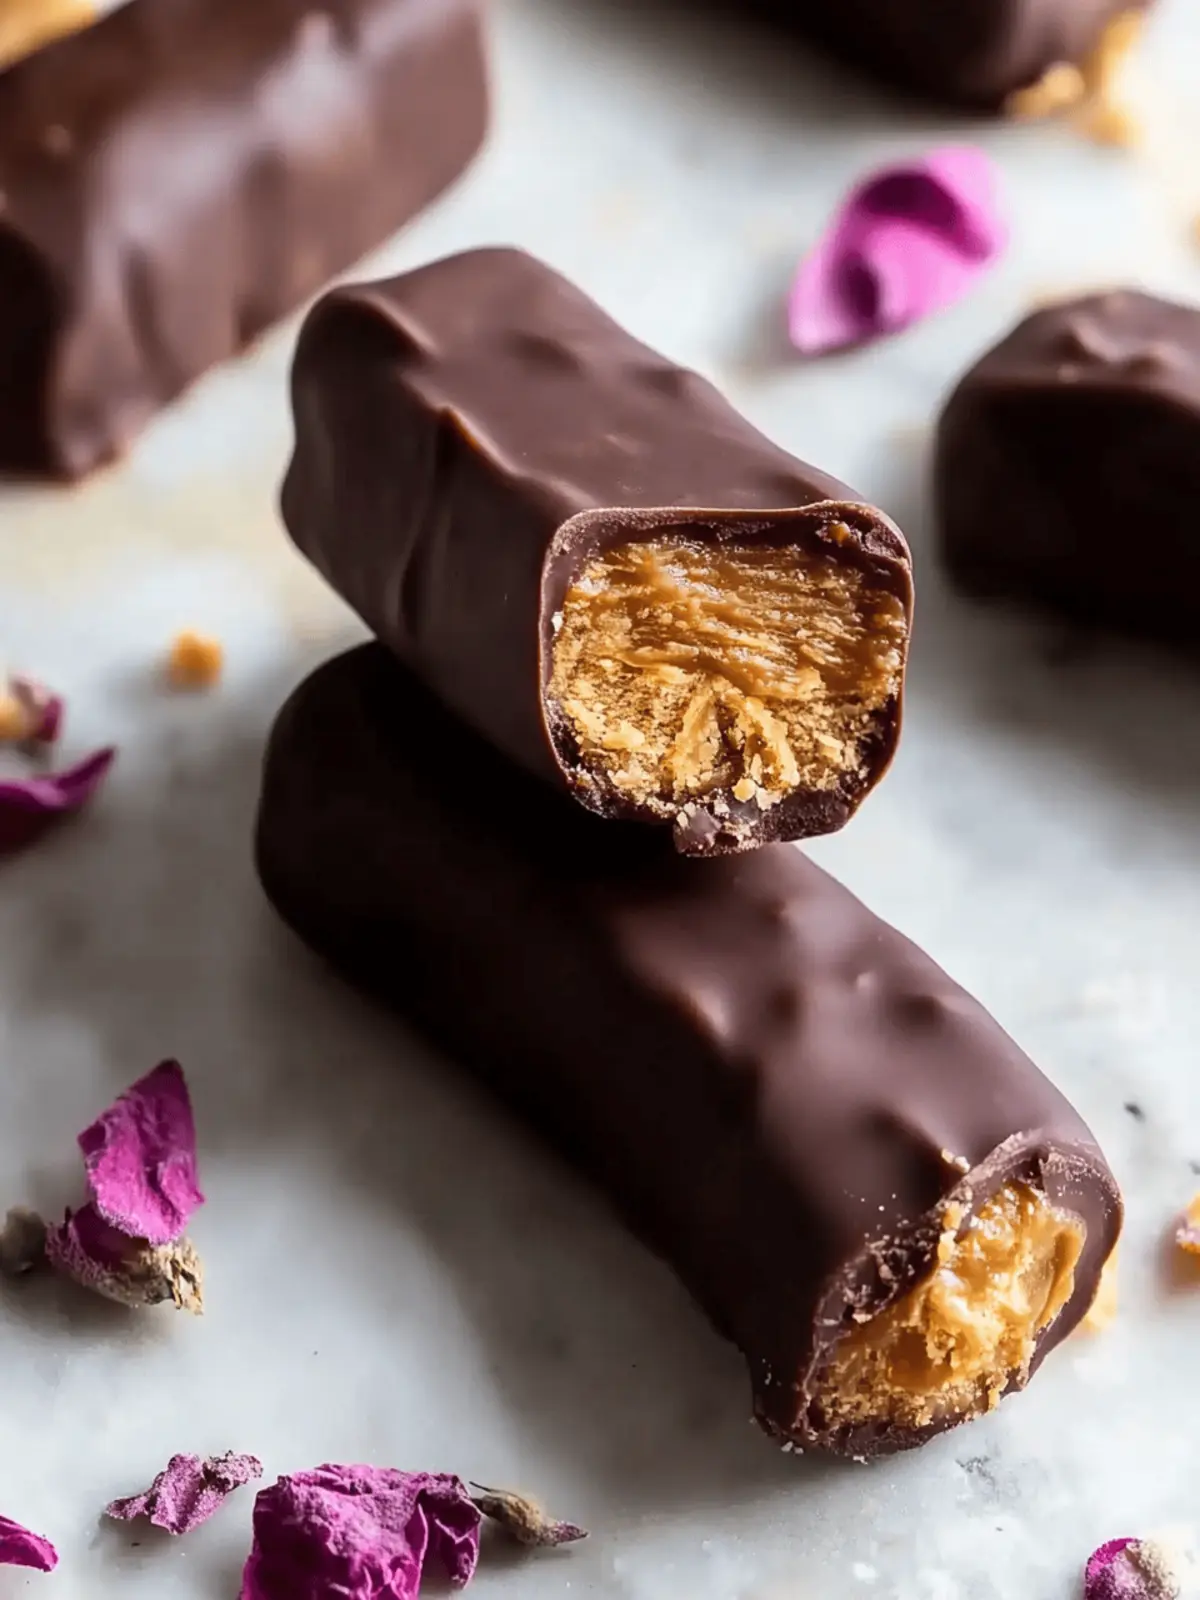
There’s something irresistible about the combination of peanut butter and chocolate, isn’t there? I found myself reminiscing about those classic candy bars that brought so much joy, sparking a craving for something homemade and even more delicious. Enter my Peanut Butter Caramel Bars, the ultimate homage to that nostalgic treat—think of them as your DIY Butterfingers, but with a delightful twist!
Perfect for indulging your sweet tooth or sharing at gatherings, these bars combine rich, creamy peanut butter with a luscious caramel layer, all enveloped in a silky cloak of dairy-free chocolate. The best part? They’re deceptively simple to make! With just a handful of ingredients, you’ll transform your kitchen into a candy factory, minus the high price tag and added preservatives.
Join me as we dive into this delightful recipe that not only satisfies cravings but also brings a touch of homemade love to your dessert table. Let’s get started and bring some fun back into our kitchens!
Why Love Homemade Butterfingers?
Simplicity at its finest: With just a handful of ingredients and easy steps, you can whip up these delightful bars in no time!
Rich, Creamy Layers: The combination of creamy peanut butter and luscious caramel offers a flavor explosion that will satisfy even the most discerning sweet tooth.
Diet-Friendly: This recipe is adaptable, using dairy-free chocolate, making it a crowd-pleaser that everyone can enjoy.
Fun Activity: Perfect for a baking day with friends or family, creating these bars will become a sweet memory you cherish!
Versatile Addition: Serve them as a dessert, a sweet snack, or even include them in dessert platters at your next gathering.
Impressive Outcome: Homemade Butterfingers are not only delicious but look stunning when served, making you the star of any culinary occasion.
Delicious Homemade Butterfingers Ingredients
For the Peanut Butter Layer
• Peanut Butter – 150 grams (1/2 cup plus 2 tbs); the star ingredient that brings that familiar creamy goodness.
• Powdered Sugar – 1/4 cup; helps sweeten the mixture and give it a perfect texture.
• Corn Syrup – 1 tbs; adds moisture and helps bind everything together.
• Peanut Butter Powder – 1/2 tsp; enhances the peanut flavor without adding extra moisture.
For the Caramel Layer
• Granulated Sugar – 3/4 cup; creates a deliciously sweet base for the caramel.
• Corn Syrup – 2 tbs; ensures smoothness and prevents crystallization in the caramel.
• Lemon Juice – 1/4 tsp; adds a touch of acidity to help balance out the sweetness.
For the Chocolate Coating
• Dairy Free Chocolate – 10 ounces; gives a rich chocolatey shell, perfect for those who prefer a dairy-free option.
• Coconut Oil – 1/2 tbs; helps the chocolate melt smoothly and adds a touch of shine to your bars.
With these ingredients, you’re on your way to creating your very own Homemade Butterfingers that will impress everyone around you!
How to Make Homemade Butterfingers
-
Prepare the Baking Sheets: Line two baking sheets with parchment paper or silicone baking mats for easy cleanup. Preheat your oven to the lowest temperature, roughly 170°F, to gently warm the peanut butter.
-
Melt and Mix: Melt the peanut butter until it transforms into a liquid, then stir in the corn syrup and peanut butter powder. Carefully sift in the powdered sugar, and knead it all together until you form a smooth dough.
-
Shape the Dough: Form the peanut butter dough into a 7-inch square on one of the lined baking sheets. Place it in the warm oven to gently set, allowing it to slightly cook.
-
Create the Caramel: Combine granulated sugar and lemon juice in a saucepan over high heat. Stir constantly for about 10 minutes, until the mixture dissolves and turns golden brown. Remove from heat to avoid burning.
-
Add Syrup: Whisk in the corn syrup to your caramel mixture swiftly, and pour it onto a second lined baking sheet in a thin layer about 9-10 inches square.
-
Enclose the Peanut Butter: Fold the caramel over the peanut butter filling, ensuring it’s fully enclosed. Seal the edges carefully as you go for a neat finish.
-
Soften the Caramel: If the caramel feels tough, place the whole creation back in the oven for up to 15 minutes to soften it and make it easier to handle.
-
Warm and Flatten: Seal the edges once more and return it to the oven for about five minutes to soften further.
-
Roll and Fold: Using a rolling pin, gently roll the mixture into a thin rectangle, then refold it into an envelope shape. Place it back in the oven to get pliable again.
-
Repeat the Folding: Continue this folding process four more times—this builds the layers that will make your bars delightfully chewy.
-
Cut the Bars: After the final fold, roll out the candy to a 1/2-inch thick rectangle. Cut it in half and then make four vertical cuts to create eight delectable bars.
-
Chill: Shape each bar with a slight curve and place them in the refrigerator for at least 1 hour, or overnight for best results.
-
Melt Chocolate: Using a double boiler, melt the dairy-free chocolate and mix in the coconut oil until smooth and glossy.
-
Coat the Bars: Grab a fork to hold each bar as you pour the melted chocolate over it. Carefully place them back on the parchment paper to set.
-
Continue Coating: Repeat this process until all bars are generously coated in luscious chocolate.
-
Final Chill: Refrigerate the bars for at least 20 minutes, or until the chocolate has set firmly.
Optional: Drizzle with extra melted chocolate for an extra touch of decadence.
Exact quantities are listed in the recipe card below.
What to Serve with Homemade Butterfingers?
Picture a delightful gathering where your Homemade Butterfingers take center stage, complemented by dishes that elevate their irresistible charm.
-
Creamy Vanilla Ice Cream: The cool and creamy ice cream creates a delightful contrast to the rich, chewy bars, making each bite heavenly.
-
Fresh Berries: A medley of strawberries, blueberries, or raspberries provides a refreshing pop of sweetness and acidity that balances out the richness of the chocolate.
-
Nutty Granola: Sprinkling crunchy granola on the side adds texture, offering a delicious crunch that plays well against the smoothness of the bars.
-
Chocolate Dipped Fruits: Serve sliced bananas or apples dipped in chocolate to maintain the flavor theme while introducing a fresh and fruity element to the platter.
-
Caramel Sauce: A drizzle of warm caramel sauce can enhance the buttery flavors in the bars, inviting diners to dive deeper into indulgence.
-
Coffee or Espresso: A warm cup of coffee or a shot of espresso pairs beautifully, cutting through the sweetness and enhancing the nutty chocolate flavors.
These pairing options not only delight the taste buds but also transform your Homemade Butterfingers into a veritable dessert experience that every guest will remember.
Make Ahead Options
These Homemade Butterfingers are perfect for busy home cooks who want to save time without sacrificing flavor! You can prepare the peanut butter layer and caramel layer up to 24 hours in advance. Simply mix the peanut butter and other ingredients, then shape and chill the dough in an airtight container in the refrigerator. For the caramel, follow the instructions, allow it to cool, and store it in an airtight container as well. When you’re ready to finish, simply unfold the caramel over the peanut butter, and proceed with the rest of the recipe. Just ensure that you refrigerate these layers separately to maintain their quality, and when you’re ready to coat them, they’ll still be just as delicious!
Homemade Butterfingers Variations & Substitutions
Feel free to mix things up and make this recipe your own with these delicious twists!
-
Nut-Free: Substitute peanut butter with sun butter or soy nut butter for a similar taste without the nuts.
-
Sugar-Free: Use powdered erythritol instead of powdered sugar for a diabetic-friendly version that still tastes scrumptious.
-
Dark Chocolate: Swap the dairy-free chocolate for your favorite dark chocolate for a richer, more intense flavor experience.
-
Add a Crunch: Incorporate crushed peanuts or almonds into the peanut butter layer for added texture and flavor. It’s a delightful surprise in every bite!
-
Spicy Kick: Sprinkle a bit of cayenne pepper into the caramel for a spicy version that balances sweetness with a touch of heat.
-
Flavored Chocolate: Try using flavored chocolate like mint or orange for a unique twist that elevates the classic taste of your Homemade Butterfingers.
-
Coconut Delight: Stir in shredded coconut to the peanut butter layer for a tropical twist that adds both flavor and texture.
-
Mini Bars: Cut the bars into mini sizes before coating for bite-sized treats that are perfect for sharing or indulging!
These variations invite you to unleash your creativity in the kitchen, making each batch uniquely yours!
Expert Tips for Homemade Butterfingers
-
Choose Quality Ingredients: Use high-quality peanut butter and dairy-free chocolate for the best flavor. A rich, nutty peanut butter makes all the difference in your Homemade Butterfingers.
-
Avoid Burning Caramel: Stir constantly when heating the sugar, and don’t walk away! Caramel can go from golden to burnt very quickly if left unattended.
-
Be Patient While Folding: Don’t rush the folding process; it’s key for creating those delightful layers. Ensure each fold is even and well-pressed for the best texture.
-
Temperature Control: If the caramel becomes too stiff, gentle warming in the oven will help. Alternately, keep it pliable by not letting it cool too rapidly.
-
Cut with Precision: Use a sharp knife to cut the bars for clean edges. This not only looks nicer but also helps them hold together better when coated in chocolate.
How to Store and Freeze Homemade Butterfingers
Room Temperature: Store your Homemade Butterfingers in an airtight container at room temperature for up to 3 days. This keeps them soft and chewy, ready for snacking!
Fridge: If you’d like them to last a bit longer, keep the bars in the fridge for up to 1 week. Just ensure they’re in an airtight container to maintain freshness.
Freezer: For long-term storage, you can freeze the bars for up to 2 months. Wrap each bar individually in plastic wrap, then place them in a freezer-safe bag to prevent freezer burn.
Reheating: To enjoy the bars again, simply let them thaw at room temperature for about 30 minutes before indulging. If you prefer them slightly warm, you can microwave for 10-15 seconds!
Peanut Butter Caramel Bars Recipe FAQs
How do I choose the right peanut butter for the recipe?
Absolutely! For the best results, I recommend using a natural peanut butter without added sugars or stabilizers. Check the label to ensure it’s just peanuts (and maybe a dash of salt). This makes for a creamier texture and enhances the peanut flavor in your Homemade Butterfingers.
How should I store my Peanut Butter Caramel Bars?
You can store your bars in an airtight container at room temperature for up to 3 days. If you prefer them to last longer, keep them in the fridge where they’ll stay fresh for about a week. Just make sure to seal them well to prevent drying out or absorbing odors from the fridge.
Can I freeze the Peanut Butter Caramel Bars?
Yes, you can freeze these delicious bars! Wrap each one individually in plastic wrap, then place them into a freezer-safe bag or container. They can last for about 2 months in the freezer. When you’re ready to indulge, just let them thaw at room temperature for about 30 minutes or pop them in the microwave for a quick warm-up of 10-15 seconds.
What should I do if my caramel is too stiff to work with?
No worries at all! If your caramel turns out too stiff when you’re ready to fold it over the peanut butter, just place the filled sheets in the oven for up to 15 minutes. This will warm the caramel and make it pliable again. Just keep an eye on it to ensure it doesn’t get too melted!
Are these Homemade Butterfingers safe for anyone with allergies?
Always a good question! Since this recipe contains peanuts and chocolate, it’s important to consider allergy restrictions. If you’re serving guests, opt for allergy-safe chocolate and confirm any specific nut allergies beforehand. For a nut-free alternative, you could swap peanut butter for seed butter (like sunflower seed butter), though the flavor will differ slightly.
How long do these bars take to set after coating them in chocolate?
Typically, your freshly coated bars will need about 20 minutes in the refrigerator for the chocolate to firm up completely. If you have the time, letting them chill overnight is even better. This helps the flavors meld beautifully and makes the bars a delightfully chewy treat!
Irresistible Homemade Butterfingers You'll Love to Create
Ingredients
Equipment
Method
- Prepare the Baking Sheets: Line two baking sheets with parchment paper or silicone baking mats for easy cleanup. Preheat your oven to the lowest temperature, roughly 170°F, to gently warm the peanut butter.
- Melt and Mix: Melt the peanut butter until it transforms into a liquid, then stir in the corn syrup and peanut butter powder. Carefully sift in the powdered sugar, and knead it all together until you form a smooth dough.
- Shape the Dough: Form the peanut butter dough into a 7-inch square on one of the lined baking sheets. Place it in the warm oven to gently set, allowing it to slightly cook.
- Create the Caramel: Combine granulated sugar and lemon juice in a saucepan over high heat. Stir constantly for about 10 minutes, until the mixture dissolves and turns golden brown. Remove from heat to avoid burning.
- Add Syrup: Whisk in the corn syrup to your caramel mixture swiftly, and pour it onto a second lined baking sheet in a thin layer about 9-10 inches square.
- Enclose the Peanut Butter: Fold the caramel over the peanut butter filling, ensuring it’s fully enclosed. Seal the edges carefully as you go for a neat finish.
- Soften the Caramel: If the caramel feels tough, place the whole creation back in the oven for up to 15 minutes to soften it and make it easier to handle.
- Warm and Flatten: Seal the edges once more and return it to the oven for about five minutes to soften further.
- Roll and Fold: Using a rolling pin, gently roll the mixture into a thin rectangle, then refold it into an envelope shape. Place it back in the oven to get pliable again.
- Repeat the Folding: Continue this folding process four more times—this builds the layers that will make your bars delightfully chewy.
- Cut the Bars: After the final fold, roll out the candy to a 1/2-inch thick rectangle. Cut it in half and then make four vertical cuts to create eight delectable bars.
- Chill: Shape each bar with a slight curve and place them in the refrigerator for at least 1 hour, or overnight for best results.
- Melt Chocolate: Using a double boiler, melt the dairy-free chocolate and mix in the coconut oil until smooth and glossy.
- Coat the Bars: Grab a fork to hold each bar as you pour the melted chocolate over it. Carefully place them back on the parchment paper to set.
- Continue Coating: Repeat this process until all bars are generously coated in luscious chocolate.
- Final Chill: Refrigerate the bars for at least 20 minutes, or until the chocolate has set firmly.

